Four Proven Cleaning Methods
Method 1: Baby Wipes (Easiest for Regular
Maintenance)
Baby wipes are the go-to cleaning method for regular maintenance. They're gentle, convenient, and
won't
damage your mat's adhesive.
What You Need:
- Alcohol-free baby wipes (important: alcohol can break down adhesive)
- Your dirty cutting mat
- 15-20 minutes drying time
How to Clean:
- Remove the protective plastic cover from your mat
- Wipe the mat surface in straight lines from top to bottom
- Use a fresh wipe for each pass to avoid redistributing debris
- Let the mat air dry for 15-20 minutes before replacing the protective cover
- Store flat or hang vertically
Best For: Light cleaning after every 2-4 cuts, removing paper dust and light debris.
This method
works perfectly for maintaining mats between shadow box projects.
Limitations: Won't remove heavy adhesive residue or deeply embedded fibers.
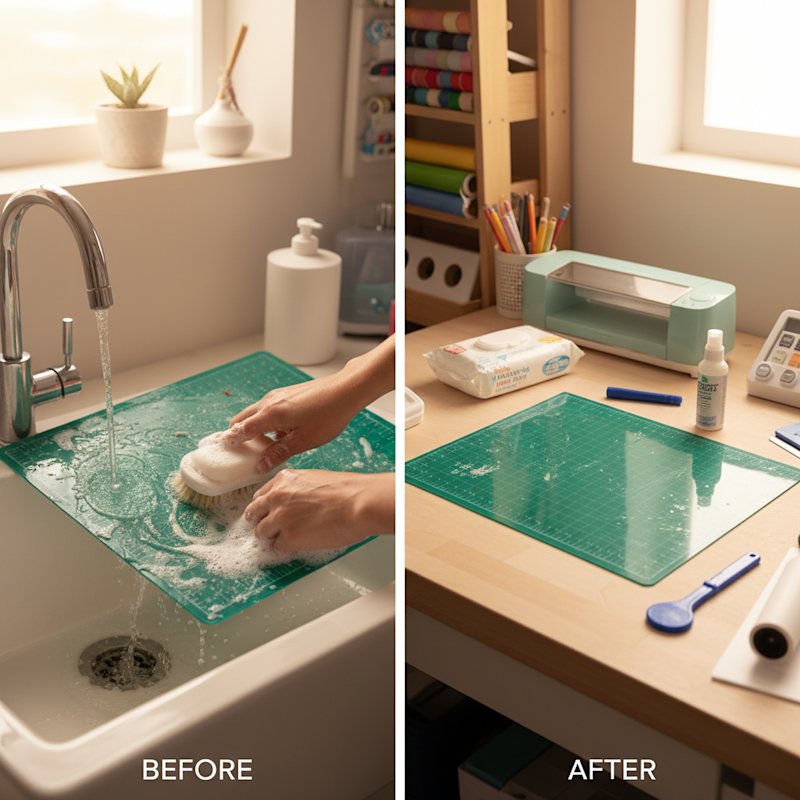
Method 2: Soap and Water (Most Common Deep
Clean)
The soap and water method is the gold standard for thorough mat cleaning. It's what most
experienced crafters
rely on for regular deep cleaning.
What You Need:
- Warm (not hot) water
- Mild liquid dish soap (Dawn is most commonly recommended)
- Soft household sponge or soft cloth
- Flat drying surface
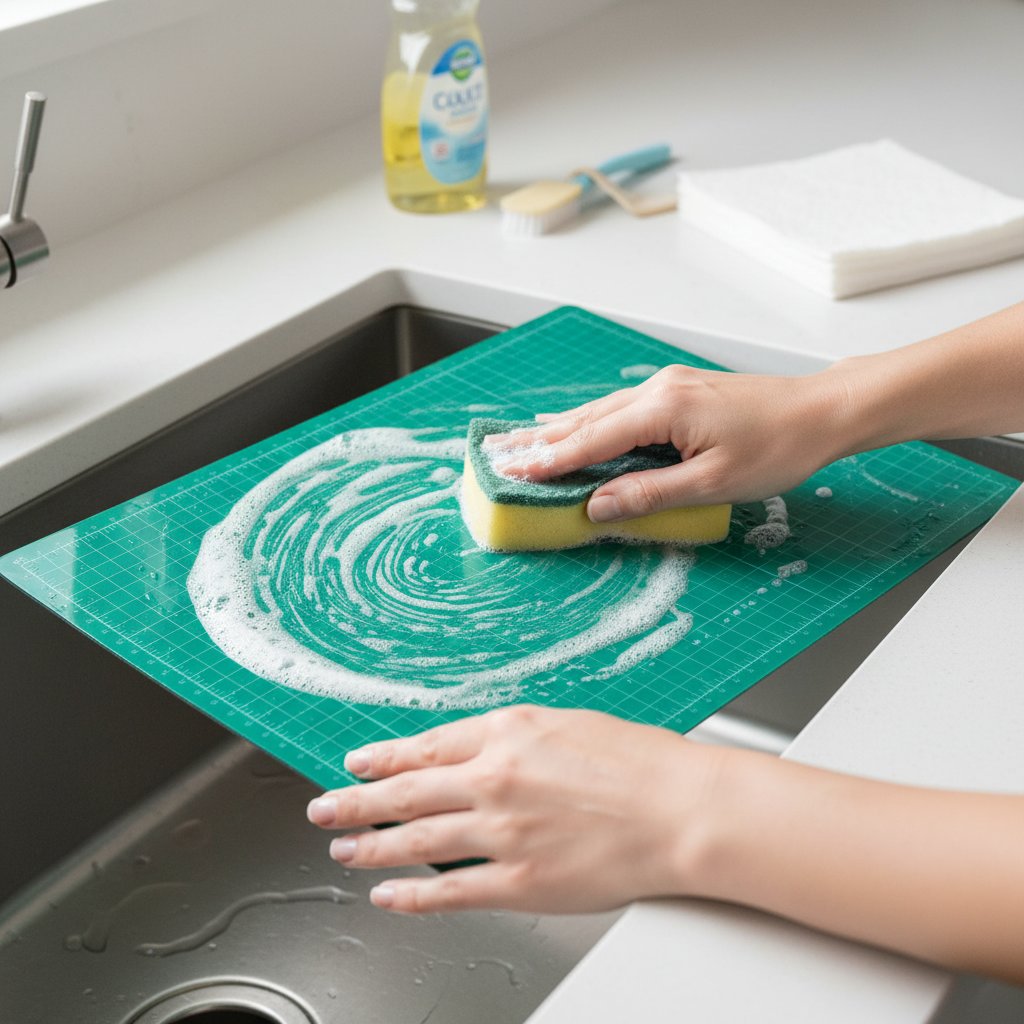
How to Clean:
- Remove the protective cover and any loose debris
- Run warm water over the mat surface (avoid soaking the edges)
- Add a small amount of dish soap to your sponge—a little goes a long way
- Gently scrub the mat in circular motions, applying light pressure
- Rinse thoroughly with warm water until all soap residue is gone
- Shake off excess water
- Air dry flat on a clean towel for 1-2 hours (you can gently pat with a towel to speed drying)
- The mat should feel slightly sticky when completely dry
Pro Tips:
- Never use hot water, as it can warp the mat base
- Don't scrub too hard—you're cleaning debris, not removing adhesive
- Make sure the mat is completely dry before storage to prevent mold
- Clean both sides if the back has accumulated debris
Best For: Regular deep cleaning every 15-20 uses, removing most types of debris and
residue.
This is the method to use before starting a major shadow box project cluster.
Limitations: May not remove hardened adhesive from vinyl or very sticky specialty
papers.
Method 3: Simple Green (Industrial-Strength
Cleaning)
When soap and water aren't enough, Simple Green cleaner can restore heavily soiled mats without
completely
stripping the adhesive.
What You Need:
- Simple Green All-Purpose Cleaner
- Spray bottle (if not using Simple Green spray bottle)
- Soft sponge or cloth
- Warm water for rinsing
How to Clean:
- Remove loose debris with a baby wipe or dry cloth
- Spray Simple Green directly onto the mat surface (or apply with a damp cloth)
- Let it sit for 2-3 minutes to break down stubborn residue
- Gently scrub with a soft sponge in circular motions
- Rinse thoroughly with warm water
- Air dry completely (this may take 2-3 hours)
Best For: Mats with sticky vinyl residue, glitter cardstock buildup, or heavy paper
fiber
accumulation. Excellent for reviving mats you thought were beyond saving.
Important Note: Simple Green is more powerful than soap and water. While it
won't strip
adhesive like some harsher cleaners, use it only when gentler methods haven't worked.
Method 4: Adhesive Remover (Nuclear Option)
When a mat is so dirty that nothing else works, adhesive remover can dissolve almost all the
residue—but it will
also remove most of the mat's adhesive. This method essentially resets your mat to near-zero
stickiness,
requiring a complete resticky treatment afterward.
What You Need:
- Adhesive remover (Goo Gone is the most popular brand)
- Soft cloth or paper towels
- Soap and water for final cleaning
- Resticky solution (see next section)
How to Clean:
- Apply adhesive remover to the mat surface
- Let it sit for 5-10 minutes
- Wipe away dissolved residue with a cloth
- Clean the mat thoroughly with soap and water to remove all traces of adhesive remover
- Dry completely
- Apply resticky solution (see next section)
Best For: Mats with hardened vinyl residue, permanent adhesive transfer, or stubborn
glitter
glue. Think of this as a last resort before buying a new mat.
Warning: This method requires resticky treatment afterward. The mat will have almost
no grip
until you add new adhesive.