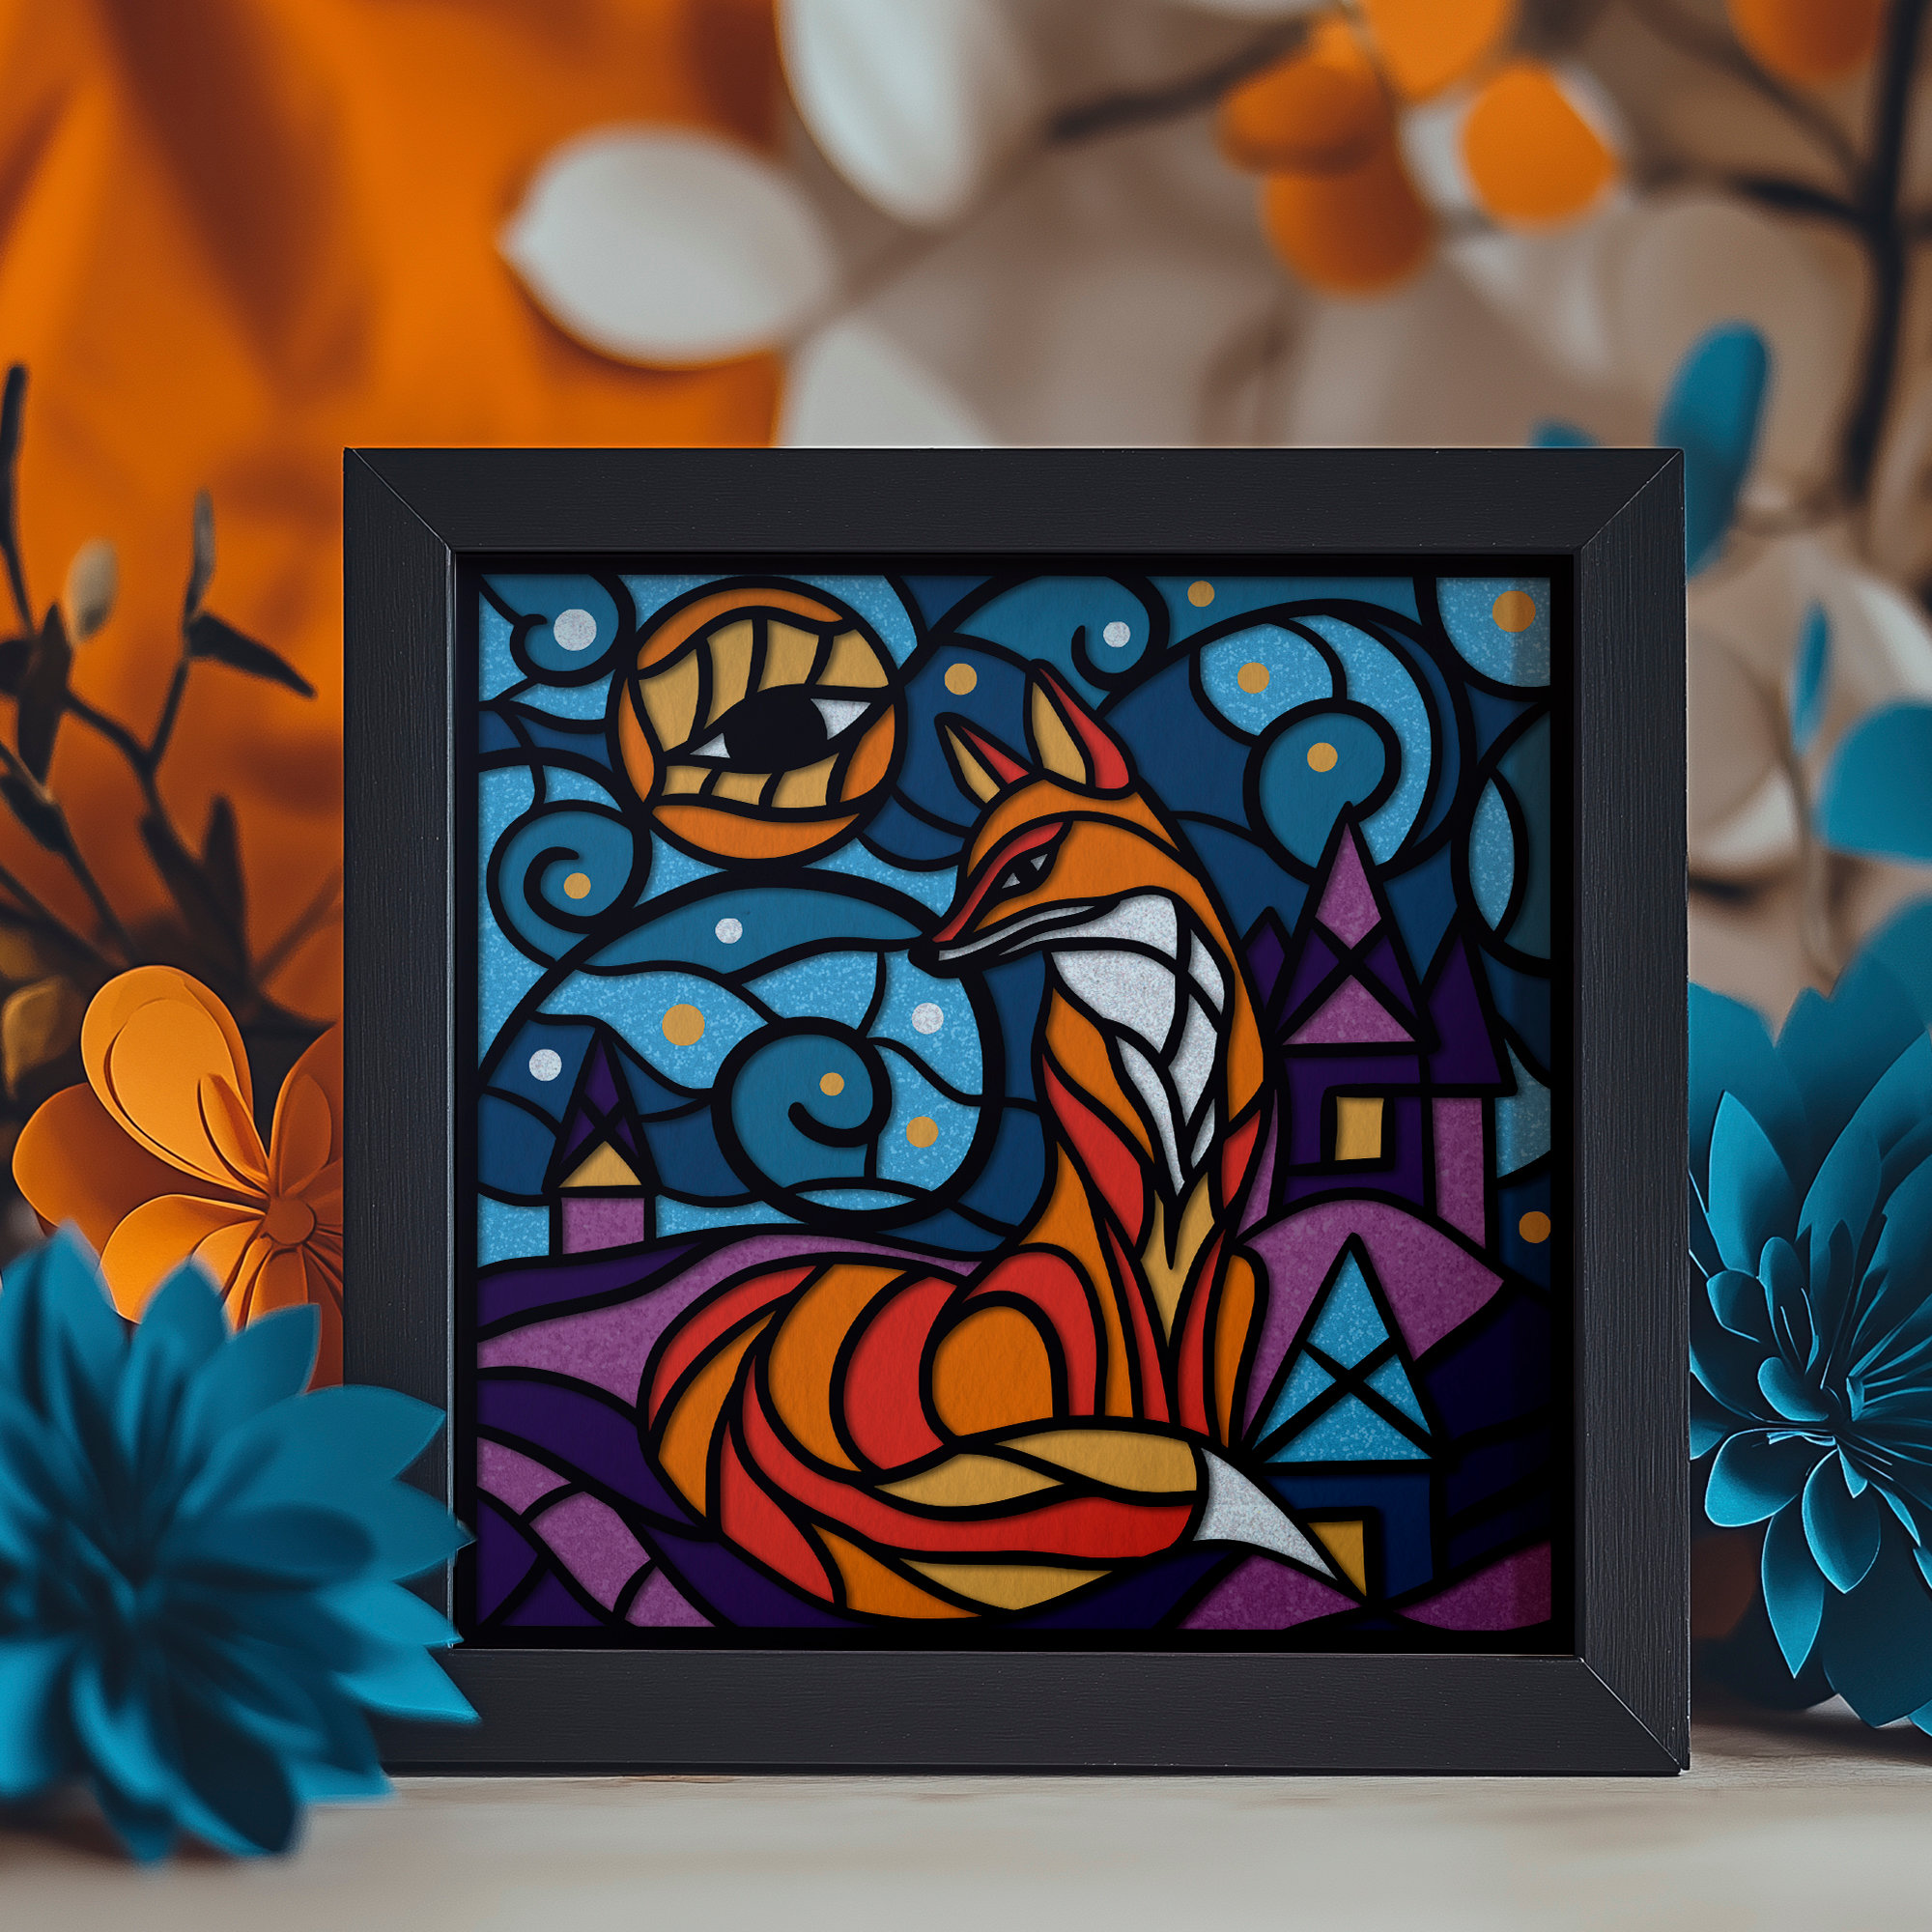
| Layered Papercut Shadow Box Art |
Medium — requires precise cutting and patient assembly |
Medium — quality cardstock, deep frame, SVG template, foam spacers |
⭐⭐⭐⭐⭐ — professional gallery-quality results with proper materials |
Home décor statement pieces, personalized gifts, seasonal decorations, nursery art |
Use 65-80lb smooth cardstock; test-fit before gluing; consider backlighting |
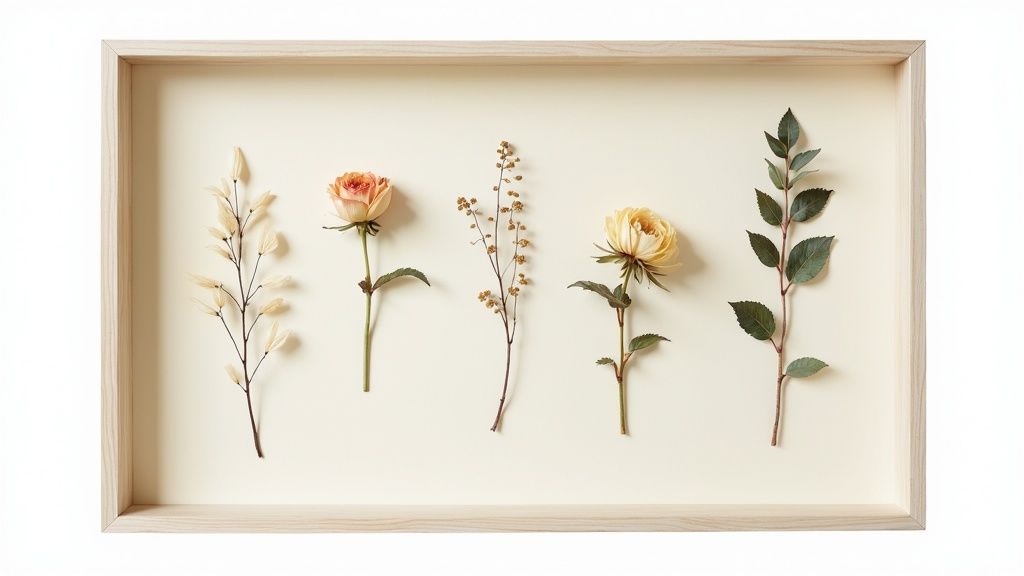
| Botanical & Pressed Flower Shadow Box |
Medium — pressing/drying and delicate arranging |
Low — shadow box, acid‑free backing, drying time |
⭐⭐⭐ — timeless aesthetic, moderate longevity with UV care |
Home décor, bouquet preservation, botanical displays |
Use acid‑free materials; press 2–3 weeks; avoid direct sunlight |
| Military Medals & Service Memorabilia Shadow Box |
Medium–High — protocol research, precise mounting |
Medium–High — deep frame, archival materials, engraving |
⭐⭐⭐⭐ — highly dignified, archival if done correctly |
Veteran tributes, family heirlooms, official displays |
Follow display protocols; use acid‑free adhesives; document names/dates |
| Vintage Trading Cards & Collectibles Display |
Medium — careful mounting to avoid damage |
Medium — UV glass, archival mats, professional holders |
⭐⭐⭐⭐ — strong preservation and visual presentation |
Collectors showing rare/valuable cards, hobby displays |
Mount in slots not glue; invest in UV protection; label cards |
| Shadowbox Memory Board (Photos & Keepsakes) |
Medium — curation and layered composition |
Low–Medium — large box, mixed mounting supplies |
⭐⭐⭐⭐ — high emotional impact and storytelling |
Personal gifts, travel/wedding/baby memories |
Mock up layout first; photograph originals; balance negative space |
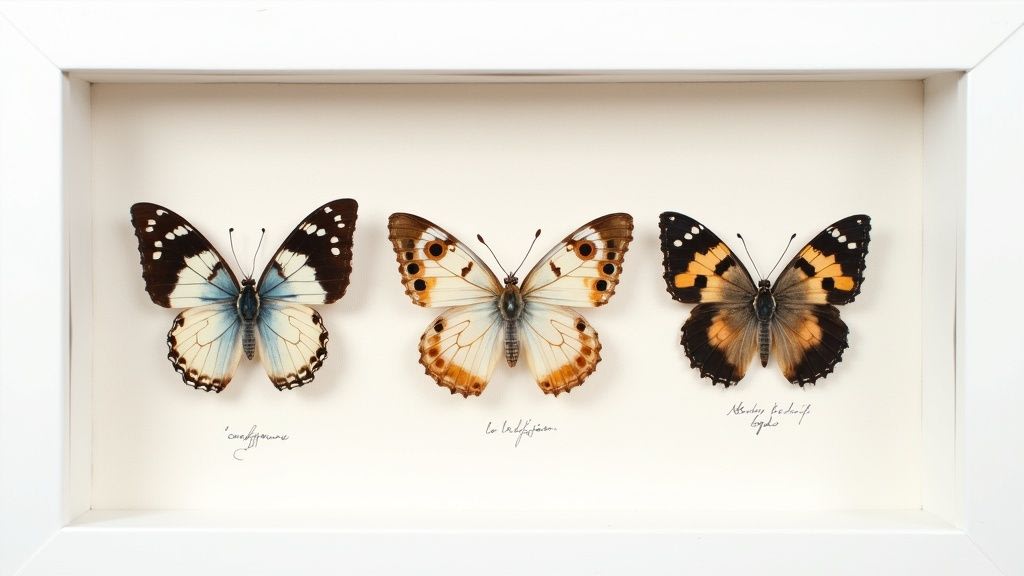
| Insect & Butterfly Specimen Display |
High — preservation, pinning, pest prevention OR Medium for papercraft versions |
Medium — pins, mounts, labeled cards, humidity control OR cardstock for papercraft |
⭐⭐⭐⭐ — long‑lasting educational displays if ethical |
Education, natural history, museum‑style exhibits |
Source ethically; use archival pins; control humidity; label specimens |
| Baby Milestone & Nursery Shadow Box |
Low–Medium — safe mounting of small items |
Low — non‑toxic supplies, acid‑free materials |
⭐⭐⭐ — high sentimental value, moderate longevity |
Nursery décor, baby gifts, milestone keepsakes |
Use baby‑safe, non‑toxic materials; include birth details; photograph items |
| Concert Ticket & Music Memorabilia Shadow Box |
Low–Medium — collage and 3D mounting |
Low–Medium — UV glass recommended, mixed mounts |
⭐⭐⭐ — strong personal display, dependent on preservation |
Music fans, season collections, festival archives |
Scan tickets before mounting; use UV glass; organize chronologically |
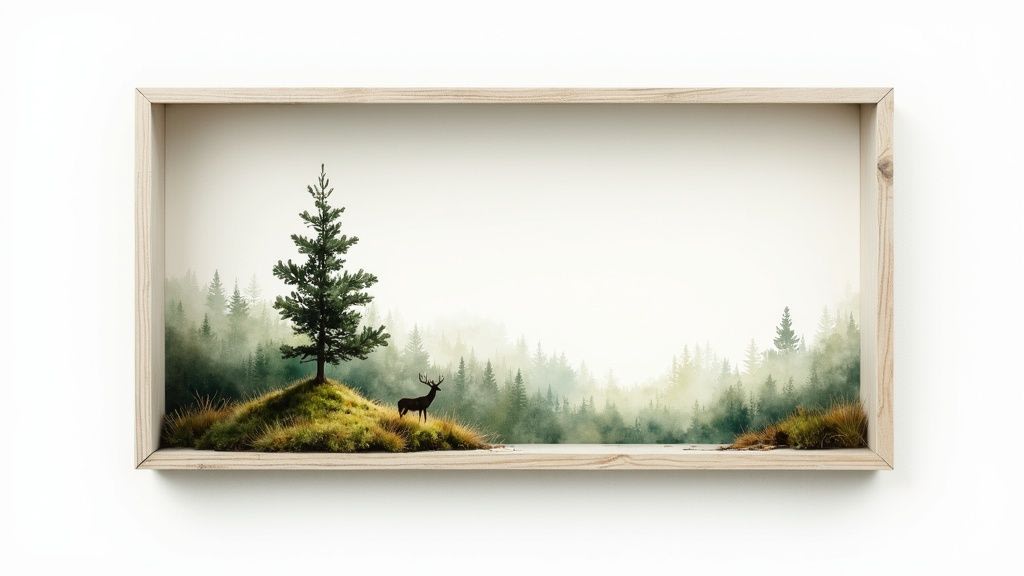
| Nature Scene Diorama with Miniatures |
High — multi‑skill (sculpting, painting, lighting) |
High — deep box, miniatures, landscaping materials, LEDs |
⭐⭐⭐⭐ — immersive, high visual impact when well executed |
Modelers, storytelling scenes, diorama hobbyists |
Start with sketches; build background first; secure all elements |
| Personalized Artwork & Quote Shadow Box Gallery |
Low — design or hand‑lettering skill needed |
Low — quality paper, frame, printing or hand tools |
⭐⭐⭐ — customizable and easily updated |
Home offices, personalized gifts, motivational décor |
Use archival cardstock and inks; choose matching typography and spacing |
| Sports Achievement & Trophy Shadow Box |
Medium — arranging 3D awards and memorabilia |
Medium — deep frame, mounts, plaques |
⭐⭐⭐ — motivational and archival for trophies/medals |
Athletes, coaches, retirement or milestone displays |
Arrange chronologically; include photos and engraved plaques; polish medals |