Installation Methods for Maximum Safety
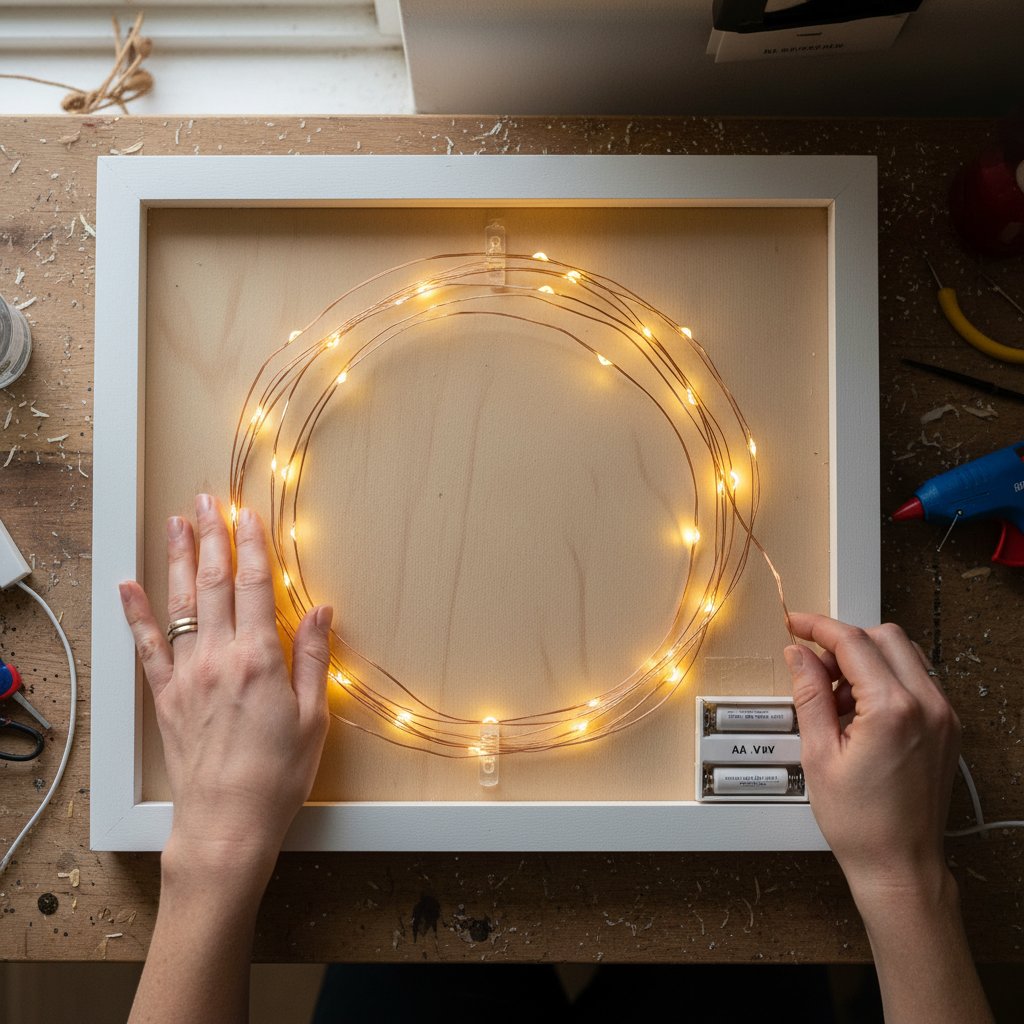
Preparing Your Shadow Box Frame
Proper preparation ensures your lighting installation is both safe and effective.
Frame depth verification:

Measure your frame's interior depth before purchasing lights. You need sufficient depth to accommodate:
- Your layered paper stack
- LED lights or fairy light wire
- Battery pack (if placing inside frame)
- Small air gap for minimal ventilation
Most 8-10 layer shadow boxes require 7-8cm (2.75-3 inch) frame depth. Add 1-2cm extra if you plan to install LED strip lights inside the frame, as they add thickness.
If your frame lacks sufficient depth for internal battery pack placement, you'll need to position the battery pack outside the frame, which requires a small notch in the frame backing for the wire to pass through.
Creating ventilation:
Even though LEDs generate minimal heat, some air circulation is beneficial:
Method 1 - Corner gaps: Don't seal the frame backing completely tight at all four corners. Leave tiny gaps (approximately 1-2mm) at two opposite corners. These gaps are invisible when the frame is displayed but allow air circulation.
Method 2 - Drilling small vent holes: For wooden box frames, drill 3-4 tiny holes (1/8 inch diameter) in the frame backing near corners. These provide ventilation without being visible from the front.
Method 3 - Slightly loose backing: Secure the frame backing firmly enough to hold everything in place but not so tight that it creates a completely airtight seal. Most box frame tabs or clips naturally allow minimal air movement.
Battery pack placement planning:
Decide before installation where your battery pack will live:
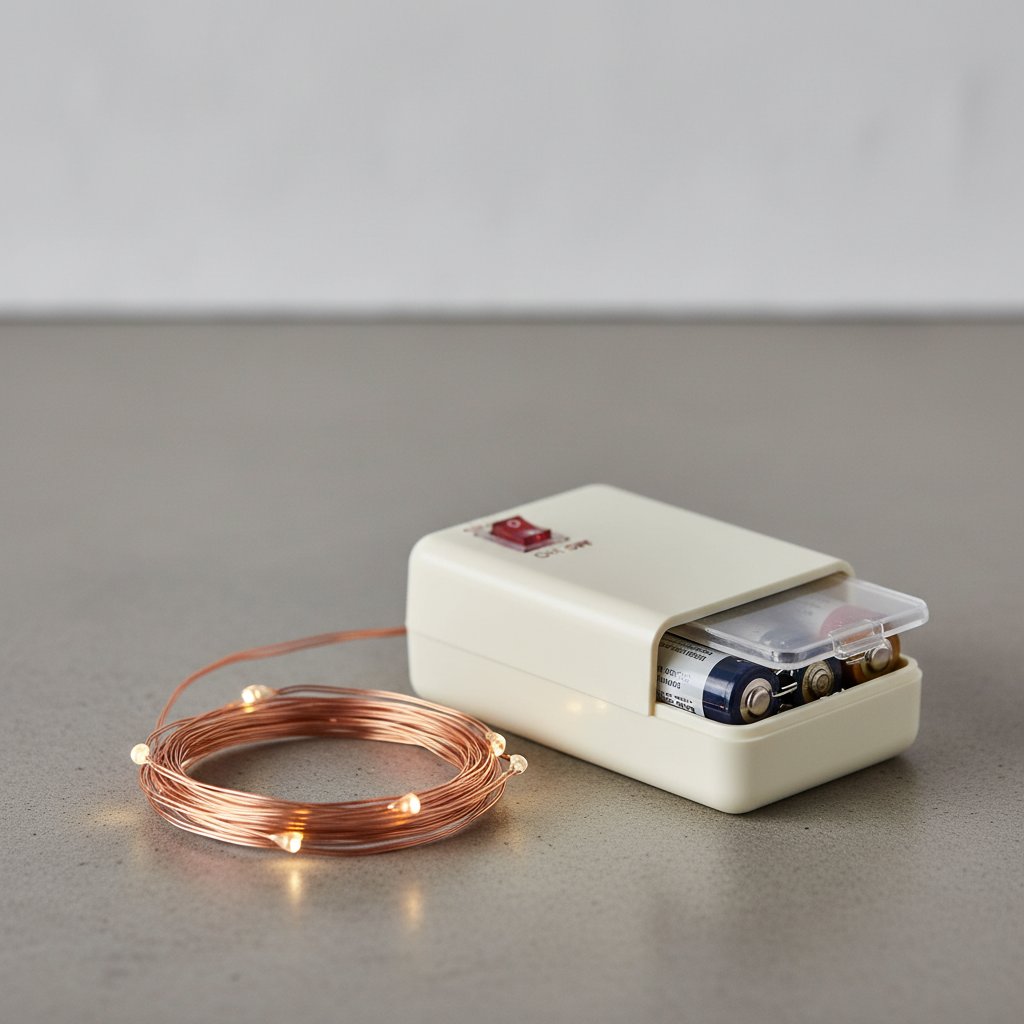
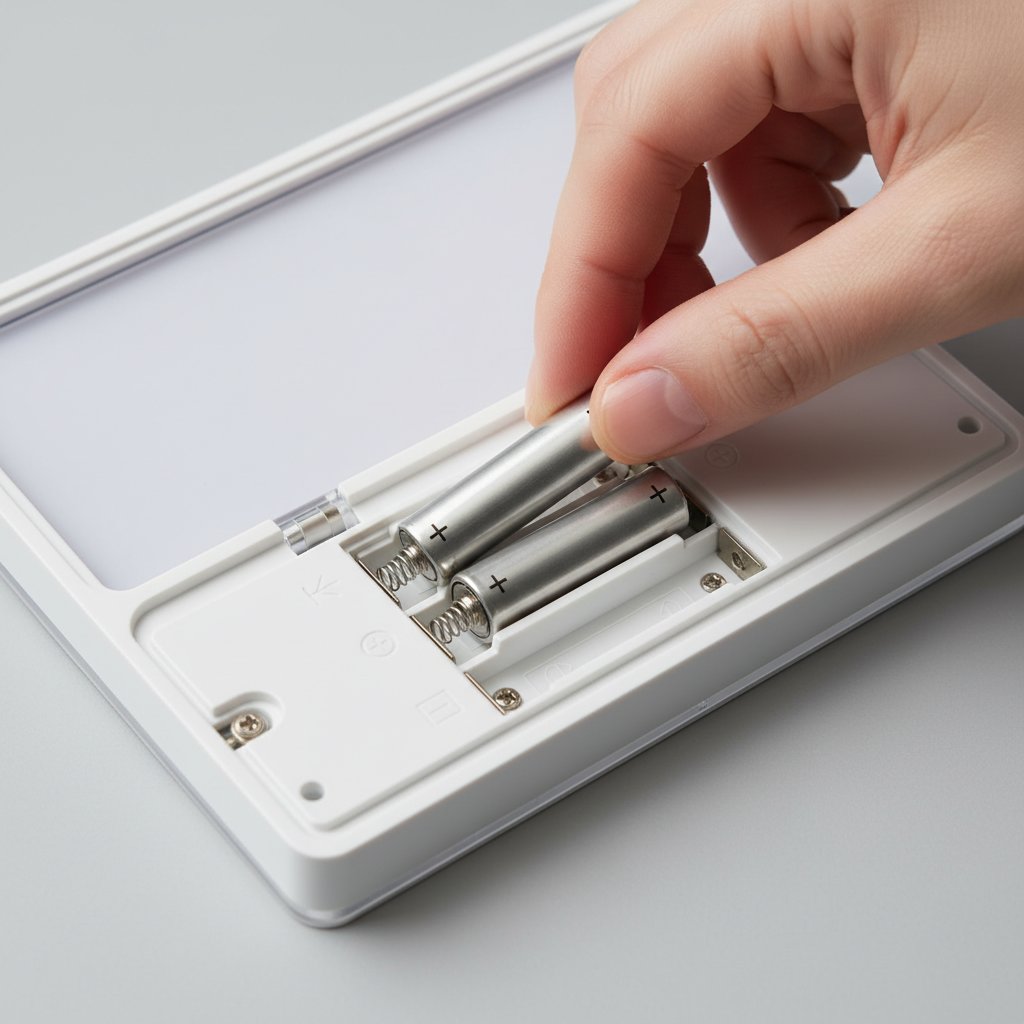
Inside the frame: Works if your frame has sufficient depth and you can access the on/off switch. Position the battery pack in a corner behind the back paper layer, or attach it to the frame backing with mounting tape.
Outside the frame - behind: Cut a small notch in the frame backing edge where wires exit. The battery pack attaches to the frame back with mounting tape or hangs on the wall mounting hardware. This is invisible when the shadow box is hung on the wall.
Outside the frame - bottom edge: Position the battery pack on a shelf beneath the frame if displaying on a shelf rather than wall-mounting. Run the wire out of the bottom edge.
Accessibility consideration: If your lights have no remote control, ensure you can reach the on/off switch without removing the frame from the wall or dismantling it.
Step-by-Step Installation for LED Strip Lights
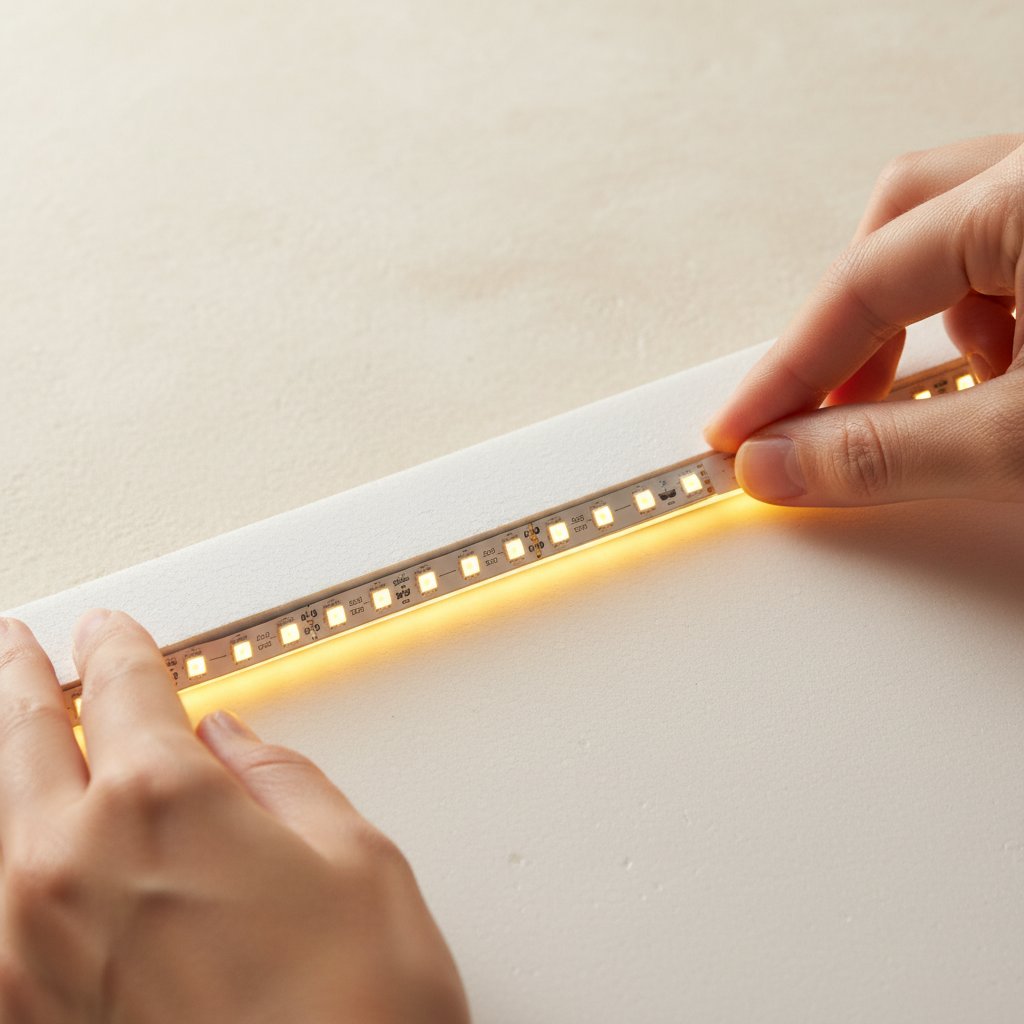
Tools and materials needed:
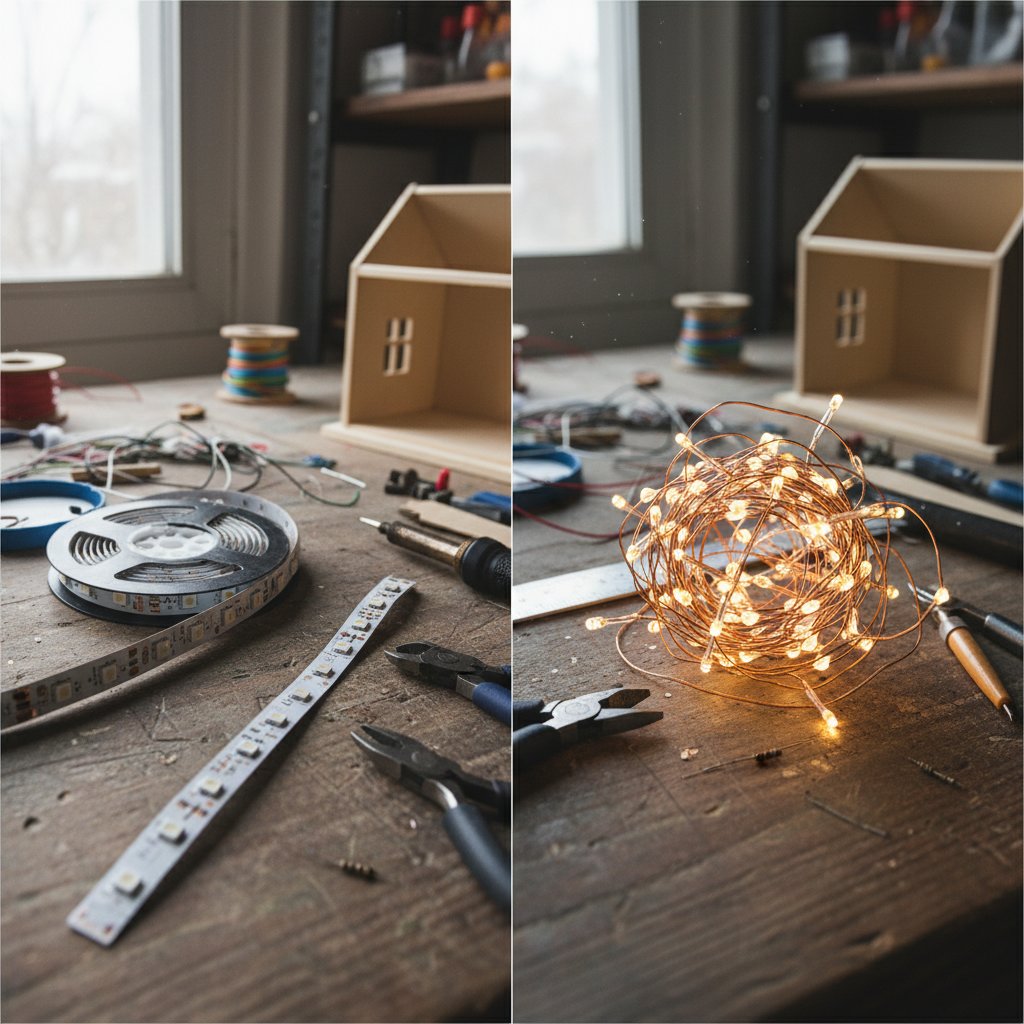
- LED strip lights (measured and cut to size)
- Scissors (for cutting strip at designated cut marks)
- Isopropyl alcohol and cloth (for cleaning adhesive surface)
- Frame backing board
- Assembled shadow box layers (completed before light installation)
- Small piece of mounting tape (for battery pack)
Installation process:
Step 1: Measure and cut your LED strip
Measure the perimeter of your frame backing board. For an 8x8 inch frame, you need approximately 32 inches of LED strip.
Locate the cut marks on your LED strip (usually indicated by scissor symbols and copper contact points). Cut only at these designated points. Cutting elsewhere damages the circuit and renders the strip non-functional.
Step 2: Clean the mounting surface
Use isopropyl alcohol on a cloth to thoroughly clean the frame backing where you'll apply the LED strip. This removes dust, oils, and residue that could prevent good adhesion. Let the surface dry completely.
Step 3: Plan your strip placement
LED strips work best positioned around the perimeter, approximately 0.5-1 inch from the edges. This creates even illumination across the entire shadow box.
Decide where your strip will start and end. Common approach: Start in one corner, run along all four edges, and end in the starting corner area where the battery pack will connect.
Step 4: Apply the LED strip
Peel back 3-4 inches of the adhesive backing and position the strip at your starting point. Press firmly for 10-15 seconds.
Continue peeling and applying in sections, working slowly around the perimeter. Don't peel all the backing at once, as the strip may stick to itself or be hard to position accurately.
At corners, create smooth 90-degree turns. Don't fold or crease the strip sharply.
Step 5: Secure the battery pack
Attach the battery pack to the frame backing using mounting tape or position it to extend outside the frame through a notch in the backing.
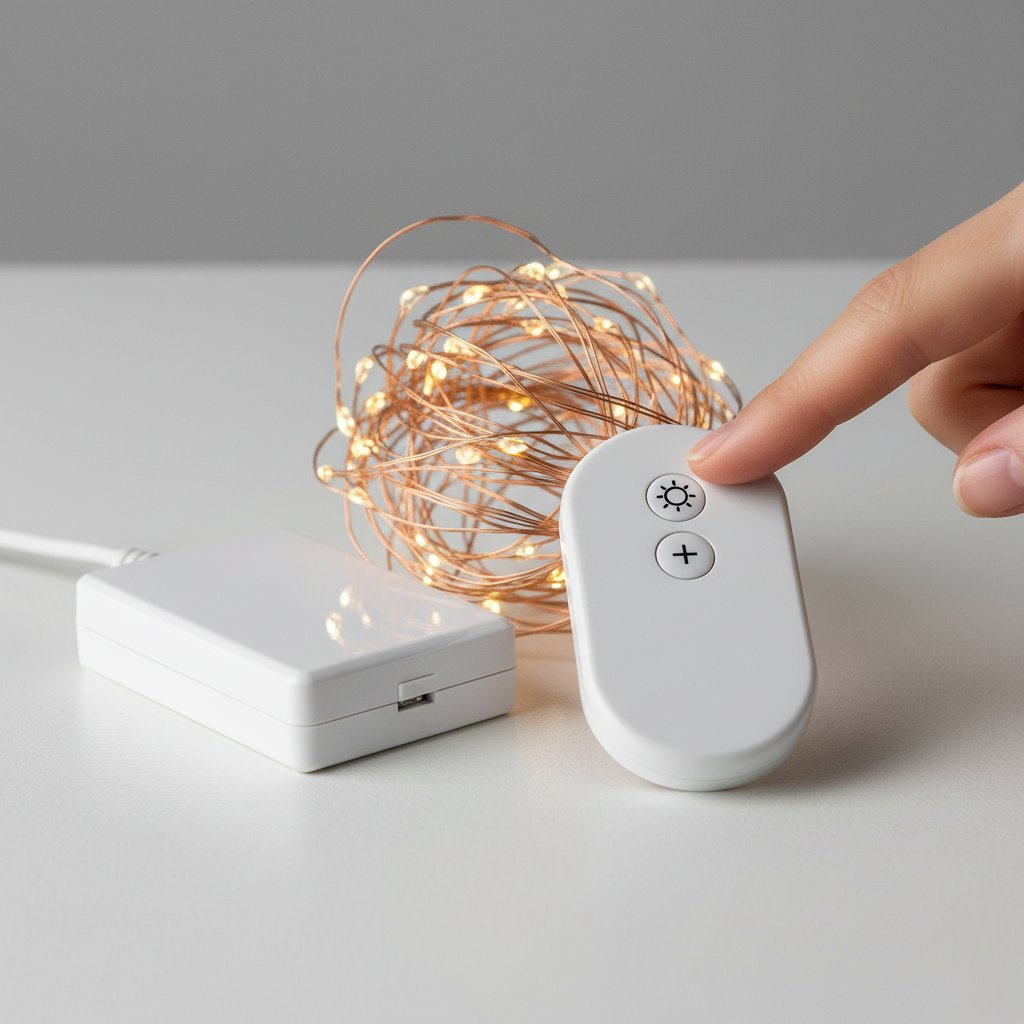
Ensure the on/off switch and remote sensor (if applicable) are accessible.
Step 6: Test before final assembly
Turn on the lights and verify:
- All LEDs illuminate (no dark sections)
- Light distribution is even
- Battery pack connections are secure
- Remote control works (if applicable)
Let the lights run for 30 minutes and touch the strip and battery pack. They should feel barely warm or room temperature.
Step 7: Assemble shadow box into frame
With lights installed and tested on the frame backing, carefully position your assembled paper layers face-down on your work surface. Place the frame over the layers, then add the backing board (with lights attached) to complete the assembly.
Secure the backing with frame clips, tabs, or screws.
Step-by-Step Installation for Fairy Lights
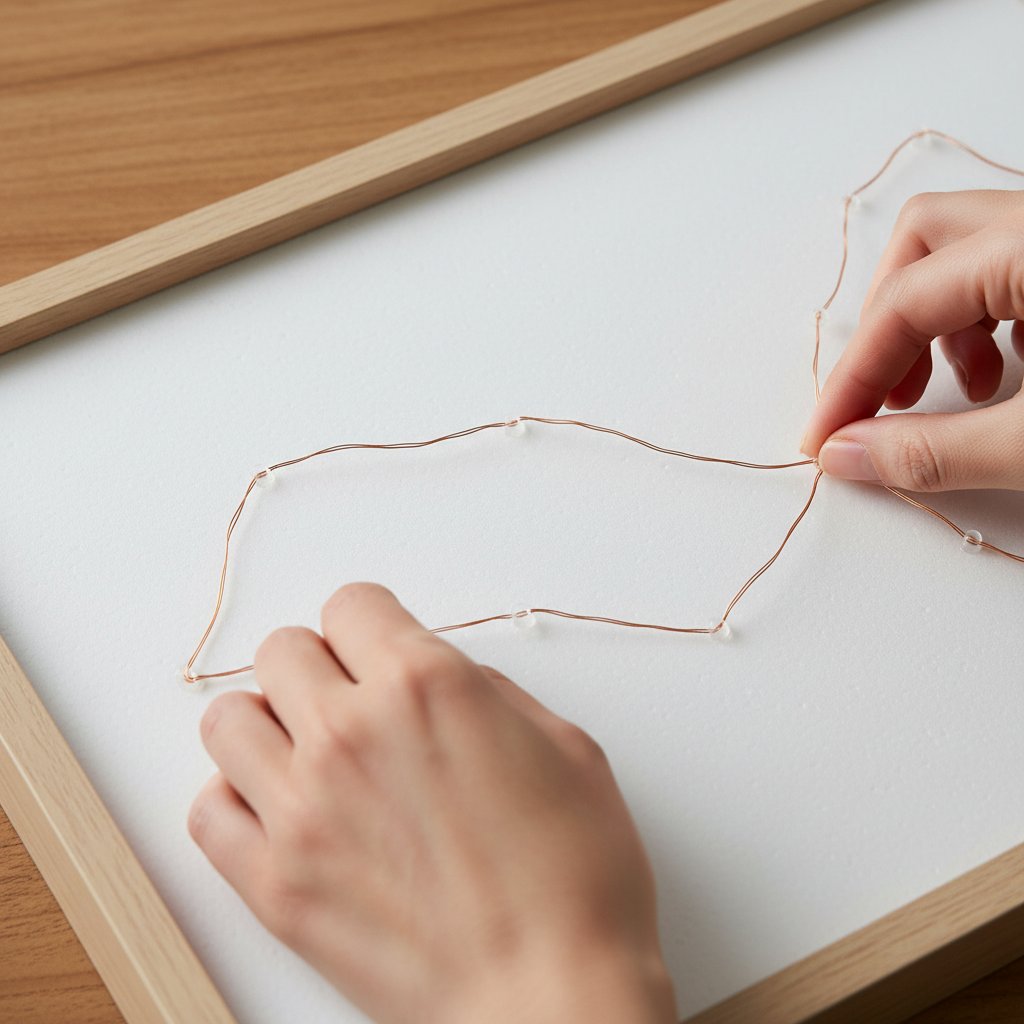
Tools and materials needed:
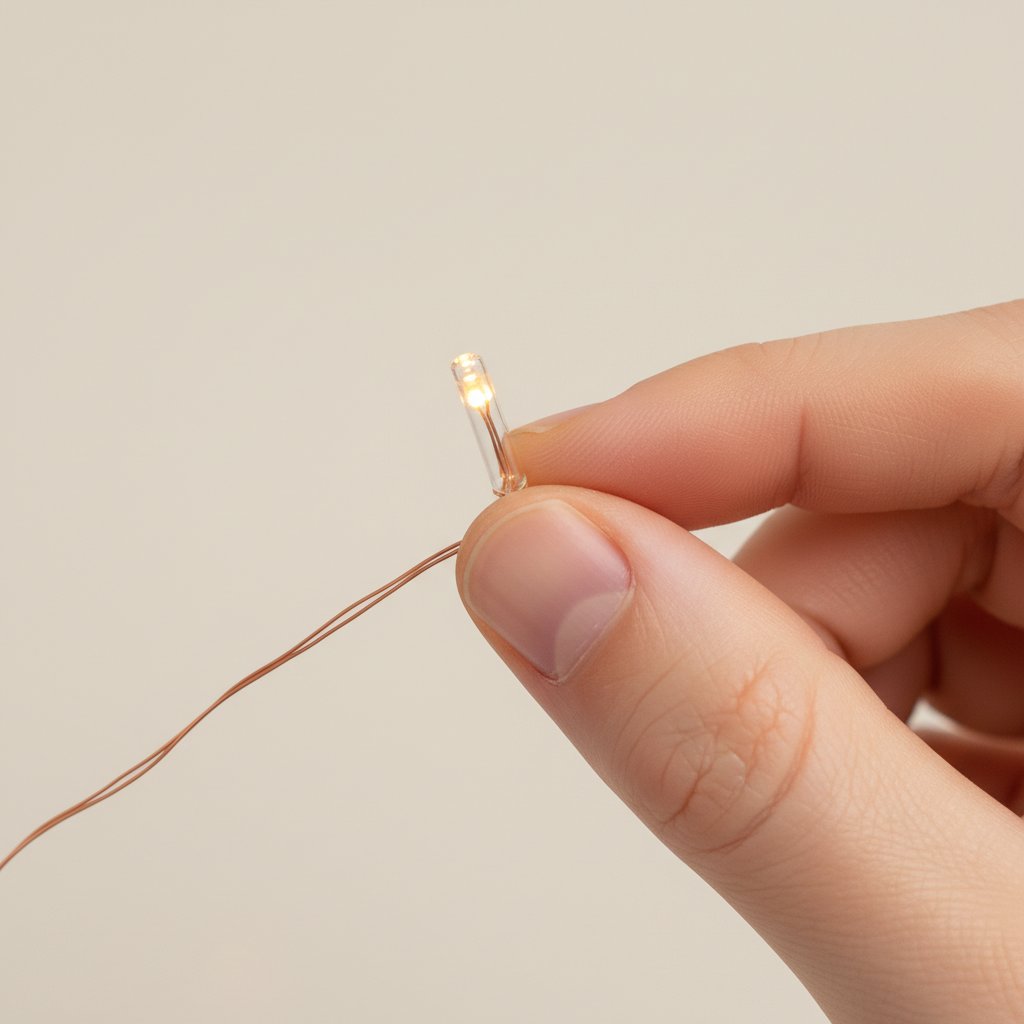
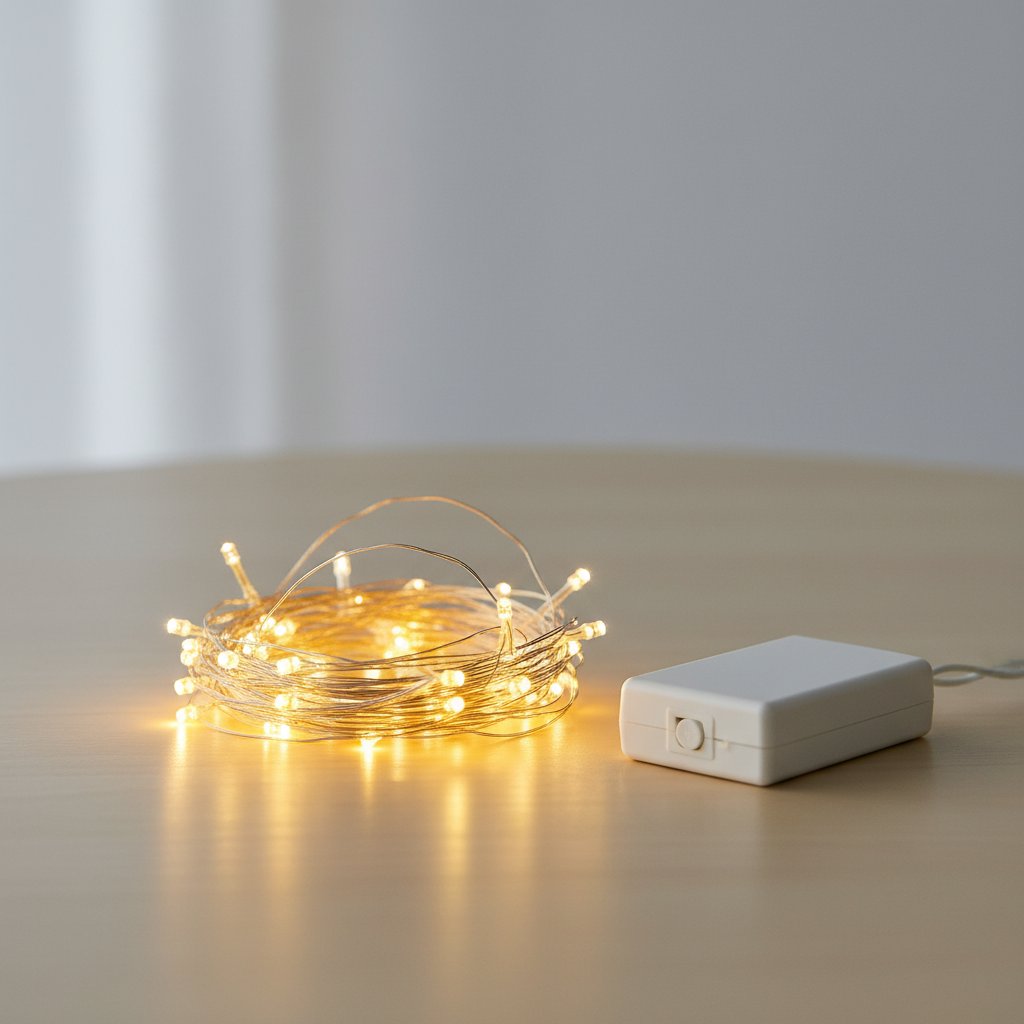
- Battery-operated fairy light string
- Small pieces of clear tape or mounting dots
- Frame backing board
- Assembled shadow box layers
- Scissors (if shortening wire, though this isn't recommended)
Installation process:
Step 1: Plan your light distribution
Lay your fairy light string on the frame backing to visualize the pattern. Common approaches:
Perimeter weaving: Weave the wire around the frame edges, creating approximately even distribution of light points across the perimeter.
Spiral pattern: Start in a corner and spiral inward, creating concentric patterns of lights.
Random natural distribution: Loosely position lights across the backing for an organic, random twinkling effect.
For an 8x8 inch shadow box, a 6-7 foot fairy light string (20-30 LEDs) provides good illumination.
Step 2: Secure the wire
Fairy lights need minimal securing, as the wire is lightweight and won't sag. Use small pieces of clear tape or adhesive mounting dots at strategic points:
- Corners and edges
- Every 3-4 inches along longer runs
- Areas where wire might shift during handling
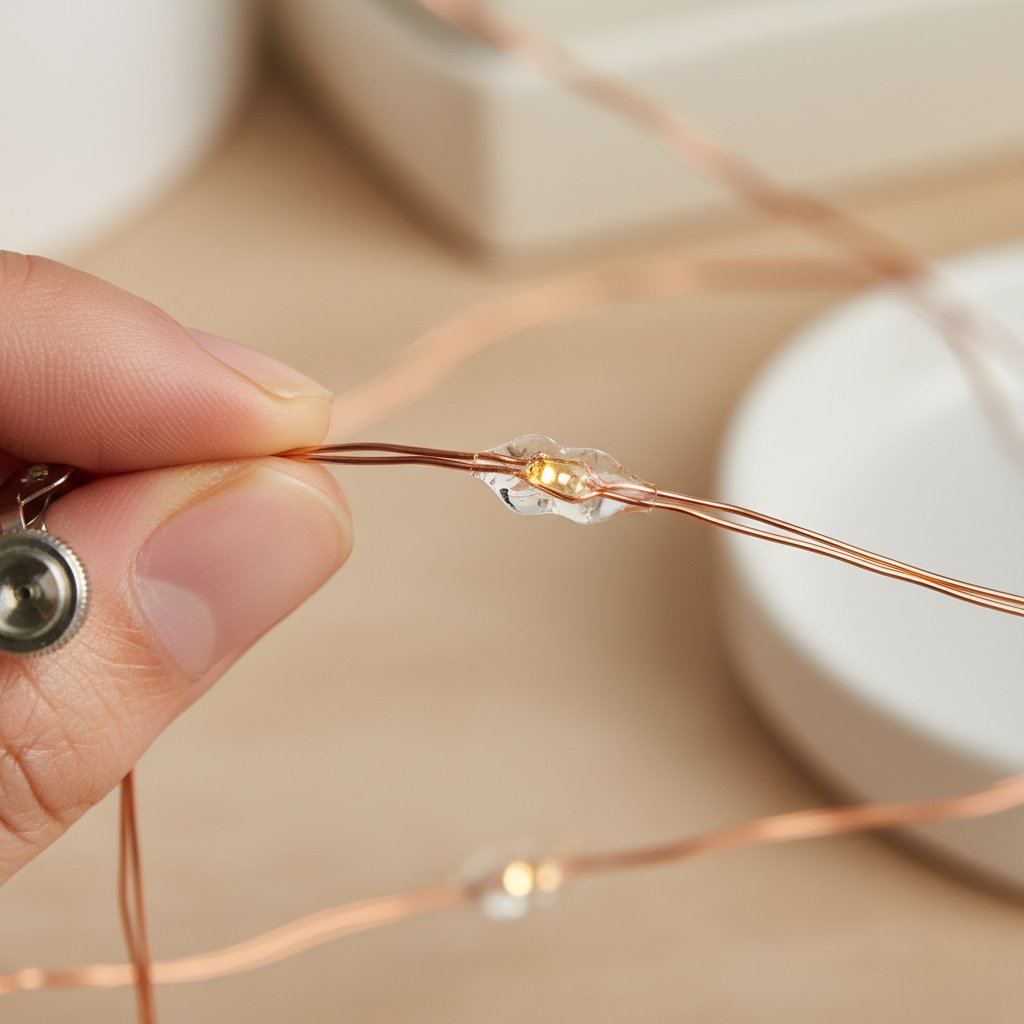
Don't tape over LED bulbs themselves, only the wire between bulbs.
Step 3: Position the battery pack
Place the battery pack in a corner behind where your back paper layer will go, or plan for it to extend outside the frame through a small notch in the backing.
Use a small piece of mounting tape to keep the battery pack stationary if placing it inside the frame.
Step 4: Manage excess wire
If your fairy light string is longer than needed, don't cut it (this often damages the circuit). Instead, coil excess wire loosely in a corner behind the back layer, or weave it back and forth in a discrete location.
Never tightly coil or wind excess wire, as this can create a point where heat might build up (though this is extremely unlikely with battery-operated LEDs).
Step 5: Test illumination
Turn on the lights and verify the distribution creates the effect you want. Check that:
- Light points are reasonably well-distributed
- No large dark areas exist
- The battery pack stays in position
- The on/off switch or remote control functions properly
Step 6: Place shadow box in frame
Position your assembled paper layers face-down on a clean surface. Place the frame over them, centered appropriately.
Add the backing board (with fairy lights installed), ensuring wires don't get pinched or crushed by the backing board edges.
Secure the backing with the frame's fastening system.
Managing Wire Routing and Battery Pack Access
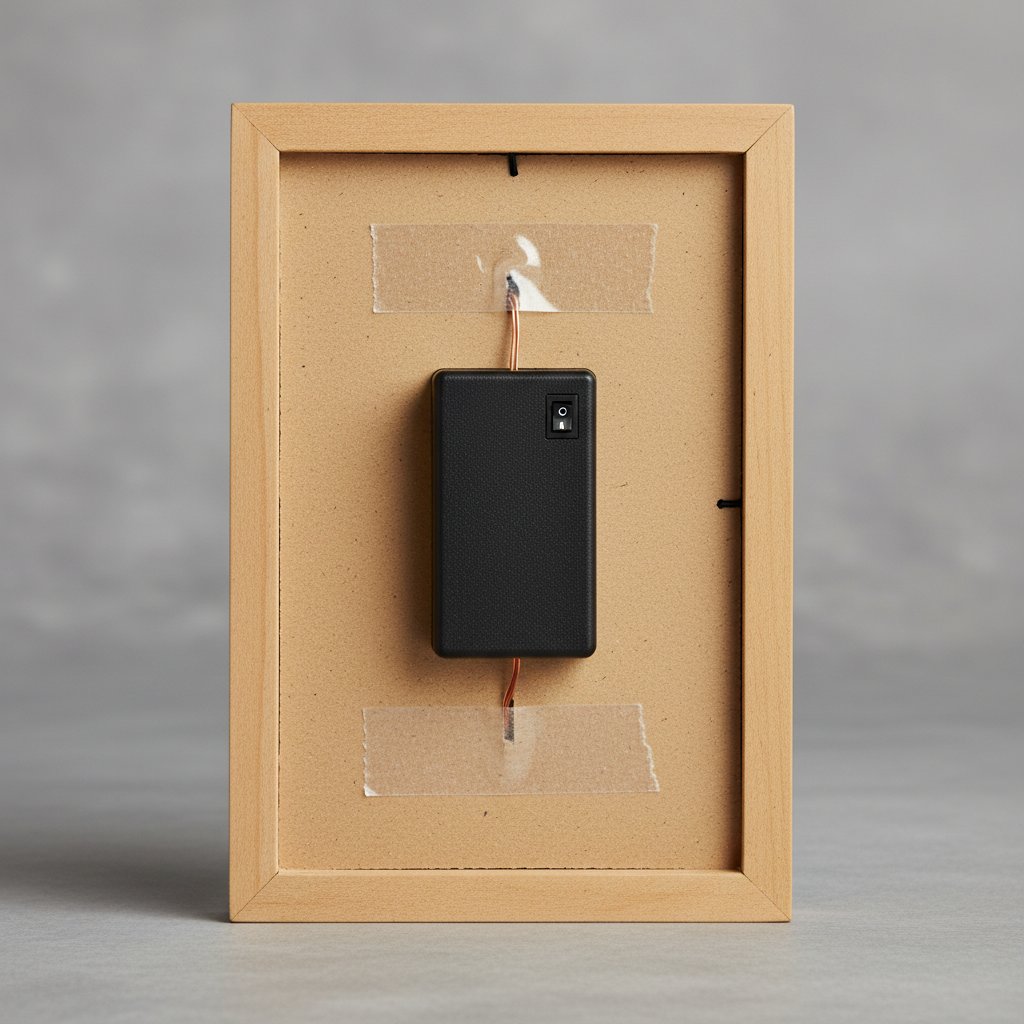
Wire routing best practices:
Avoid pinching: When securing the frame backing, be extremely careful not to pinch or crush the LED wires between the backing and the frame edge. Crushed wires can short circuit or break.
Create wire channels: If your frame backing is thick wood, you can use a small wood file or sandpaper to create shallow grooves for wires to sit in, ensuring they lie completely flat.
Test closure before final fastening: Close the frame backing gently and check that it sits flush before tightening all clips or screws. If the backing sits unevenly, wires may be bunched or pinched.
Battery pack access solutions:
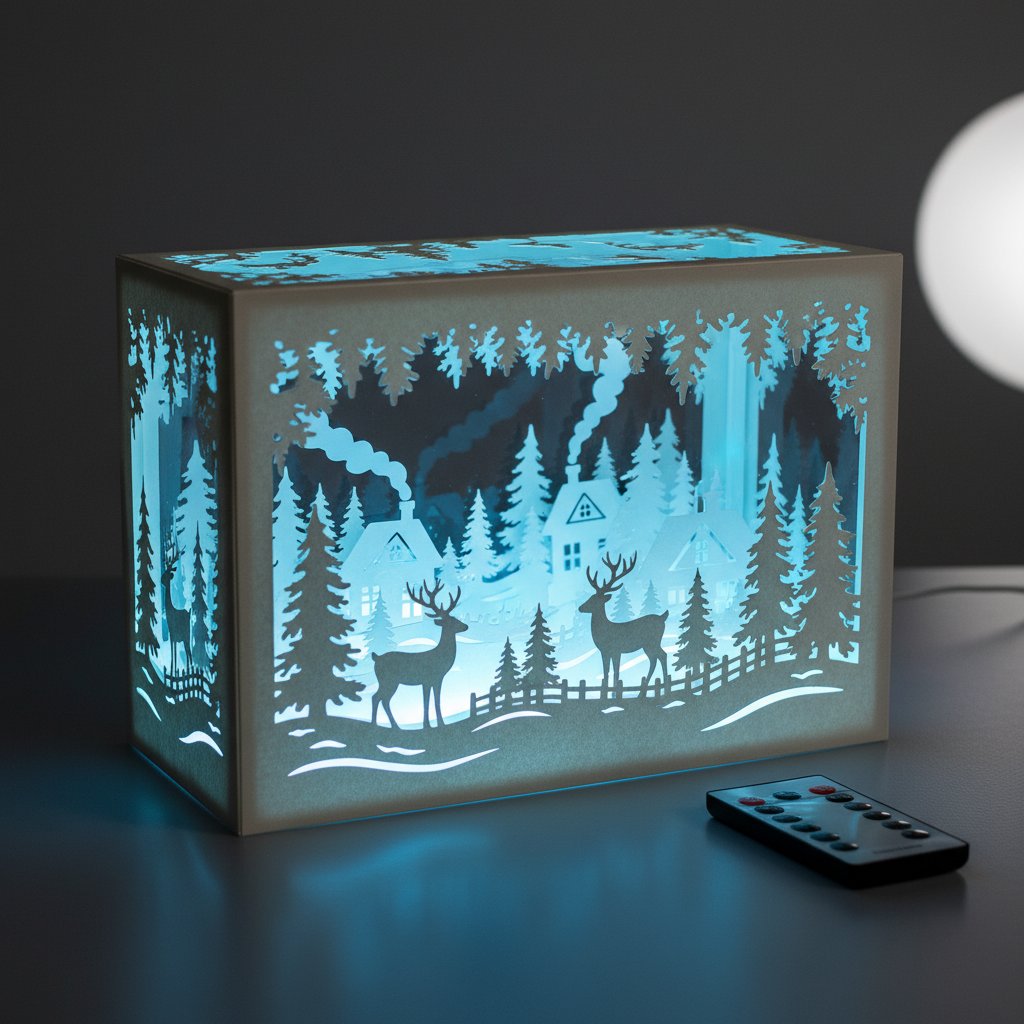
Remote control setup: If your lights include a remote control, battery pack access is less critical. You only need to open the frame when replacing batteries (typically every few months with regular use).
External battery pack: Cut a small notch in the frame backing edge (about 0.5 x 0.25 inches) where the wire exits. Position the battery pack on the frame's back, attached with mounting tape. This provides easy switch access and battery changes without dismantling the frame.
Hinged backing frames: Some box frames include hinged backing boards that swing open. These are ideal for shadow boxes, providing easy access to lights without removing the frame from the wall.
Battery replacement schedule: Mark your calendar to check batteries every 2-3 months if you use your shadow box regularly. Replace batteries when lights become noticeably dimmer, rather than waiting for complete failure.