Cutting Your Shadow Box Layers
Preparing Your Cardstock and Cutting Mat
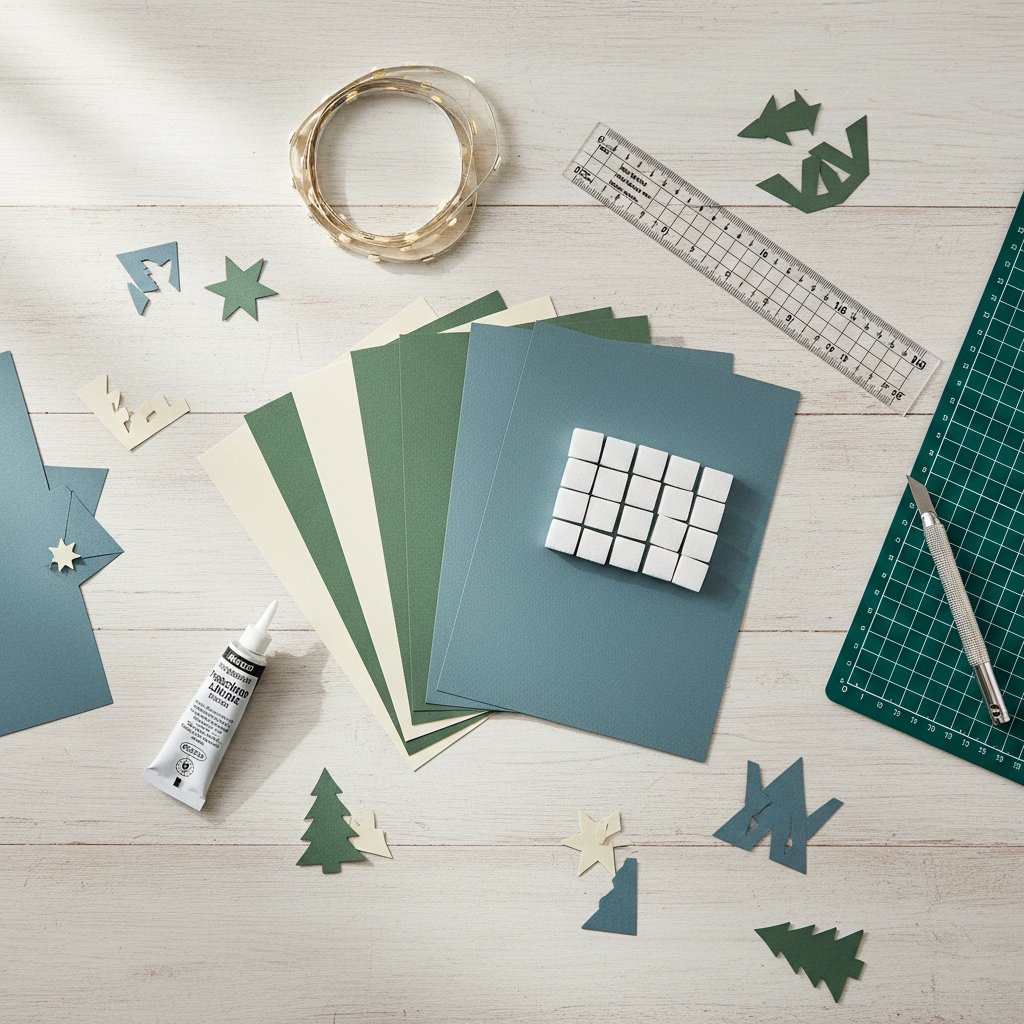
Proper preparation is crucial for successful cuts. Clean cardstock and a properly maintained cutting mat make the difference between crisp, professional cuts and ragged, incomplete results.
Clean your cutting mat: Before starting your project, inspect your mat for debris, paper fibers, and lost adhesion. If the mat feels less sticky, clean it with warm soapy water, let it air dry completely, then test with scrap cardstock. For mats that have lost significant adhesion, use a restickable spray designed for cutting mats.
Prepare your cardstock: Ensure cardstock sheets are flat and free of bends or curls. If your cardstock has been stored rolled or has slight warping, place it under heavy books overnight to flatten it. Curled paper can lift during cutting, resulting in incomplete cuts or misalignment.
Load cardstock onto the mat: Place your cardstock sheet on the cutting mat, aligning it with the grid lines. Leave at least 0.5 inches of space around the edges for proper mat grip.
Smooth it down: Use your brayer or scraper to firmly press the cardstock onto the mat, working from the center outward to eliminate any air bubbles or lifted edges. Pay special attention to corners and edges, which tend to lift during cutting if not properly adhered.
Advanced tip: Some crafters lightly spray the back of their cardstock with temporary adhesive for extra hold during cutting. This is especially helpful for very intricate designs or if you're working in a humid environment where paper tends to curl.
Optimal Machine Settings for Cardstock
Correct cutting settings ensure clean cuts without tearing, overcut drag marks, or incomplete cuts that require manual finishing.
For Cricut Machines:
Start with the "Medium Cardstock" material setting, which is designed for 65-80 lb cardstock. This setting typically uses:
- Pressure: Default (medium)
- Cut Speed: Default (medium)
- Passes: 1
If experiencing incomplete cuts: Increase pressure to "More" or add an additional pass. Never increase both at once; adjust one variable at a time to find the optimal setting.
If experiencing torn edges or overcut marks: Decrease pressure slightly or reduce cut speed.
For very intricate shadow box designs: Try the "Cardstock for Intricate Cuts" setting, which uses slightly slower speeds and optimized pressure for detailed work.
For Silhouette Machines:
Cardstock typically cuts well with these settings:
- Blade Depth: 3-4 (adjust based on your cardstock thickness)
- Force: 10-14 (start at 10 for 65 lb, 12-14 for 80 lb cardstock)
- Speed: 6-8 (slower for intricate designs)
- Passes: 1
Test cut before committing: Both Cricut and Silhouette allow test cuts. Always test on a scrap piece of your actual project cardstock before cutting all layers. A proper cut should go completely through the paper with clean edges but not score the mat.
Cutting Layer by Layer
With optimal settings determined, you're ready to cut your shadow box layers.
Cut in order: Although you can technically cut layers in any sequence, cutting them in numerical order (Layer 1, Layer 2, Layer 3, etc.) helps you stay organized and allows you to check progress as you go.
Load and cut each layer:
- Place cardstock on your mat
- Load mat into the machine
- Select the specific layer to cut in your software
- Send to the machine and cut
- Remove mat carefully and peel away the cut layer
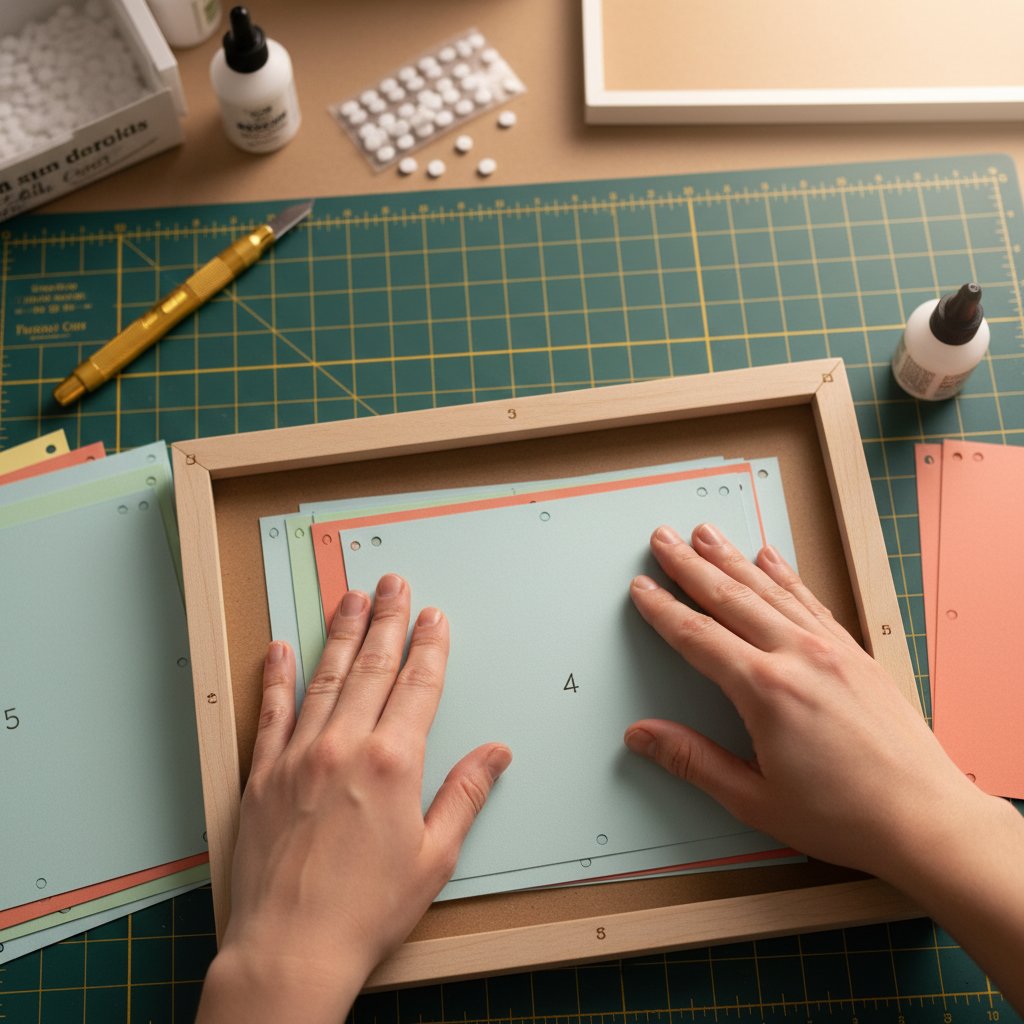
Keep layers organized: As you complete each cut, write the layer number lightly in pencil on the back of the paper (in an area that won't show). Place completed layers in order in a folder or envelope to prevent damage and confusion during assembly.
Weeding: After cutting each layer, carefully remove all the small pieces that should be cut out. Use your weeding tool to pop out tiny pieces from intricate areas. Take your time with this step; rushing causes tears and damage.
Check for missed cuts: Inspect each layer for any areas that didn't cut completely through. If you find incomplete cuts on intricate details, you can carefully finish them with a craft knife, or recut the layer if it's significantly flawed.
Color variations: If your design uses multiple colors, cut all layers of each color together when possible to minimize cardstock changes. Some designs place all front layers in one color and background layers in another, making this efficient.