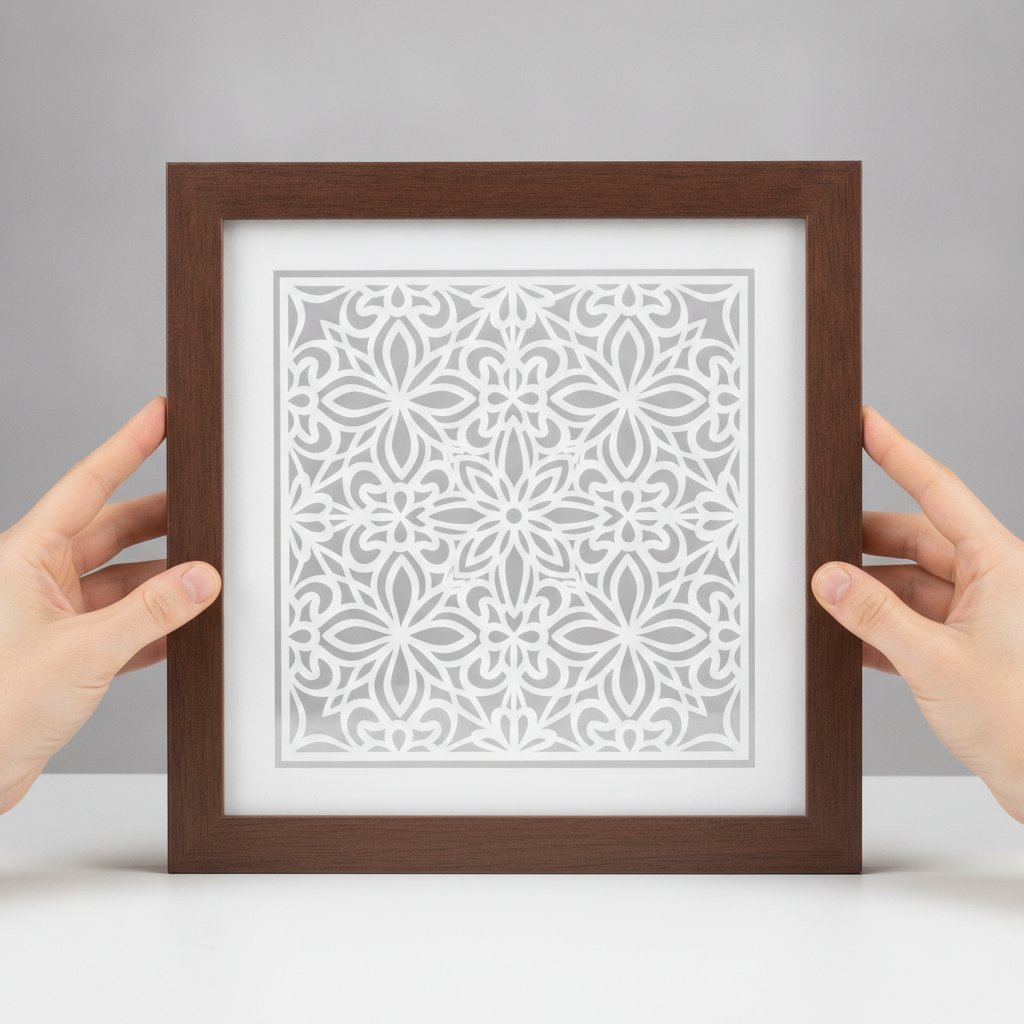
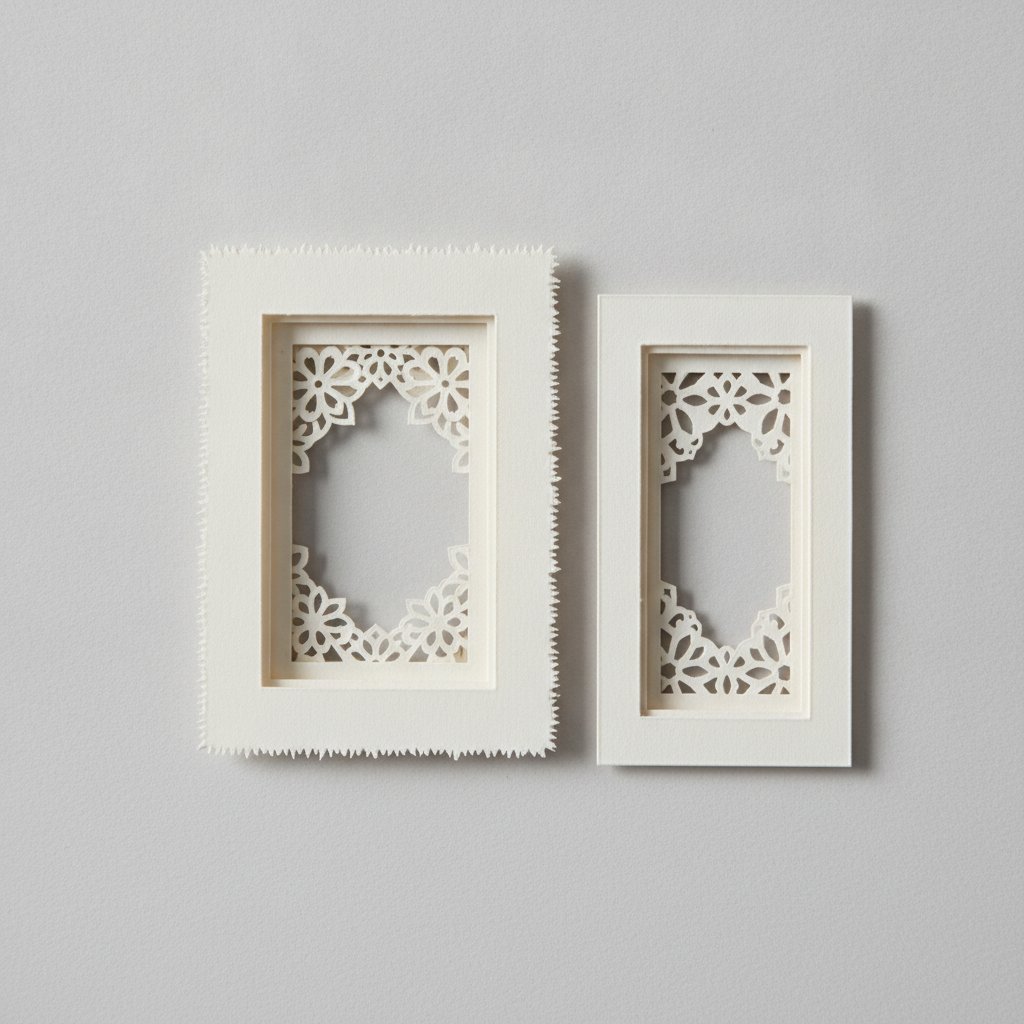
How to Resize Shadow Box SVGs in Cricut Design Space
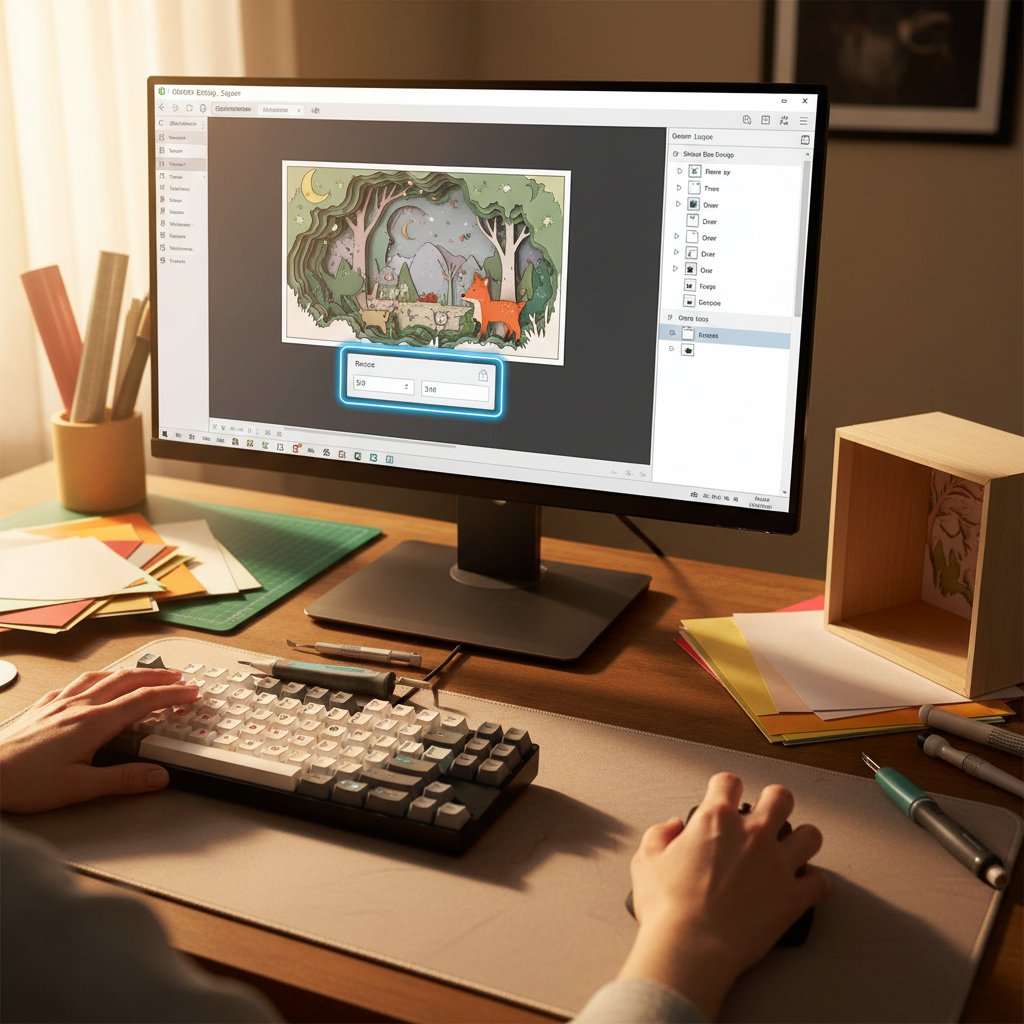
Cricut Design Space makes resizing multi-layer shadow box templates straightforward when you follow the correct process.
Step-by-Step Resizing Process
Step 1: Import Your Shadow Box SVG
Upload your shadow box SVG file to Cricut Design Space using the Upload button. Select SVG as the file type, upload the file, and insert it into your canvas.
Step 2: Group All Layers Together
This is the most critical step for maintaining alignment. Select the entire design by clicking and dragging across all elements. Once all layers are selected, click the "Group" button at the top of the Layers panel.
Why grouping matters: When layers are grouped, Cricut Design Space resizes them together as a single unit at exactly the same percentage, ensuring perfect alignment.
Step 3: Check the Lock Icon
At the top of Design Space, you'll see size fields showing width (W) and height (H). Between these fields is a lock icon. Ensure the lock is closed (locked). The locked icon forces proportional resizing—when you change width, height adjusts automatically.
Never unlock the lock icon when resizing shadow box templates. Unlocking allows disproportionate scaling which distorts your design and breaks alignment between layers.
Step 4: Enter Your Target Dimensions
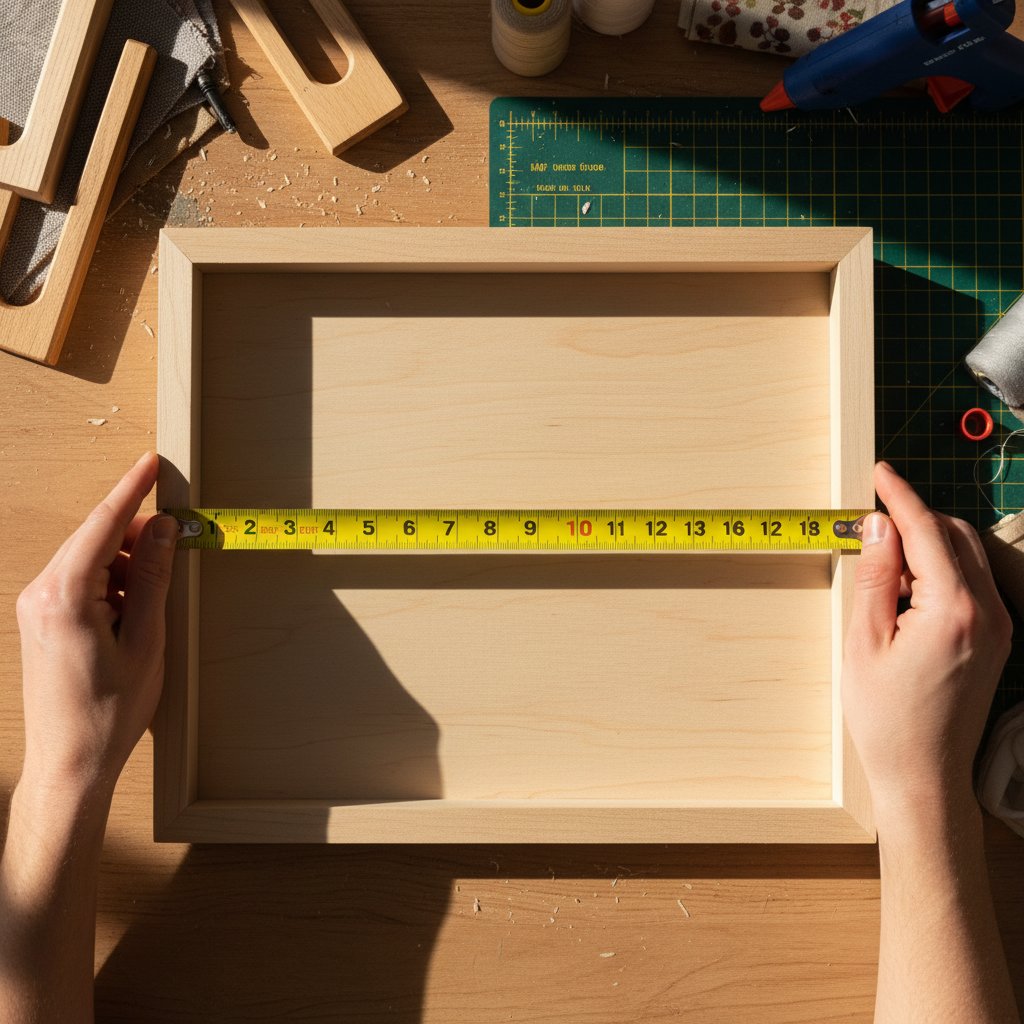
Click in the width (W) field and type your desired dimension. For example, if you have an 8x10 frame with a 7.5 x 9.5 inch interior and you want a 0.25-inch border, type "7" in the width field.
Press Enter. The height automatically adjusts proportionally. Verify that the new height also fits within your frame dimensions.
Step 5: Verify the Resized Dimensions
Check both width and height to ensure your design fits within your frame interior with appropriate border space on all sides.
Step 6: Ungroup for Cutting
Once you're satisfied with the size, ungroup the layers to prepare for cutting. Select the grouped design and click "Ungroup" in the Layers panel. Each layer separates again, allowing you to organize them for efficient cutting.
Important: Only ungroup after resizing is complete.
Test Cutting Before Committing
Before cutting all layers on premium cardstock, always test your sizing:
- Select just the bottom or back layer
- Cut this single layer on scrap cardstock or printer paper
- Place the test cut in your frame to verify sizing
- Check that borders are even on all sides
- Adjust dimensions if needed
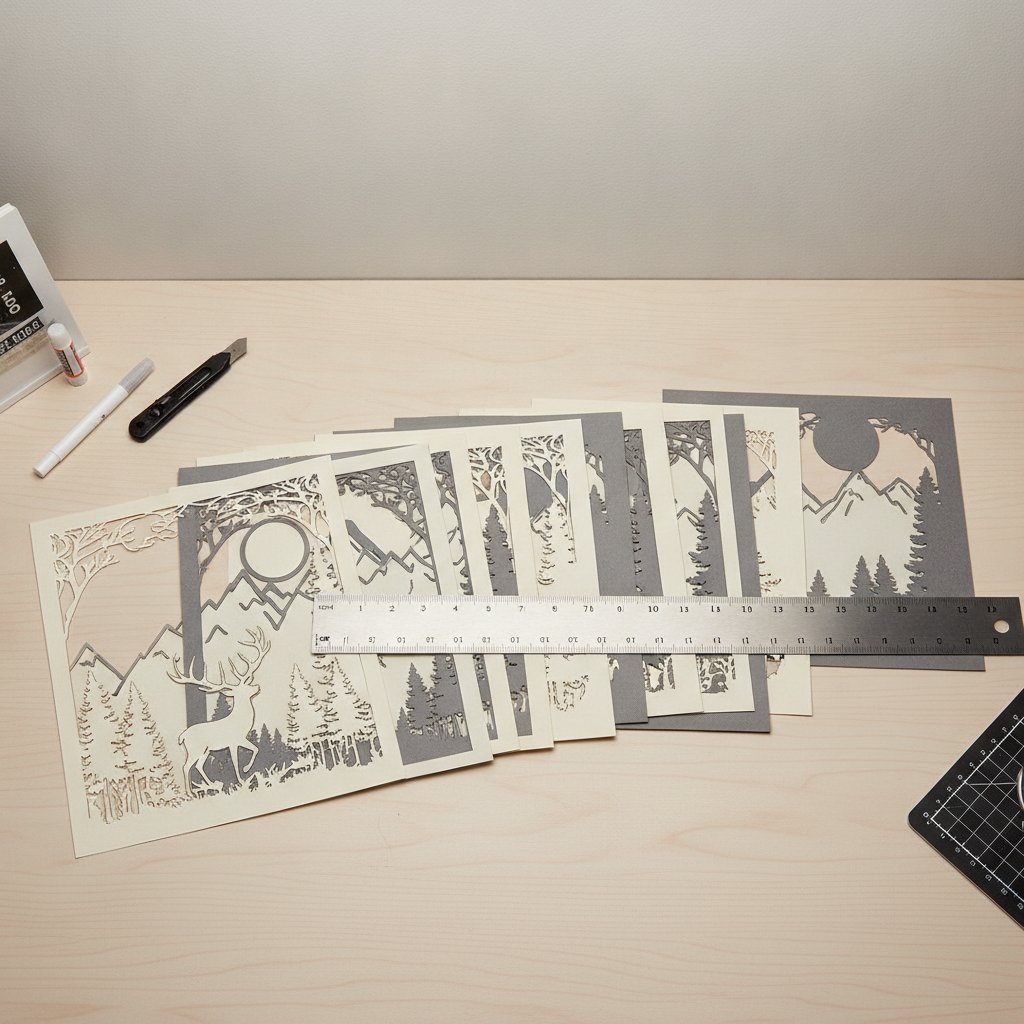
This test cut saves you from wasting 8-12 sheets of expensive cardstock on an incorrectly sized project. Once your sizing is confirmed, dial in the cut itself — our cardstock settings mastery guide walks through the exact pressure, blade, and multi-pass settings for every paper weight so your resized layers cut clean on the first try.

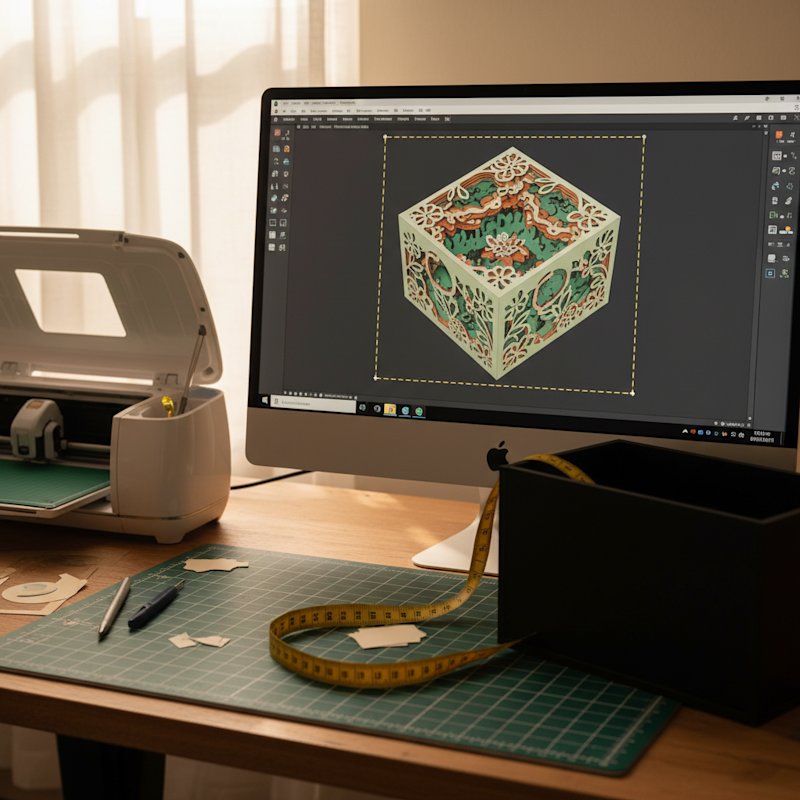
 Check out our