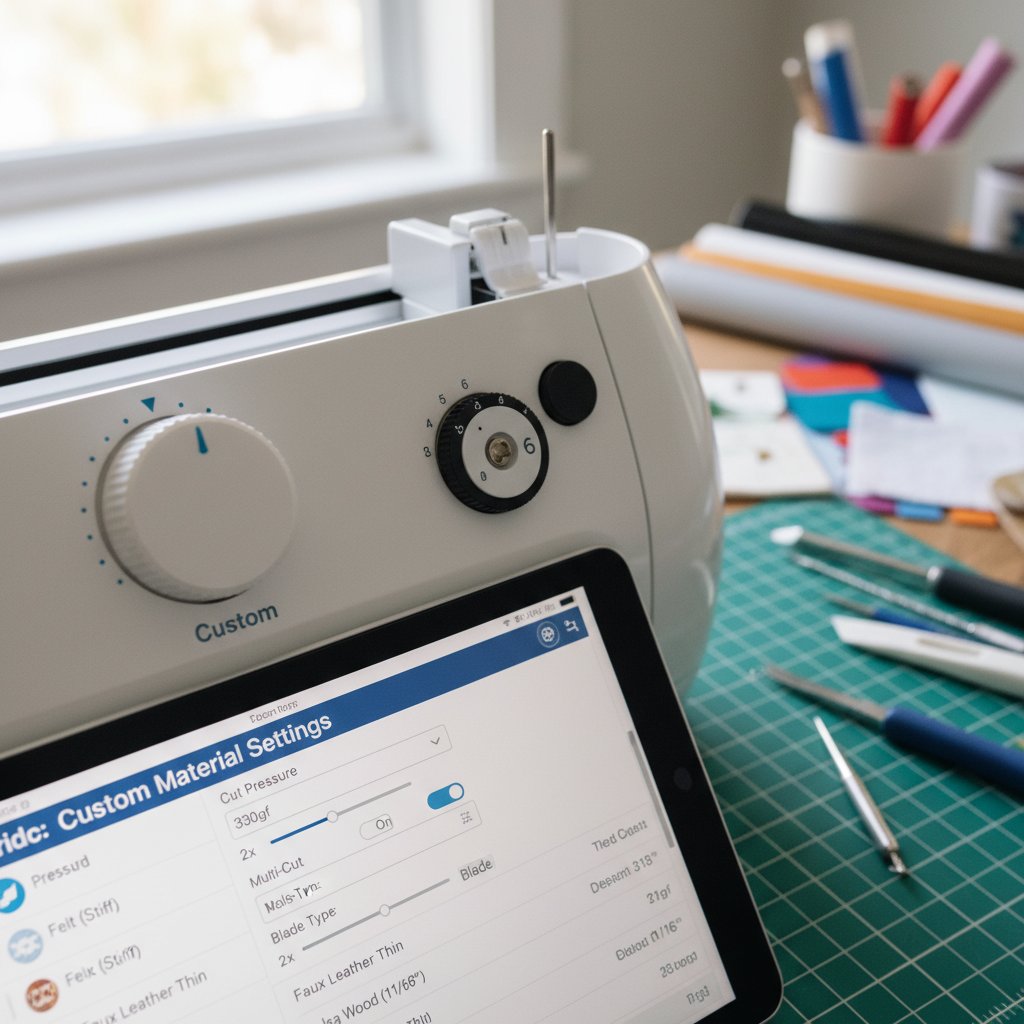
Custom Material Settings: Taking Control
While preset settings work for most situations, there are times when you need complete control over your cutting parameters.
When to Create Custom Settings
You should create custom material settings when:
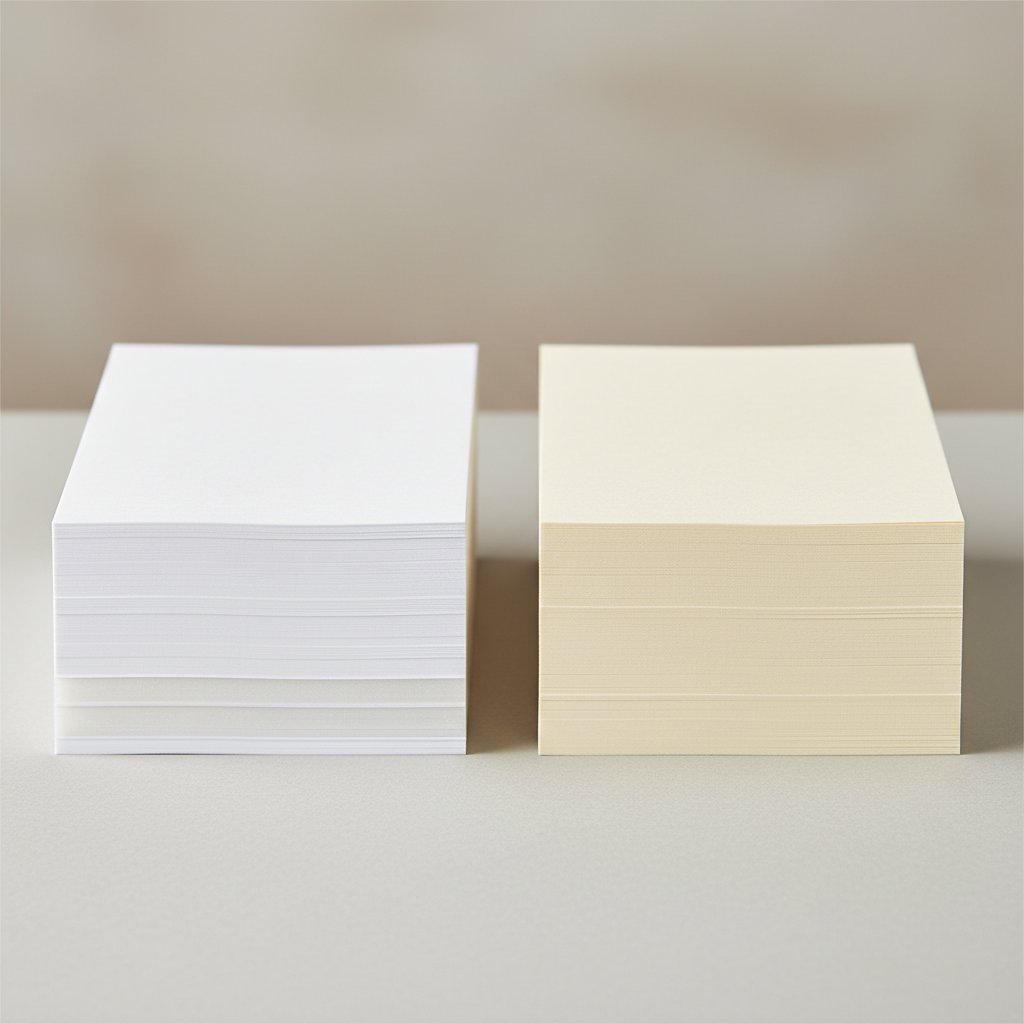
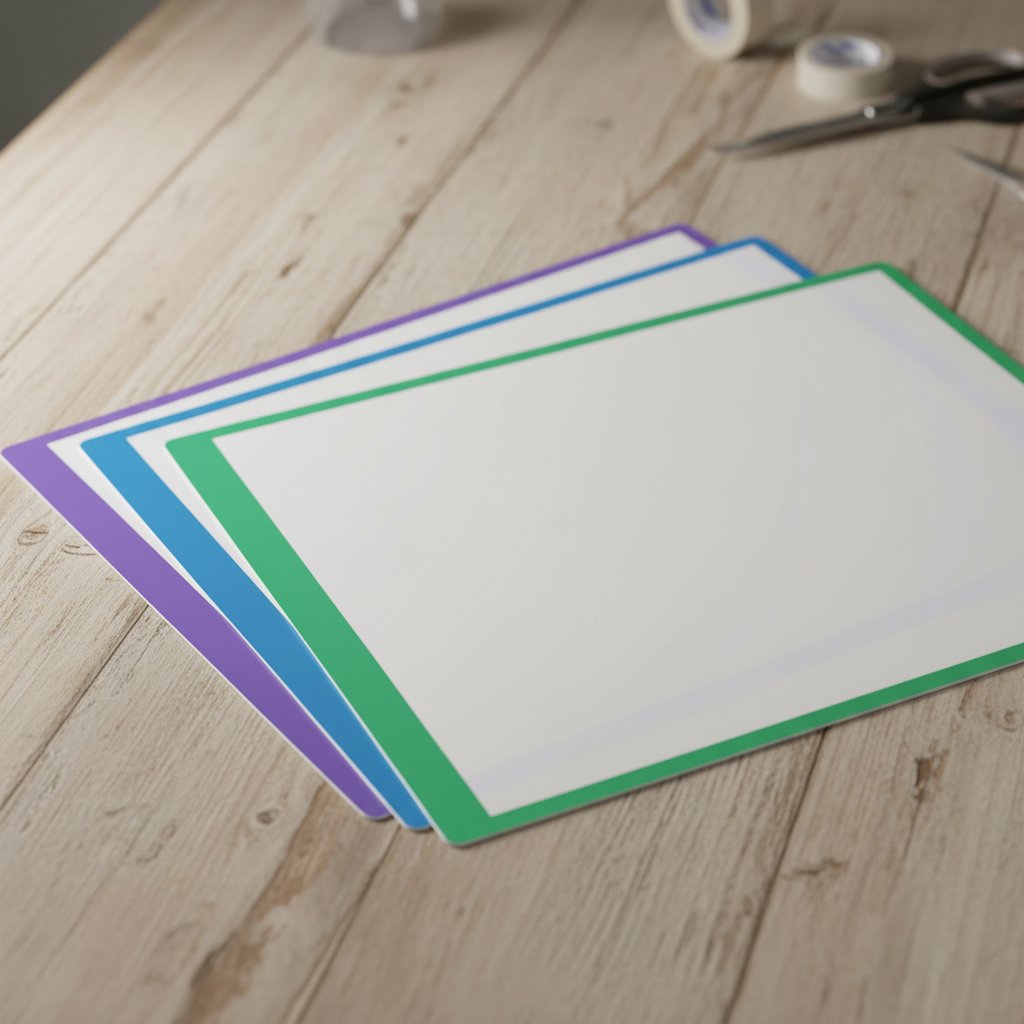
- Your cardstock brand consistently needs adjustments from presets
- You're working with specialty papers that don't have exact matches
- You've found the perfect combination through testing and want to save it
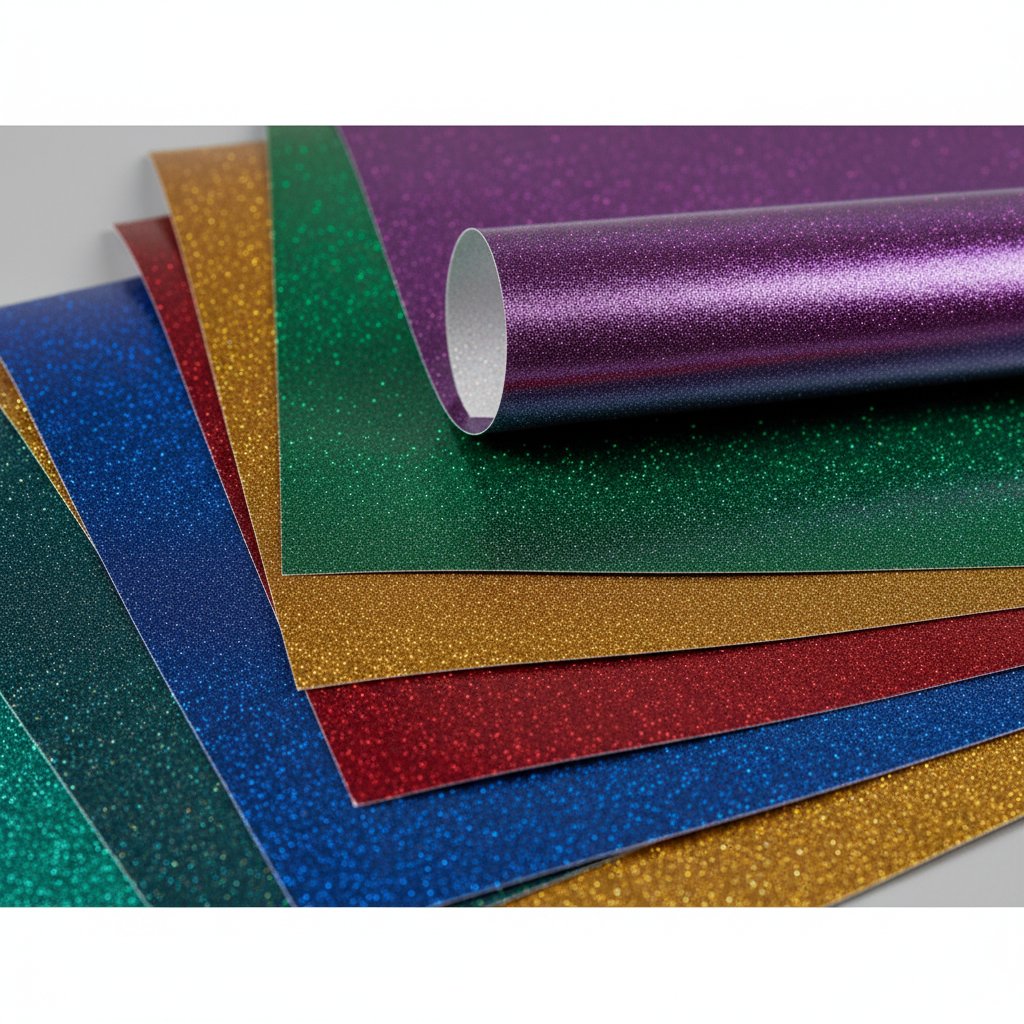
- You're cutting unusual materials like chipboard or handmade paper
How to Create Custom Material Settings Step-by-Step
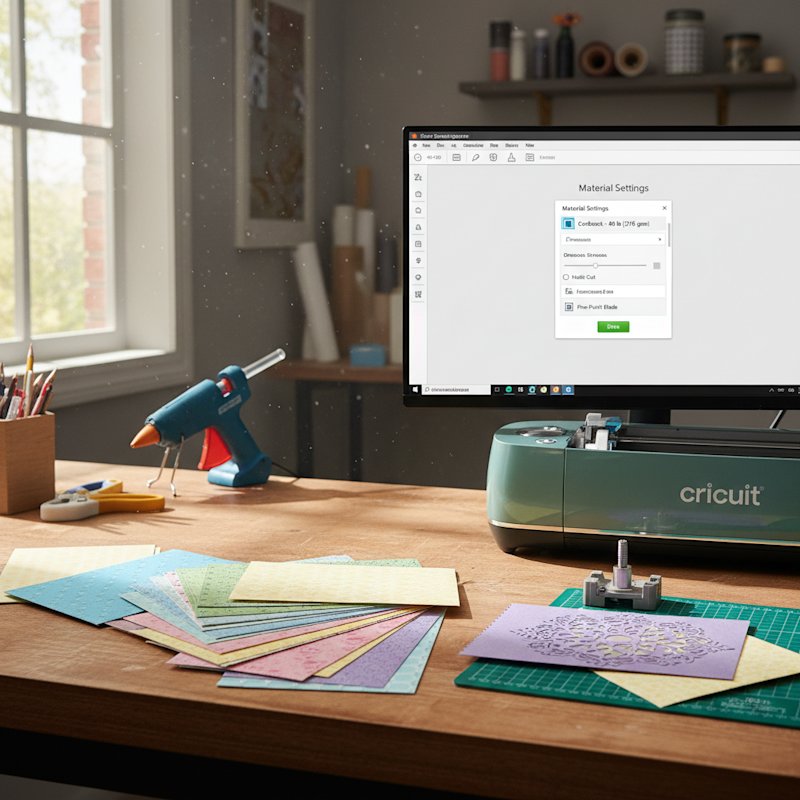
Step 1: In Design Space, reach the "Make It" screen and select your material.
Step 2: After selecting the closest preset material, look for the "Pressure" dropdown menu below the material name.
Step 3: Click the dropdown and select "More" or "Less" to adjust from the preset. Each step represents approximately 50 units of pressure.
Step 4: Perform a test cut with your adjusted setting.
Step 5: If the test cut is perfect, note the setting you used. For frequently used adjustments, you can create a truly custom material:
- Select "Browse All Materials"
- Scroll to the bottom and select "Create New Material"
- Set your base parameters (pressure, multi-cut, blade type)
- Name your custom material (e.g., "Brand X 110lb Glitter")
- Save it for future use
Step 6: Your custom material will now appear in your materials list for quick access.
Fine-Tuning Pressure (More/Less)
The "More" and "Less" pressure options are your most powerful troubleshooting tools. Here's when to use each:
Use "More" pressure when:
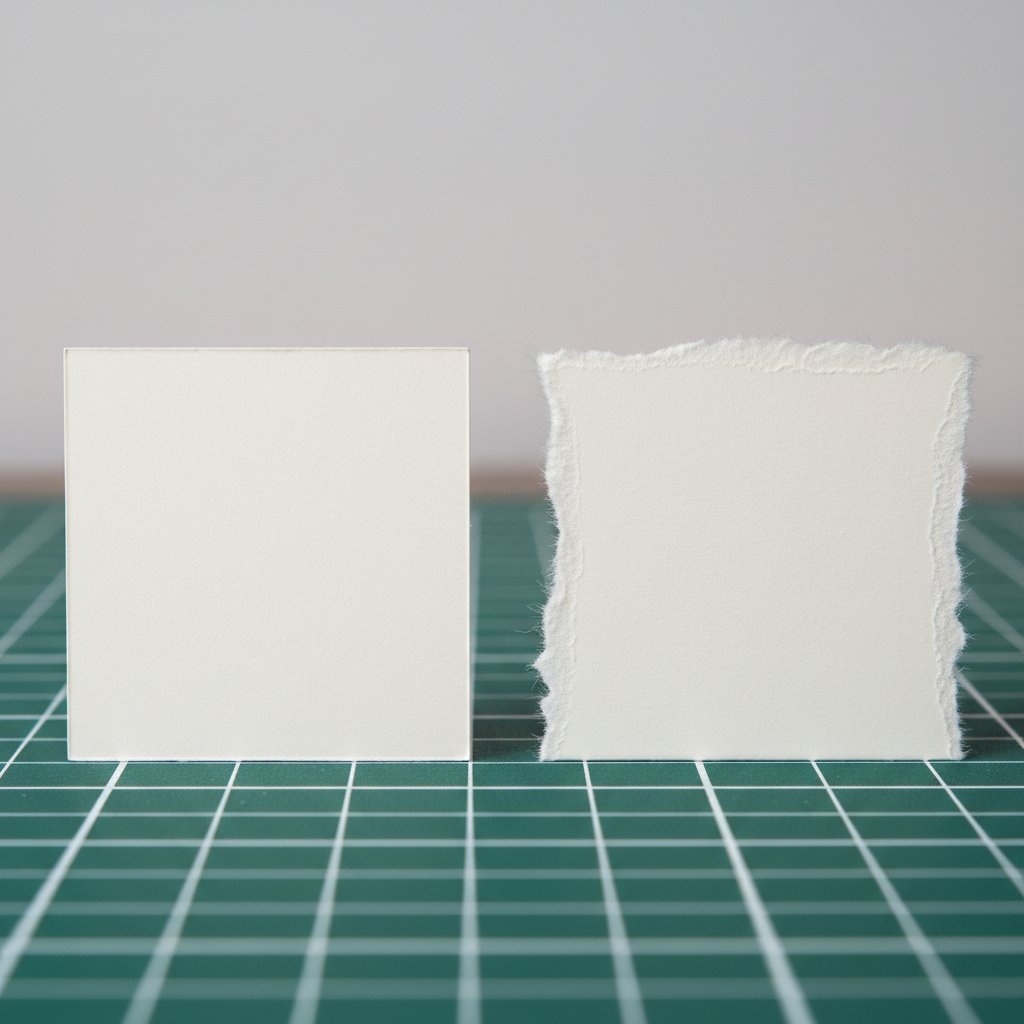
- Cuts aren't going all the way through
- You see paper fibers still connecting cut pieces
- The backing material shows only a faint scoring line
- You're cutting particularly dense or thick cardstock
Use "Less" pressure when:
- Paper is tearing or shredding
- Cuts are going through the mat backing
- Intricate details are being cut too aggressively
- You're working with delicate or brittle materials
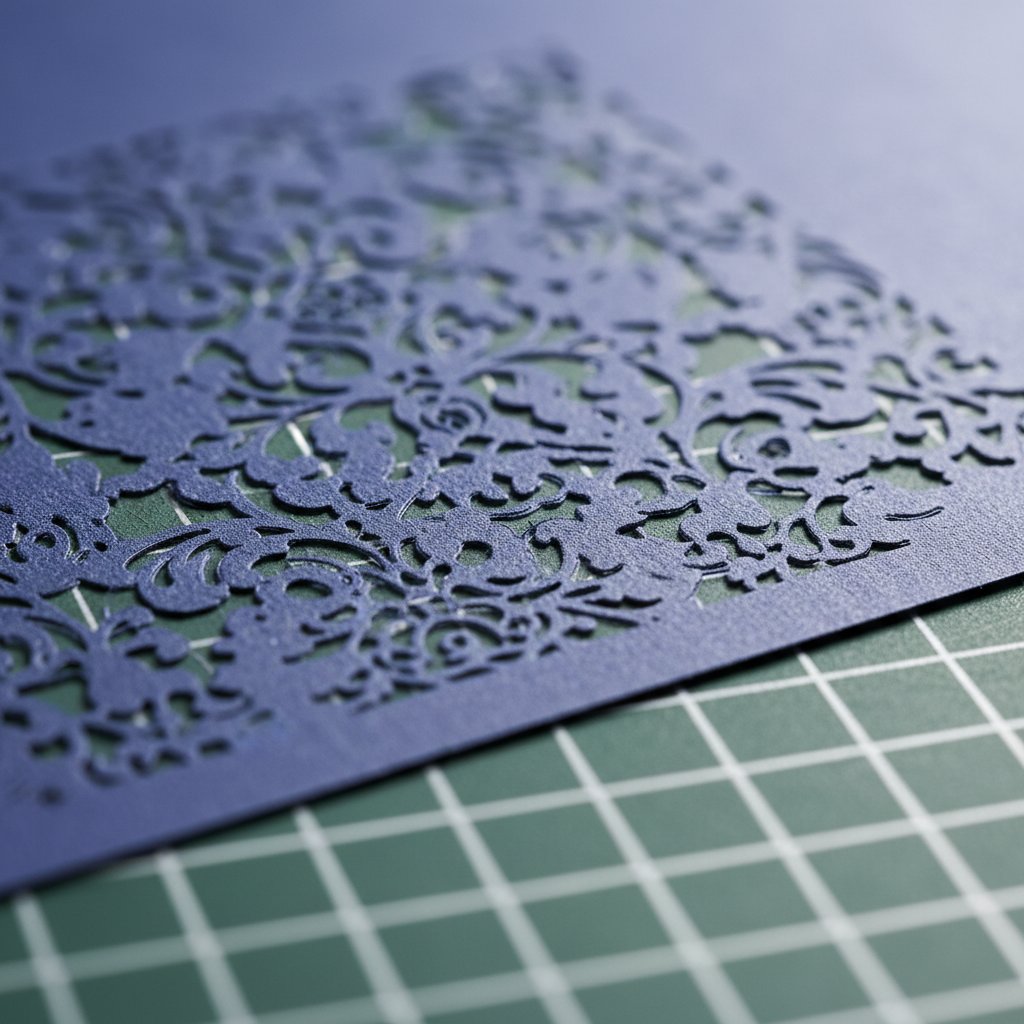
The sweet spot: Your ideal pressure cuts completely through the cardstock without scoring into your mat. You should see a very light impression on the mat backing, but it shouldn't cut into the mat itself.
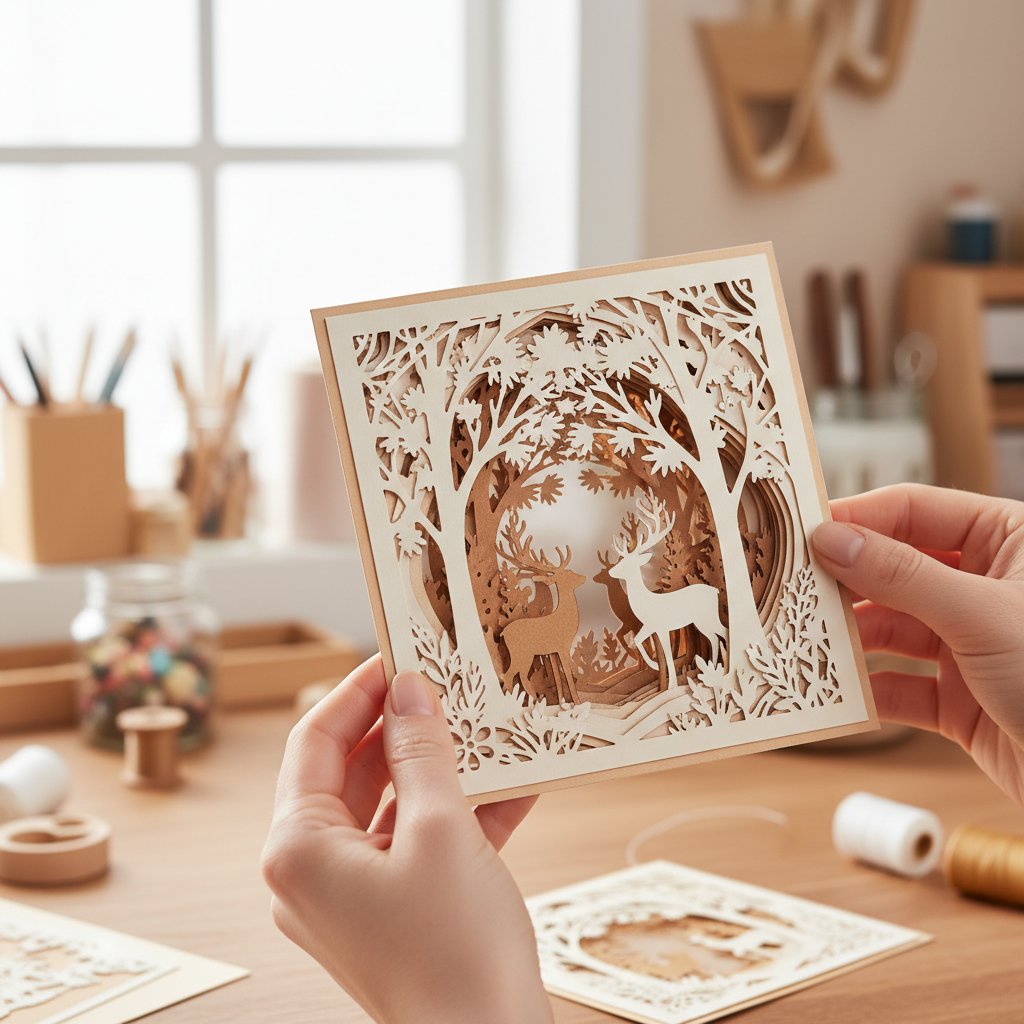
Multi-Cut Settings for Thick Papers
Multi-cut makes your Cricut pass over the same cutting path 2-3 times, which is essential for very thick cardstock that can't be cut in a single pass.
When to enable multi-cut:
- Any cardstock 100 lb / 270 gsm or heavier
- Chipboard and thick specialty papers
- When a single pass leaves paper fibers connecting
- When cutting intricate designs in thick materials
Multi-cut options:
- 2x - Two complete passes (most common for heavy cardstock)
- 3x - Three passes (for extremely thick materials like heavy chipboard)
Important note: Multi-cut doubles or triples your cutting time, so only use it when necessary. Always try a single pass with increased pressure first.