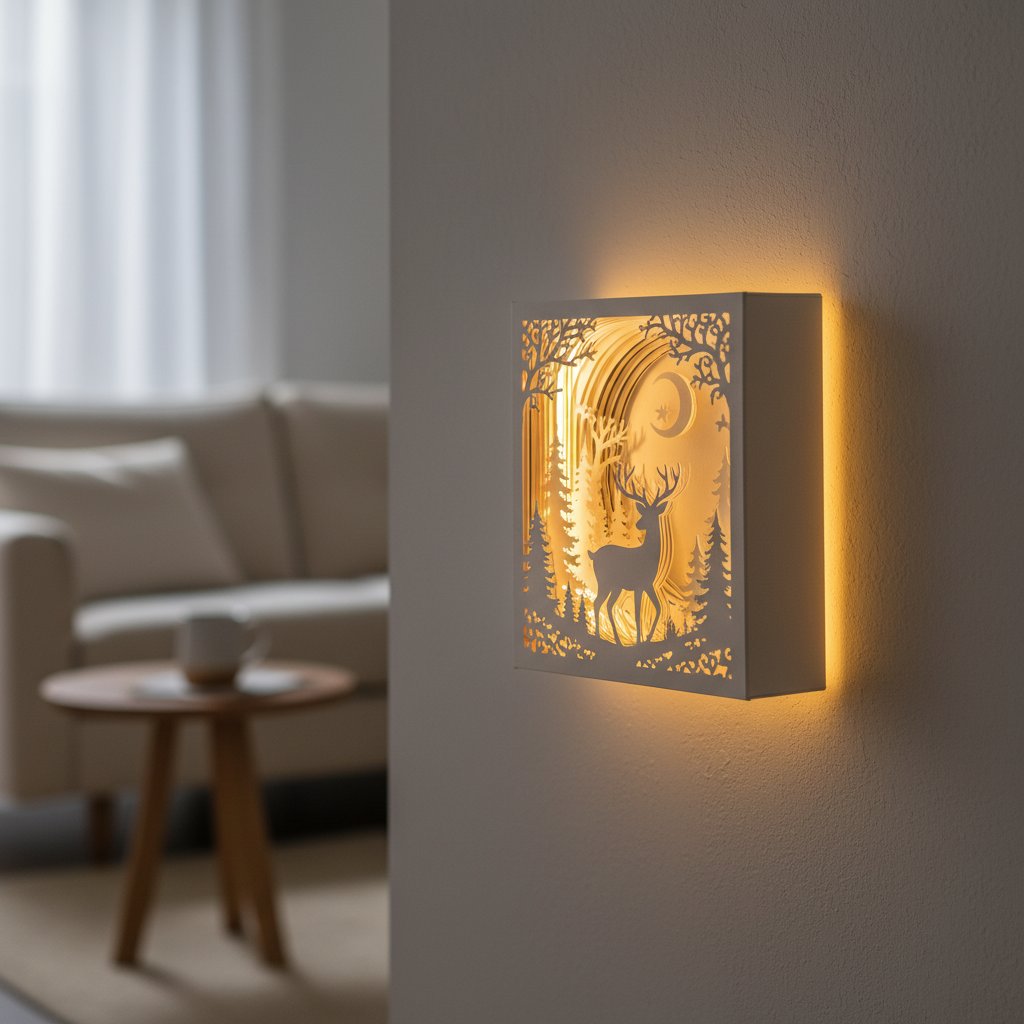
Step-by-Step Cutting Process
With preparation complete and settings optimized, you're ready to cut your shadow box layers.
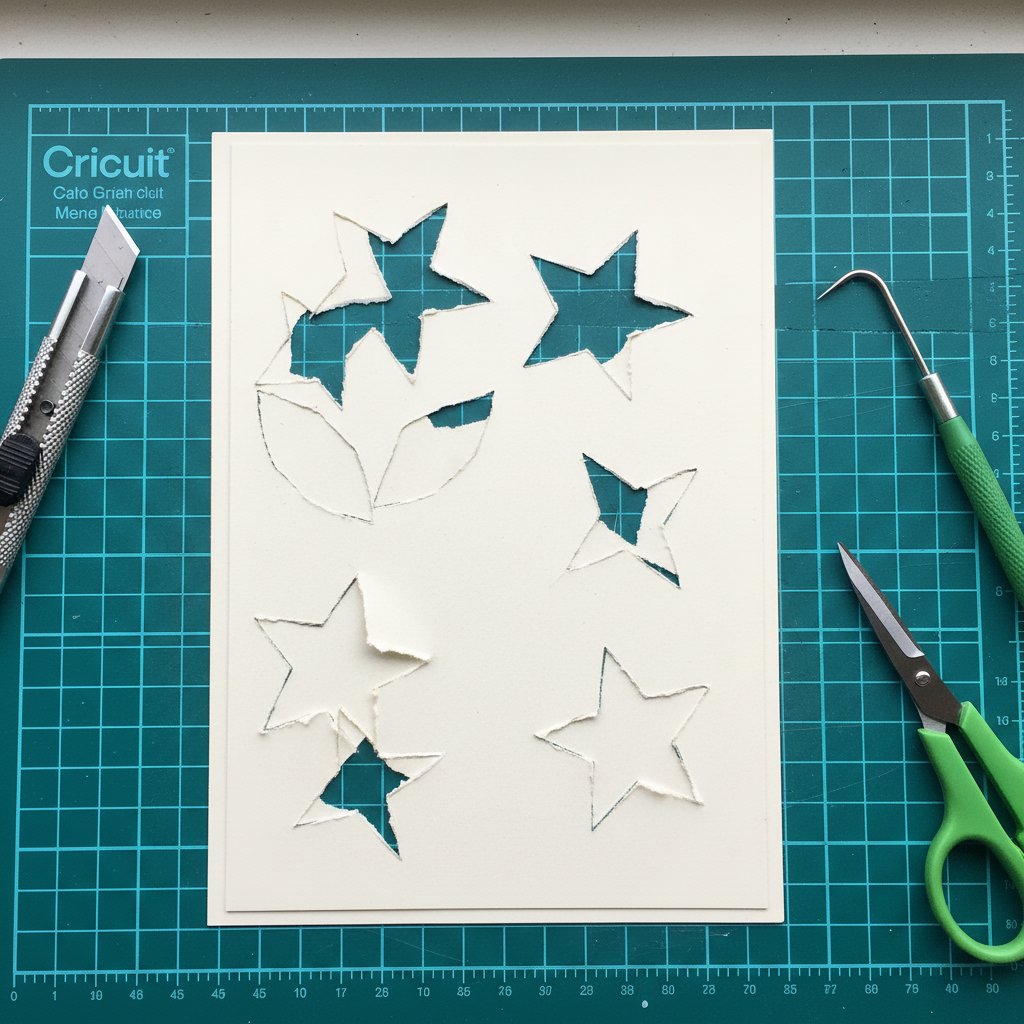
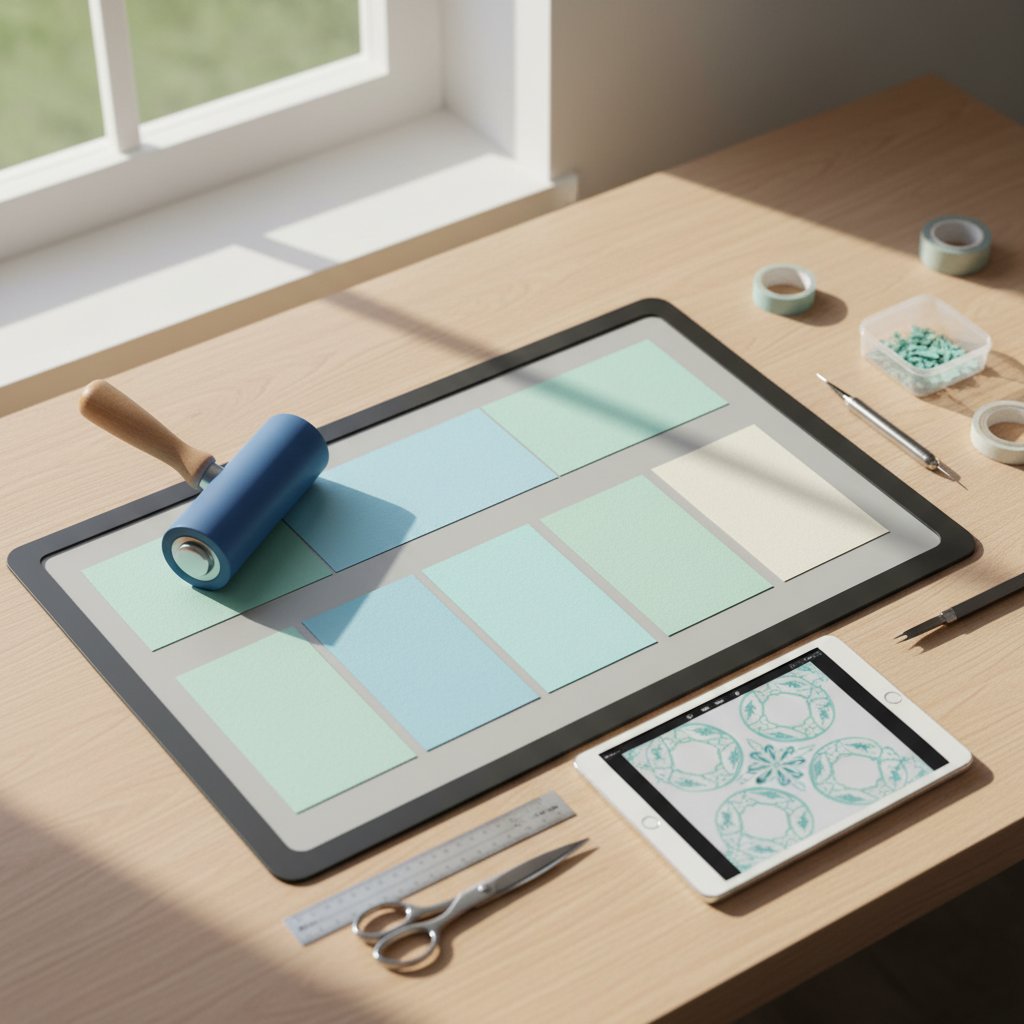
Loading Cardstock Onto Your Mat
Step 1: Position cardstock: Place your cardstock sheet on the cutting mat, aligning the paper edges with the mat's grid lines. Leave at least 0.5 inches of empty mat around all edges.
Step 2: Secure cardstock: Use your brayer or scraper to firmly adhere the cardstock to the mat. Start in the center and work outward toward the edges. Pay special attention to all four corners and paper edges, which lift easily.
Step 3: Load mat: Load the mat into your Cricut machine using the load/unload button. Ensure the mat loads straight and smoothly.
Cutting Your First Layer
Step 1: Select the layer: In Design Space, select only the specific layer you want to cut first (typically Layer 1).
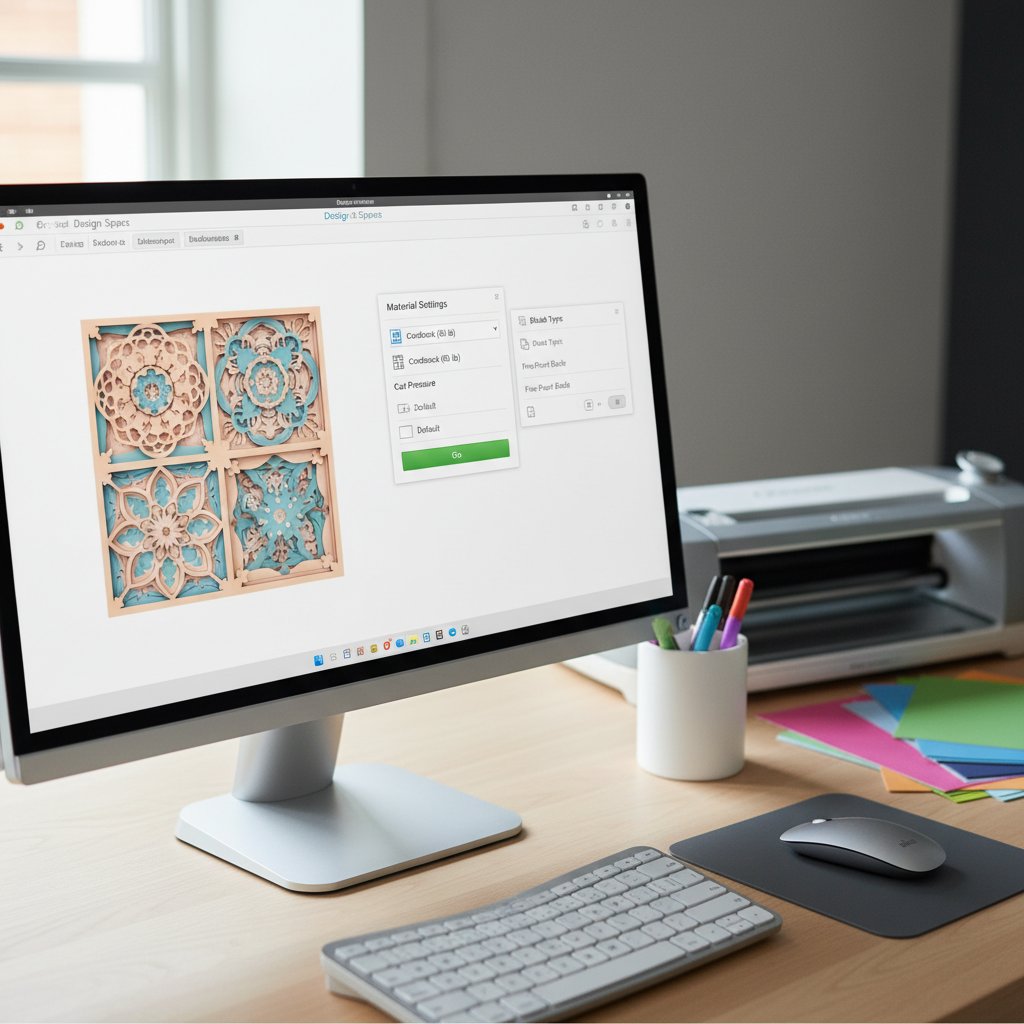
Step 2: Verify settings: Click "Make It" to go to the cutting screen. Verify your material selection matches what worked in your test cut.
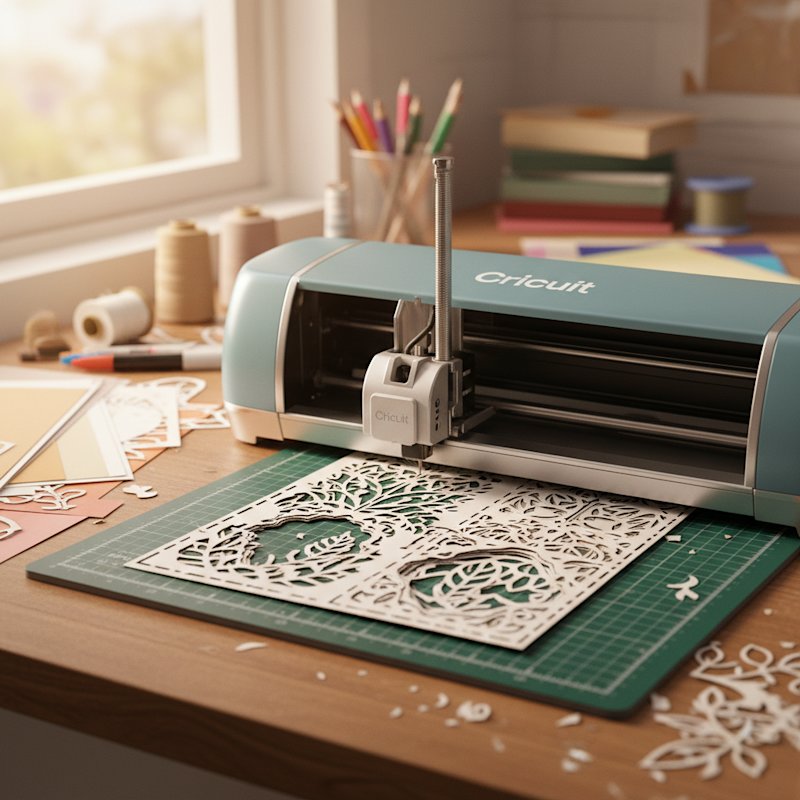
Step 3: Start the cut: Press the Cricut's flashing button to begin cutting. Listen for smooth, consistent cutting sounds. If you notice any problems (strange noises, visible incomplete cuts), pause and investigate.
Step 4: Inspect the cut: Once cutting completes, press load/unload to eject the mat. Before removing cardstock, inspect the cut to verify all lines went through completely.
Removing Cut Cardstock from the Mat
Proper removal technique prevents tearing or damaging your perfectly cut layer.
Flip the mat over: Turn the entire mat over so the cardstock is face-down against your work surface. This allows you to peel the mat away from the paper rather than peeling paper off the mat.
Peel from one corner: Starting at one corner, slowly and gently peel the mat back at a low angle (almost parallel to your work surface). Don't pull straight up, which can tear the paper.
Use your spatula for stubborn areas: If certain areas aren't releasing cleanly, slide your spatula carefully between the cardstock and mat to help separate them.
Weeding: Removing the Cut Pieces
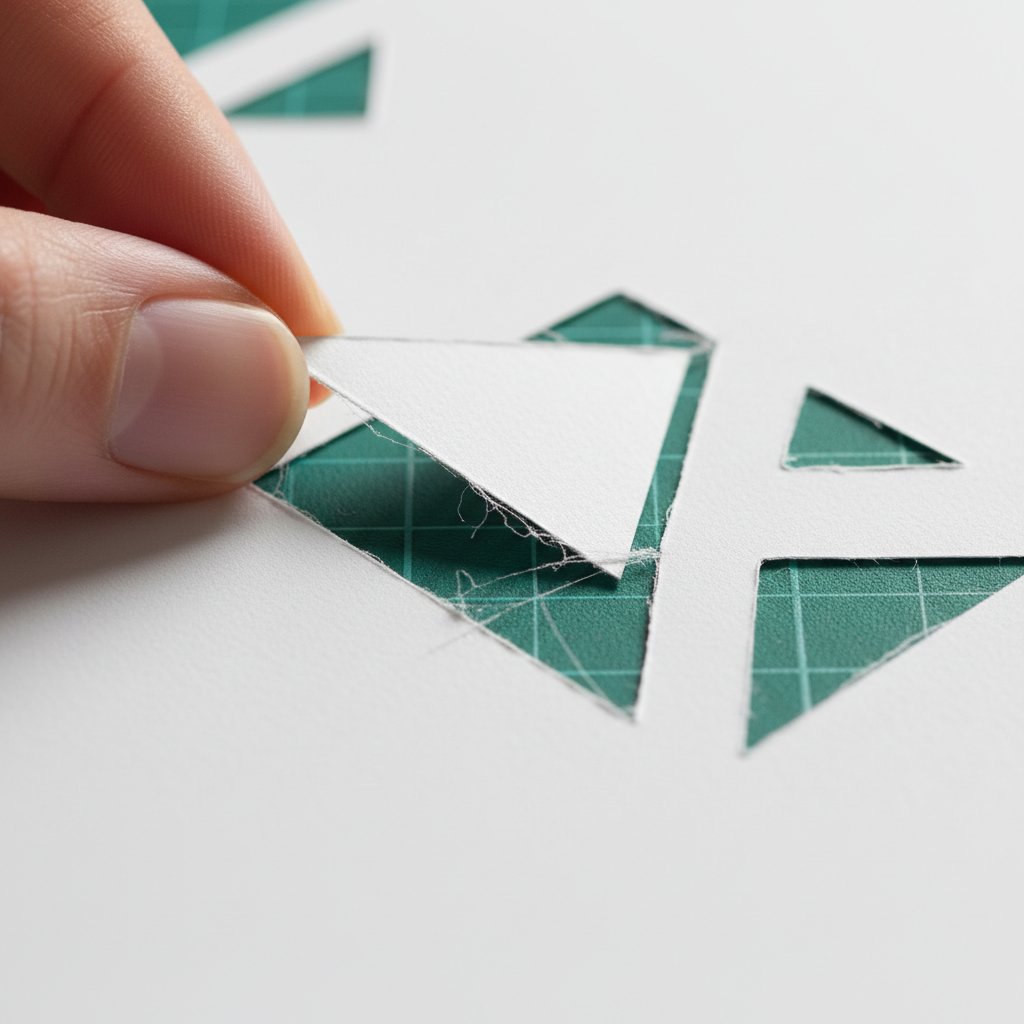
Weeding shadow box layers requires patience and technique.
Work in good lighting: Position your work under a bright lamp or near a window. Poor lighting leads to mistakes and eyestrain.
Use your weeding tool correctly: Position the tool at the edge of a cut piece and apply gentle pressure to lift it.
Weed from largest to smallest pieces: Start by removing larger, easier pieces first. This gives you space to work before tackling the tiniest details.
Support surrounding paper: When removing very small pieces surrounded by delicate cut areas, use your finger to support the surrounding paper. This prevents accidental tearing.
Check the back: After weeding, hold the layer up to light and look from the back. Sometimes small pieces remain stuck in intricate areas. Remove these now to prevent them from falling out during assembly.



 Check out our