Step-by-Step Assembly Process

With materials selected and layers prepared, you're ready to assemble your shadow box. Follow these steps carefully for professional results.
Step 1: Create Your Assembly Workspace
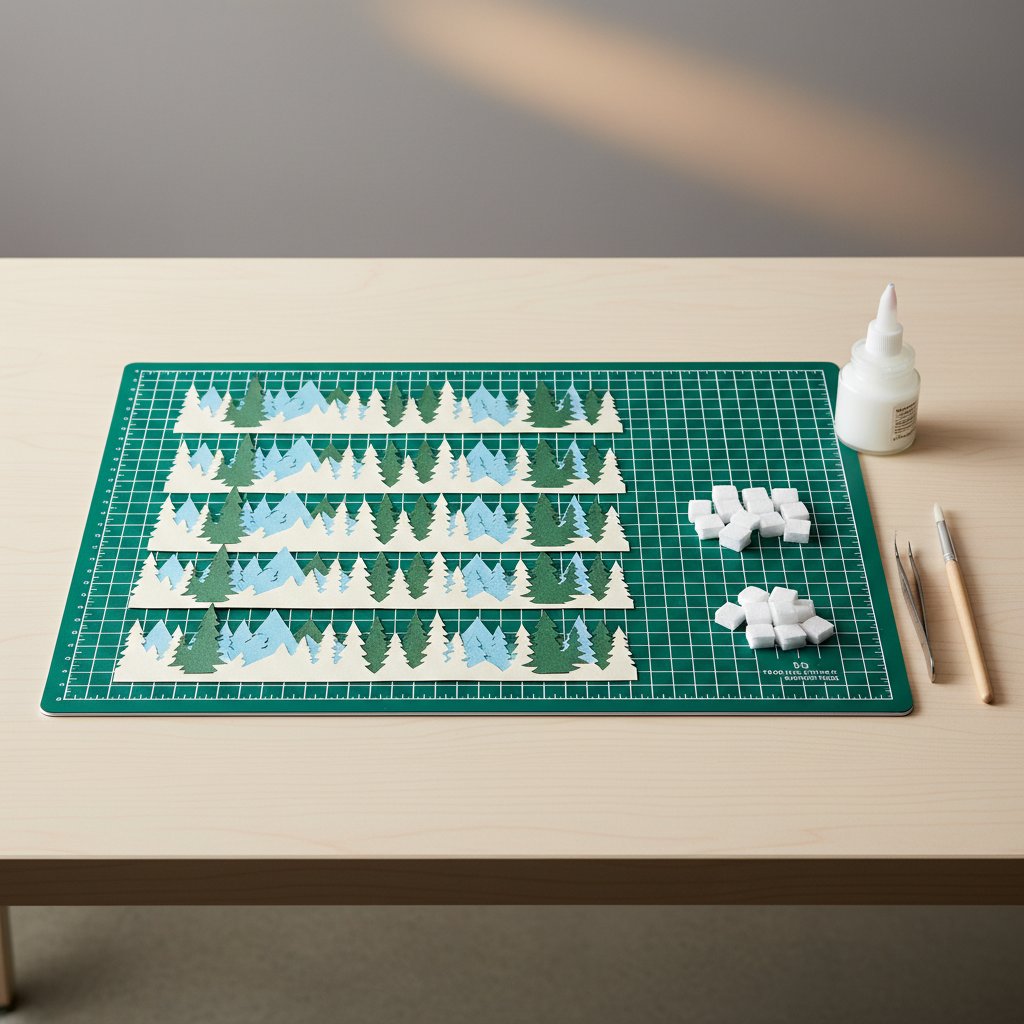
Set up a clean, flat workspace with:
- Adequate lighting (natural light or bright task lamp)
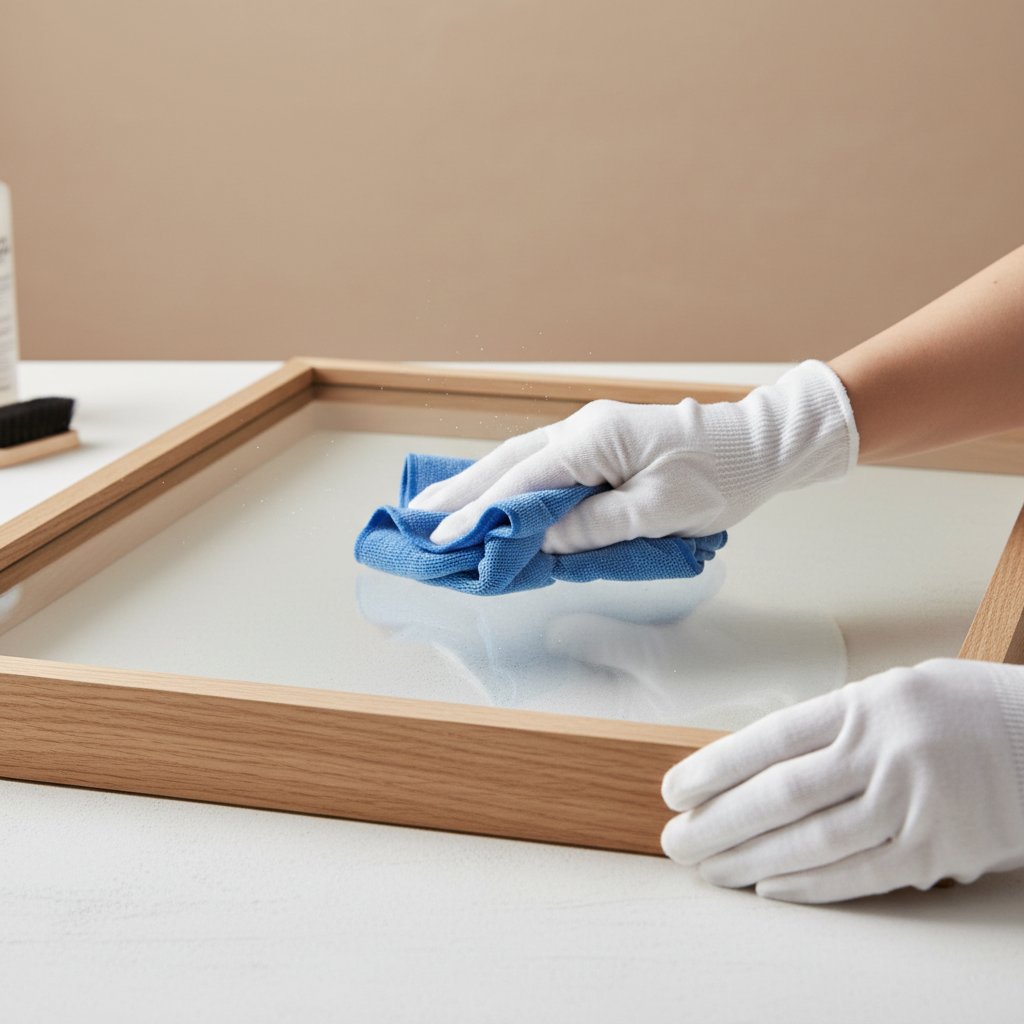
- Clean hands (oils and moisture transfer to paper, especially visible on white cardstock)
- All tools within reach (scissors, tweezers, ruler, pencil)
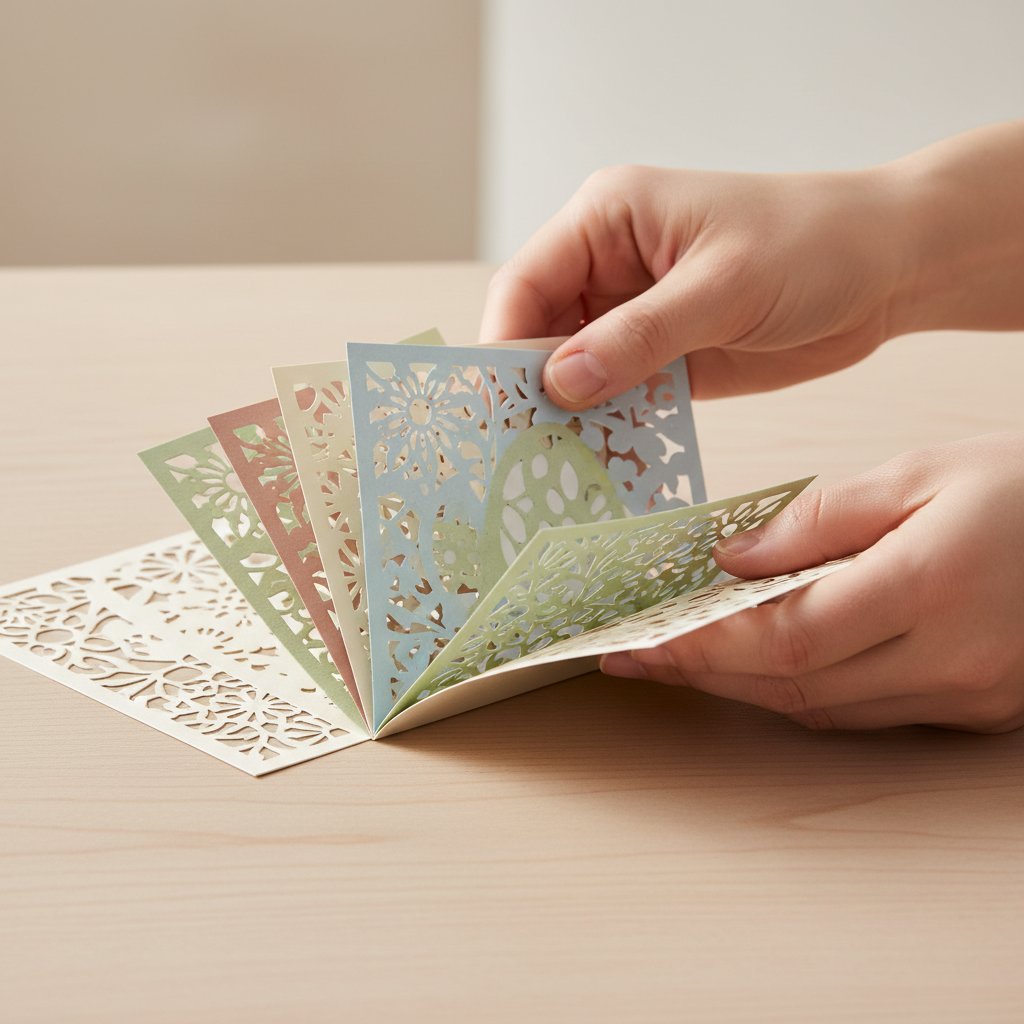
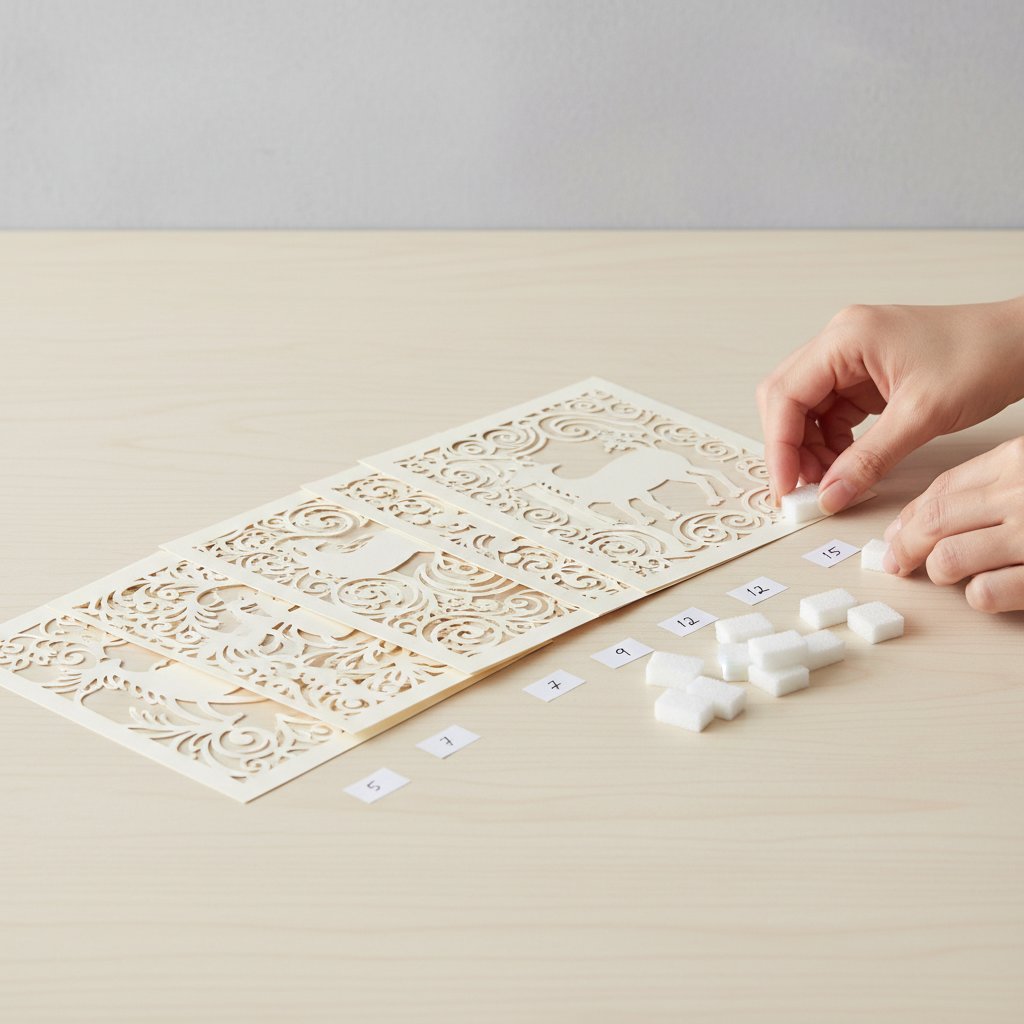
- Layers organized in order with numbers visible
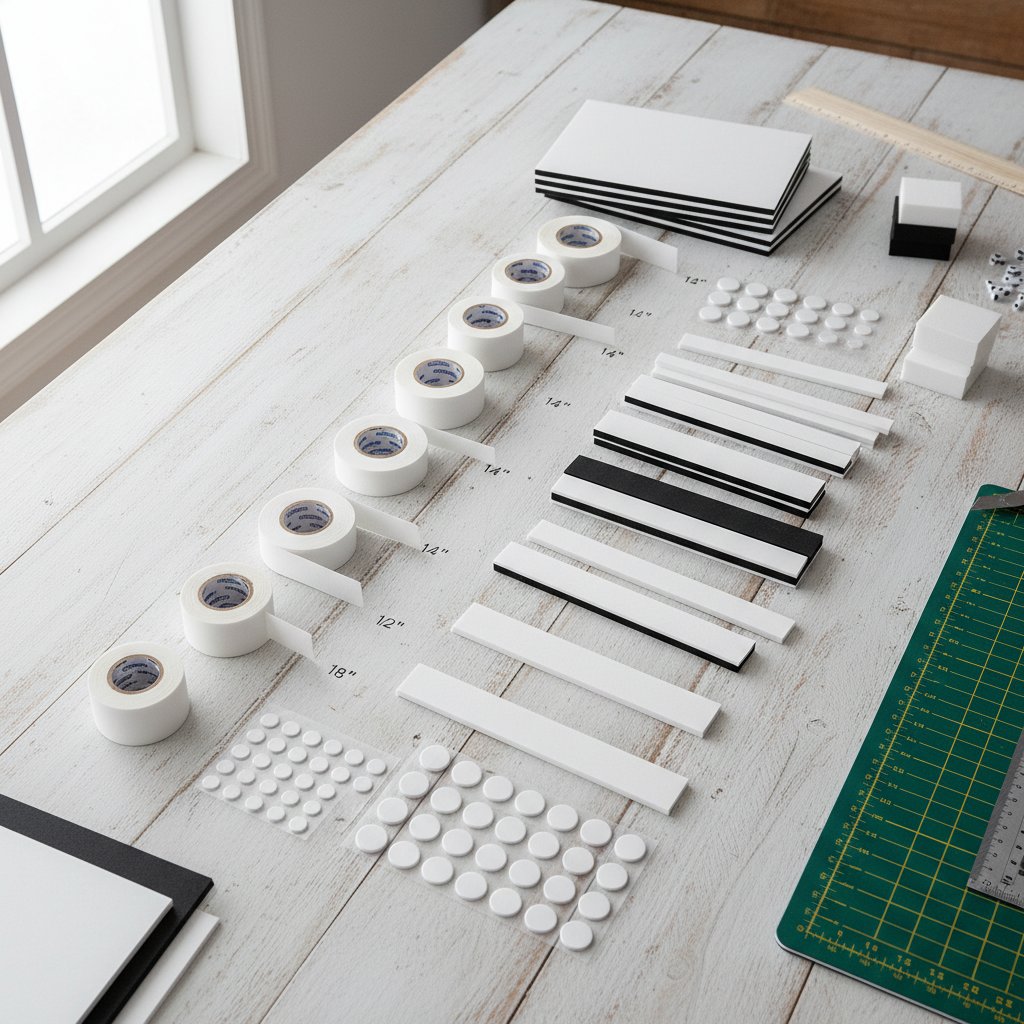
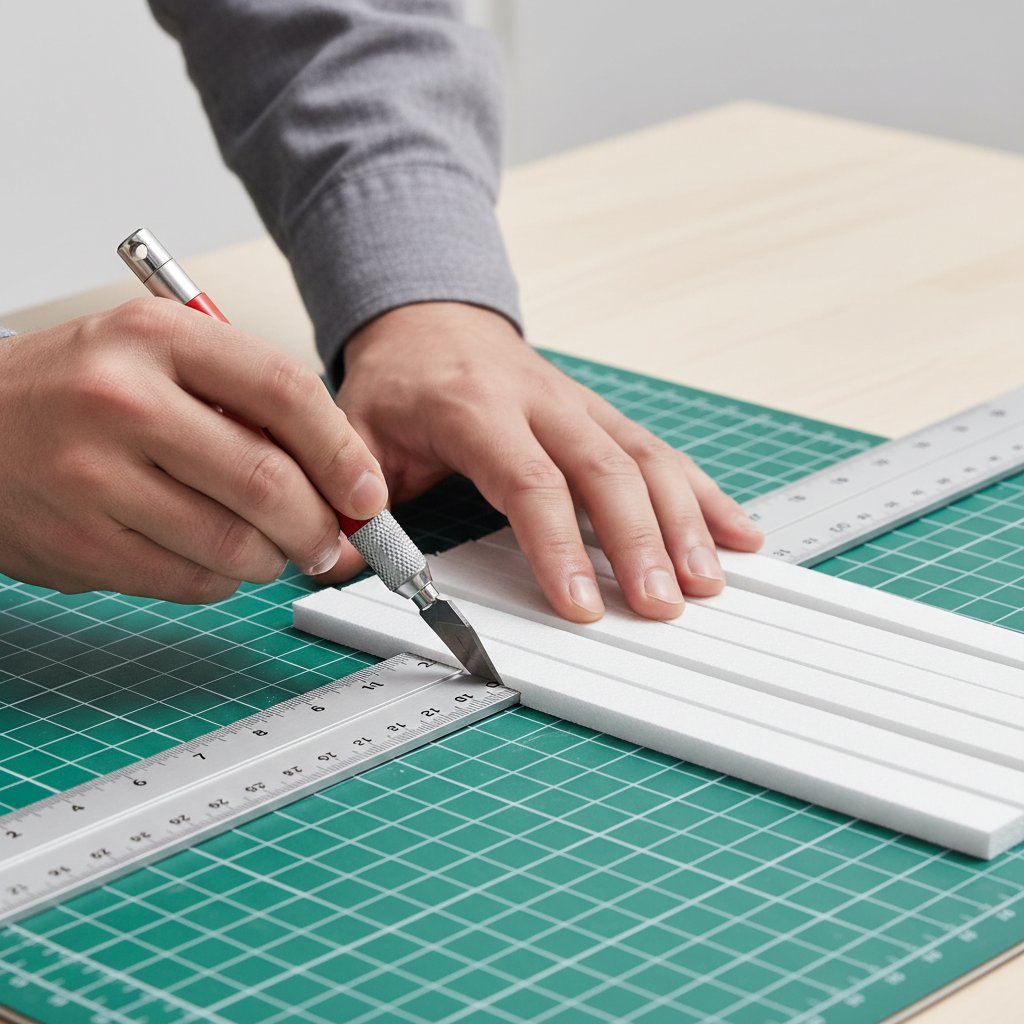
- Cut spacers ready (if using foam board)
- Adhesives prepared and accessible
Pro tip: Work on a self-healing cutting mat or clean piece of cardboard. The slight texture helps prevent paper from sliding during alignment while the surface remains flat.
Step 2: Prepare Spacers for First Layer Join
Starting with the back layer (highest number), plan your spacer placement. The goal is even support that's completely invisible from the front when the shadow box is finished.
Strategic spacer positioning:
- Corners: Place spacers approximately 5-10mm from each corner, but not so close that they're visible from the front through cutouts
- Along edges: Position spacers every 5-7cm along each edge for large layers (8×8 inches or larger)
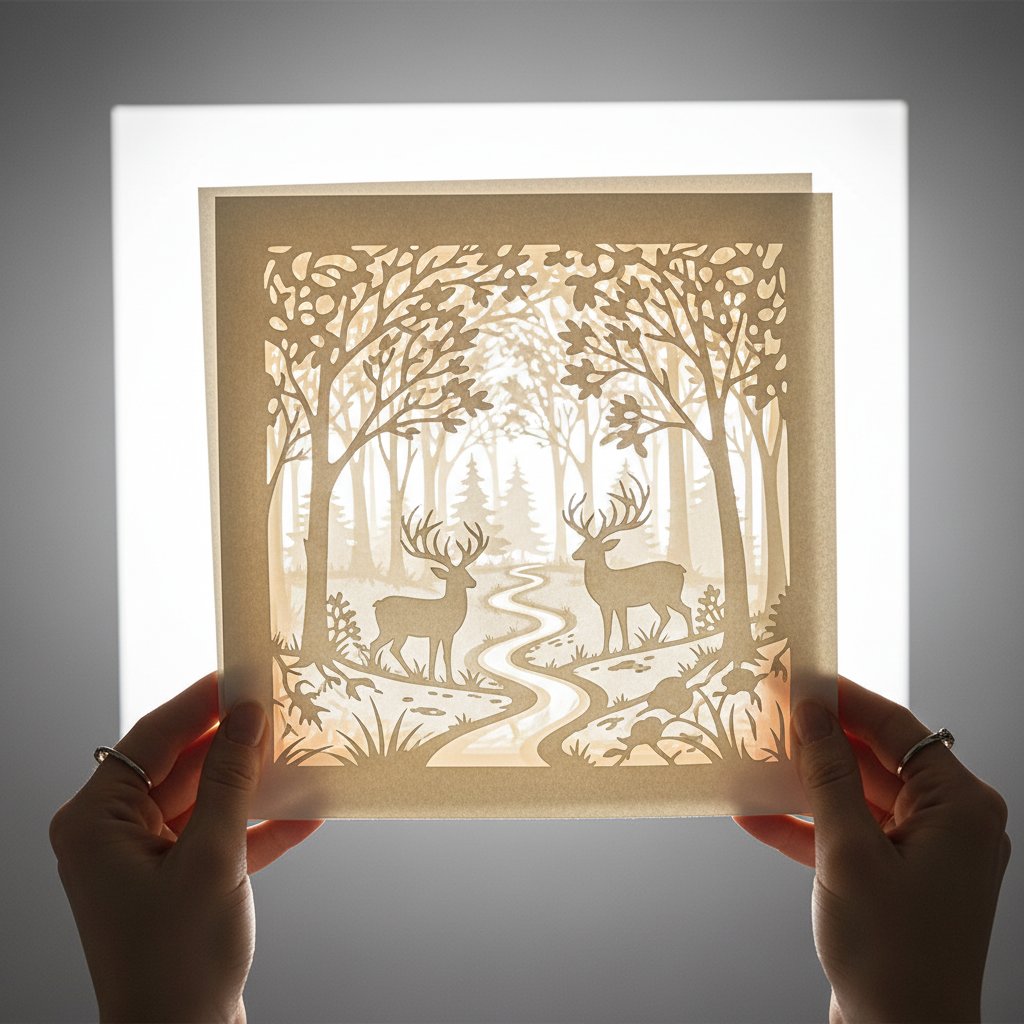
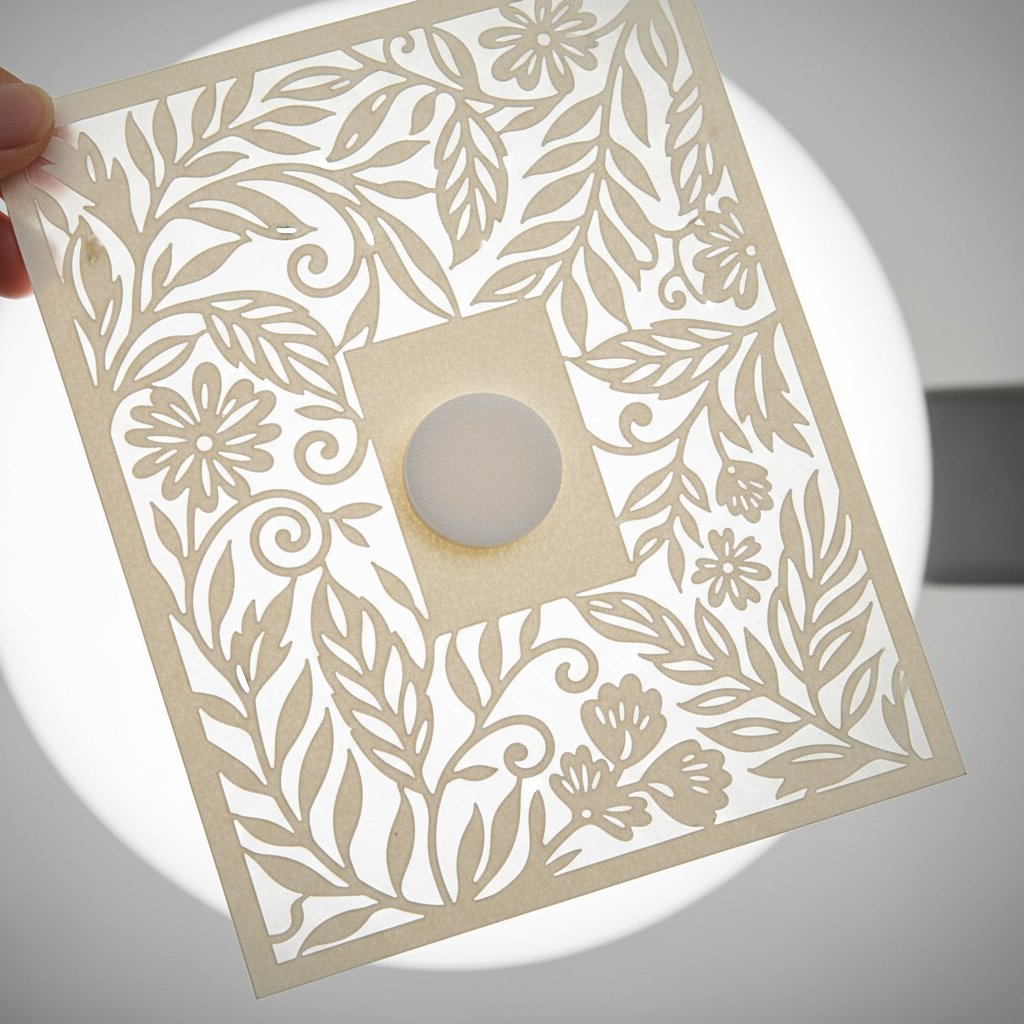
- Behind solid areas: Only place spacers in areas of the paper that are solid (not cut away). Hold layers up to light to verify spacer placement won't show through cutouts
- Balance: Distribute spacers evenly so layers have uniform support across the entire surface
Quantity guide:
- Small layers (6×6 inches or smaller): 6-8 spacers
- Medium layers (8×8 to 8×10 inches): 8-12 spacers
- Large layers (11×14 inches or larger): 12-16 spacers
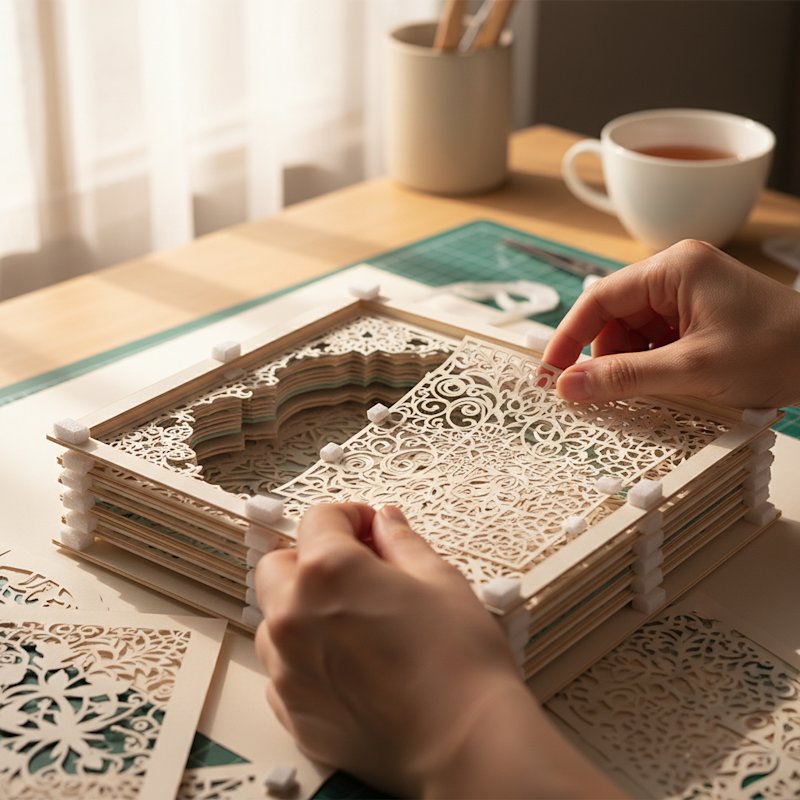
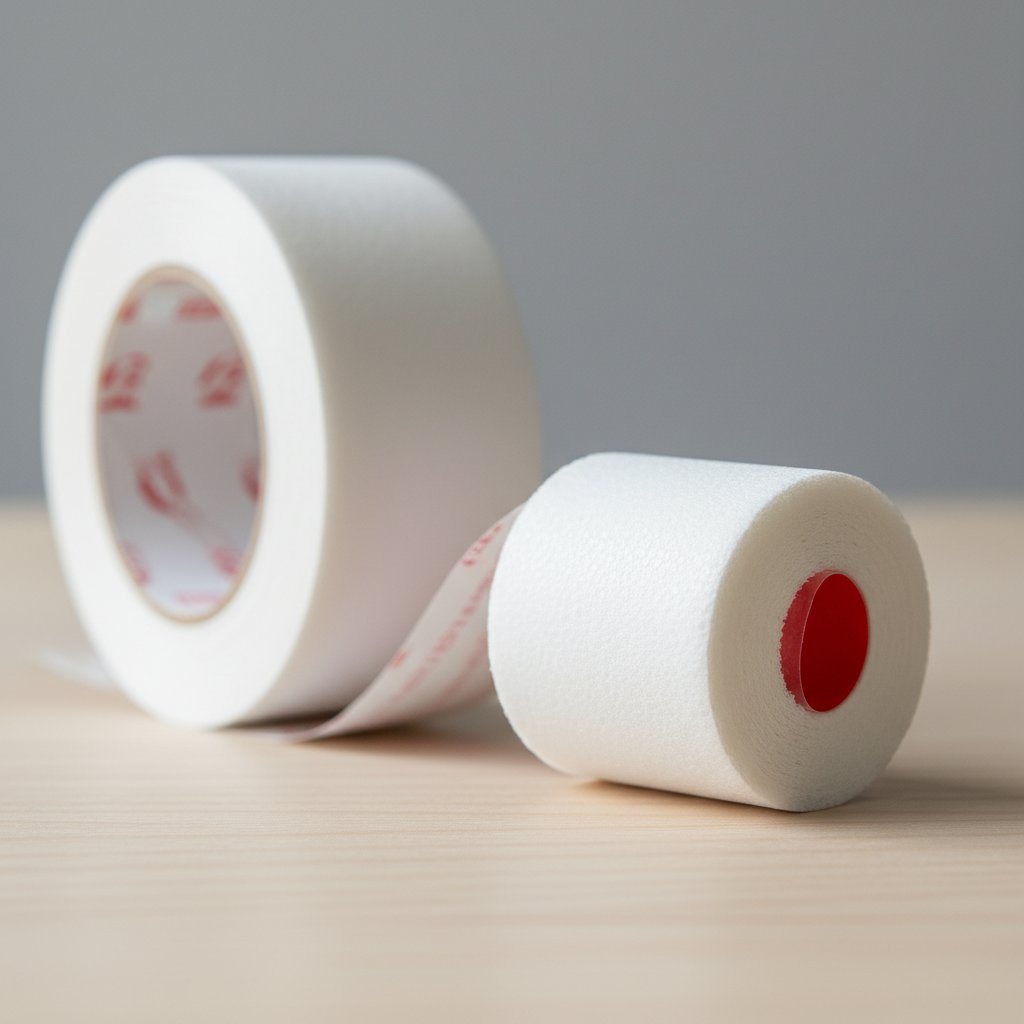
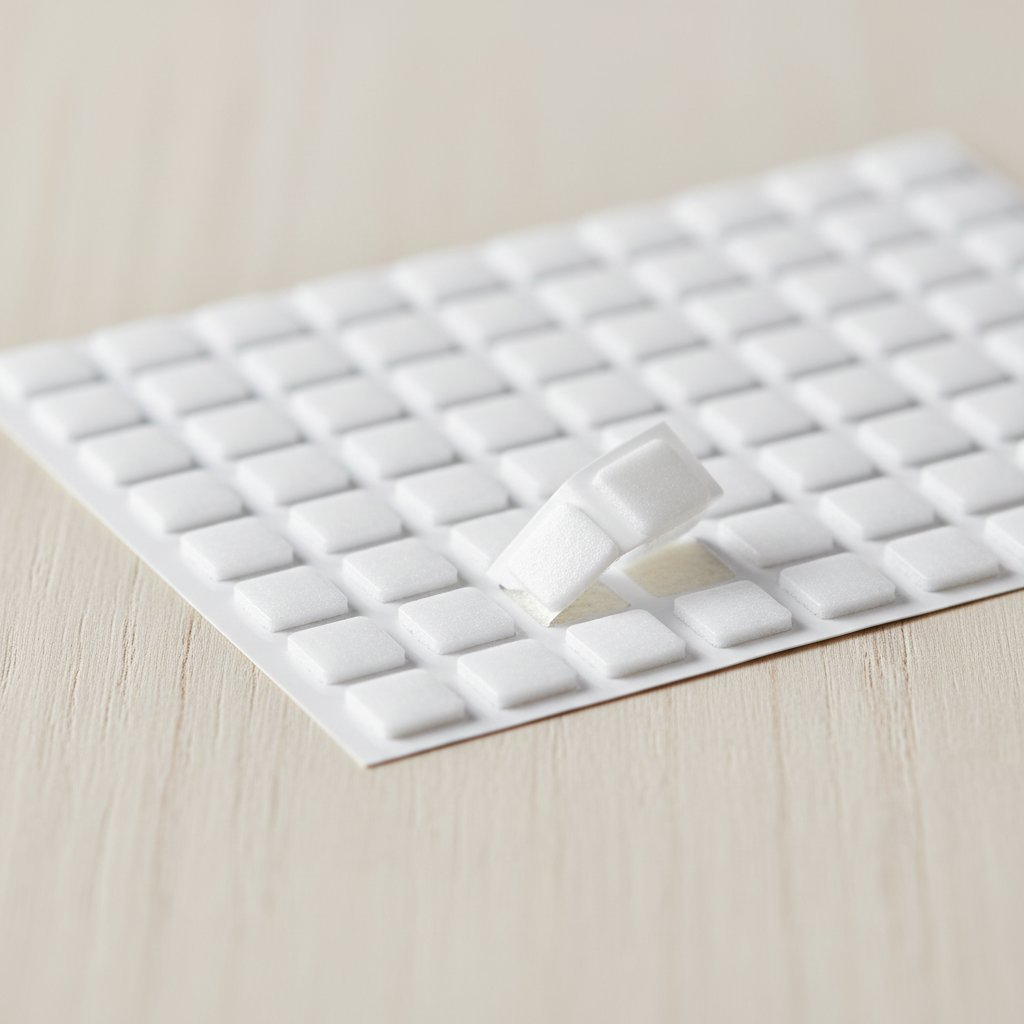
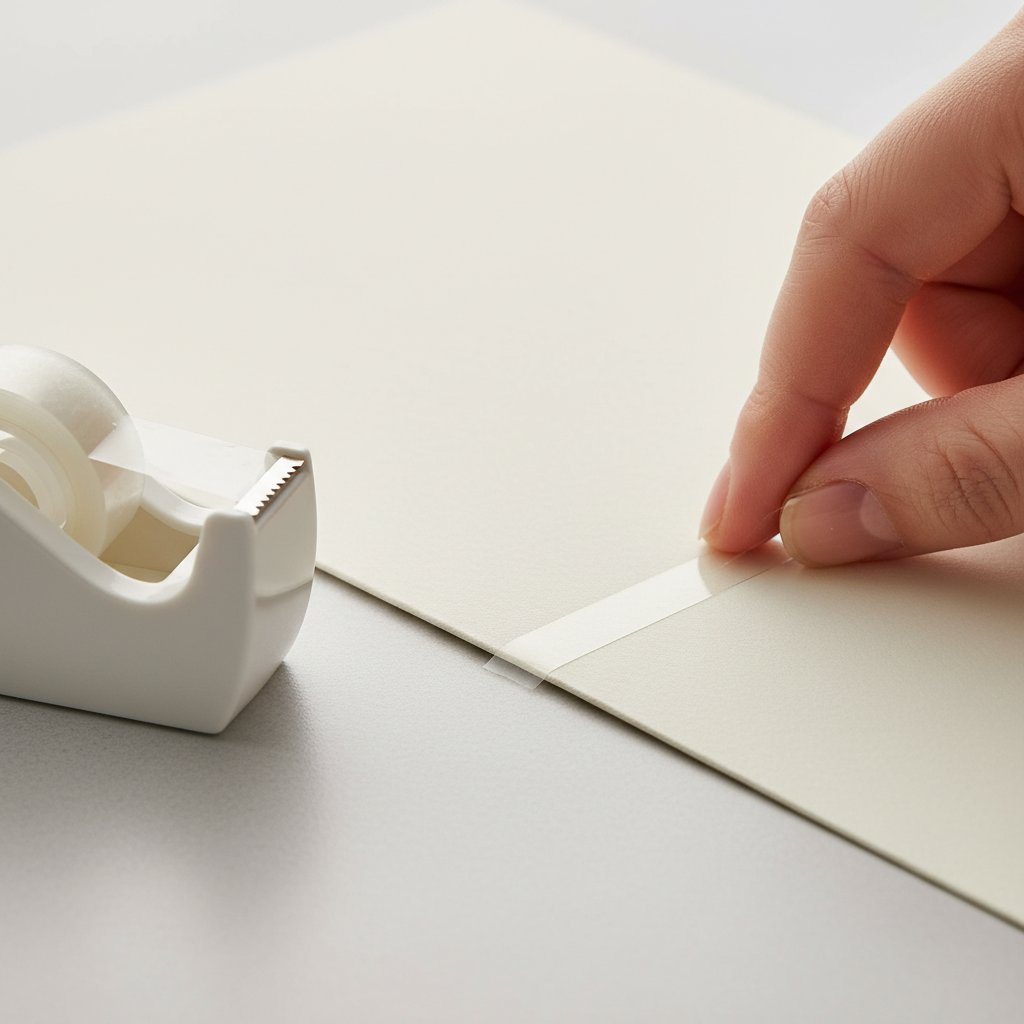
Cut your foam tape pieces into approximately 1cm × 1cm rectangles. Remove the protective backing from one side only, then press these onto the back of your starting layer in your planned positions.
Positioning tip: Lightly mark spacer positions with a pencil on the back of your layer before attaching spacers. This prevents trial-and-error repositioning that reduces foam adhesive strength.
Step 3: Align and Attach the Next Layer
Remove the protective backing from the exposed side of your spacers (the side now facing up). Pick up the next layer in sequence (one number lower).
Alignment technique:
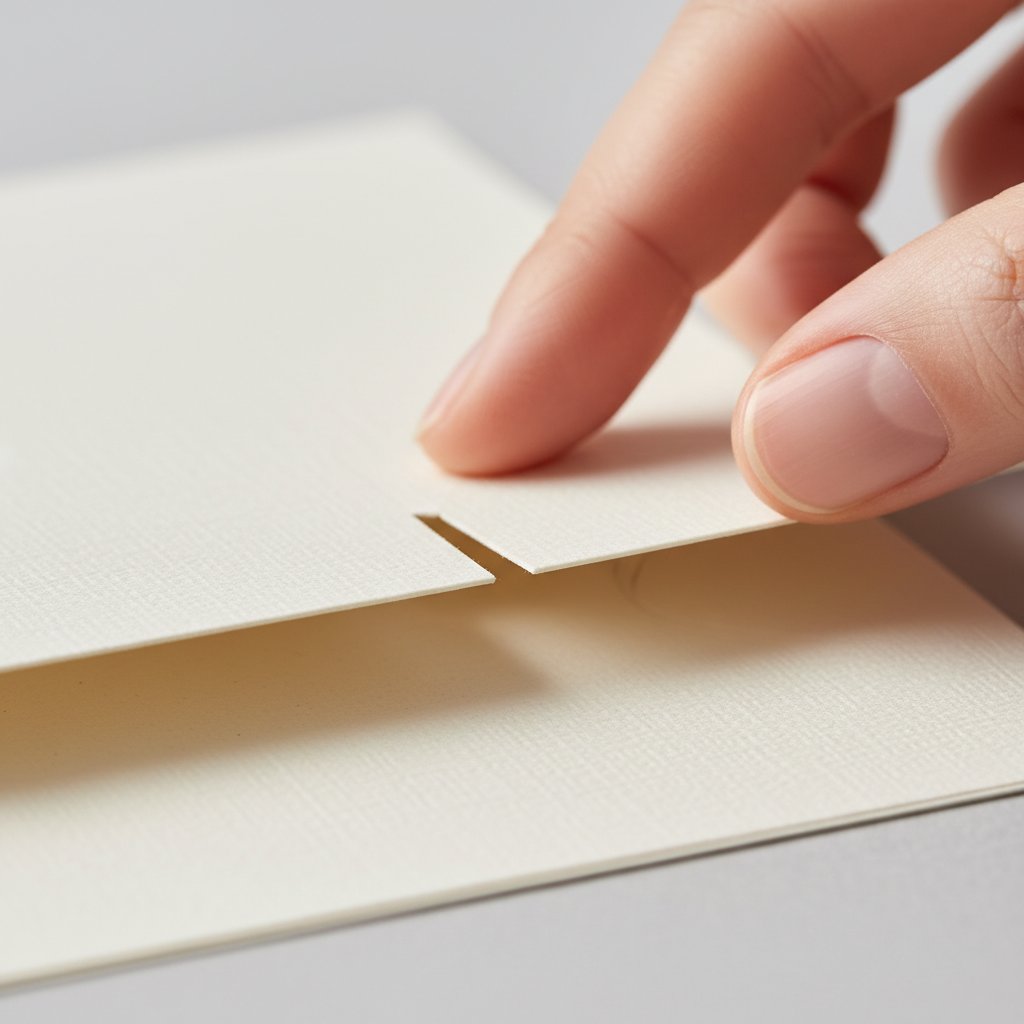
Edge alignment method: Hold the next layer above the layer with spacers attached. Align one edge first (bottom or left edge works well), making sure edges match perfectly.
Lower carefully: Keeping that first edge aligned, gently lower the layer straight down onto the spacers. Don't drag or slide the layer, as this can misalign spacers or create crooked placement.
Visual verification: Before pressing down firmly, verify that:
- All four edges align (square layers should have even borders all around)
- Design elements line up correctly (windows above windows, branches align, etc.)
- No spacers are visible through cutouts from the front angle
Final pressing: Once satisfied with alignment, press down firmly at each spacer location. Apply steady, even pressure for 3-5 seconds per spacer to ensure good adhesive contact.
Alignment aid for registration marks: If your template includes corner registration marks or alignment squares, use these to guide layer positioning. These marks are designed to line up perfectly and make alignment almost foolproof.
Using the frame method: Some crafters position the frame face-down on their work surface and use the frame's interior edges as alignment guides. Place the back layer inside the frame, add spacers, then lower the next layer using the frame edges to ensure perfect alignment. This method works especially well for square or rectangular designs.
Step 4: Repeat for All Remaining Layers
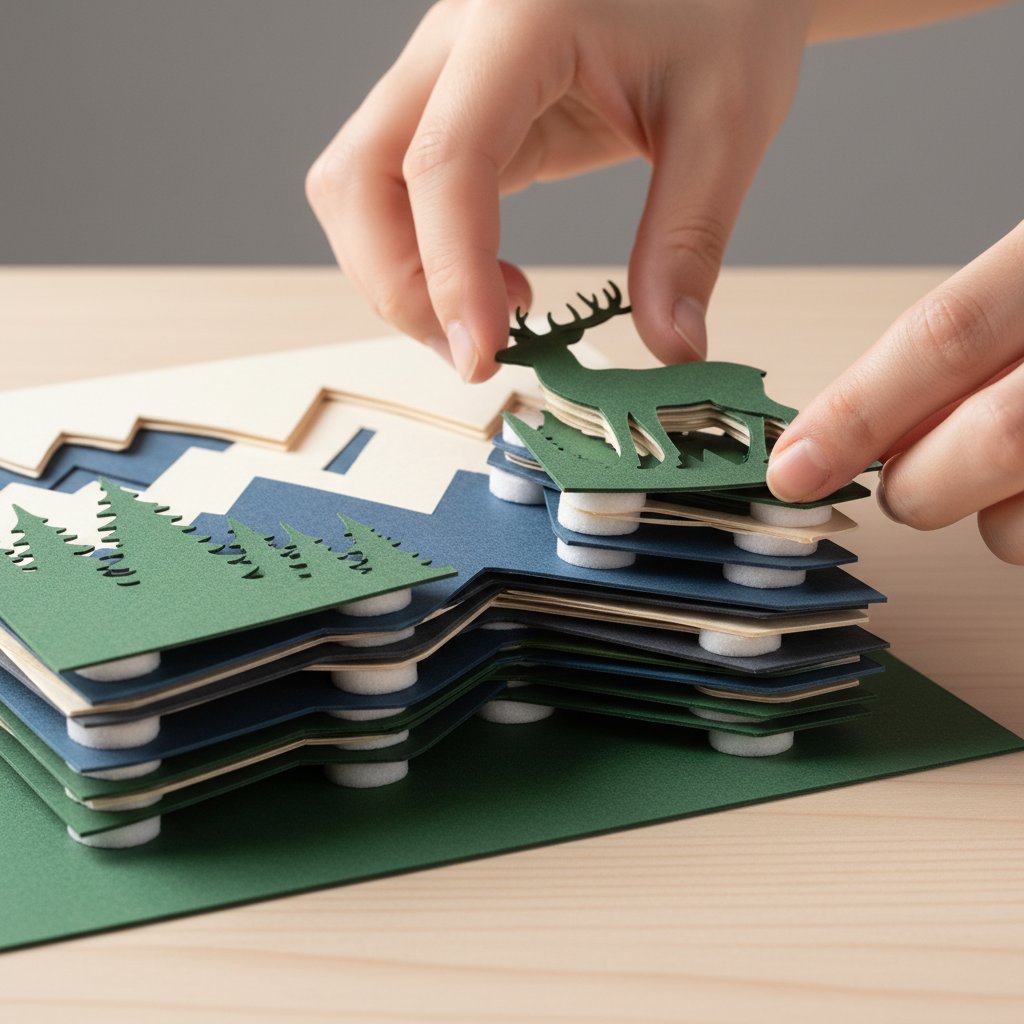
Continue the process layer by layer:
- Add spacers to the back of the layer you just attached
- Remove protective backing from spacer tops
- Align the next layer in sequence
- Lower carefully and press firmly
Offset spacer positioning: For shadow boxes with many layers (10+), consider offsetting spacer positions on alternating layers. For example:
- Odd-numbered layers: spacers near corners and center of edges
- Even-numbered layers: spacers between corner positions and center points
This offset pattern prevents spacers from stacking directly on top of each other through all layers, which can create visible "columns" of support that might show through intricate cutouts. It also distributes stress more evenly across the entire structure.
Step 5: Add the Front Layer
The front layer (typically Layer 1) is what viewers see first, so take extra care with this final alignment.
Front layer considerations:
- This layer typically has the most prominent cutout or design element
- Misalignment is most obvious on the front layer
- Edge alignment is critical since frame edges meet this layer
Use the same alignment technique as previous layers, but verify alignment from multiple viewing angles before pressing down firmly. Stand back and view the shadow box from where it will be displayed to ensure everything looks straight and properly positioned.
Step 6: Reinforce Critical Points
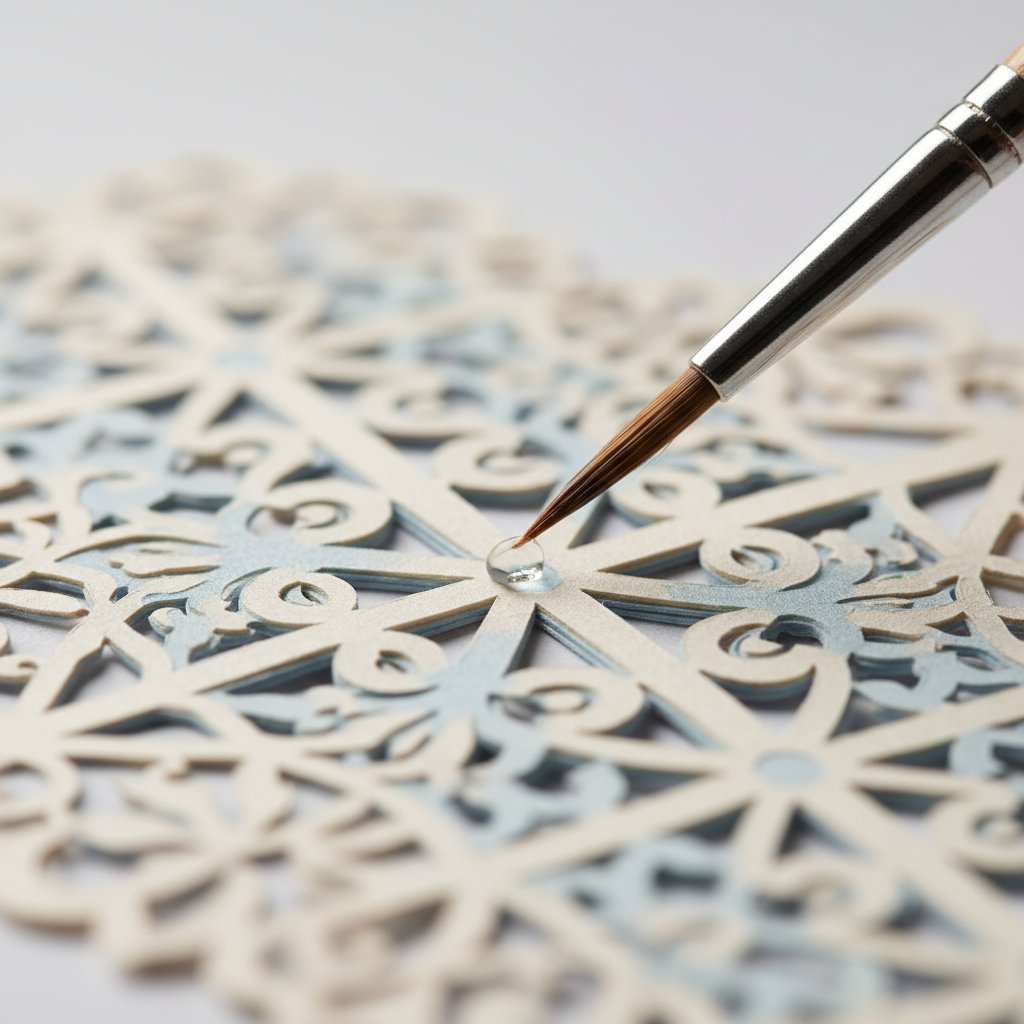
Once all layers are assembled, inspect your shadow box for areas that might need additional support:
Stress points to reinforce:
- Large cutout areas with minimal solid paper around them
- Corners that seem to flex or move slightly
- Edges of the top and bottom layers (where frame pressure will be applied)
- Any layer joins that feel less secure than others
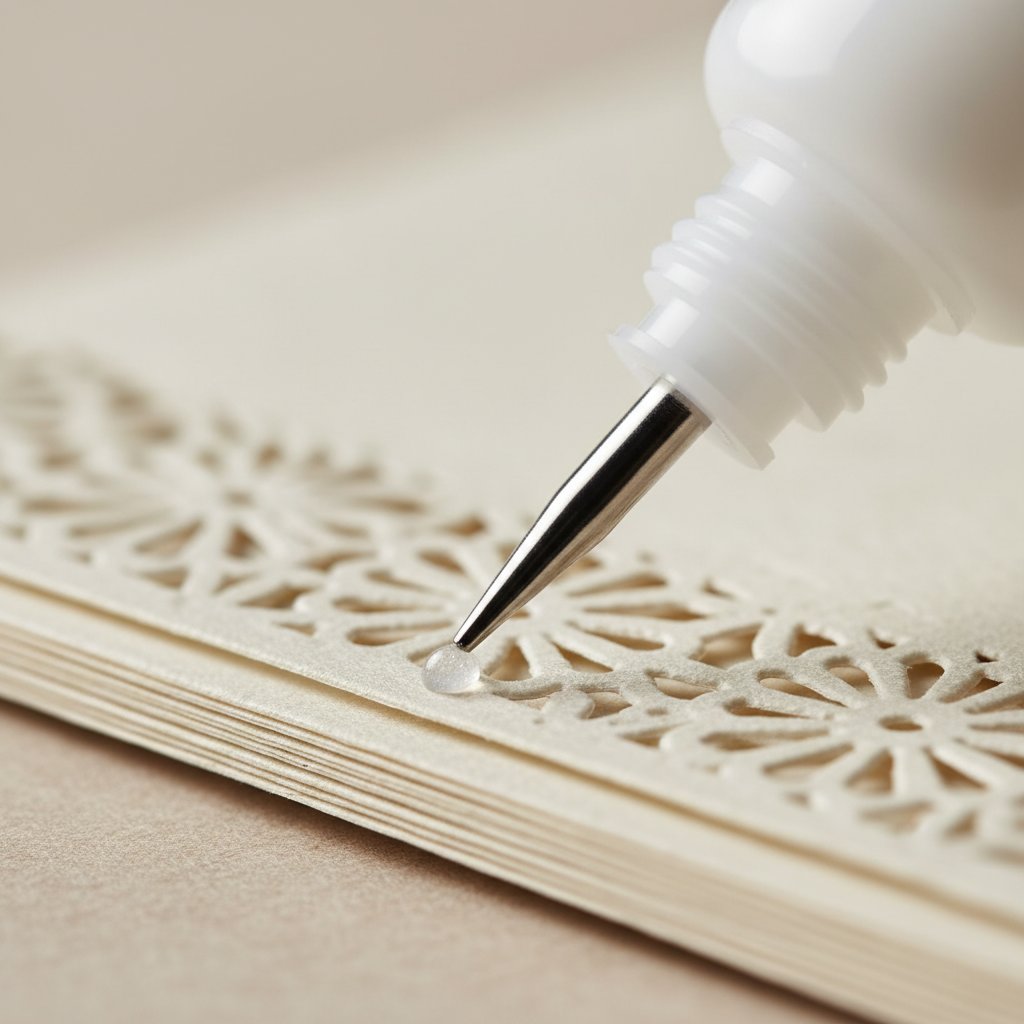
Apply tiny dots of precision liquid glue at these stress points on the edges of layers (not on surfaces that will show through cutouts). These reinforcements prevent sagging over time and ensure long-term structural integrity.
Step 7: Final Inspection and Curing
Lay your assembled shadow box flat on your work surface and allow all adhesives to cure fully. Most foam adhesives reach maximum strength after 30-60 minutes, while liquid glues may need 2-4 hours depending on the type.
Final inspection checklist:
- ✓ All layers present and in correct order
- ✓ No visible spacers showing through cutouts when viewed from front
- ✓ All edges aligned evenly
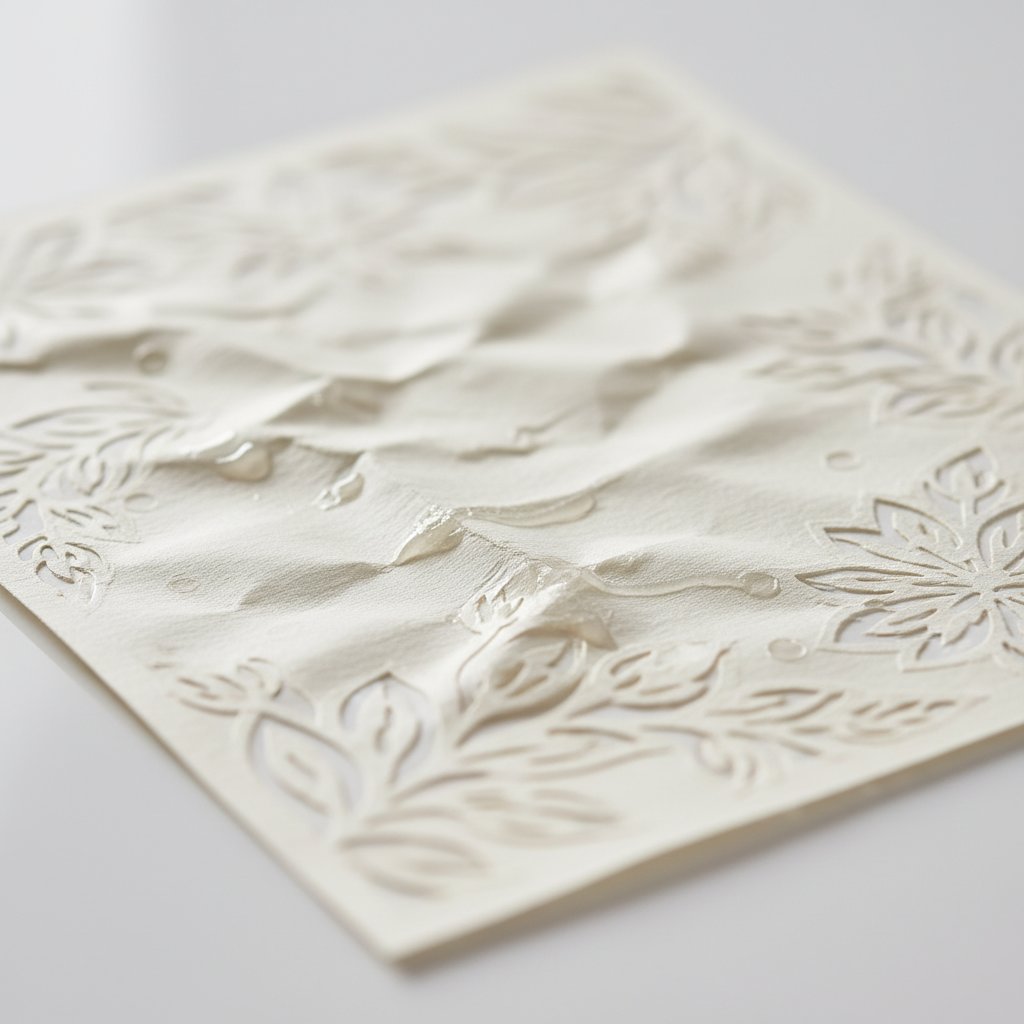
- ✓ No warping, bowing, or buckling of paper
- ✓ Design elements aligned as intended
- ✓ Adhesive fully set and layers firmly attached
- ✓ No visible glue marks on front-facing surfaces
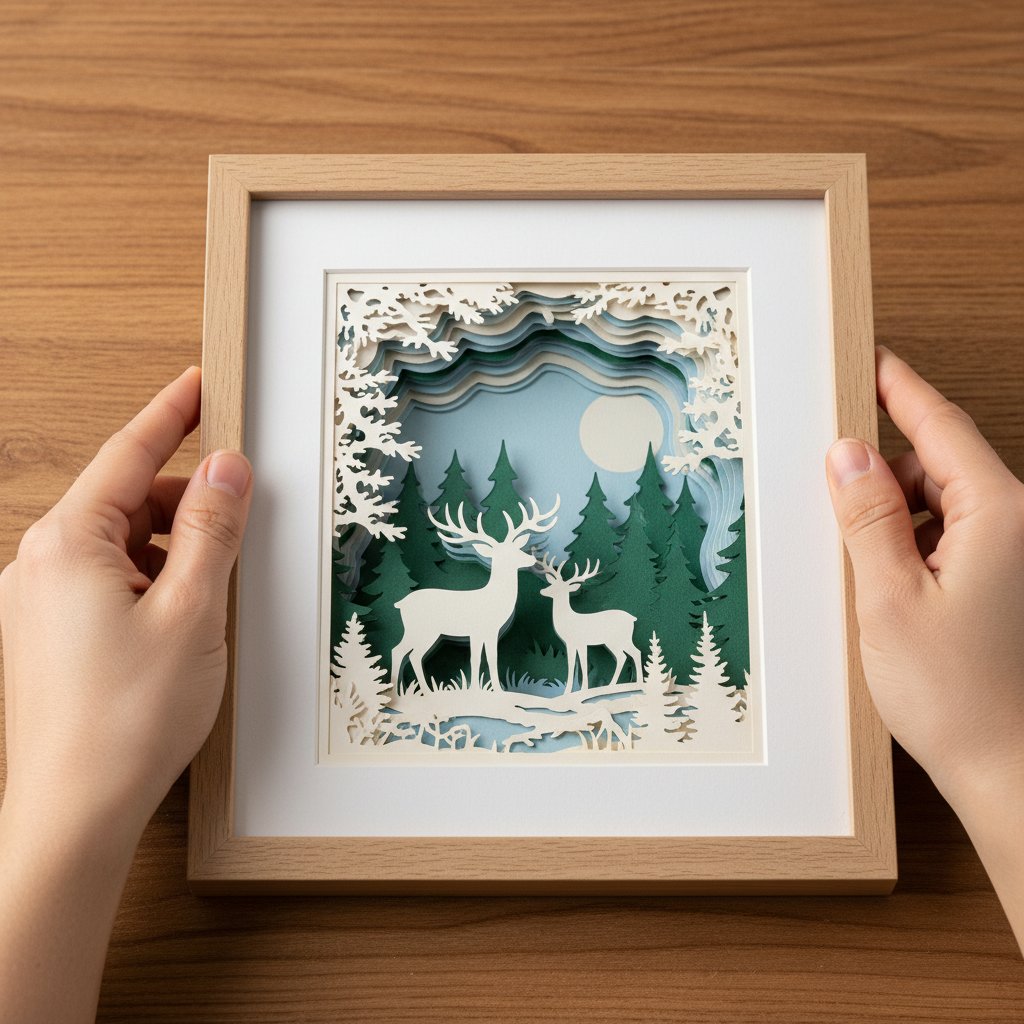
While adhesive cures, resist the temptation to handle the shadow box excessively. The layers need undisturbed time to bond firmly.