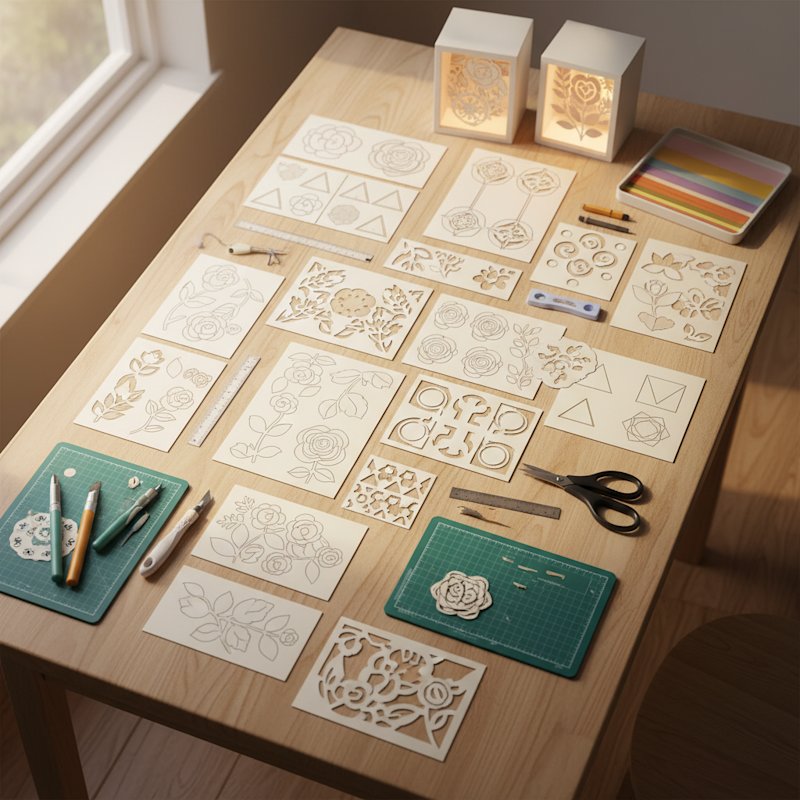
How to Plan a Shadow Box Project (Before You Cut a Single Layer)
My first shadow box build stalled twice for exactly the same reason most beginners' do — I
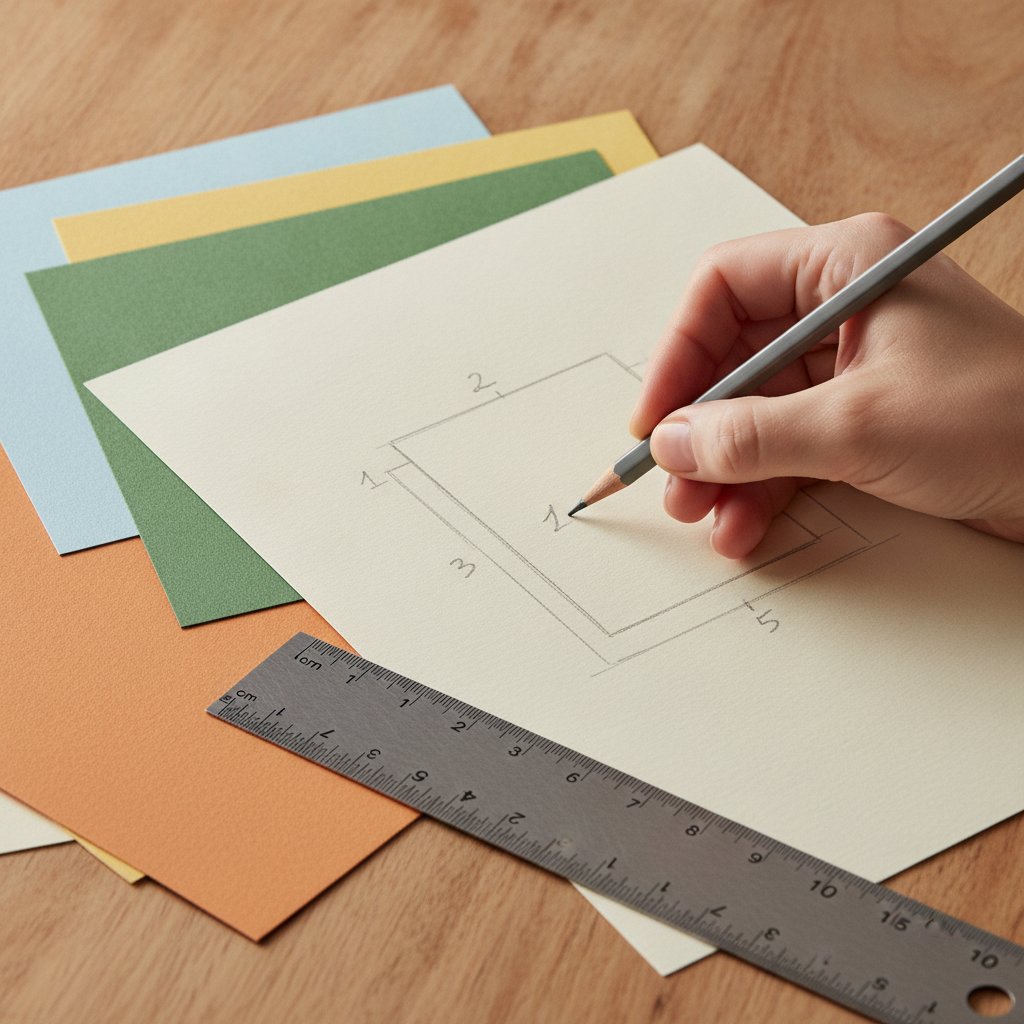
hadn't planned it. I picked a 9-layer design, bought six sheets of cardstock (one short once I
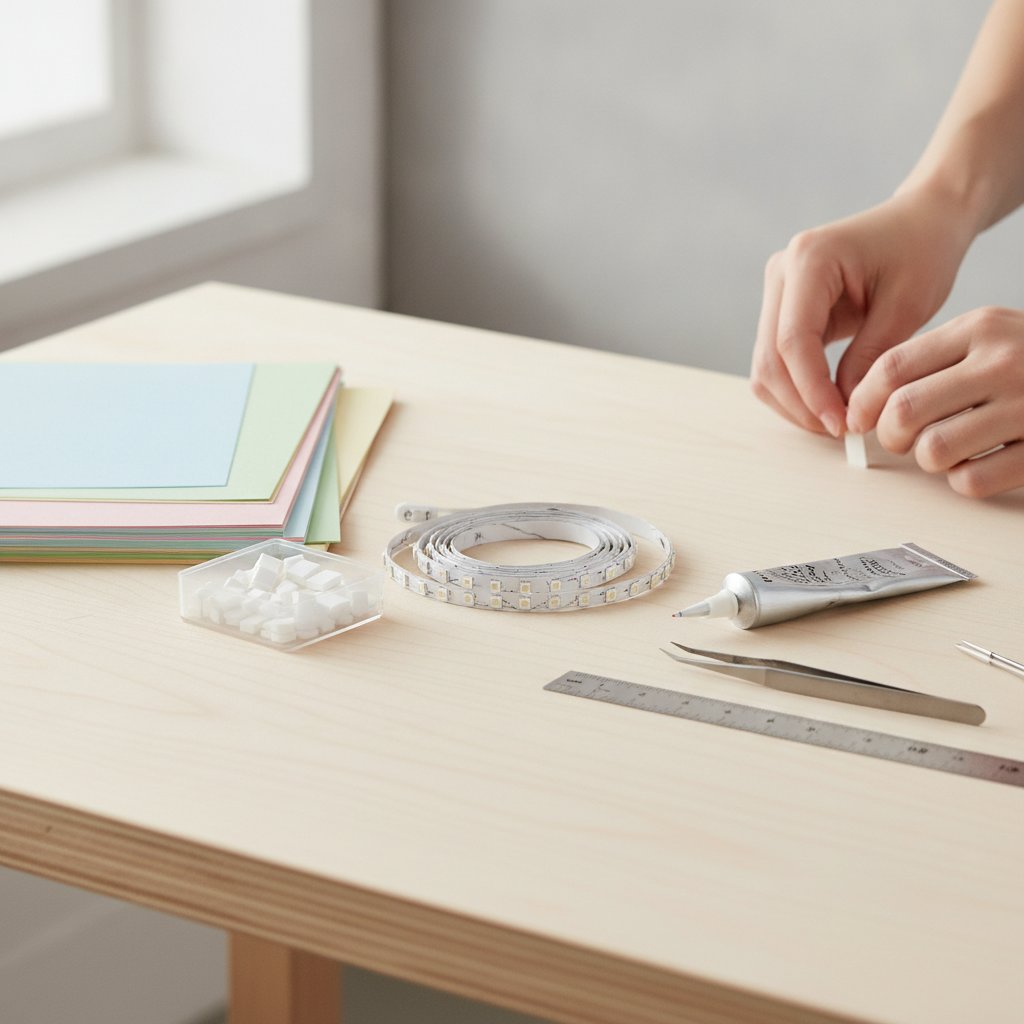
factored in test cuts and a torn layer), and chose an 8×8 frame that was 3 cm too shallow for
the 5 mm foam spacers I'd already ordered. I finished the piece eventually, but it cost me an
extra craft-store trip and a re-cut of three layers. The entire failure was a planning
failure, not a cutting or assembly one — and it took roughly 35 minutes of upfront scoping to
prevent the next time around.
That 35-minute investment is what this guide is for. How to plan a shadow box project is
the narrow question this article answers: how many layers, which frame depth, how many
cardstock sheets, what colour palette, what total budget, and how long each phase takes — all
decided before you load a mat. It is deliberately not another overview of how to cut or
assemble. Once your plan is locked, hand off to the
Cricut paper cutting fundamentals guide to dial in clean cuts, then pick
one of the five quick-win beginner projects and build it. The
getting-started overview is the hub that ties the path together.
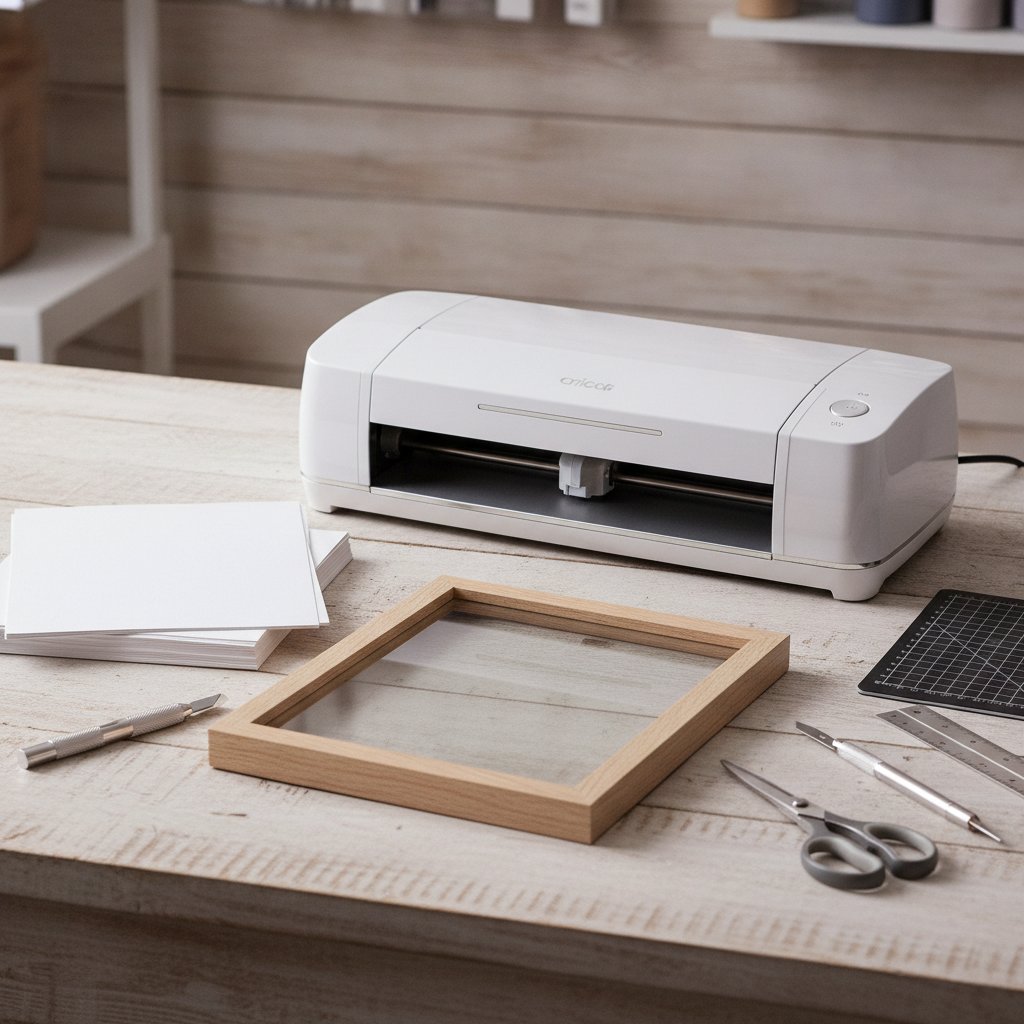
Whether you're a new Cricut owner excited to try dimensional paper crafts or a traditional paper crafter moving into 3D projects, taking time to plan your first shadow box prevents common mistakes, saves money on wasted materials, and dramatically increases your chances of creating something you'll be proud to display or gift.