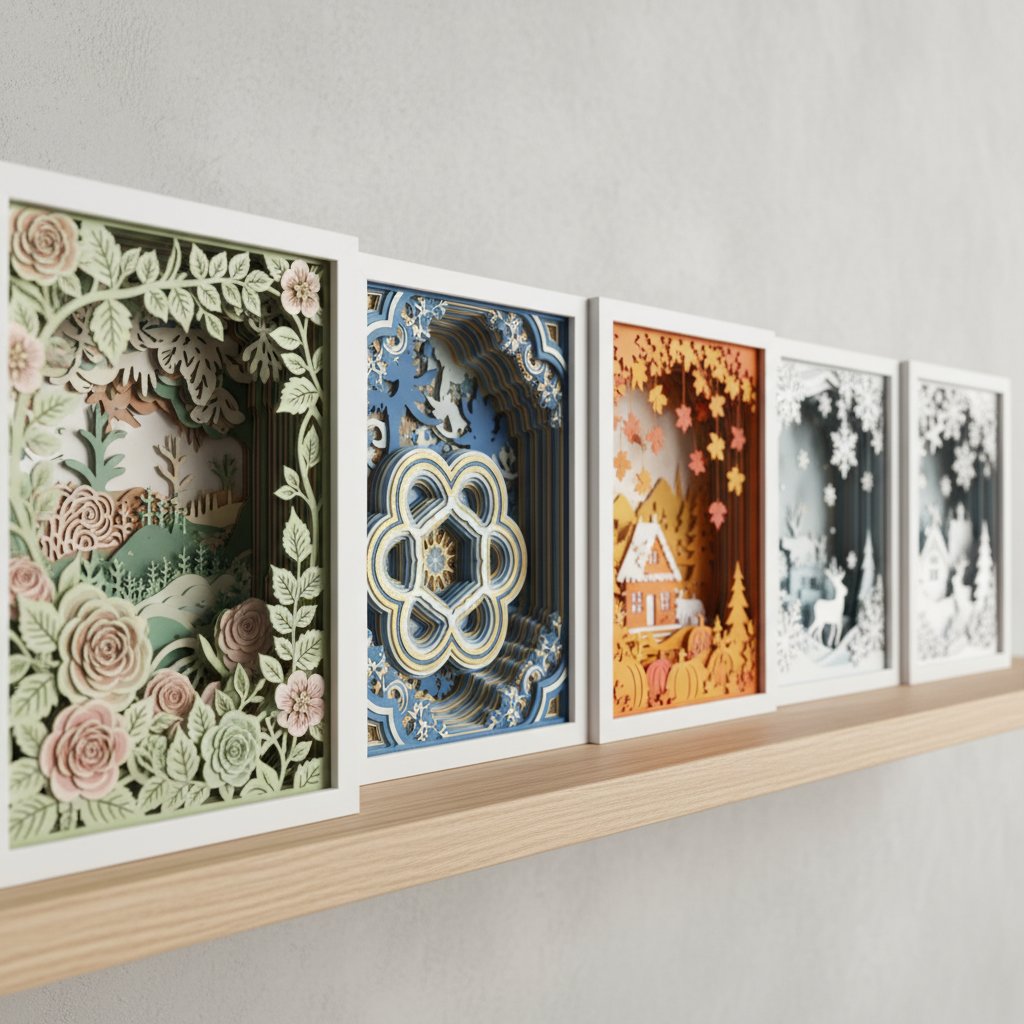
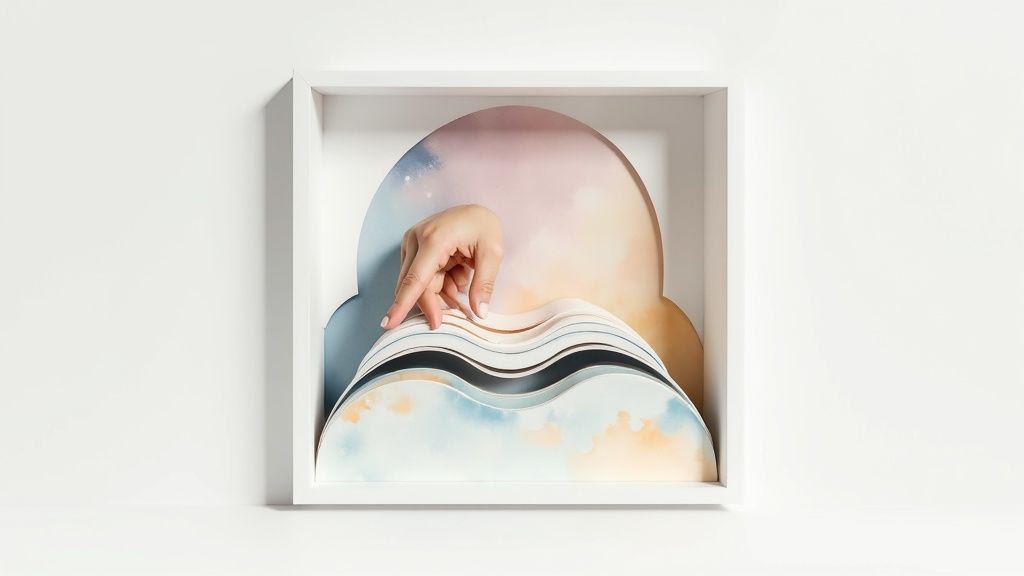
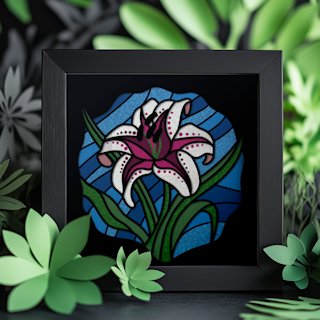
Project 5: Heartfelt Design - Heart Shape with Cutout Pattern (6-8 Layers)
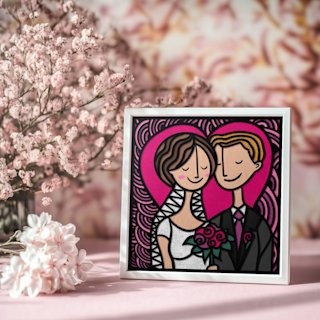
Heart-shaped shadow boxes work beautifully for Valentine's Day, anniversaries, weddings, or general romantic decor, and their symmetrical design makes them surprisingly beginner-friendly despite appearing intricate.
Why Heart Designs Excel for Beginners
The instantly recognizable silhouette means even if your assembly has minor imperfections, the overall shape reads clearly as a heart. This forgiving nature reduces anxiety about achieving absolute perfection.
Hearts are symmetrical along the vertical axis, providing a built-in alignment guide. Match the center line and the two halves will align correctly, similar to mandala designs.
Versatile theming allows you to personalize this project for different occasions: add names or dates for weddings/anniversaries, incorporate baby-themed elements for nursery decor, or use seasonal colors for holiday versions. The same basic template adapts to many purposes.
Design Variations for Different Occasions
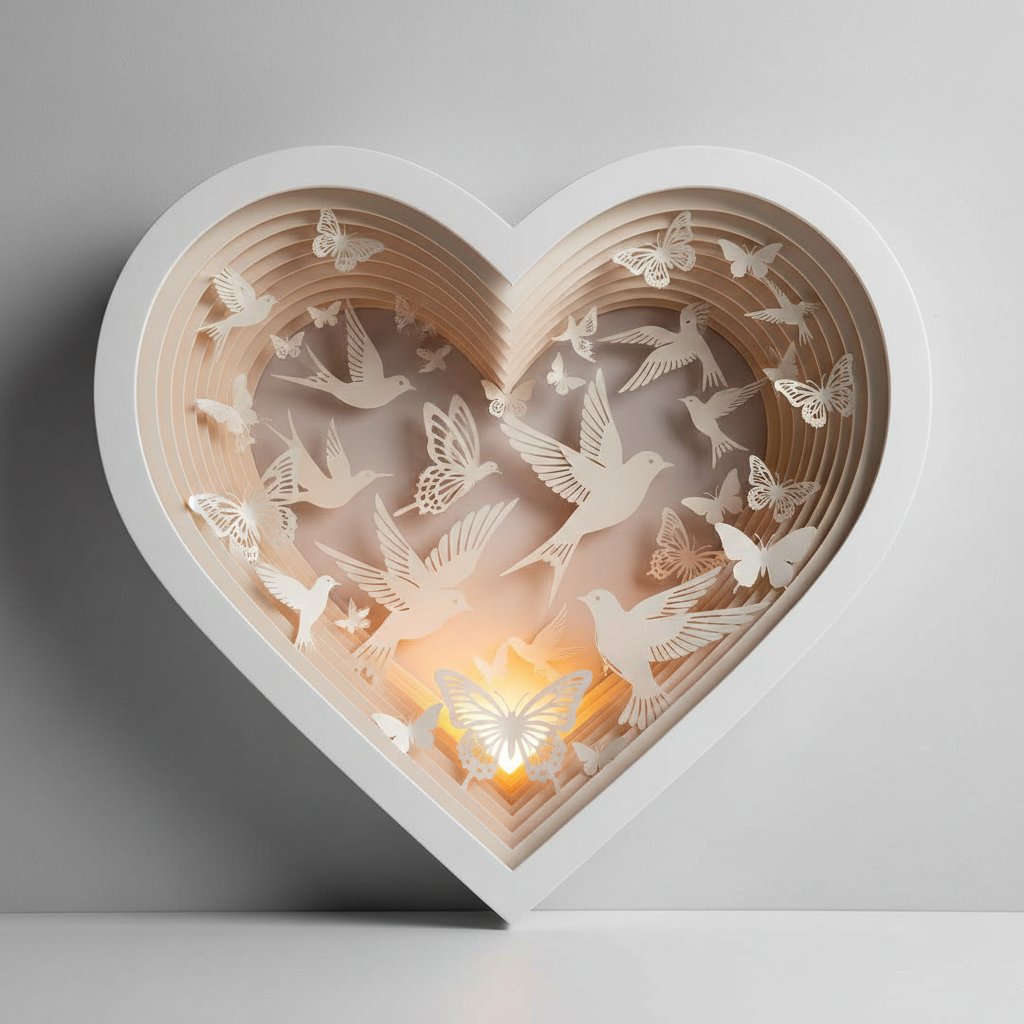
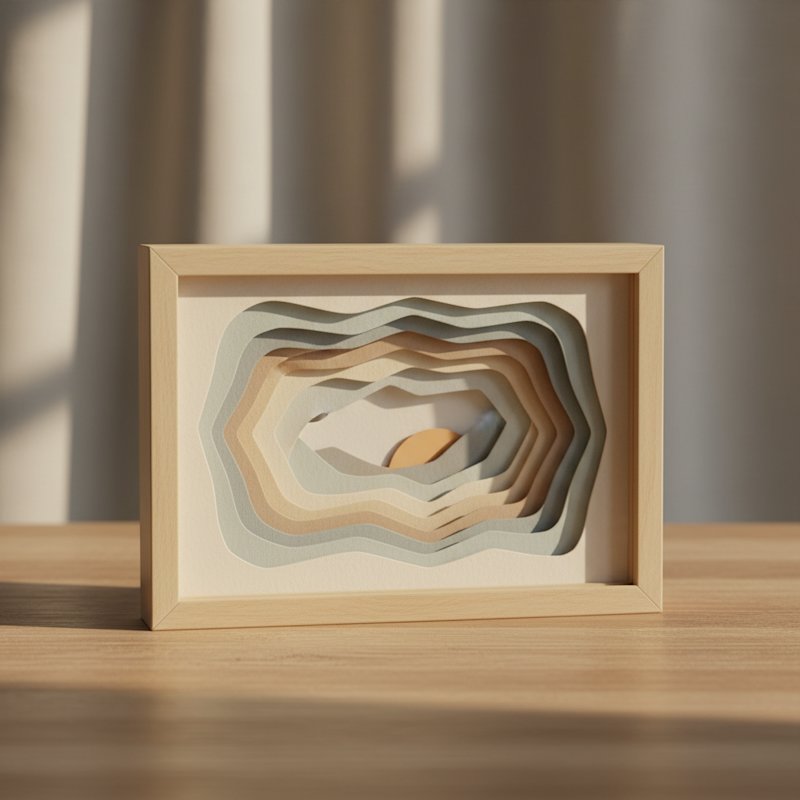
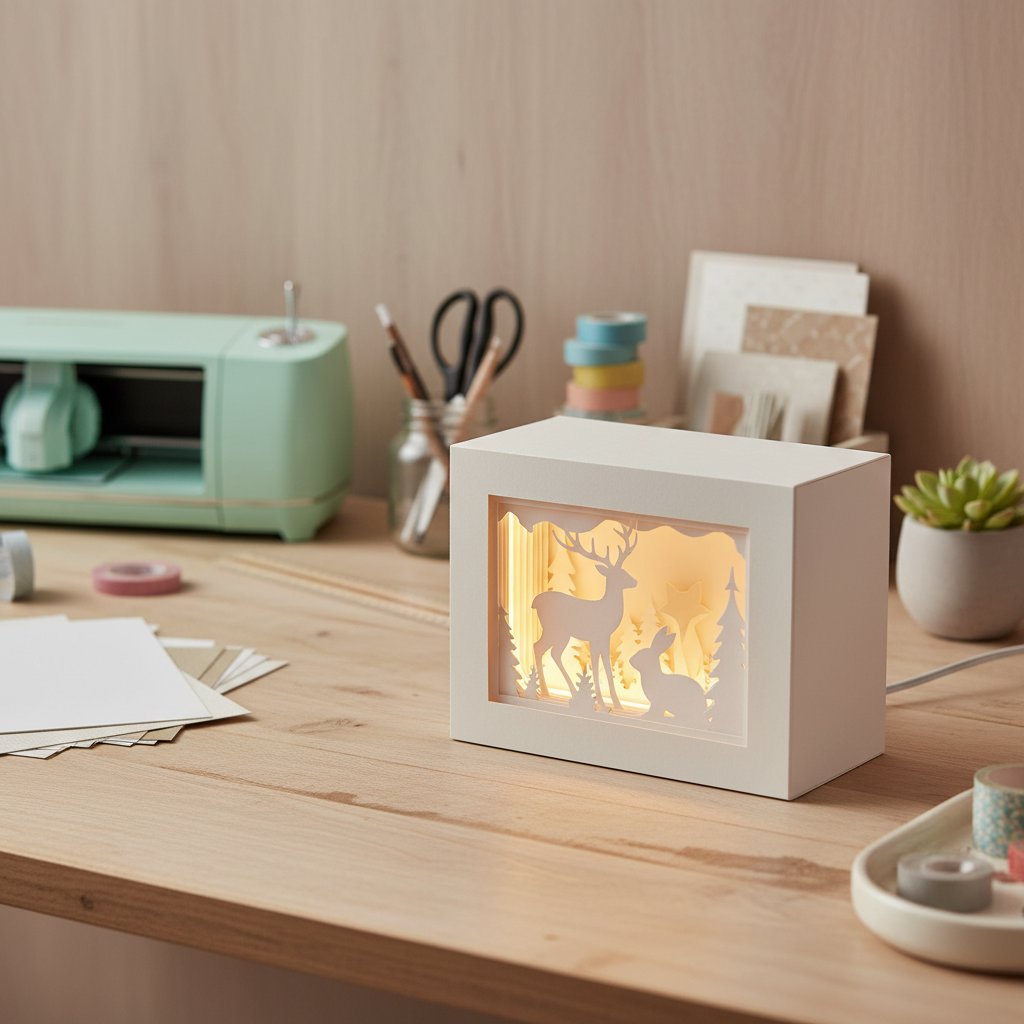
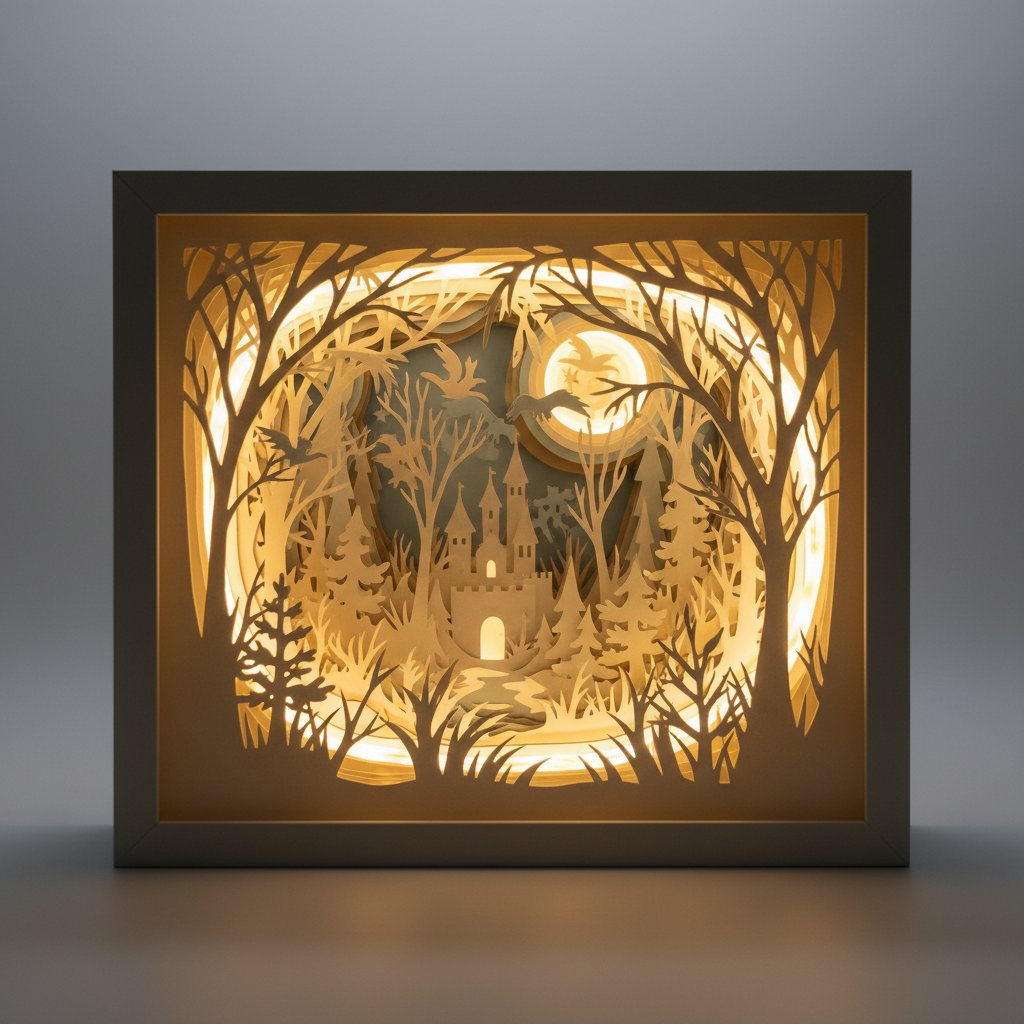
Filled with birds or butterflies: Popular designs show a heart outline filled with silhouettes of birds on branches or butterflies in flight. These interior elements create 2-3 middle layers while the heart outline forms the front layer, creating beautiful depth when lit.
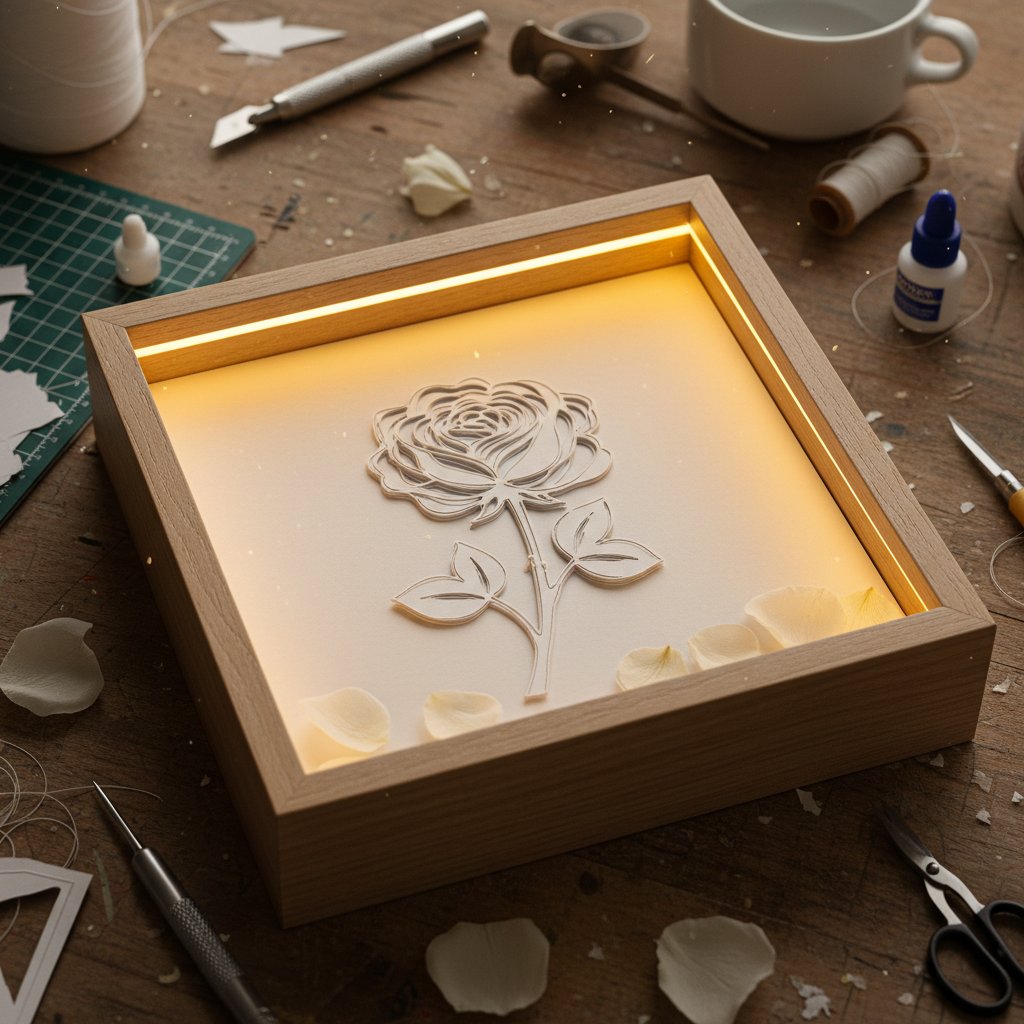
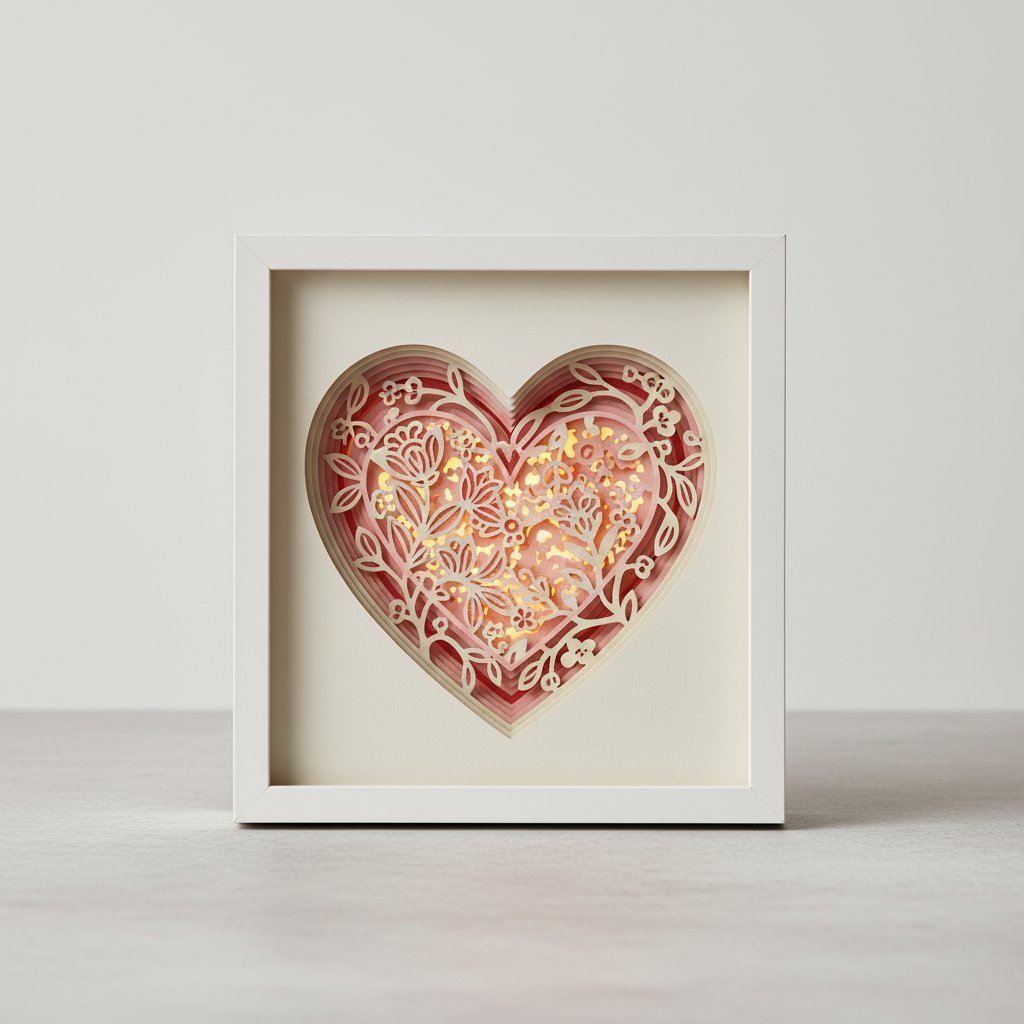
Floral heart border: The heart shape is created by flowers and vines rather than a solid outline. Roses, cherry blossoms, or mixed florals form the heart shape through their arrangement, with 4-5 layers showing flower depth and leaf details.
Geometric heart pattern: The heart contains geometric cutouts (smaller hearts, diamonds, stars, or abstract shapes) in various sizes across multiple layers. This variation is excellent for modern or minimalist aesthetics.
Personalized text heart: The heart outline frames a name, meaningful date, or short phrase cut from inner layers. This works beautifully for wedding gifts or anniversary decor.
Assembly Considerations for Heart Shapes
Alignment strategy: Hearts have three key registration points: the top center indent (where the two curves meet), the bottom point, and the maximum width point on each side. Align these four points on each layer before pressing down.
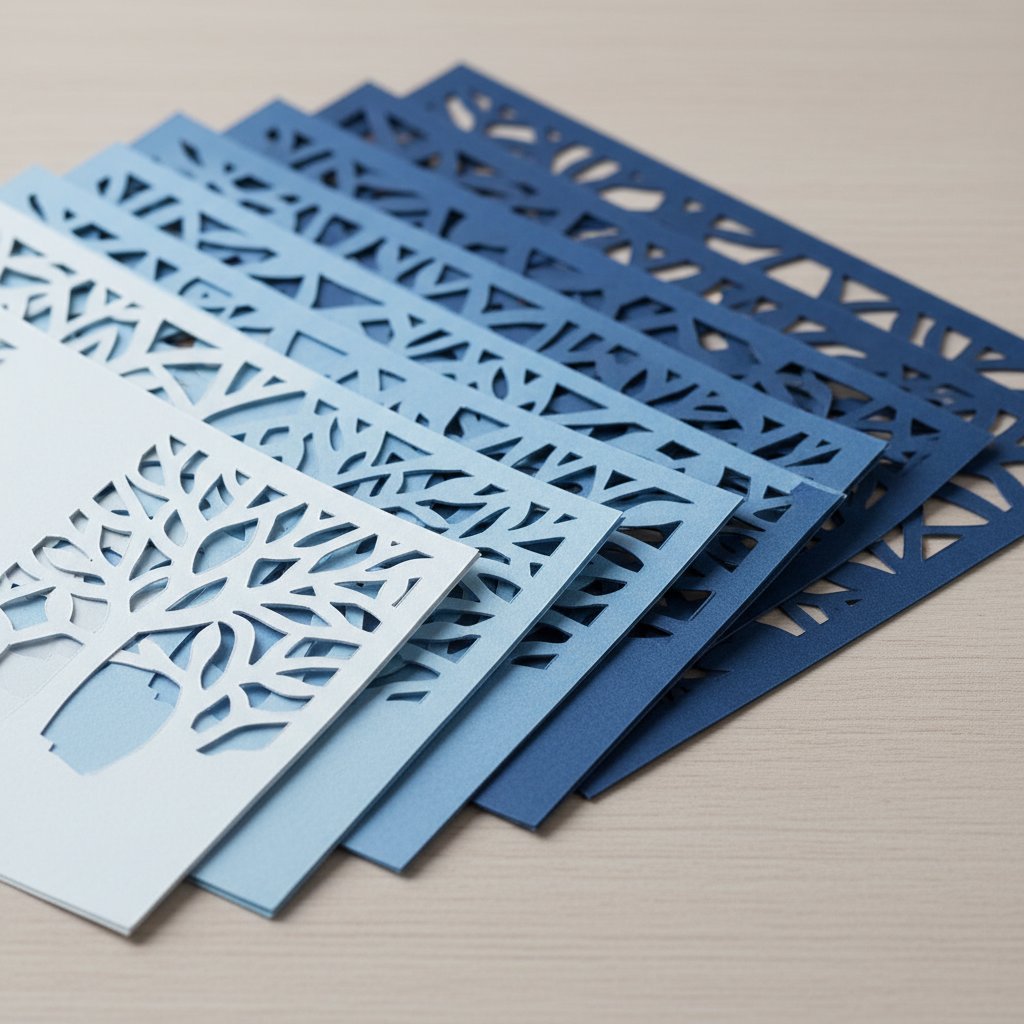
Some heart SVG designs include a temporary alignment frame (a rectangle or circle around the heart) specifically to help with layer stacking. You cut this frame with each layer, use it for alignment, then trim it away after assembly is complete.
Spacer placement should avoid the heart's bottom point and top curves where foam might be visible through cutouts. Concentrate spacers in the solid areas along the heart's upper portions and sides.
Frame orientation: Heart designs work in both square frames (8x8 inches, with the heart centered) and rectangular frames (8x10 inches, with the heart vertically oriented). Choose based on your preferred display location and available wall or shelf space.
Making It Personal
The beauty of heart designs is the opportunity for customization even as a beginner. Many simple heart SVGs include space where you can add:
- Initials or names: Simple block letters cut from one layer
- Dates: Wedding dates, anniversaries, or birth dates
- Short phrases: "Love Always," "Forever," "Together," etc.
If your chosen SVG doesn't include text, you can easily add simple text in Cricut Design Space or Silhouette Studio before cutting. Keep fonts simple and bold for easier cutting and alignment.