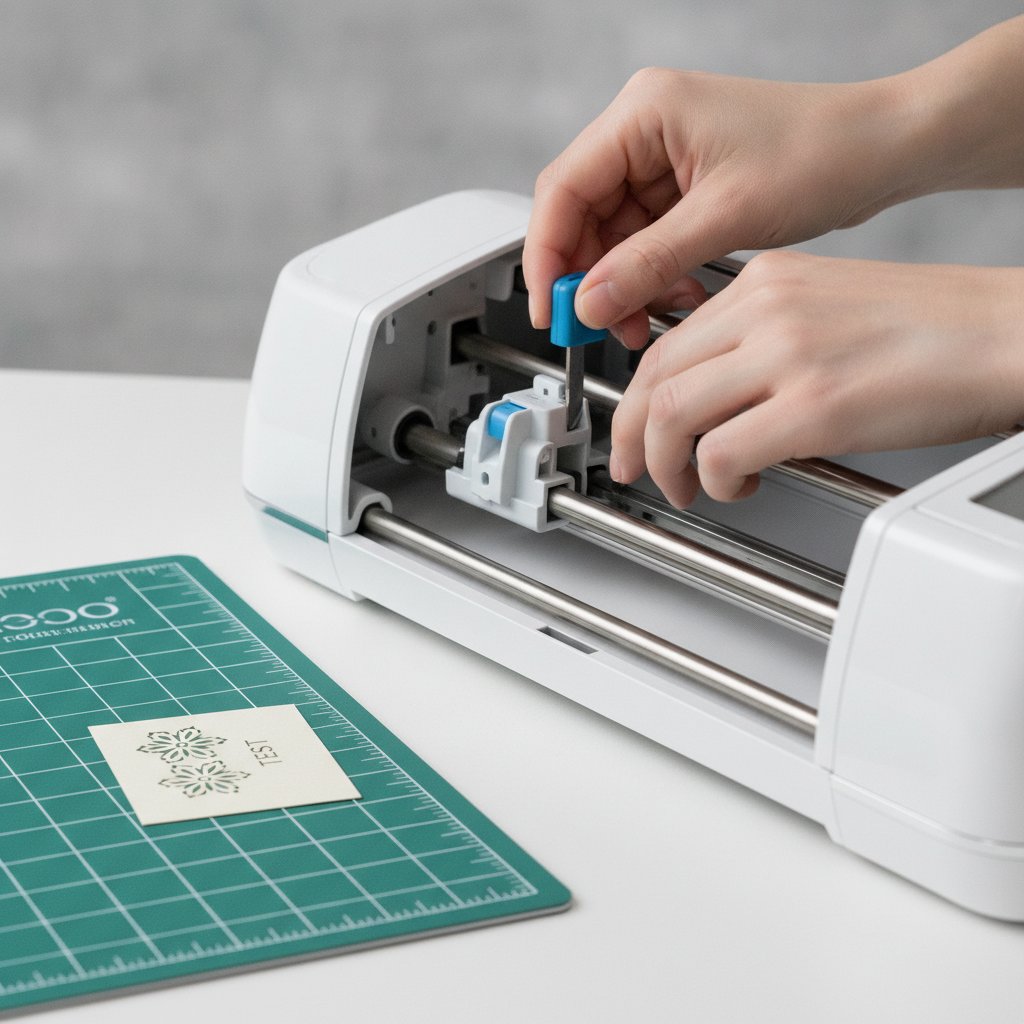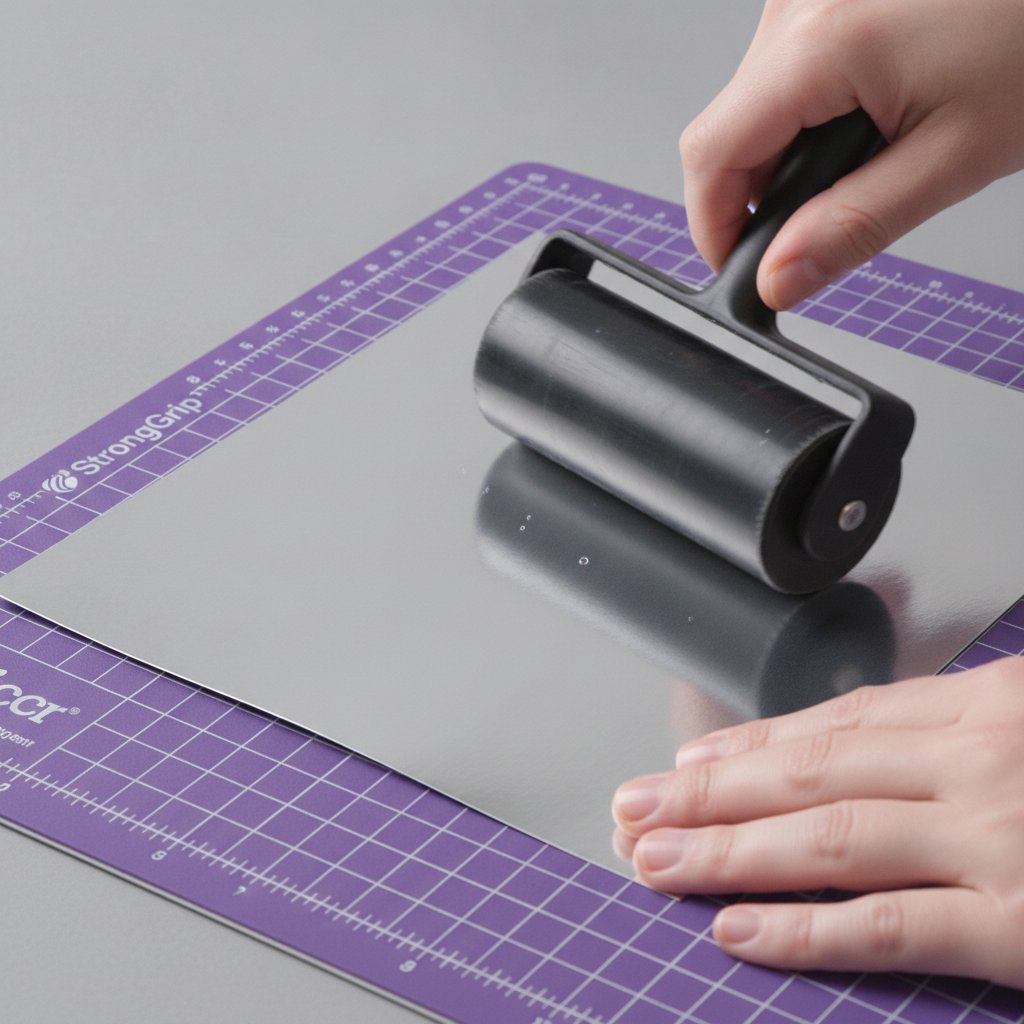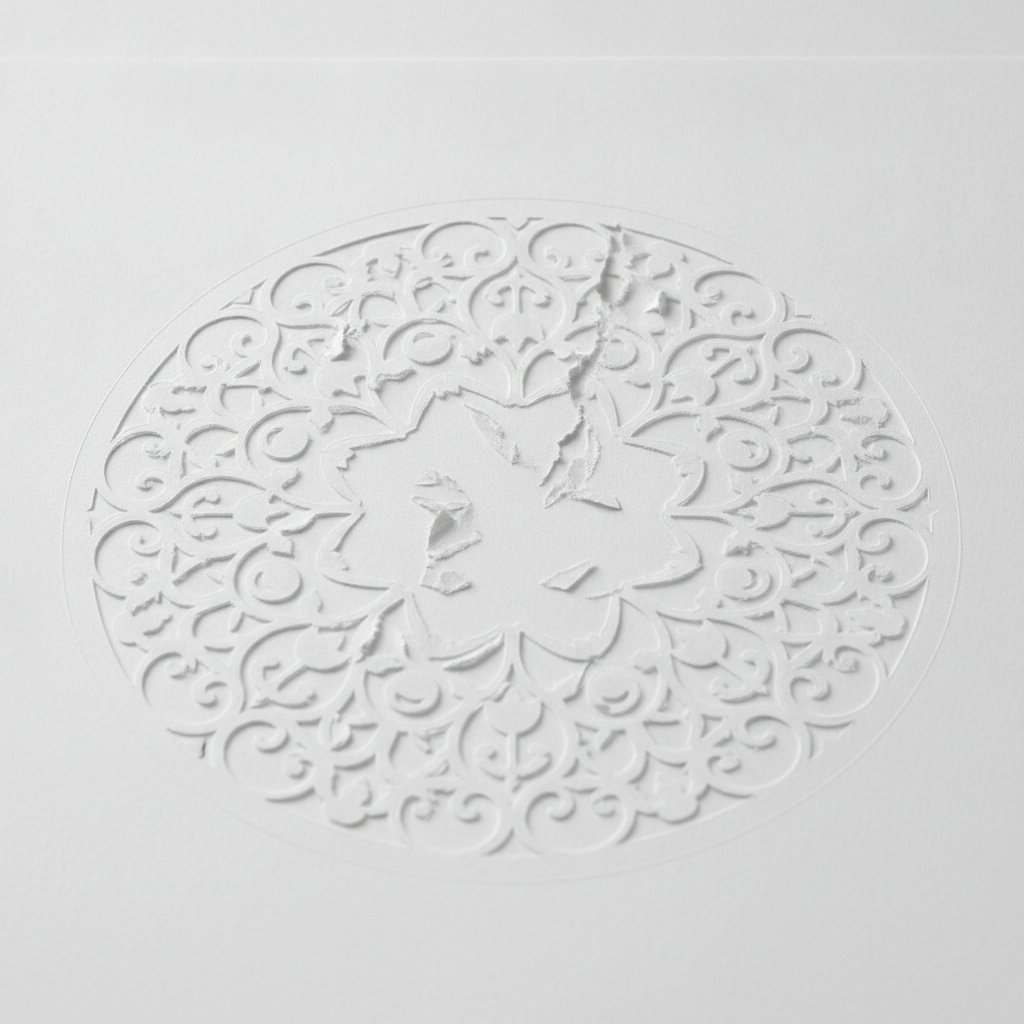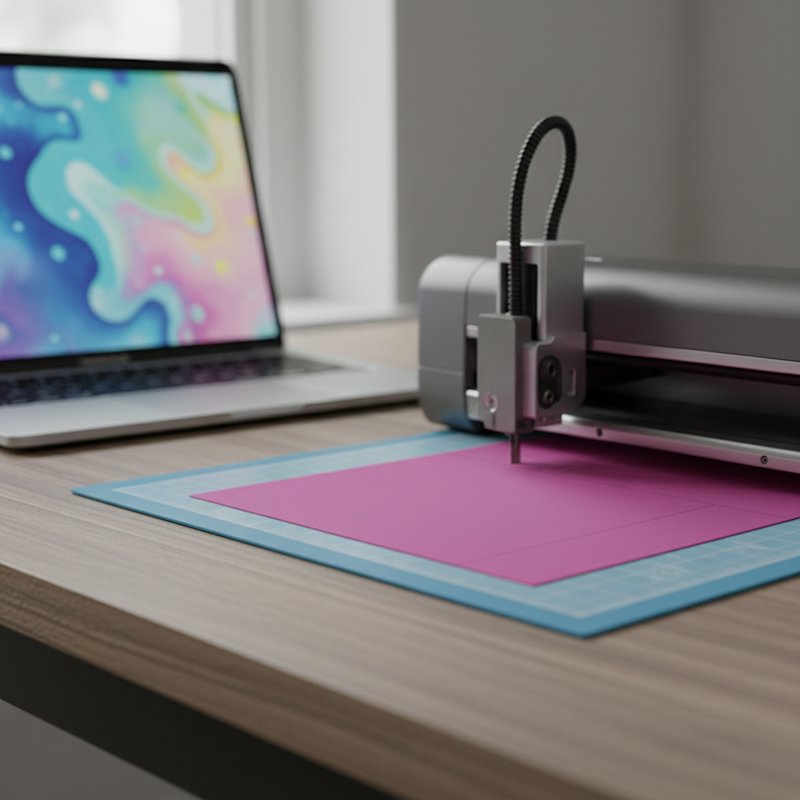
The first time I tried to cut paper on a Cricut, I loaded a sheet of flimsy 20 lb printer paper onto a brand-new StandardGrip mat, hit Make It, and watched the blade drag the sheet into a wrinkled ball of confetti. I assumed the machine was broken. It wasn't — I'd just picked the wrong paper and skipped the one step that matters most: the test cut.
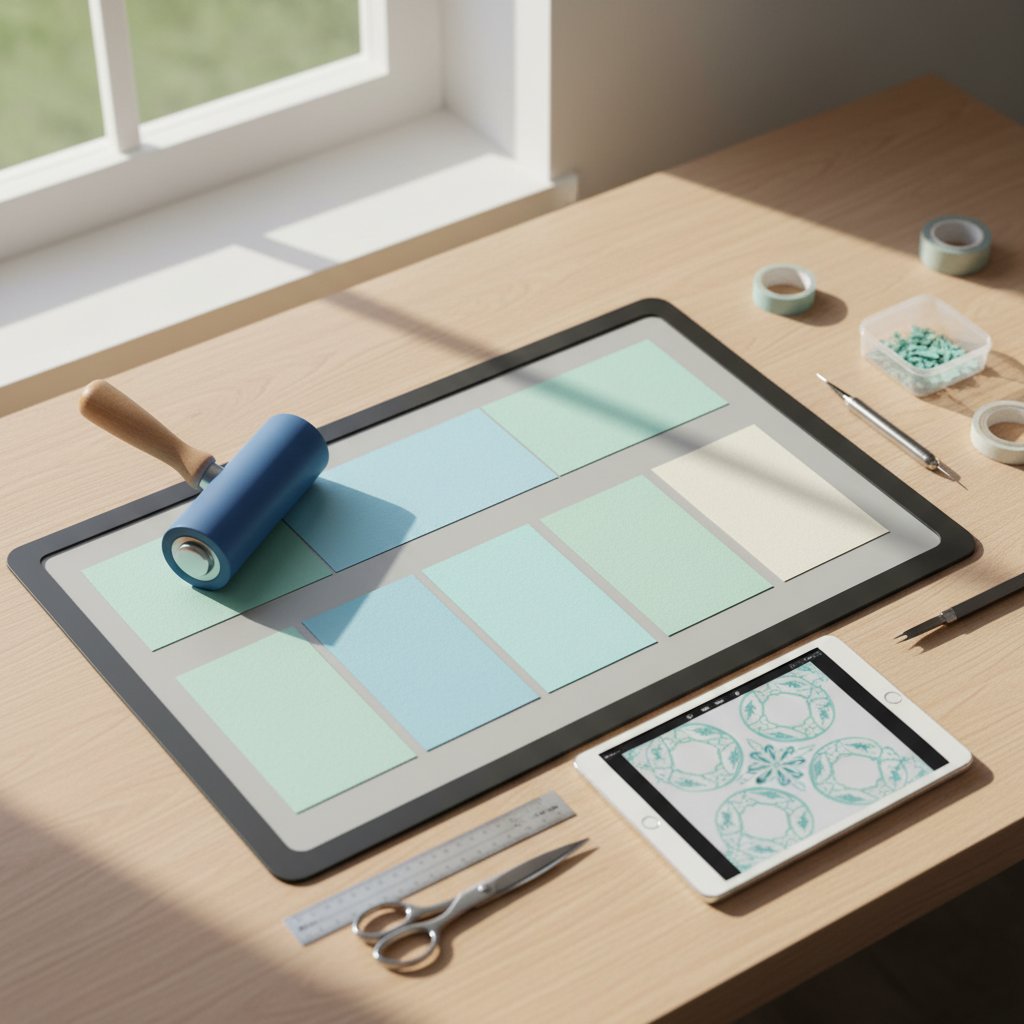
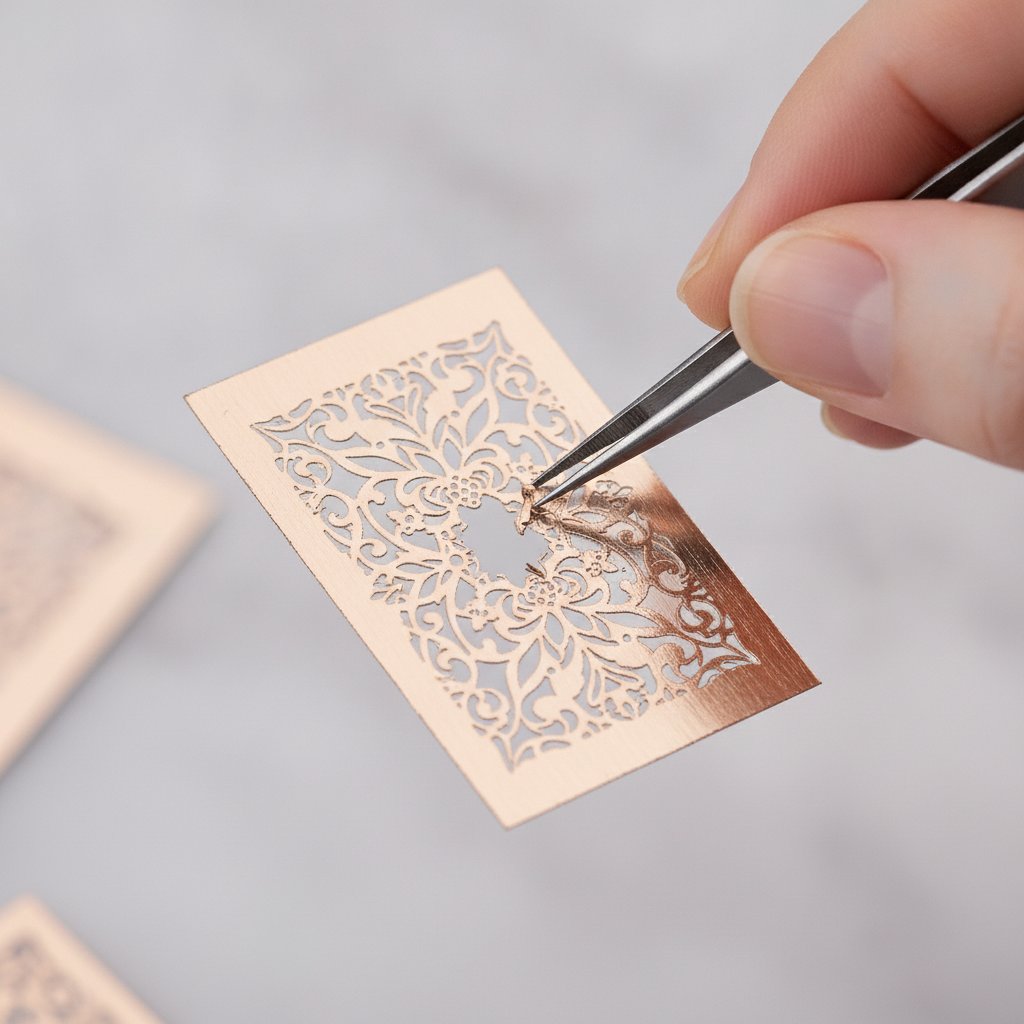
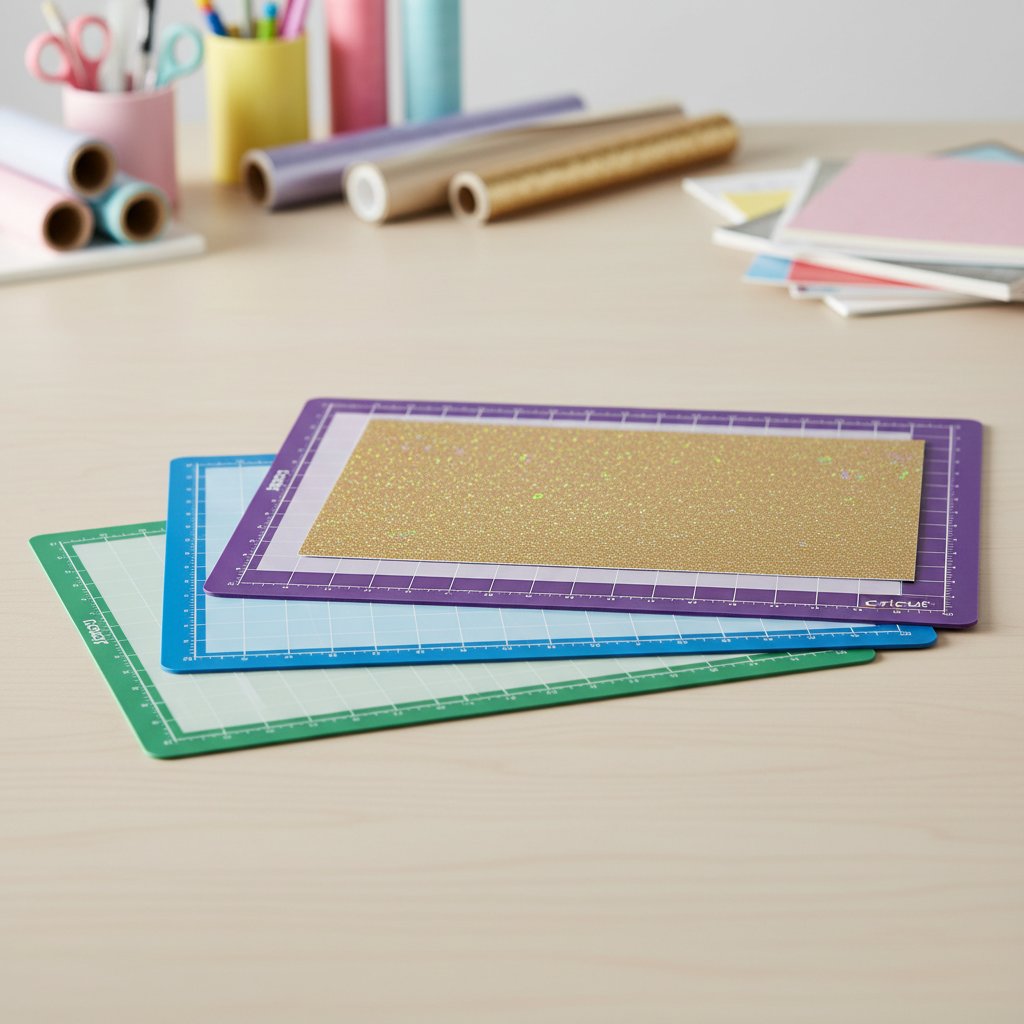
Cricut paper cutting is the craft of using a digital cutting machine (a Cricut Explore or Maker) to cut shapes, letters, and layered designs out of cardstock and specialty paper. Where a craft knife relies on your hand for precision, a Cricut relies on a sharp blade, a sticky mat that holds the paper still, and software settings that tell the machine how hard and how many times to cut. Get those three things right and the machine does the fiddly work for you. Get them wrong and you'll tear paper, waste material, and blame the machine.
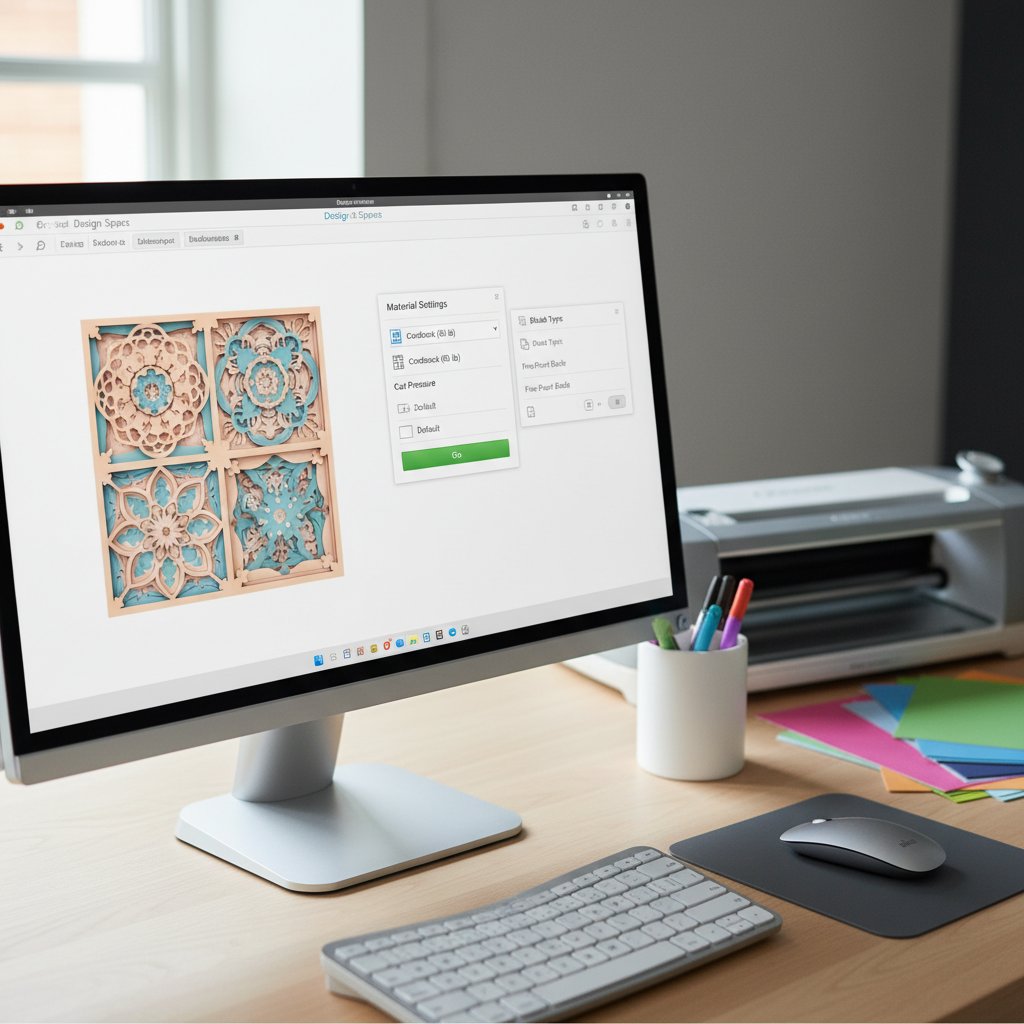
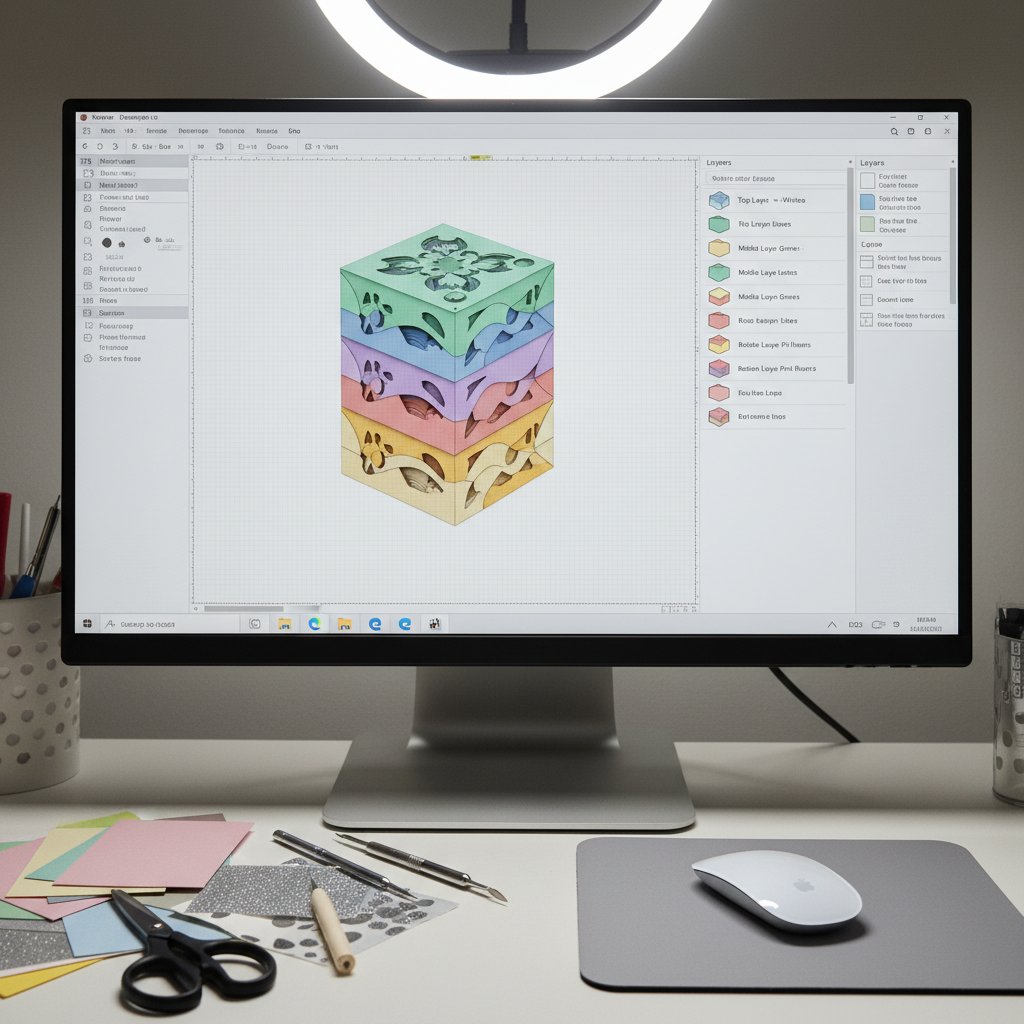
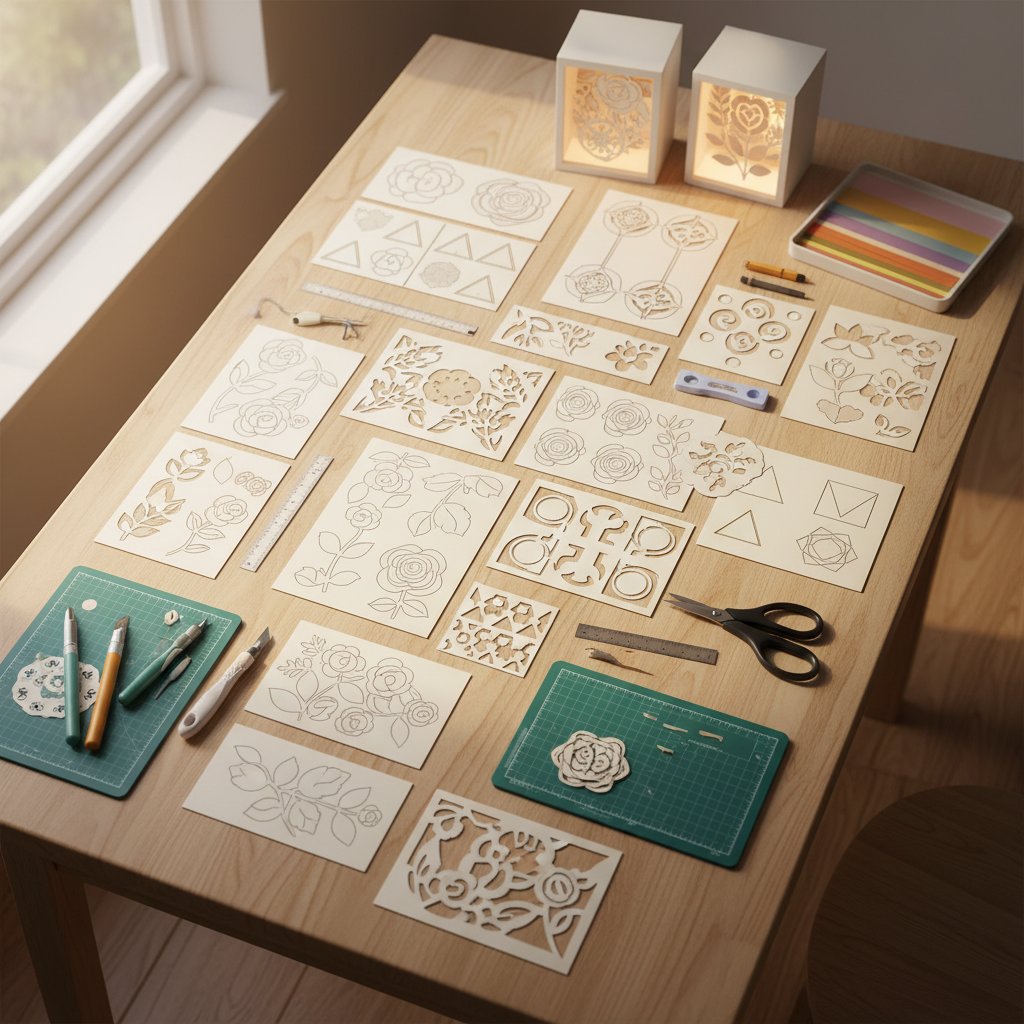
This guide is the beginner walkthrough I wish I'd had on that first ruined sheet. We'll cover the paper types that actually cut cleanly, the one blade and one mat you need to start, how to set up a project in Design Space, a full step-by-step cut, and the troubleshooting fixes for when things go wrong. By the end you'll be able to cut a clean single-layer design and move on to layered shadow box projects.
If you're weighing whether you even need a machine versus cutting by hand, our paper cutting tools for beginners guide compares craft-knife and machine workflows so you can decide before you spend $200.