Articles19 min read

Cricut Design Space Tutorial for Beginners

A paper crafter's walkthrough of Cricut Design Space — from a blank canvas and your first SVG upload to the Attach, Weld, Slice, and Contour operations that turn a downloaded template into clean, layered wall art. Built around the real workflow for shadow boxes and papercut scenes, with the Design Space mistakes I made so you don't have to.

Cricut Design Space interface showing shadow box template being imported and prepared for cutting

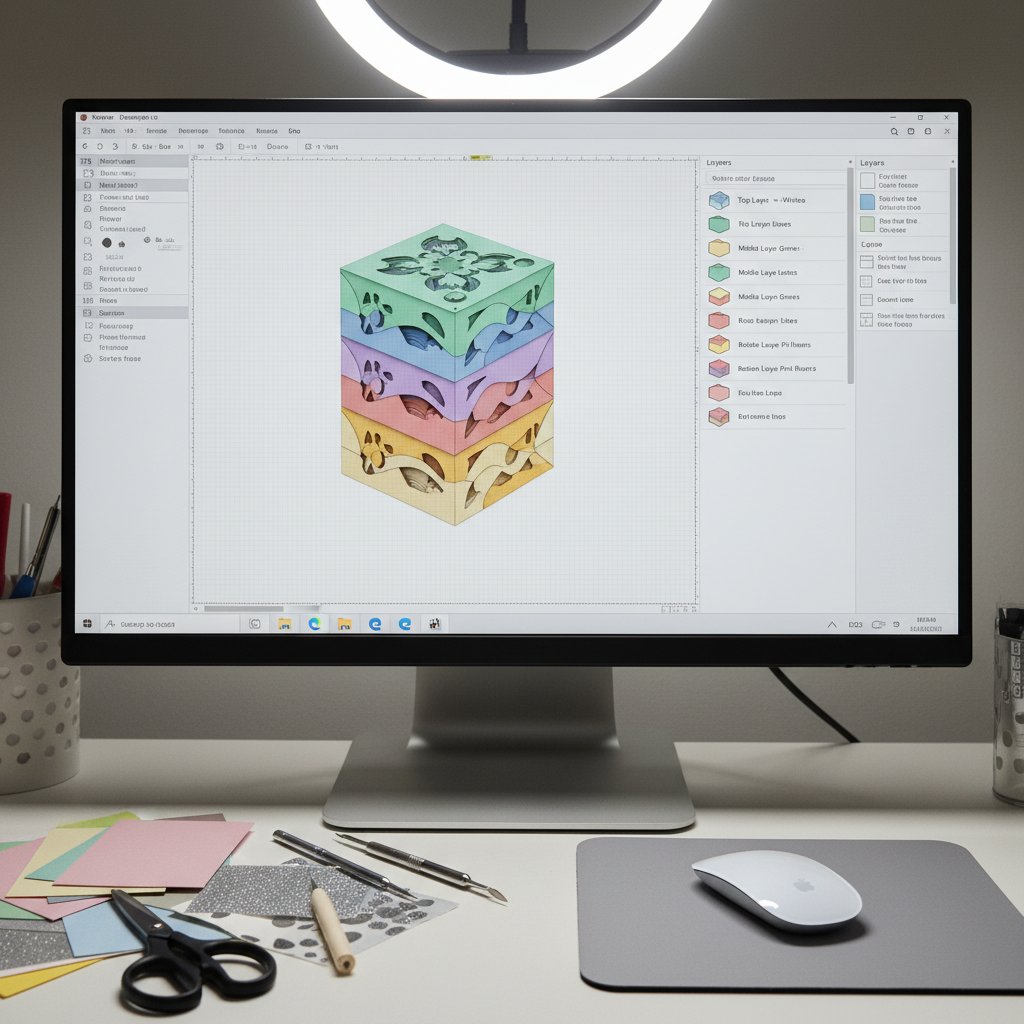
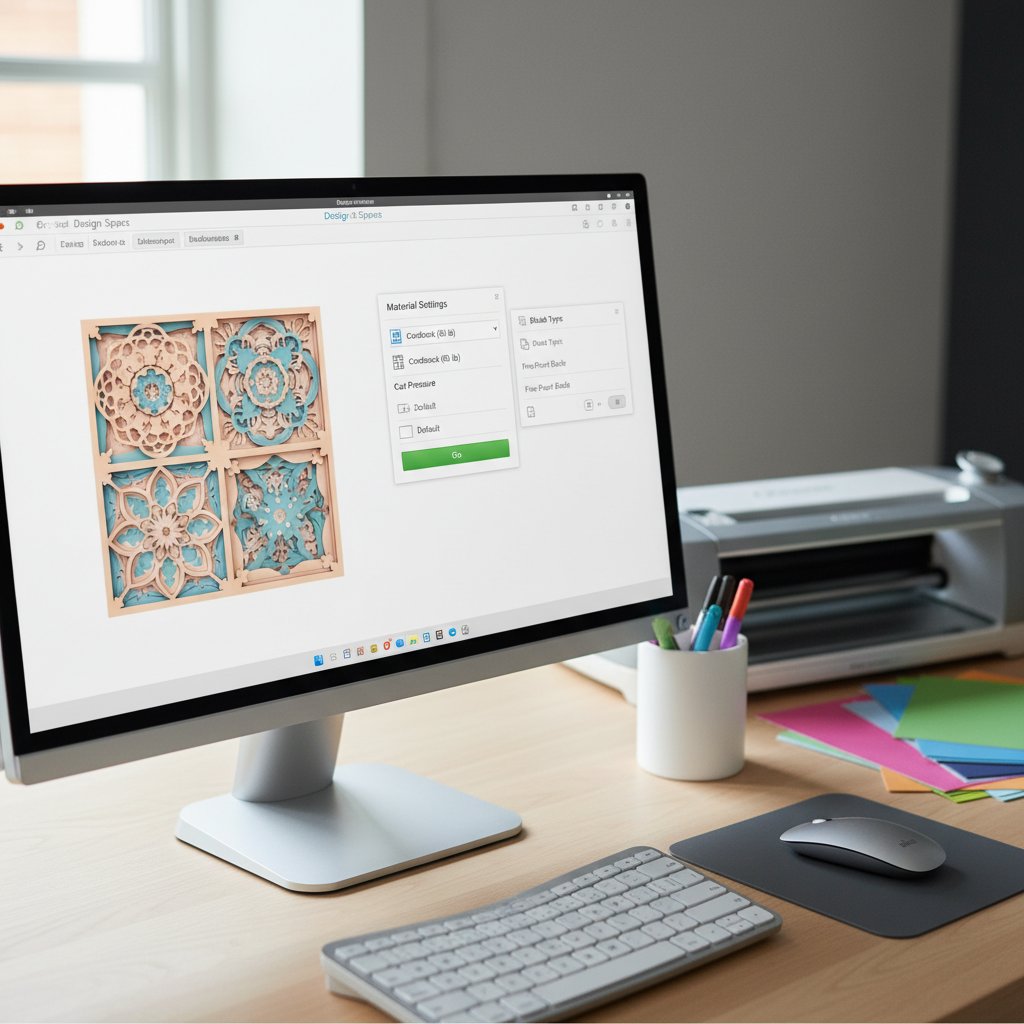
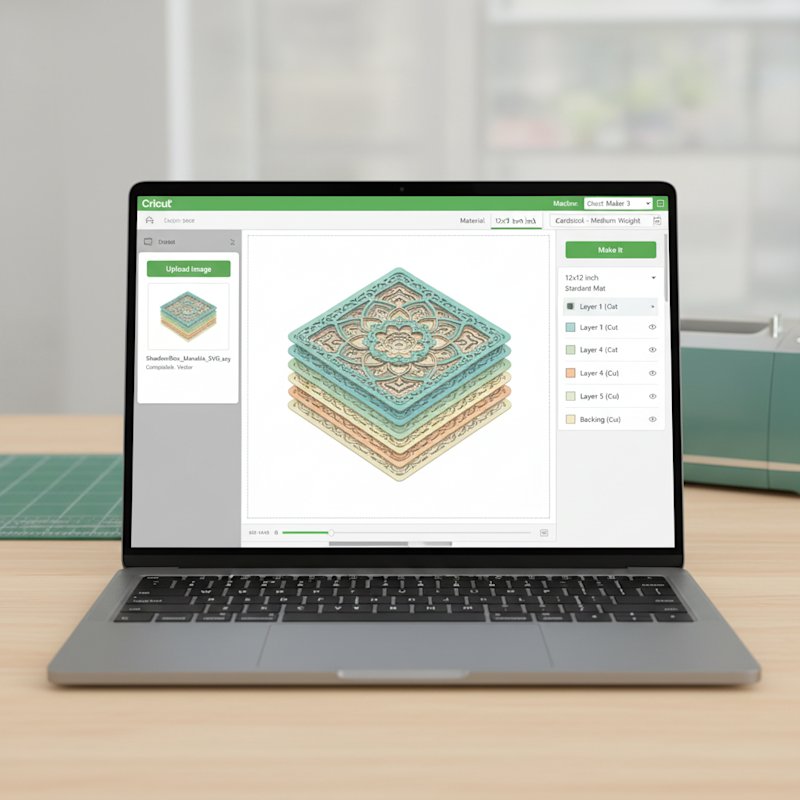
The first time I opened Cricut Design Space, I spent forty minutes trying to figure out why my uploaded shadow box SVG arrived as a single uncuttable blob instead of the eight tidy color-coded layers the preview had promised. I'd clicked Upload, picked the file, hit Save — and watched Design Space flatten everything into one path. It wasn't broken. I'd just skipped the one dialog that asks how vectors should be interpreted, and I didn't yet understand the difference between a grouped layer and a welded one.

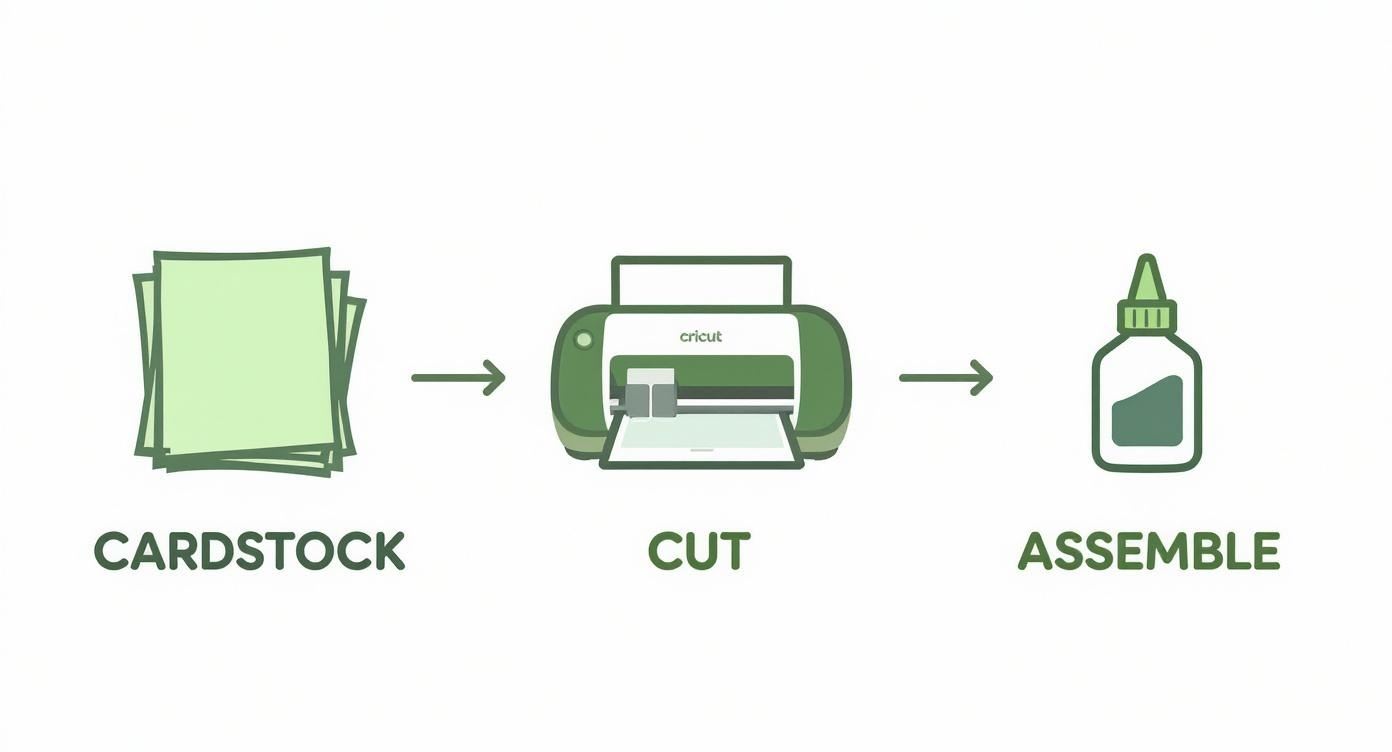
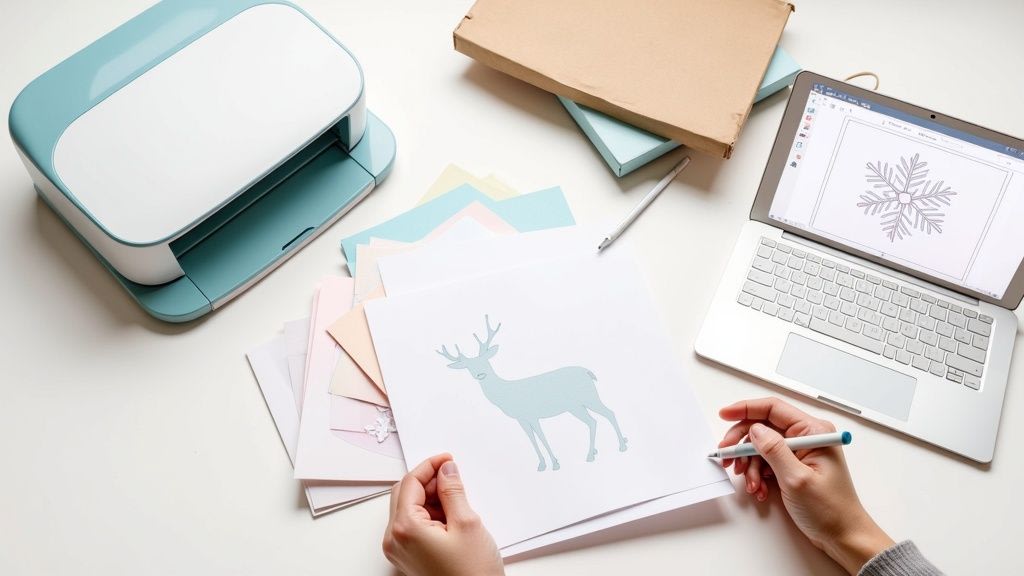
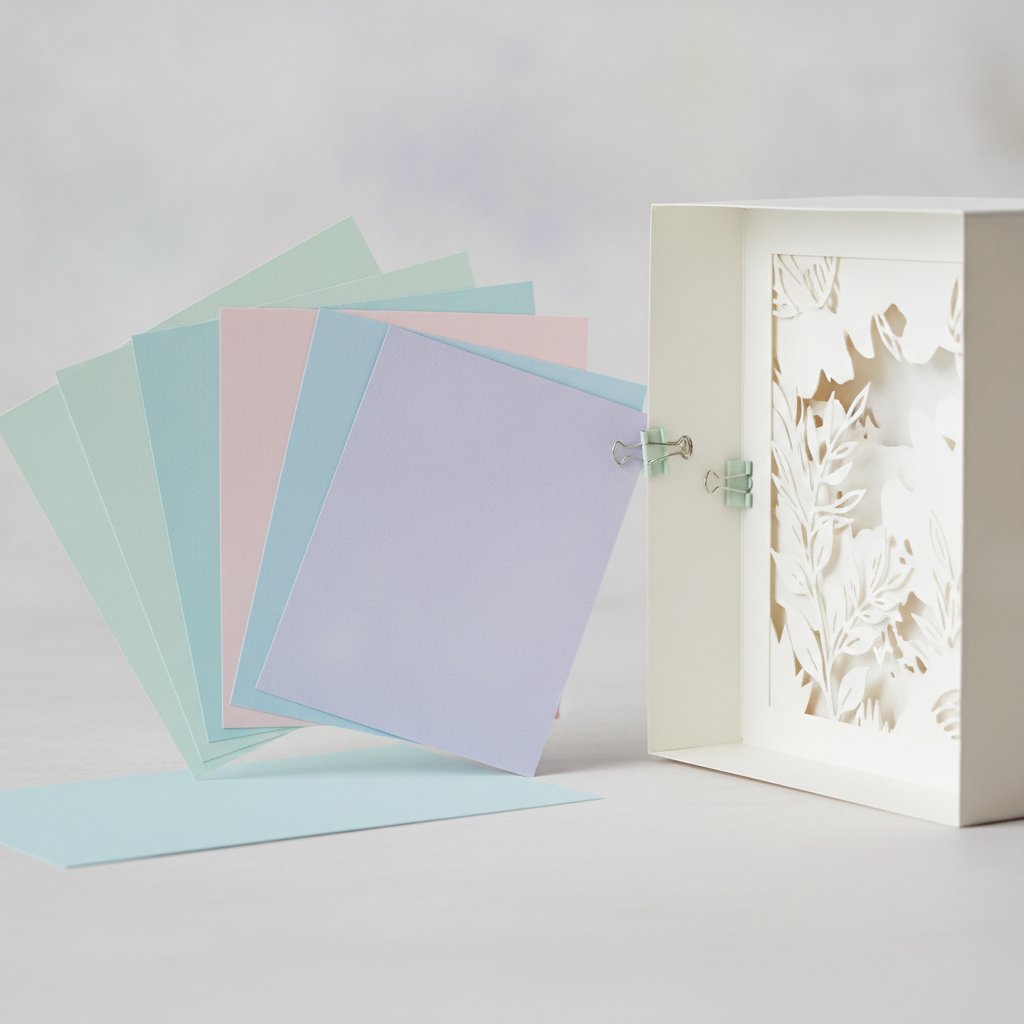
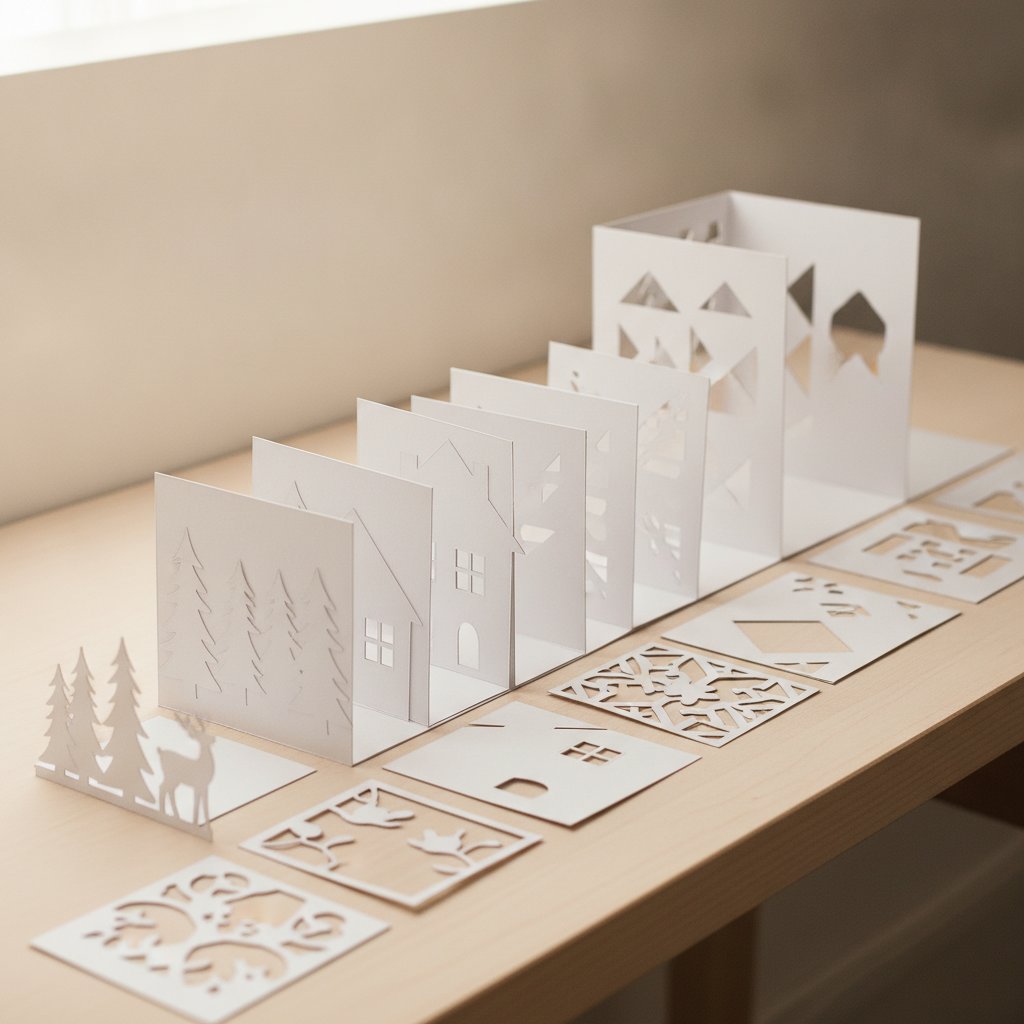
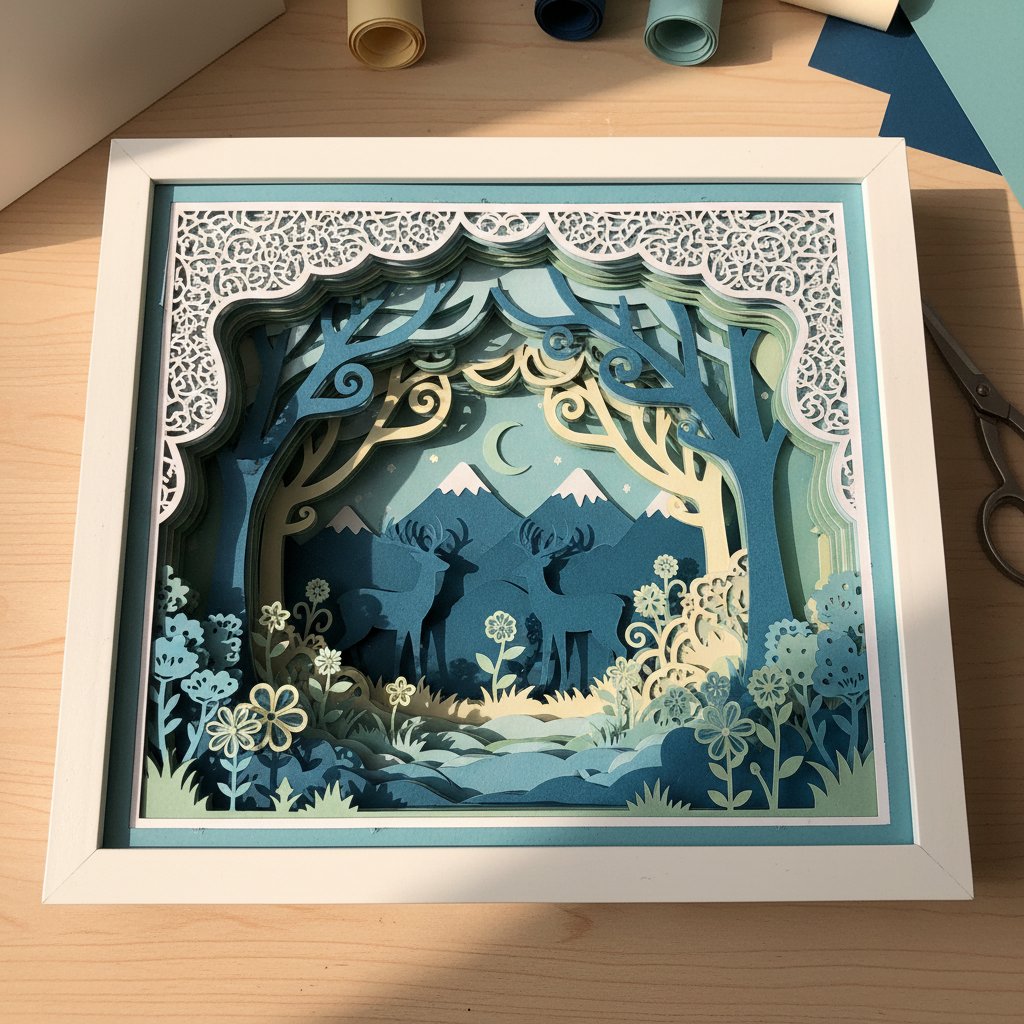
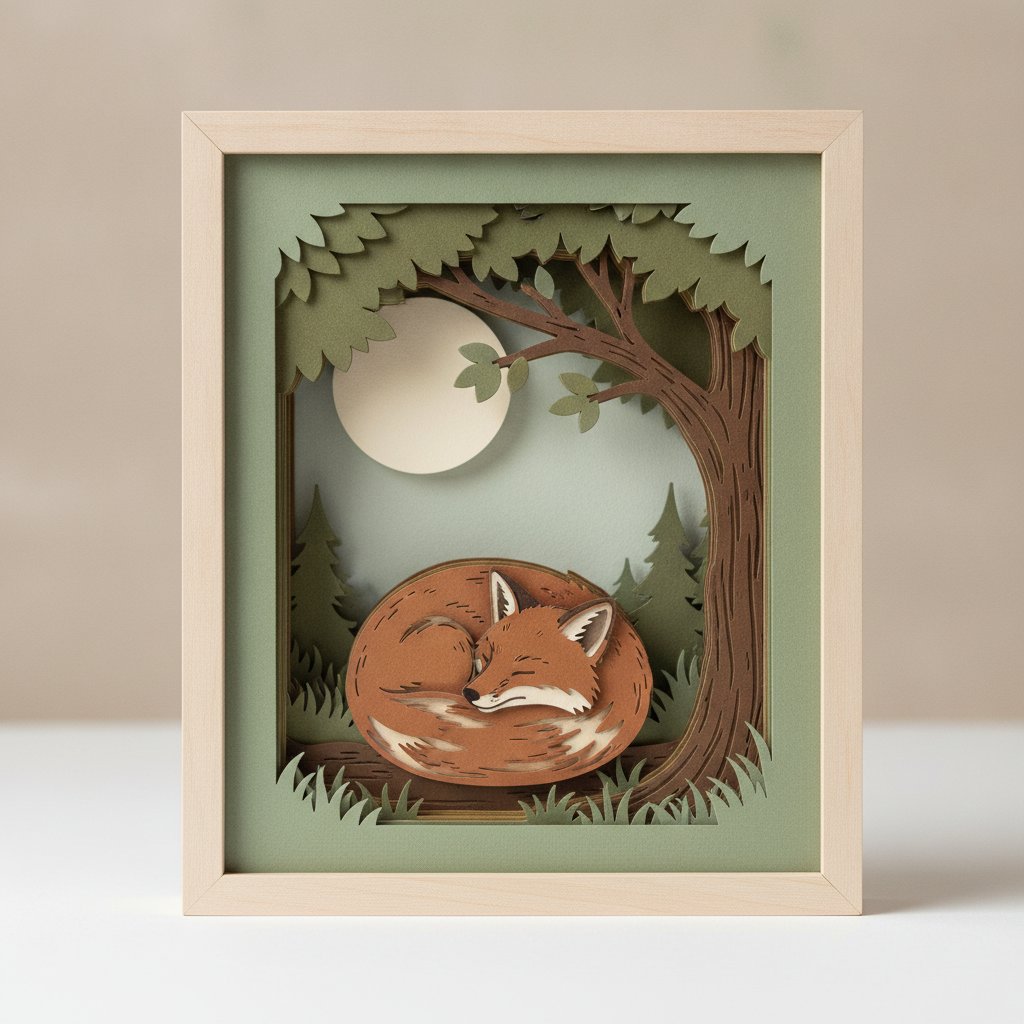
This Cricut Design Space tutorial for beginners is the walkthrough I wish I'd had that afternoon. It covers the software, not the machine — the canvas, the Layers panel, image upload, text, and the handful of operations (Attach, Weld, Slice, Contour, Group) that decide whether a downloaded template cuts the way you expect. Everything here is framed around paper craft specifically: layered shadow boxes, papercut wall art, and the cut-only workflow that matters when cardstock is your medium and there are no weeded-vinyl shortcuts.

A laptop screen showing colorful abstract paper-craft layer shapes neatly arranged in an orderly Design Space canvas

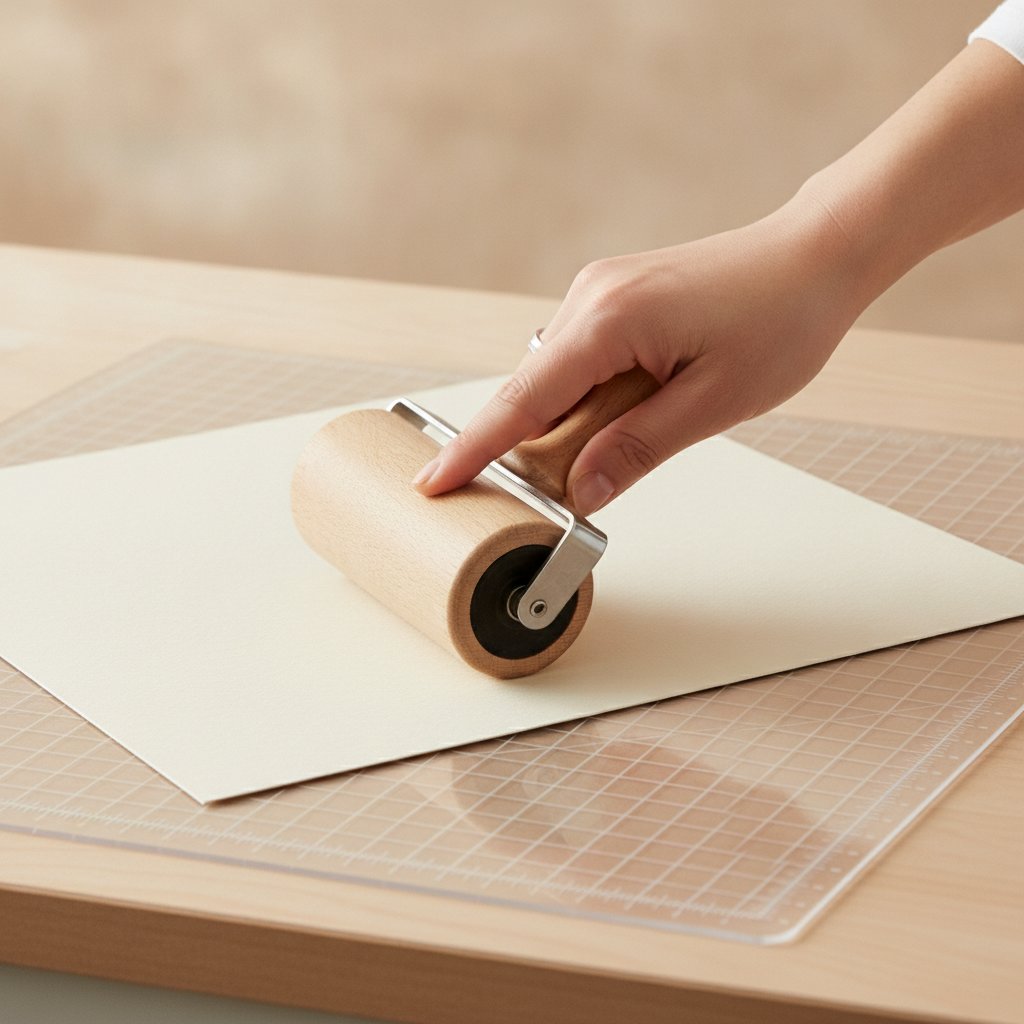
If you're brand new to the machine side — which blade, which mat, which cardstock weight — pair this guide with our Cricut paper cutting for beginners walkthrough, which covers the hardware and material settings. This article picks up where that one leaves off: inside the software, getting a design from download to a clean Make It.

What Cricut Design Space Actually Is

Cricut Design Space is the free design application that drives every modern Cricut cutting machine (Explore Air 2, Explore 3, Maker, Maker 3, and Joy). You install it on a computer, tablet, or phone, sign in with a Cricut account, and it becomes the bridge between a digital design and a physical cut. There is no way to send a job to a Cricut without it.

For a paper crafter, Design Space does three jobs: it lets you open or create a design (upload an SVG, draw shapes, set type), organize that design into cuttable layers (one layer per mat per color), and send each layer to the machine in the right order with the right material setting. Most beginner frustration lives in the second job — a downloaded template arrives looking perfect on the canvas but cuts wrong because the layers aren't set up the way the machine expects.

Free vs. Cricut Access — what actually matters for paper

The core features you need for paper cutting are free: uploading your own SVGs and images, drawing shapes, adding text, and all five layer operations. A Cricut Access subscription unlocks Cricut's ready-made image and project library and a few fonts. For a paper craft workflow built around downloaded or purchased SVGs, you do not need the subscription to start. Run the free version until you specifically want a licensed Cricut image.

Three-step Cricut crafting process showing cardstock being cut with a Cricut machine then assembled into a finished layered paper piece

Desktop, web, or mobile?

Design Space runs as a desktop app (Mac and Windows), in a browser, and on iOS/Android. The desktop app is the most stable for paper projects — browser versions occasionally stutter on large multi-layer shadow box files, and the mobile app hides some layer operations behind menus. This tutorial describes the desktop app; the controls are the same elsewhere, just relocated.

A Tour of the Design Space Interface

Open a New Project and you'll see three regions: the canvas in the center, a left-hand design column (New Project, Templates, Projects, Images, Text, Upload), and the right-hand Layers panel with an Edit toolbar across the top of the canvas. Learn these three and 90% of Design Space becomes predictable.

A laptop screen showing nested concentric paper-craft layer shapes in different colors stacked to suggest depth

The canvas

The canvas is your workspace. By default it shows a 12 × 12 inch square representing one StandardGrip mat — the size most cardstock projects use. Anything you draw, upload, or type lands here as a selectable object. The dashed line around the edge is the cuttable boundary; keep design elements inside it. Toggle the grid in the top toolbar if you need to align shapes by eye.

The Layers panel (where paper craft lives)

The Layers panel on the right lists every object on your canvas, top-to-bottom matching front-to-back stacking order. For a layered shadow box, this is the single most important panel in the software: each line here becomes one cut on one mat. A well-organized shadow box SVG arrives as eight separate layer rows, each a different color; a poorly-organized one arrives as one merged row and has to be split apart before it will cut correctly.

Cricut Design Space interface showing the Layers panel with multiple color-coded shadow box layers ready to attach and cut

Each layer row shows three controls: an eye (toggle visibility), the layer name with a color swatch, and on the far left a scissors/wrench icon indicating what the machine will do to that layer — Cut, Draw, Score, or Print Then Cut. For paper craft you want every layer set to Cut (the scissors). If a layer shows "Print Then Cut" you'll waste ink printing it; click the operation label and switch it to Cut.

The Edit toolbar

Across the top of the canvas sit the tools that change a selected object: align, flip, size, rotate, position, color (Sync), and the operation dropdown. The Linetype/operation dropdown here is the same control as the scissors icon in the Layers panel — both set Cut vs. Draw vs. Score. Memorize where Align and the operation dropdown are; you'll use them on every project.

Learn Upload on a Bold Single-Layer Cut
Don't practice the Upload dialog on a 12-layer shadow box. The Crazy Dog papercut SVG is a bold single-layer silhouette with clean continuous curves — one layer, one mat, one cut. It's the fastest way to confirm your upload, resize, and Make It flow work before you tackle a multi-layer build.

Setting Up Your First Project

Before you bring any artwork in, set two things on a fresh canvas so the rest of the project behaves.

1. Set units to inches (or centimeters) and confirm canvas size

Click the Settings cog in the top-right and confirm Units. Most US cardstock and shadow box frames are sized in inches; if your numbers come out weird, this is why. Confirm the canvas shows 12 × 12 in for a StandardGrip mat. If you're cutting a larger design on a Maker 3 with a 12 × 24 in mat, switch the canvas size in the same panel so you can lay the design out at true scale.

2. Decide your final frame size up front

An open planning notebook with hand-drawn shadow box layer sketches beside cardstock color swatches for sizing a project up front

The single biggest beginner mistake is building a design, hitting Make It, then discovering it doesn't fit the frame. Decide the finished cut size first — a 10 × 10 in layered piece for a 12 × 12 frame with a mat border, say — and resize every layer to that footprint before you start arranging. Resizing at the end distorts layered depth; sizing once at the start keeps every layer proportional. Our how to resize shadow box SVGs for any frame guide walks through proportional scaling lock-by-lock.

3. Name and save the project

Click the project name (top-center, it'll say "Untitled") and name it. Hit Save (top right). Design Space autosaves, but a named, manually saved project is the only reliable way to find your work again when the app crashes mid-upload — which it will, eventually, on a big shadow box file.

Uploading and Working with SVG Files

For a paper crafter, the Upload path is the most-used feature in Design Space. Most of what you cut — purchased templates, free downloads, your own vector art — arrives as an SVG (Scalable Vector Graphics). SVG is the format you want because it preserves each layer and color as a separate path and scales without quality loss.

A laptop screen showing an abstract paper-craft shape outlined entirely with thin red cut lines on a dark canvas

The correct upload flow for a multi-layer SVG

  1. Upload → Upload Image → Vector Upload → Browse, then select the .svg file. 2. Design Space shows a preview and asks you to name it. Name it descriptively
    ("Hydrangea Shadow Box — 8 layers") so you can find it in Your Uploads later.
  2. Click Save. The file lands in Your Uploads library. 4. Click the uploaded thumbnail, then Insert Images to drop it on the canvas.

The mistake that flattens your layers

If your SVG arrives as a single object instead of separate colored layers, you almost always hit one of two causes. First, you uploaded a flattened format (PNG, JPG) instead of the SVG — raster images import as one printed image, not cut paths. Second, the SVG was saved with all paths combined into a single compound path in the source design app. In Design Space, select the object, right-click, and choose Ungroup repeatedly until each color sits in its own layer row. If a layer still won't separate, use Contour (covered below) to hide interior cut paths.

Group vs. Attach — the one that confuses everyone

Group is organizational only — it bundles layers in the Layers panel so you can move them together on the canvas, but the machine still cuts each on its own mat in its own position. Attach is a real cut instruction — it locks selected layers together so they cut in exactly the arrangement you see on the canvas, on one mat. For a shadow box where each layer is one full sheet, you usually do not attach; each layer is its own mat. For a card front with three small cut elements that must land in specific spots on one sheet, you Attach them. When in doubt: if it needs to stay in place on one mat, Attach; if you just want to tidy the Layers panel, Group.

Working with Text in Design Space

Text is how you make monograms, names, quotes, and the personalized wall art that sells. The Text tool lives in the left-hand column (the big T). Click it, type, and a text box appears on the canvas with a font dropdown at the top.

The two operations every text project needs

Person designing a paper-cut SVG file on a laptop with a Cricut cutting machine and printed layered paper designs nearby

Raw text arrives as editable letters, each its own cut path with its own kerning. Before you cut a script word or connected monogram you need two operations:

  • Letter Space — the slider at the top tightens or loosens spacing between letters. For a flowing script font, slide it negative until the letters' flourishes overlap into one continuous word. - Weld — select the word, right-click → Weld (or click Weld in the Layers panel). Weld merges overlapping shapes into a single cut path. Without it, Design Space cuts each letter as a separate object and overlapping flourishes cut as little slivers that fall out.

Flatten, Weld, Slice — which text operation when?

  • Weld joins letters into one word (script fonts, monograms). - Slice cuts one shape out of another (cutting a name out of a rectangle to make a stencil, or knocking a word out of a backing layer). - Flatten is for Print Then Cut only — it merges layers into one printable image. You will almost never use Flatten for cut-only paper craft; if you find yourself reaching for it, you probably want Weld or Attach instead.

Curving and shaping text

The Curve tool in the top toolbar bends text along an arc — useful for circular monograms and badge-style wall art. Set the curve radius, then Weld the result so the curved, touching letters cut as one piece. Skip Cricut Access fonts until you've tested a free system font; most bold sans-serifs cut more cleanly than ornate licensed scripts and read better at frame distance.

The Five Operations That Matter Most for Paper

Design Space has a dozen tools, but for cut-only paper craft five of them do almost all the real work. Learn what each one does to the cut path — not just the on-screen look — and you can debug any template.

| Operation | What it does to the cut | Typical paper-craft use | |-----------|-------------------------|--------------------------| | Attach | Locks layers in position on one mat | Keep multiple cuts placed exactly where you want them on a single sheet | | Group | Organizes layers in the panel only | Tidy a busy Layers panel; no effect on the cut | | Weld | Merges overlapping shapes into one path | Join script letters, merge shapes into a single silhouette | | Slice | Cuts one shape out of another, producing split pieces | Knock text out of a panel, split a shape into two colors | | Contour | Hides individual cut paths inside a layer | Remove unwanted interior cuts, simplify an over-detailed layer |

Weld — when shapes must become one

A fanned stack of soft pastel cardstock sheets beside a partly assembled papercut shadow box showing welded layered shapes

Select two or more overlapping shapes, right-click → Weld, and Design Space merges their outlines into a single cut path, deleting the overlapping interior lines. Use it any time two shapes need to read as one solid piece — overlapping circles into a blob, or a word whose letters touch. Weld is destructive: once welded you can't un-weld back to the original shapes without Undo, so do it last and keep a copy.

Slice — the cut-you-can-undo

Slice takes two selected objects and cuts the top one through the bottom one, producing up to four new pieces you can delete or recolor. It's how you knock a name out of a cardstock panel (text sliced from rectangle with a name-shaped hole) or split one shape into two colors. Unlike Weld, Slice produces editable pieces — delete the scraps and keep what you need. Remember Slice needs exactly two objects selected; select three and the button grays out.

Contour — the silent layer-simplifier

Select a layer, click Contour in the Layers panel, and a window opens showing every individual cut path inside that layer as a clickable dot. Click a dot and that cut hides — it will not be cut. Contour is the tool that rescues an over-detailed SVG: when a downloaded template has 300 tiny interior cuts you don't want, contour them off instead of fighting the blade. It's also non-destructive — you can re-contour a hidden cut back on any time.

Try Color Sync on a Layered Floral
The Hydrangea shadow box SVG is built as five clearly separated, color-coded layers — the ideal practice file for the Layers panel, Color Sync, and Contour. Assign one cardstock color per layer, contour off any cuts you don't want, and you'll see exactly how a multi-layer file becomes five clean mats.

Color Sync and Organizing Multi-Layer Designs

For a layered shadow box, the Layers panel and the Sync (Color Sync) tool are where the project either comes together or falls apart. The goal is simple: one layer row per mat, one color per layer, so each sheet of cardstock gets exactly one cut.

How Color Sync works

Click Sync in the top toolbar (the color-swatch icon) and Design Space opens a panel listing every layer and its current color. Drag one layer's color swatch onto another and the two layers merge — they become a single layer that cuts once on one mat in one color. This is how you tell the machine "these two foreground elements are both black cardstock; cut them together on one sheet." Done right, Color Sync turns eight on-screen colors into however many real cardstock colors you actually own.

The correct layer order for a shadow box

Neatly cut white cardstock shadow box layers organized in sequence across a workspace ready for stacking and assembly

A shadow box cuts back-to-front: the background layer is the biggest and goes in the frame first, the front layer is the smallest and sits closest to the glass. In the Layers panel, organize rows so the background is at the bottom and the foreground at the top — that matches the physical stacking order and makes assembly intuitive. Name each layer ("1-back-sky", "2-distant-trees", … "8-foreground-fox") so when you're at the gluing stage you know exactly which sheet is which.

Assign one mat per layer

When you click Make It, Design Space previews each layer on its own mat, color-coded. If two layers are the same color you didn't mean to merge, they'll show on one mat — go back, change one layer's color slightly, and they'll separate. For the full assembly path from these cut layers to a framed, lit piece, our how to make a layered paper shadow box with Cricut walkthrough covers stacking, spacers, and framing once the cuts are done.

Sizing and the Make It Flow

The Make It button is where the software hands off to the machine. Get the sizing right before you press it.

Lock aspect ratio when you resize

Click any layer and the size boxes appear at the top. The padlock icon next to W and H locks aspect ratio — leave it locked unless you're deliberately distorting. Type the width you want and height scales proportionally. For a shadow box, resize every layer to the same final width so they stack cleanly inside the frame; if one layer ends up a different size the depth illusion collapses.

The Make It preview

Click Make It and Design Space shows the mat preview: each layer on its own virtual mat, color-coded, with the material prompt coming next. This preview is your last chance to catch mistakes. Check three things:

  1. One layer per mat — if a mat shows two colors, you have an accidental merge to undo. 2. Everything fits inside the 12 × 12 boundary — anything crossing the dashed line won't cut fully. 3. The mat count matches your cardstock colors — if it asks for nine mats and you have seven colors, something didn't merge.

Material selection and mirror

A hand smoothing a sheet of cardstock onto a cutting machine mat with a brayer roller before a Make It cut

After the preview, Design Space prompts for a material per mat — this is where the cut pressure lives. Pick the setting that matches your cardstock weight (the Cricut cardstock settings mastery guide has the tested pressure table). For paper craft, leave Mirror Off — mirroring is for iron -on vinyl, not cardstock. Load the right mat, press the flashing Cricut button, and the cut begins.

Graduate to a Full Multi-Layer Scene
Once single-layer uploads and Color Sync feel routine, the Magical Fox shadow box SVG is the project I send every paper crafter to next. It's a multi-layer woodland scene with bold, continuous shapes that cut reliably and assemble into a finished, frameable piece — the perfect end-to-end test of everything in this tutorial.

Saving Projects and Your Uploads Library

How to Make a Shadow Box with Cricut or Silhouette overview card showing the full software-to-finished-project workflow

Design Space stores two different things in two different places, and confusing them costs work.

Projects (the whole canvas — every layer, position, and setting) save to your Cricut account in the cloud under Projects → My Projects. Hit Save frequently. A named, saved project is the only reliable recovery path when the desktop app hangs on a large shadow box file. You can also set a project to Custom so it appears in your private list rather than the public community gallery.

Uploads (individual SVGs and images you imported) live separately under Uploads → Your Uploads. Once you upload an SVG it stays in this library permanently — you don't re-upload it for each project, you insert it from the library. This is why naming uploads descriptively matters: six months in, "Untitled-7" is unfindable and "Hydrangea Shadow Box 8-layer" is not.

Offline mode caveats

Design Space has an offline mode that activates automatically when you lose connection, but it only works for projects and uploads you've already opened while online — it can't reach cloud-only assets for the first time offline. For travel or flaky Wi-Fi, open every project and upload you intend to cut once while online so the offline cache has them.

Design Space Settings Every Paper Crafter Should Change

Three default settings make paper craft harder than it needs to be. Change them once and forget them.

Cricut Design Space software interface showing the material settings panel for cardstock with pressure and multi-cut options

1. Set Canvas to show the 12 × 12 mat

Under Settings → Canvas, confirm the default mat size matches what you actually load. If you cut mostly 12 × 12 cardstock on a StandardGrip mat, the default is right. If you use a 12 × 24 mat for larger designs, switch it so the canvas reflects reality and you stop accidentally designing past the cuttable edge.

2. Turn on the on-canvas measurements

Enable Show Gridlines and Rulers so you can size by eye without selecting objects. For cardstock layout — fitting as many small cuts as possible on one sheet to reduce waste — the grid is the difference between four pieces per sheet and seven.

3. Default Linetype to Cut

If uploaded images keep arriving as "Print Then Cut," change the default Linetype under Settings so new objects start as Cut. This single change stops the most common paper craft mistake: accidentally sending a layer to the printer instead of the blade. Pair it with the right blade and mat from our best Cricut blade for cardstock comparison and the Cricut mat guide and the software-to-hardware path is complete.

Troubleshooting Common Design Space Issues

A corner of cardstock lifting and curling off a cutting machine mat showing poor adhesion during a cut job

These are the failures I hit most, each with the one fix that resolves it.

My SVG uploads as one flat object, not separate layers

You uploaded a PNG/JPG, or the SVG was saved as one compound path. Confirm the file is an .svg, then select it on the canvas and Ungroup repeatedly until each color is its own layer row. If a layer still won't separate, open Contour and toggle the interior paths.

Design Space is laggy or freezing on a big shadow box file

Multi-layer files with thousands of nodes overwhelm the canvas. Hide layers you're not actively editing (click the eye in the Layers panel) to lighten the render load. If it still freezes, close and reopen the project — Design Space recovers cloud-saved work on relaunch better than it unfreezes live. Avoid running other heavy apps while cutting large files.

The wrong layer shows "Print Then Cut"

Select the layer, click the operation label (scissors/wrench) in the Layers panel, and switch it to Cut. This happens when an image was uploaded as a raster or when the default Linetype drifted; the fix is always one click.

My cuts land in the wrong place on the mat

You forgot to Attach. Without Attach, Design Space re-arranges every unattached layer to save material — which moves your carefully placed cuts. Select the layers that must stay put, right-click → Attach, and they'll cut exactly where they sit on the canvas.

Text cuts as individual letters, not a word

You didn't Weld. Select the word, right-click → Weld, and the overlapping letter paths merge into one continuous cut. For the broader set of "it didn't cut right" hardware problems (tearing, incomplete cuts, drag marks), the Cricut cardstock troubleshooting bible covers the machine-side diagnosis.

Next Steps: Beyond the Basics

A layered papercut shadow box of a woodland fox curled under a tree with moonlight in muted grey tones displayed as finished wall art

Once the upload → organize → Make It flow is muscle memory, three directions open up.

Build a personal template library

Every shadow box you successfully cut is a reusable Design Space project. Save each finished project with the cardstock colors and frame size in the name ("Fox Shadow Box — 8 layers — 10in frame — settings notes"). In six months you'll have a personal library where every new frame size is a resize away, not a from-scratch build. For ready-made starting points, our free shadow box SVG templates round up tested files.

Combine text and silhouette for custom wall art

A name welded to a silhouette — a family monogram over a mountain range, a child's name under a fox — is the project type that turns a hobby into an Etsy shop. Practice Weld and Slice on a simple silhouette first; the operations are the same at any complexity. The five easy paper cut shadow box projects list ranks starter builds by difficulty.

Go deeper on multi-layer depth

True shadow-box drama comes from spacer depth between layers, not from the Design Space side. Once cuts are clean, the work moves to assembly — foam spacer thickness, glue choice, and alignment. Our assemble layered shadow boxes guide takes over where this tutorial ends.

The path forward is steady: one new Design Space operation per project, one new cardstock weight per week, and a saved project file for every cut that worked. In a month the software stops being a barrier and starts being the fastest part of the build.

1.Is Cricut Design Space free to use for paper cutting?
Yes. The core features a paper crafter needs — uploading your own SVGs, drawing shapes, adding text, and all five layer operations (Attach, Weld, Slice, Contour, Group) — are free with a Cricut account. A Cricut Access subscription unlocks Cricut's image and font library and a few licensed designs, but you do not need it to cut your own downloaded or purchased SVG templates. Start free; subscribe only if you specifically want Cricut's ready-made images.
2.How do I upload an SVG to Cricut Design Space without losing the layers?
Use Upload → Upload Image → Vector Upload → Browse, select the `.svg` file (not a PNG or JPG, which import as a single flat image), name it descriptively, and click Save. Then select it in Your Uploads and click Insert Images. If it still arrives as one object, select it on the canvas and choose Ungroup repeatedly until each color becomes its own layer row in the Layers panel. A properly authored multi-layer SVG keeps every layer separate automatically.
3.What is the difference between Attach and Group in Design Space?
Group is organizational only — it bundles layers in the Layers panel so you can move and manage them together on the canvas, but the machine still cuts each layer on its own mat in its own automatically arranged position. Attach is a real cut instruction — it locks selected layers into the exact positions you see on the canvas so they cut together on one mat. Use Group to tidy a busy panel; use Attach when specific cuts must stay in place on a single sheet.
4.Why does Design Space rearrange my design when I click Make It?
Design Space automatically rearranges any unattached layers to save material, packing them onto fewer mats. If your cuts land in the wrong place, it's because the layers you wanted held in position were not Attached. Select the layers that must stay put together, right-click → Attach, and they will cut in the exact arrangement shown on the canvas. Anything you genuinely want auto-nested should stay unattached.
5.Do I need to Weld text before cutting a script font?
Yes, almost always. Script and connected monogram fonts are designed so adjacent letters' flourishes overlap, but Design Space cuts each letter as a separate path until you Weld. Without Welding, the overlapping areas cut as tiny slivers that fall out and the word reads as disconnected letters. Tighten Letter Space until the flourishes overlap, select the word, right-click → Weld, and the letters merge into one continuous cut path. Weld is destructive, so keep a copy or use Undo if you need to edit.
6.What does the Contour tool do in Design Space?
Contour lets you hide individual cut paths inside a single layer without deleting them. Select a layer, click Contour in the Layers panel, and a window opens showing every interior cut path as a clickable dot — click any dot to hide that cut, so the blade skips it. It's the fastest way to simplify an over-detailed downloaded template, remove unwanted interior cuts, or quiet down a layer before cutting intricate cardstock. Contour is non-destructive; you can toggle any hidden path back on at any time.
7.Why did my uploaded image arrive as "Print Then Cut" instead of a cut path?
Two causes. First, you uploaded a raster image (PNG or JPG) — Design Space treats raster images as printable pictures, not cut paths, so the only option is Print Then Cut. To get a cut path, upload an SVG vector instead. Second, if a vector arrived with the wrong Linetype, select the layer, click the operation label (the scissors or wrench icon) in the Layers panel, and switch it from Print Then Cut to Cut. Setting your default Linetype to Cut in Settings prevents this for future uploads.
8.Can I use Cricut Design Space offline?
Design Space has an offline mode that turns on automatically when you lose your internet connection, but it only works for projects and uploads you have already opened at least once while online — it cannot fetch cloud-only assets for the first time offline. If you cut while traveling or on flaky Wi-Fi, open every project and uploaded SVG you plan to use once while connected so the offline cache stores them, then you can open and cut them with no connection.