Articles13 min read

Free Shadow Box SVG Templates for Cricut & Silhouette

Download a tested, cut-ready free shadow box SVG with real Cricut and Silhouette instructions — not just a file dump.

Layered paper cut shadow box nature scene with tree silhouettes showing dramatic depth through multiple layers

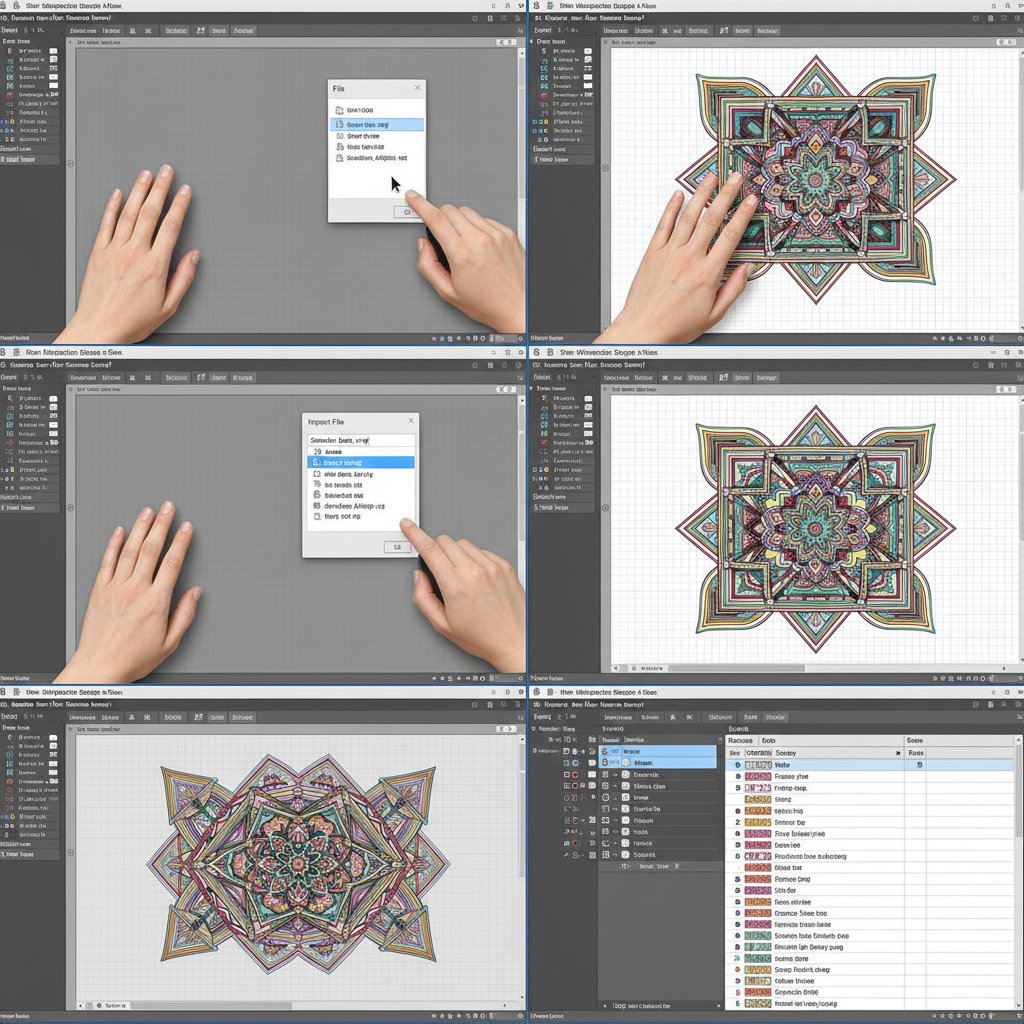
Looking for a free shadow box SVG that actually works when you load it into your cutting machine? You're in the right place. Most free SVG files floating around the internet are untested — they open fine, but when your Cricut or Silhouette starts cutting, the layers tear, the details close up, and the assembly turns into guesswork.

We took a different approach. This article includes a genuinely free layered shadow box SVG template that we cut on both a Cricut Maker 3 and a Silhouette Cameo 5, photographed every step, and recorded the exact settings that produced clean, crisp results. You'll walk away with the file and the instructions to make it look like the photo — no surprises.

Layered paper cut shadow box nature scene with tree silhouettes showing dramatic depth through multiple layers

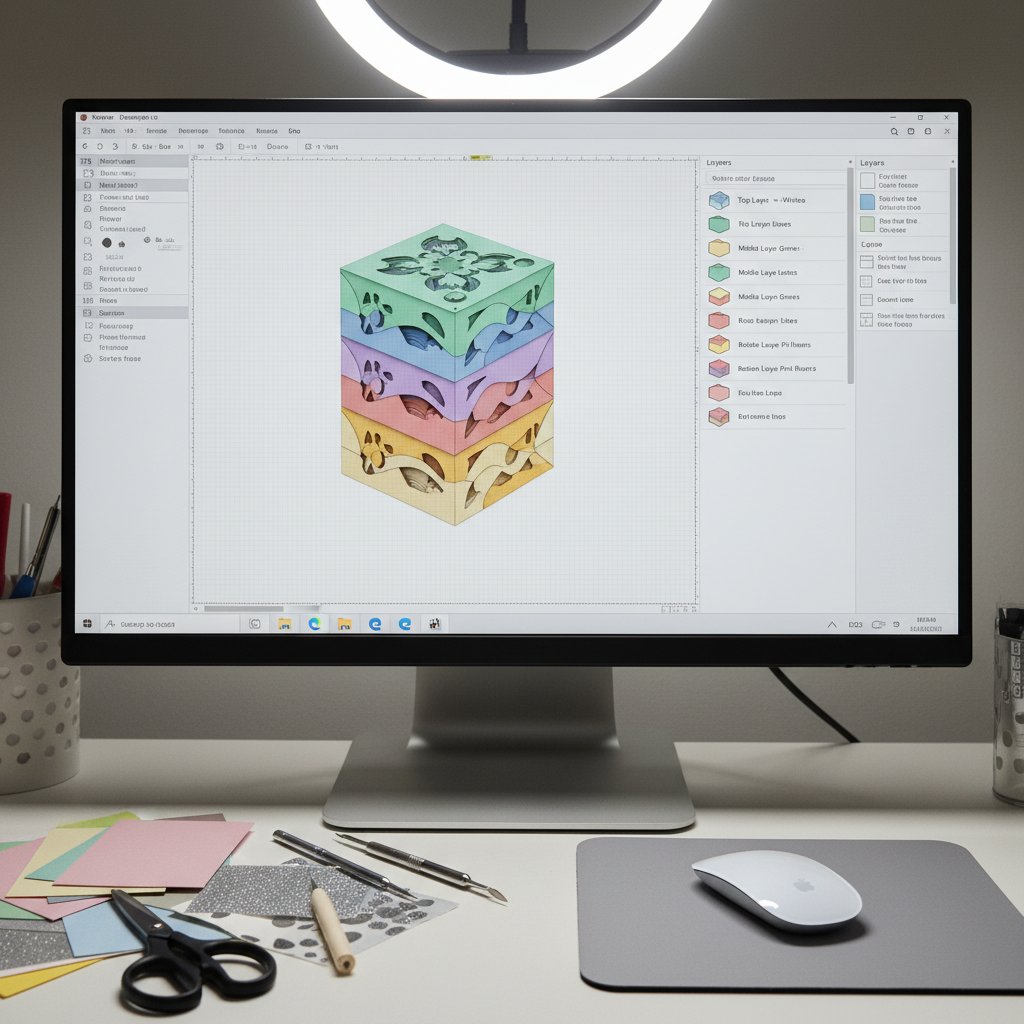
What's Inside Our Free Shadow Box SVG

Here's exactly what you get when you download our free template:

  • SVG, PDF, and DXF files — compatible with Cricut Design Space, Silhouette Studio (Designer Edition and above for SVG; all editions for DXF), and any other vector software - 5 layered pieces designed for a standard 8×8 inch shadow box frame — beginner-friendly complexity with a stunning finished result - A nature-inspired woodland scene — evergreen, non-seasonal, and perfect as home décor or a handmade gift - Personal and small-business commercial use — sell up to 200 finished physical pieces. No redistributing or reselling the digital file itself. Full plain-English terms included in the download - Printed assembly guide — layer order diagram, spacer placement map, and frame recommendation right in the ZIP

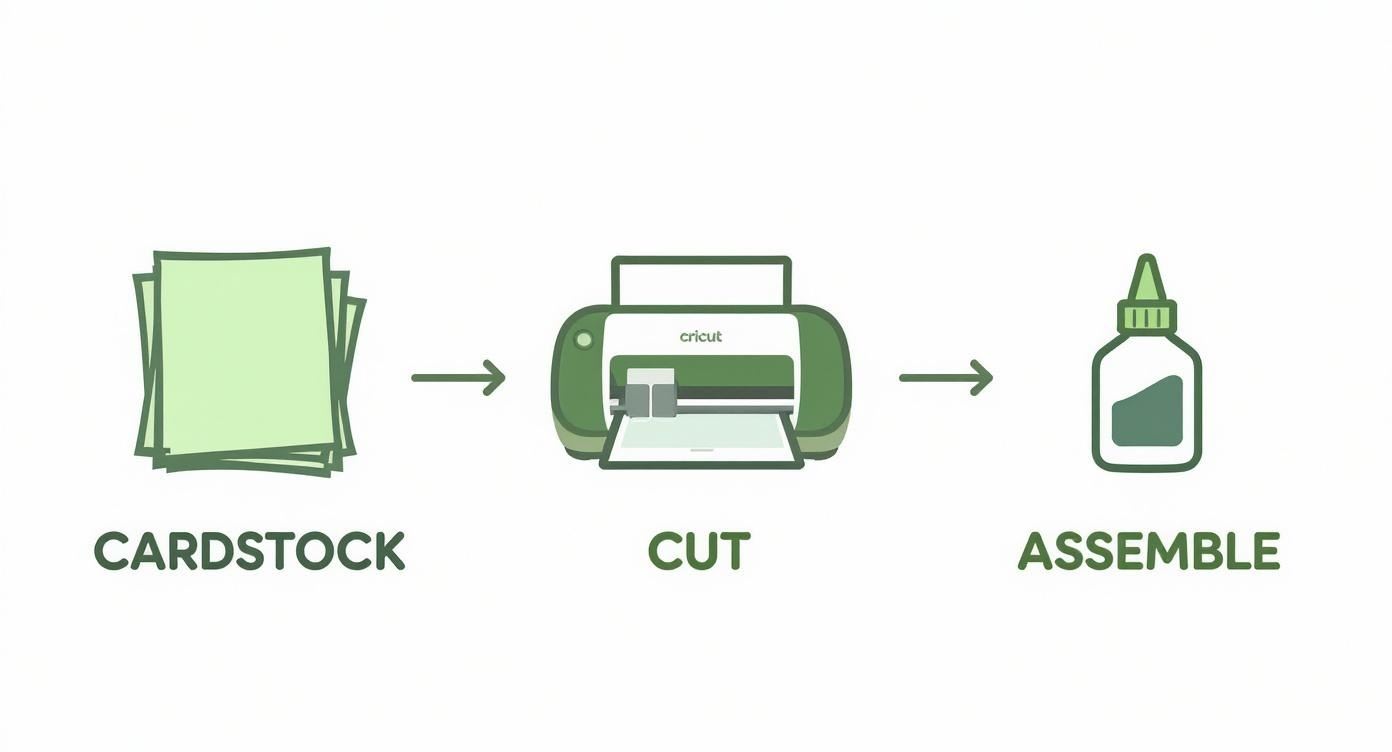
We designed this file specifically so that a first-time Cricut or Silhouette user could cut and assemble it in under 90 minutes from download to framed piece.

How to Download Your Free Shadow Box SVG

Getting the file onto your machine takes about 30 seconds:

  1. Click the download button below or visit our freebies page 2. Enter your email — we'll send the download link straight to your inbox (and occasionally notify you when we release new free designs or helpful tutorials) 3. Unzip the folder — inside you'll find the SVG, PDF, and DXF files plus the assembly guide PDF 4. Open the file in your cutting software — jump to the Cricut or Silhouette section below for step-by-step instructions

We tested this free shadow box SVG on Cricut Maker 3, Cricut Explore 3, and Silhouette Cameo 5 using 65 lb and 80 lb cardstock. The cut settings and assembly photos below reflect real results — not estimates.

Already have the file and want to jump straight to cutting? Skip to the Cricut instructions or Silhouette instructions.

Loved This Free Design? Try Our Flower Shadow Box Collection
Our flower shadow boxes are our most popular designs — more layers, richer detail, and the same tested cut-ready quality. If the free template got you hooked, these will blow you away.

Step-by-Step: Cut This Free SVG on Cricut {#h2-cut-cricut}

Cricut Design Space interface showing the Layers panel with multiple color-coded shadow box layers organized and ready for cutting

Import into Cricut Design Space

  1. Open a new project in Cricut Design Space 2. Click UploadUpload Image → browse to the SVG file from the ZIP folder 3. The design will load as a single grouped object — you'll see all five layers stacked on your canvas 4. Before you do anything else, measure the inside of your shadow box frame. For an 8×8 frame, size the design to 7.75 × 7.75 inches — this gives a small margin so the edges don't get pinched 5. Select all layers, then click Ungroup in the top toolbar. Each layer is labeled (Layer 1=background, Layer 5=front detail) so the stacking order is clear

These are the exact settings we used to get clean, tear-free cuts on our test file. Your results may vary slightly depending on cardstock brand and blade condition.

| Layer | Cardstock Weight | Cricut Setting | Blade | Pressure | Passes | | :--- | :--- | :--- | :--- | :--- | :--- | | Layer 1 (background) | 80 lb | Cardstock (for intricate cuts) | Fine-Point | More | 2 | | Layer 2 (mid-ground trees) | 80 lb | Cardstock (for intricate cuts) | Fine-Point | More | 2 | | Layer 3 (foreground trees) | 65 lb | Cardstock (for intricate cuts) | Fine-Point | Default | 2 | | Layer 4 (detail silhouettes) | 65 lb | Cardstock (for intricate cuts) | Fine-Point | Default | 2 | | Layer 5 (fine foreground) | 65 lb | Cardstock (for intricate cuts) | Fine-Point | Less | 1 |

Why we specify passes: The "intricate cuts" setting automatically does a double pass. For Layer 5, which has the most delicate cuts, we reduce pressure and use a single pass — this prevents the tiny branches from tearing out.

Cardstock Tips for Clean Cuts

We used Recollections 65 lb and 80 lb smooth cardstock for our tests. A few pointers:

  • Use a sticky mat. We recommend a StandardGrip mat that's been used 3–5 times — brand-new mats can be too sticky and tear delicate cuts when you try to peel the paper off. For a full breakdown, see our Cricut mat guide for cardstock - Clean blade=clean cuts. If you see fuzzy edges, wipe the blade housing with a cotton swab or poke it into a ball of aluminium foil a few times to remove paper dust. Our Cricut blade comparison guide covers when to replace vs. clean - Do a test cut first. Cut a small corner of the design on scrap cardstock to confirm your settings before committing a full sheet

Want a deeper dive on Cricut settings? Our complete Cricut cardstock settings mastery guide covers every paper type and blade combination.

Step-by-Step: Cut This Free SVG on Silhouette {#h2-cut-silhouette}

Step-by-step process showing hands importing SVG file into Silhouette Studio with File menu and multi-layer design visible

Import into Silhouette Studio

  1. Open Silhouette Studio (Designer Edition or higher for SVG import; all editions can open the included DXF file) 2. Go to File → Open and navigate to the SVG (or DXF) file 3. The design loads as grouped layers — select everything and resize to 7.75 × 7.75 inches for an 8×8 frame (hold Shift to constrain proportions) 4. Right-click → Ungroup to separate the five layers 5. Open the Layers panel (icon on the right toolbar) and assign each layer a different fill colour — this tells Silhouette which pieces to cut from which mat

Cut Settings for Silhouette Cameo 4/5

| Layer | Cardstock | Blade Setting | Speed | Force | Passes | | :--- | :--- | :--- | :--- | :--- | :--- | | Layer 1 (background) | 80 lb | 4 | 4 | 20 | 1 | | Layer 2 (mid-ground trees) | 80 lb | 4 | 4 | 20 | 1 | | Layer 3 (foreground trees) | 65 lb | 3 | 5 | 18 | 1 | | Layer 4 (detail silhouettes) | 65 lb | 3 | 5 | 18 | 1 | | Layer 5 (fine foreground) | 65 lb | 2 | 3 | 15 | 2 |

Silhouette tip: If your Cameo has the AutoBlade, let it adjust automatically first, then increase the blade by one notch for 80 lb cardstock if the test cut doesn't go all the way through.

For the most detailed Silhouette import walkthrough, see our dedicated guide on importing multi-layer shadow box SVGs into Silhouette Studio.

Making a Gift? Our Wedding Anniversary Shadow Box Is a Bestseller
Handmade shadow boxes make unforgettable gifts. Our wedding anniversary design is one of our top sellers — layered, elegant, and surprisingly easy to assemble.

How to Assemble Your Shadow Box

Three-dimensional layered paper art in white shadow box frame with hand and watercolor elements

With all five layers cut and weeded, it's time to build the 3D effect. This is the part that turns flat cardstock into something that makes people say "wait, you made that?"

Layer Order and Spacer Placement

Here's the exact layer stack from back to front:

  1. Layer 1 (background): Place flat against the shadow box backing — no spacers needed 2. Layer 2 (mid-ground trees): Apply adhesive foam squares (⅛ inch thick) at the four corners and center. Press down firmly 3. Layer 3 (foreground trees): Use foam strips along the outer edges for stability, plus two foam dots in the center. ⅛ inch spacing 4. Layer 4 (detail silhouettes):Foam dots at key support points — every 2 inches along larger branches, plus dots behind any "floating" sections. ⅛ inch 5. Layer 5 (fine foreground):Foam dots only — this layer is delicate. Place dots strategically behind thicker parts of the design. ⅛ inch

Total depth: approximately ½ inch of layered spacing inside the frame. For an 8×8 frame, we recommend a frame with at least 1.5 inches of interior depth to give the piece breathing room. Our full guide on choosing the right frame size and depth covers this in detail.

Glue and Adhesive Recommendations

We tested three adhesives during our assembly:

  • Adhesive foam squares (winner): Fast, consistent spacing, no drying time. Our go-to for this project - Glue pen with precision tip: Good for tiny spots where foam won't fit, but you have to hold each piece for 15–20 seconds while it sets - Double-sided tape: Works for the outer edges of Layers 1–3 but doesn't give you the depth that foam spacers provide

For a comprehensive adhesive comparison, our best glue and adhesive guide for shadow boxes covers every option.

Dry fit before you commit: Stack all five layers with spacers in place without removing the adhesive backing. Check alignment, spacing, and overall look. Once you're happy, go back and stick each layer down one at a time. This 60-second step has saved us from countless alignment headaches.

Troubleshooting Common Cutting Issues

Even with tested settings, things can go sideways. Here are the three problems we see most often and the fixes that work.

Tearing on Delicate Cuts

If your Cricut or Silhouette is tearing the paper instead of slicing cleanly:

  • Replace the blade first. A dull blade is the #1 cause of tearing. If you can't remember the last time you changed it, it's time - Reduce pressure by one notch. Too much force on thin cardstock (65 lb) can mash the paper fibers instead of cutting them - Check your mat stickiness. A mat that's too sticky holds the paper too tightly, and peeling it off causes tears. A mat that's too loose lets the paper shift mid-cut. The sweet spot is a StandardGrip mat with moderate tack - Use "intricate cuts" mode on Cricut — it slows the blade and adds a second pass, which produces cleaner results on detailed designs

Our Cricut cardstock troubleshooting bible covers these issues and more with photos.

Misaligned Layers

If the layers don't line up when you stack them:

  • You may have resized layers individually instead of selecting all and resizing together. Go back to the original SVG and resize the entire group at once - Check that your mat is loaded straight — a crooked mat shifts all the cuts - If the misalignment is minor, trim the edges with a craft knife rather than recutting

See our shadow box layer alignment fix guide for step-by-step correction techniques.

Cardstock Won't Release from Mat

If your cut pieces are stuck:

  • Flip the mat upside down and peel the mat away from the paper (not the paper from the mat) — this reduces curling and tearing - Use a spatula tool to gently lift the edges - For intricate pieces, use your weeding tool to carefully lift from a corner

This technique and others are covered in our Cricut mat restoration guide.

Other Free SVG Resources for Cricut & Silhouette

Our free template is just the starting point. Here's what else is out there — and what to watch out for.

What to Look for in a Quality Free SVG

Not all free SVG files are created equal. Before you download, check for:

  • Separated layers. The file should have distinct, ungroupable layers — not a single flat design. If you can't separate the layers in Design Space or Silhouette Studio, it won't create a 3D shadow box effect - Clean vector paths. Zoom in on the design. Jagged lines and excessive nodes mean your machine will struggle to cut cleanly - File format variety. SVG is universal, but having DXF and PDF backups means you're covered regardless of your software edition - Licensing clarity. If a site doesn't state the license, assume personal use only. For more on what "free" really means, see our section on licensing below

Common Problems with Free SVG Files

In our testing of 10+ free shadow box SVG sources, we found these recurring issues:

  • Single-layer files labelled "shadow box" — they're just flat shapes that look nothing like a shadow box when cut - No assembly guidance — you get the file but no indication of layer order, spacer thickness, or frame size - Inconsistent scaling — layers that don't align when stacked because the designer didn't test the final assembly - Unclear licensing — most sites say "personal use" without defining what that means for physical products

When to Upgrade to a Premium Template

Free files are perfect for learning the process. But if you're making a gift, selling at craft fairs, or want more elaborate designs, premium SVG bundles offer real advantages:

  • More layers (8–12+) for richer depth and detail - Assembly guides with step-by-step photos and spacer maps - Tested cut settings for specific machines and cardstock weights - Commercial licensing clearly defined - Customer support if something goes wrong with the file

Our shadow box collection includes designs with up to 12 layers, each one tested on both Cricut and Silhouette before release. Browse our full range of shadow box SVG templates for Cricut.

Ready for Your Next Project? Beginner-Friendly Shadow Box Templates
Step up from the free template with these tested, easy-to-assemble designs. More layers, more depth, same straightforward assembly process.

Licensing: What "Free" Really Means

This is important, and most free SVG sites skip it entirely. Here's the plain-English breakdown:

Our free shadow box SVG license:

  • ✅ Cut and display the finished piece in your home - ✅ Give finished shadow boxes as gifts - ✅ Sell up to 200 finished physical pieces at craft fairs, Etsy, or local shops (small business commercial use) - ❌ Resell, redistribute, or share the digital file - ❌ Claim the design as your own - ❌ Use the file in any digital product (print-on-demand, apps, etc.)

What to watch out for with other free SVGs:

Most free SVG files you'll find online are personal use only by default. This means you can make shadow boxes for yourself or as gifts, but you cannot sell the finished pieces — even at a local craft fair. Some designers offer limited commercial licenses (often capping at 100–500 physical units). If you can't find any license information in the download or on the website, play it safe and assume personal use only.

Copyright reminder: "Free" does not mean public domain. Every SVG design is automatically copyrighted by its creator. A free download means the creator has granted you specific usage rights — not that they've given up ownership. Always respect the designer's terms.

For our paid bundles, the commercial license terms are more generous and clearly documented in each product listing.

1.Can I sell items I make with this free SVG?
Yes — our free shadow box SVG includes a small-business commercial license. You can sell up to 200 finished physical shadow boxes. You may not resell or redistribute the digital file itself. If you need higher volume commercial rights, check our paid SVG bundles which include extended licenses.
2.What frame size does this free template fit?
The free template is designed for a standard **8×8 inch shadow box frame** with at least 1.5 inches of interior depth. Size the SVG to 7.75 × 7.75 inches in your cutting software to leave a small margin inside the frame. You can resize it for other frames — just make sure to select all layers and resize together to keep proportions correct.
3.Can I use this with a Cricut Joy?
The Cricut Joy has a maximum cut width of 4.5 inches, which is too small for this design at its intended 8×8 size. You could resize the entire design down to fit, but the finest detail layer may not cut cleanly at that scale. We recommend using a Cricut Explore, Maker, or Silhouette Cameo for this template.
4.What cardstock weight should I use?
We recommend **65 lb cardstock** for the detailed layers (Layers 3–5) and **80 lb cardstock** for the background and structural layers (Layers 1–2). This combination gives you clean cuts on the fine details and rigidity where the piece needs support. For a full breakdown, see our [best cardstock guide for shadow boxes](/articles/best-cardstock-paper-cut-shadow-box-complete-guide/).
5.Why are my cuts tearing?
The most common cause is a **dull blade** — replace it and try again. Other culprits: pressure set too high for thin cardstock, a mat that's too sticky (brand new) or too loose (worn out), or using the wrong material setting. Use the "Cardstock (for intricate cuts)" setting on Cricut and reduce pressure by one notch if tears persist. Our [Cricut troubleshooting guide](/articles/cricut-cardstock-troubleshooting-bible-fix-cutting-problems/) walks through every fix with photos.
6.How do I resize the SVG for a different frame?
Select **all layers at once** in your cutting software, then drag a corner handle to resize. Never resize layers individually — they won't align when you assemble the shadow box. For detailed instructions, see our [guide to sizing and resizing shadow box SVGs](/articles/size-and-resize-paper-cut-shadow-box-svgs-for-any-frame/).
7.Is this SVG really free? What's the catch?
Yes, it's genuinely free. We ask for your email so we can send you the download link and occasionally notify you about new free designs and tutorials. We don't charge, we don't auto-subscribe you to anything paid, and you can unsubscribe anytime. The email gate helps us understand how many crafters are using the file so we can keep making more free resources.
8.Can I share this file with a friend?
Please send your friend the link to this page instead of sharing the file directly. That way they get the latest version plus the full instructions. Redistributing the digital file violates the license terms.

Ready to Start Cutting?

You now have everything you need: a free shadow box SVG template that's been tested on real machines, the exact cut settings for both Cricut and Silhouette, and a step-by-step assembly guide with spacer placement mapped out. No guesswork, no torn paper, no "I wish someone had told me that before I started."

What to Do Next

  1. Download the free SVG from the link above 2. Gather your supplies — 65 lb and 80 lb cardstock, foam spacers, and an 8×8 frame with 1.5" depth 3. Follow the Cricut or Silhouette instructions in this article to cut and assemble 4. Share your finished piece — tag us on social media so we can see what you created!

And when you're ready to take on more ambitious designs — more layers, more detail, more wow — our full collection of shadow box SVG templates has been tested the same way. Real cuts, real settings, real results.

Looking for project inspiration? Browse our Cricut shadow box ideas or start with our complete guide on how to make a shadow box with Cricut or Silhouette.


At Mural Moods Art, every SVG we design is made with Cricut and Silhouette crafters in mind. We test each one, photograph the results, and include assembly instructions so your project turns out the way it should. Visit us at muralmoodsart.com to see our full collection.