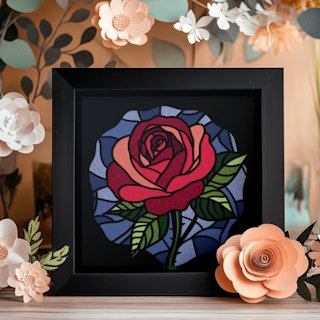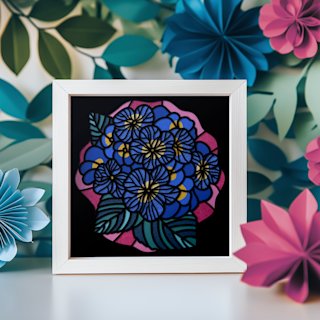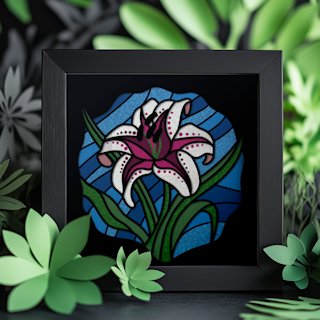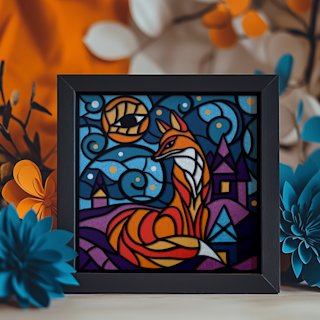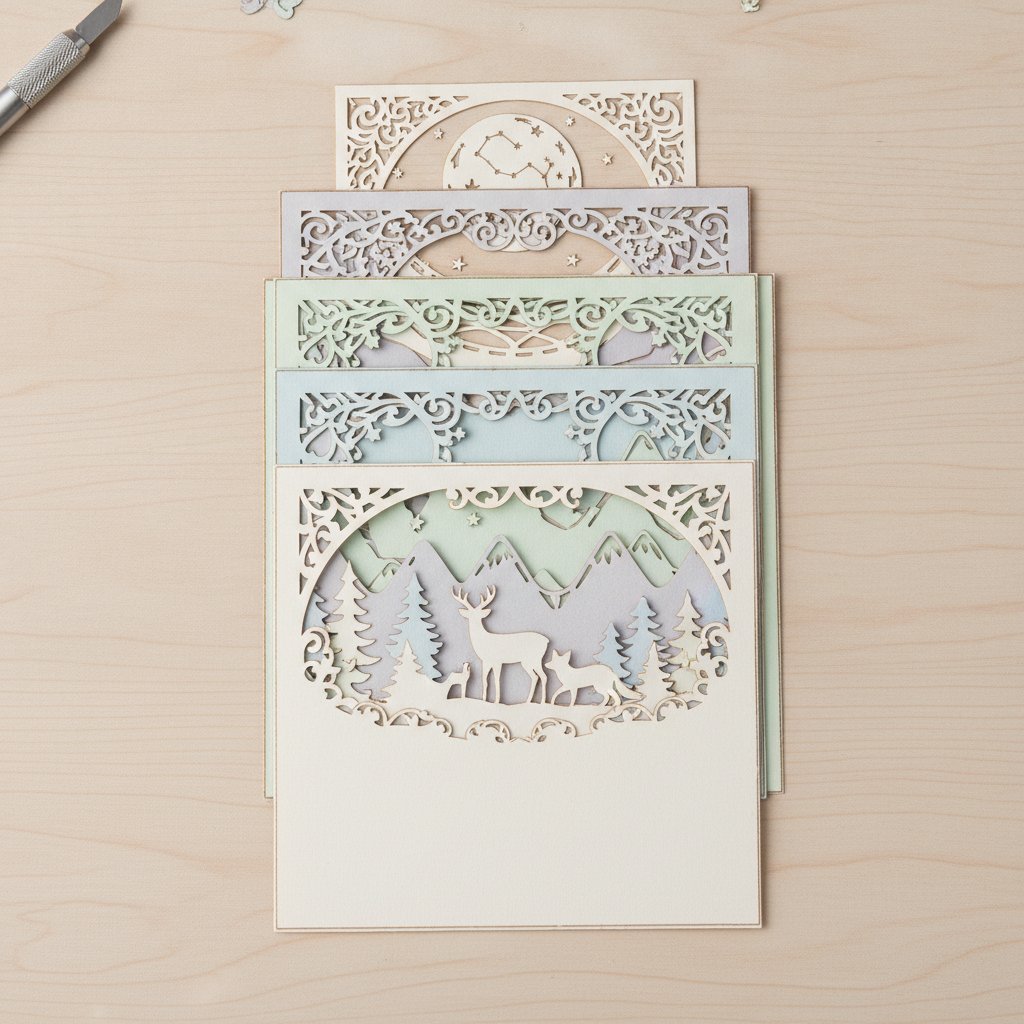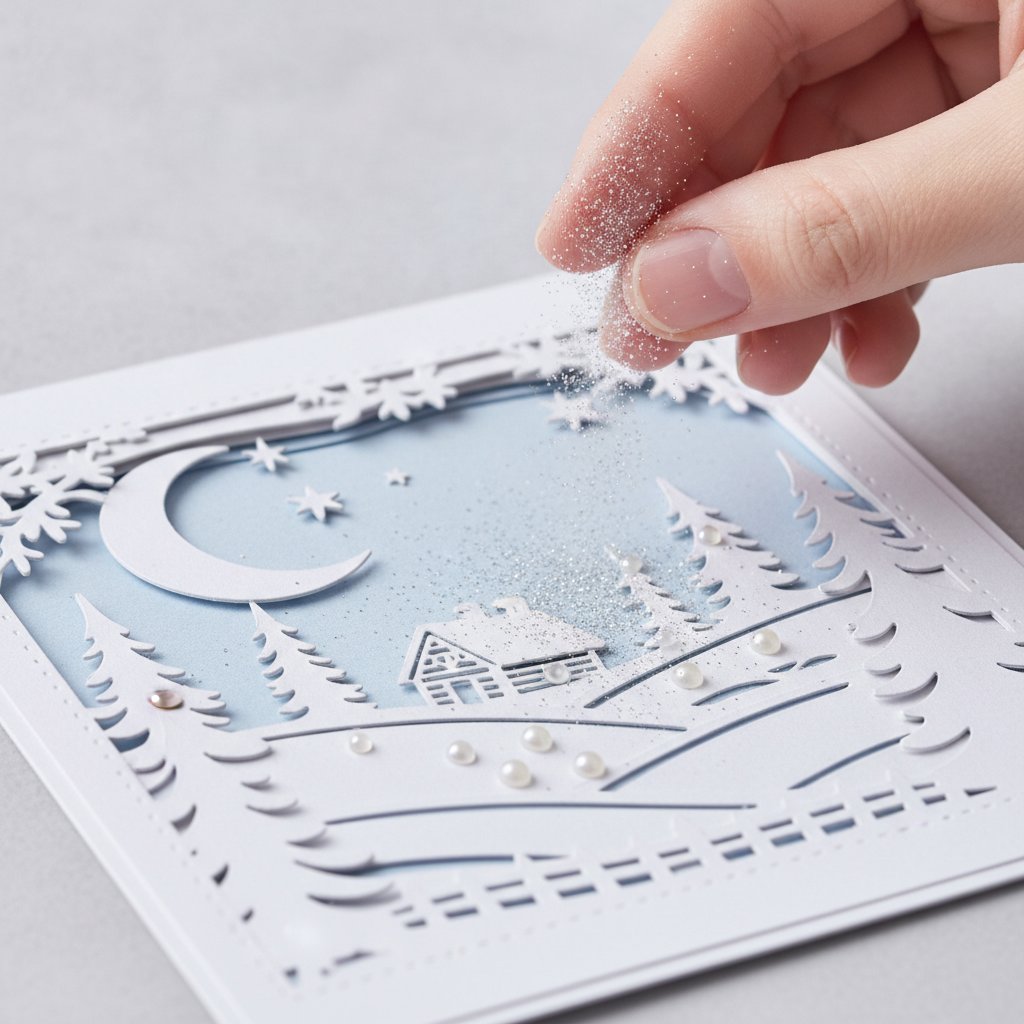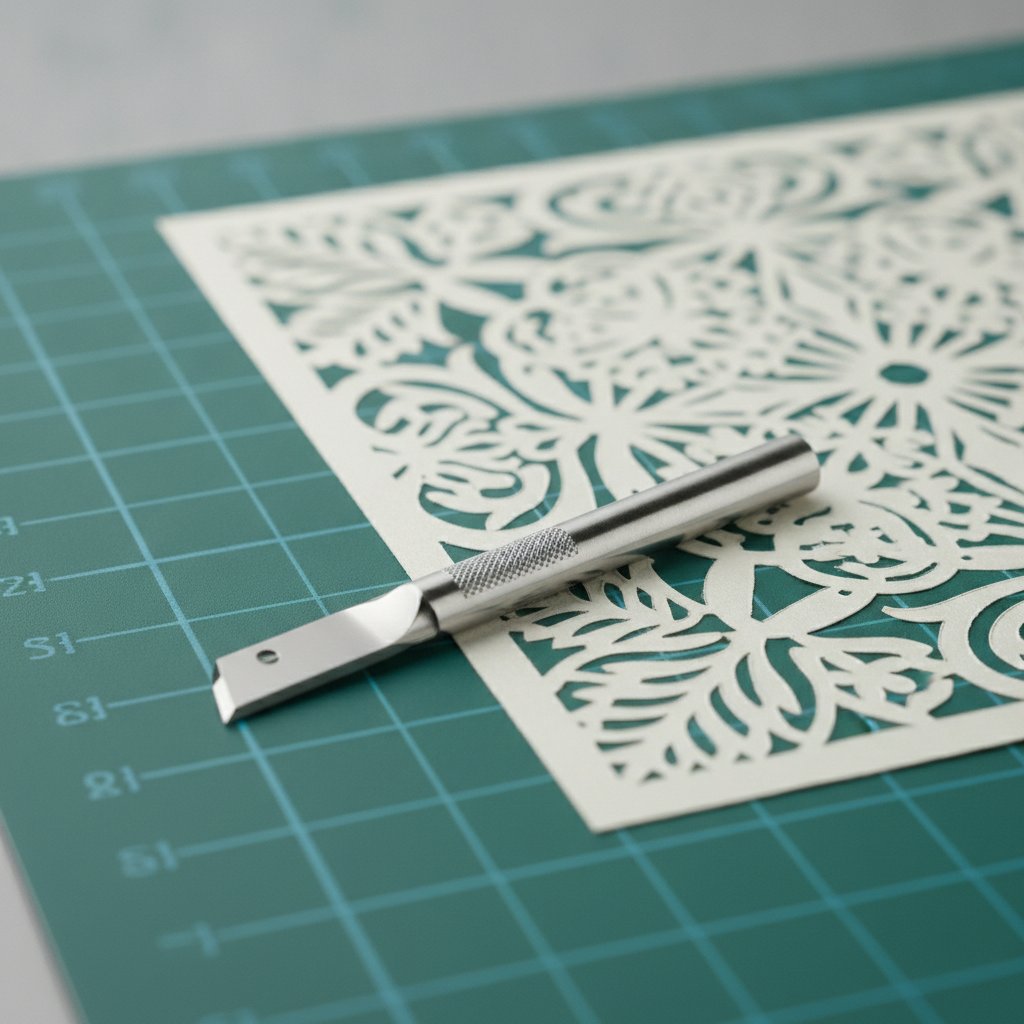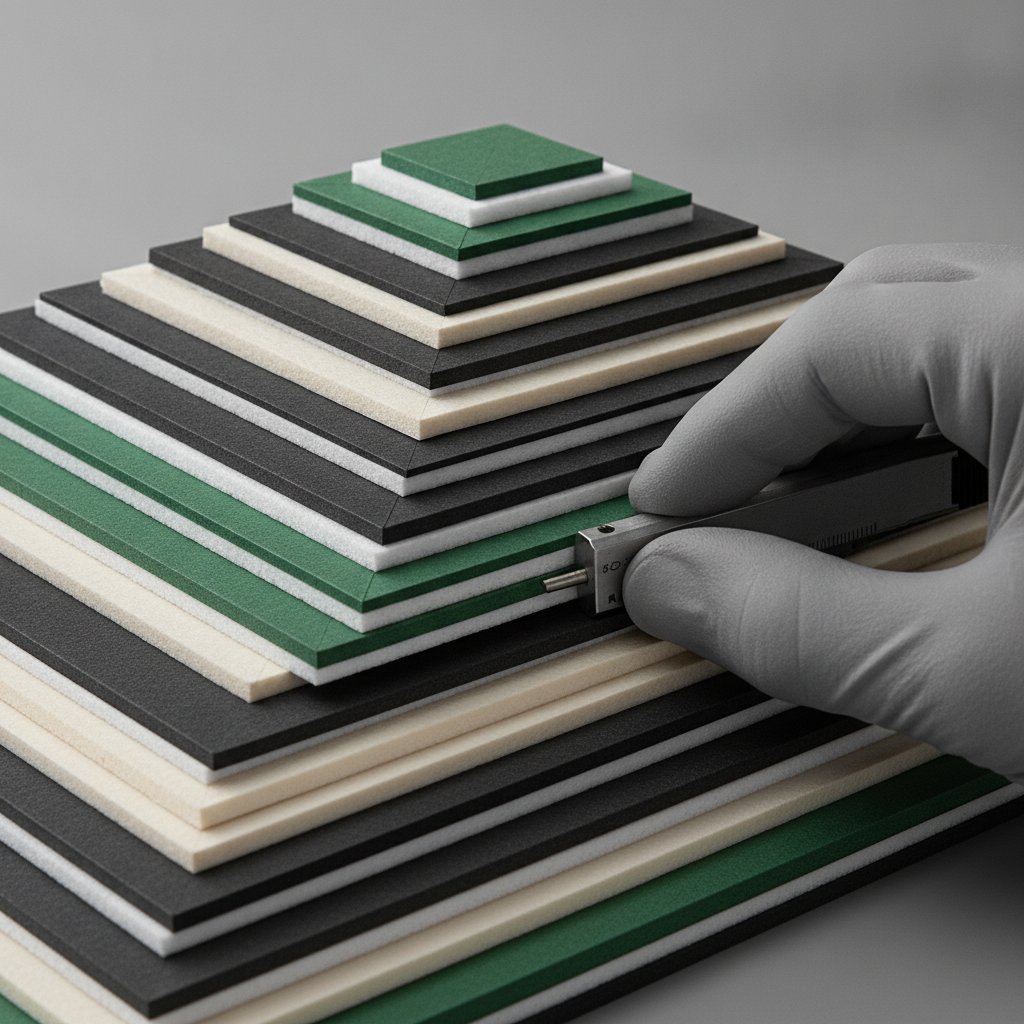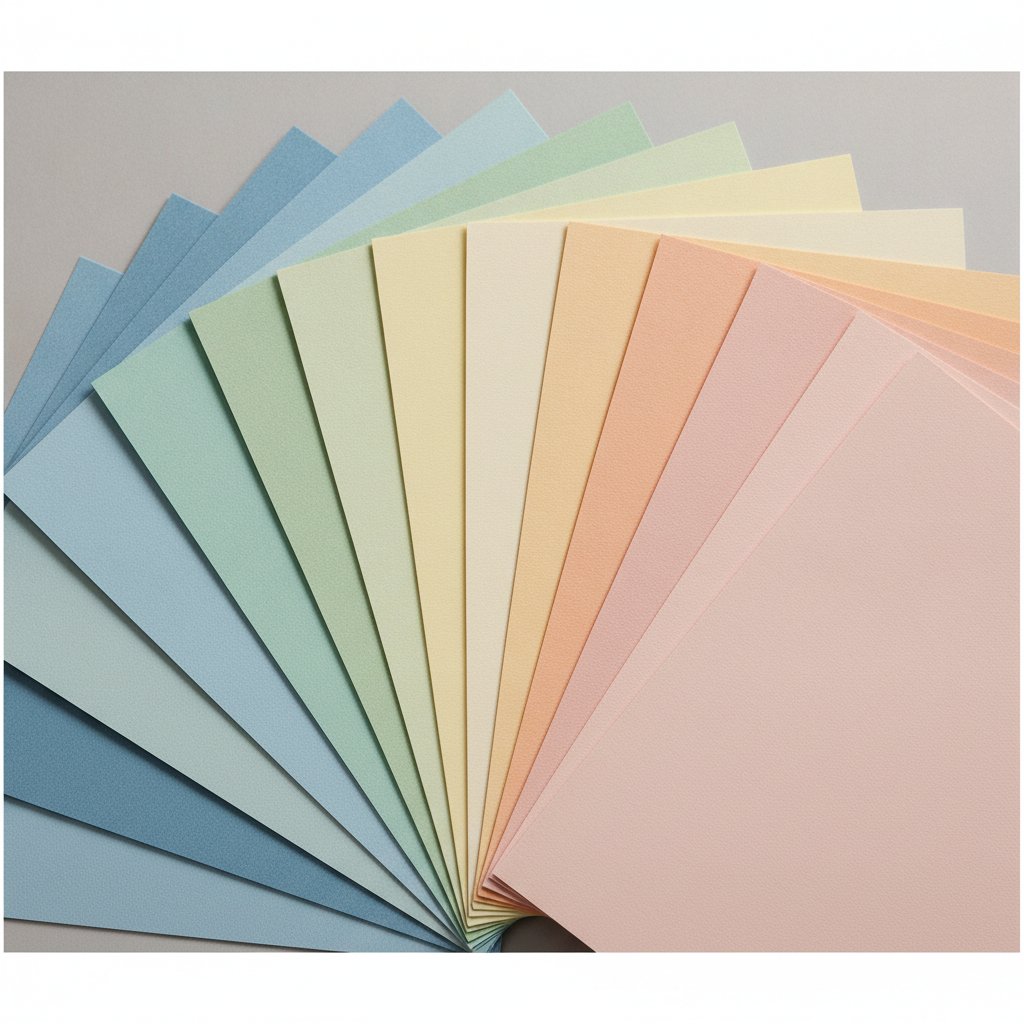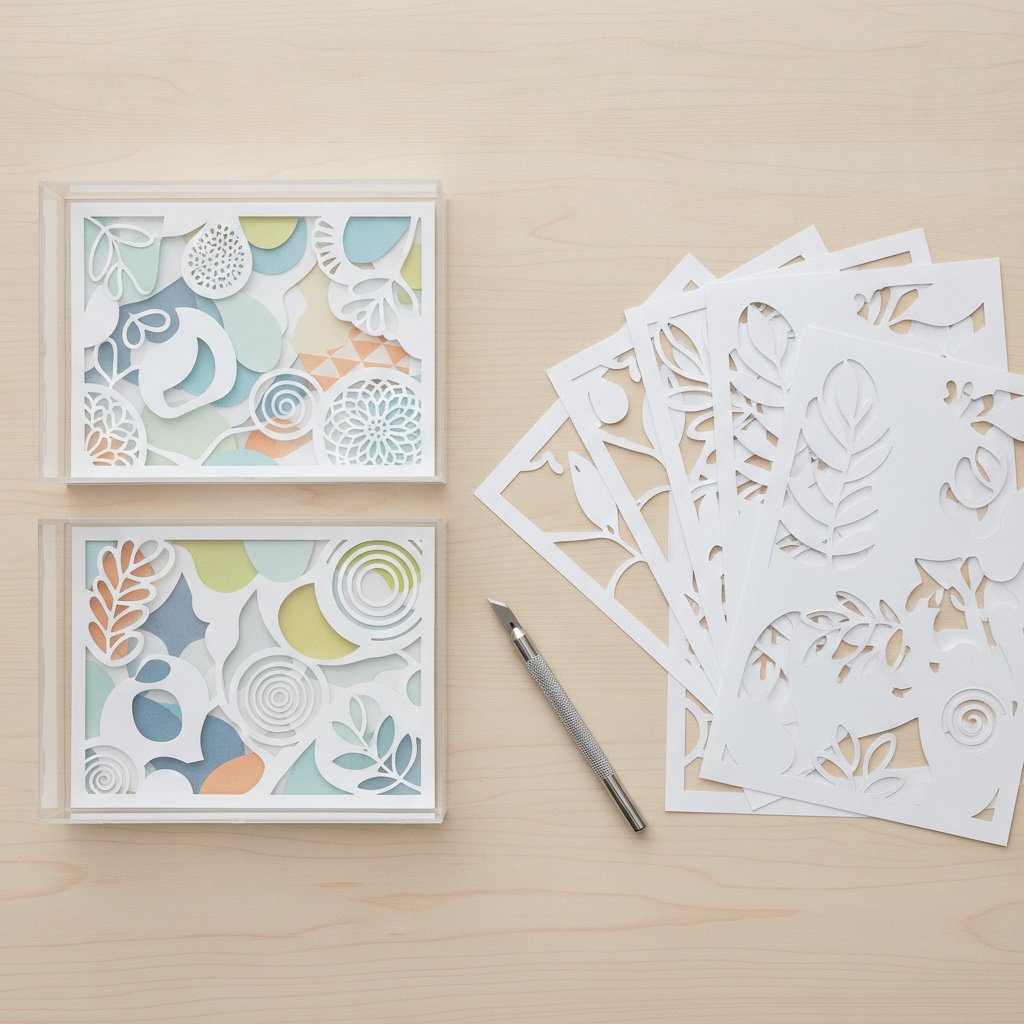
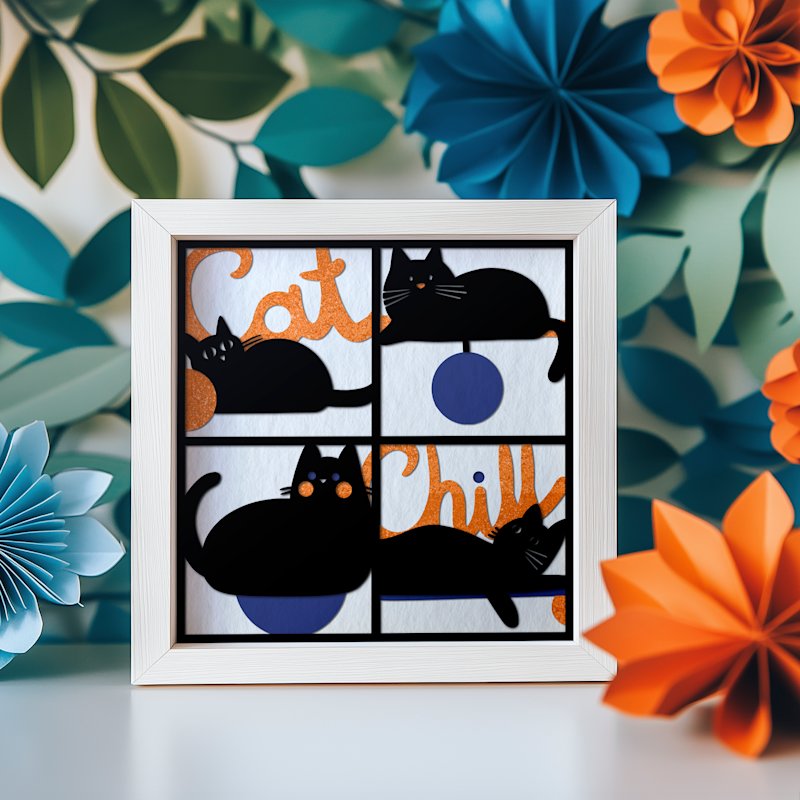
A shadow box SVG is the single file that turns a flat sheet of cardstock into a glowing, three-dimensional scene — a digital blueprint of numbered layers you cut, then stack with foam spacers inside a deep frame. But most crafters hit the same wall the moment they download one: the file opens fine, and then nothing lines up. Layers import as one blob, the resize distorts the depth illusion, the blade tears intricate edges, and the finished stack sits flat instead of popping.
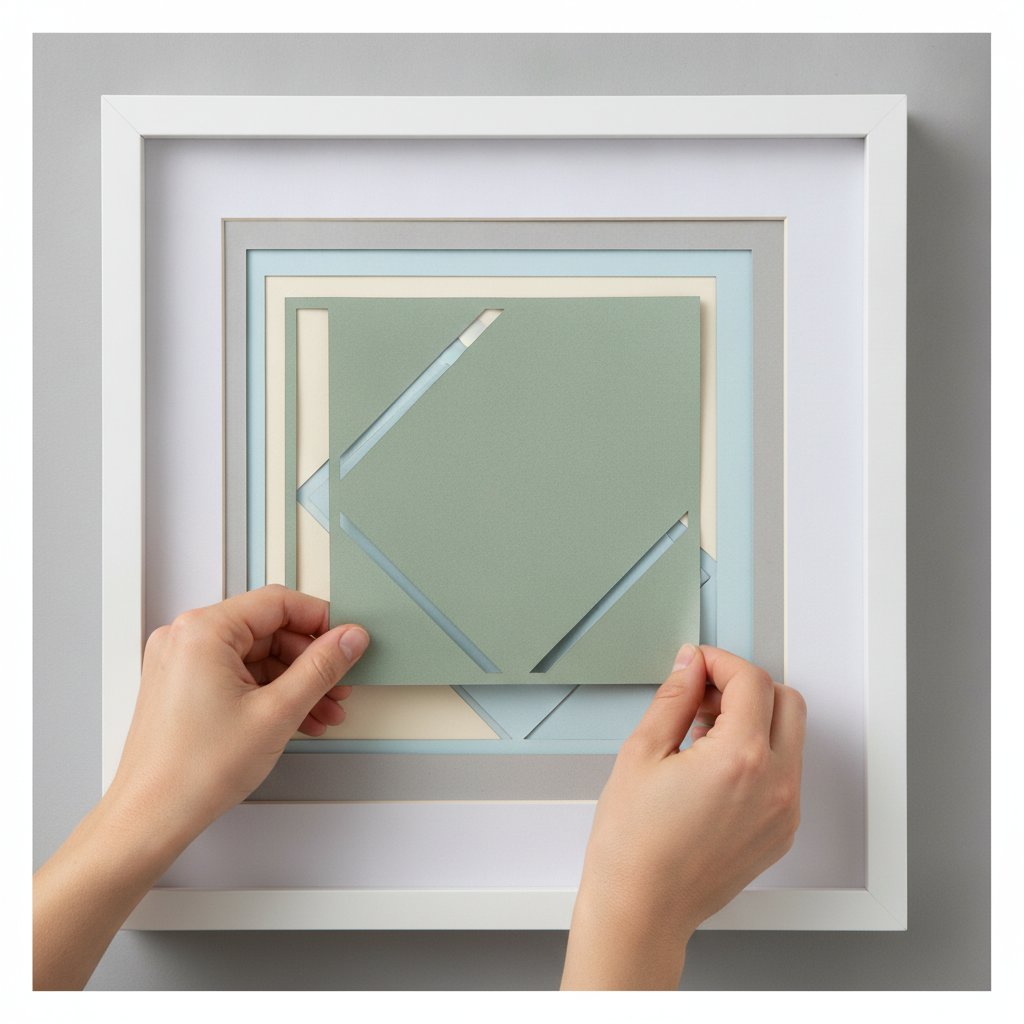
I learned this the hard way on a 7-layer botanical build I cut on my Cricut Maker for an 8×8 inch frame. Layer 3 tore on the first pass because I left the default pressure on, and I had to re-cut it before the whole thing would stack evenly. Once I locked in the right workflow — ungroup, resize all layers together with the lock closed, test-cut one layer first, then build back-to-front on 3 mm foam tape — the piece hit 21 mm of measured depth and lit up exactly the way the preview promised. That measured build is the spine of this guide: every step below is the one that got me from a torn layer 3 to a finished, glowing piece.
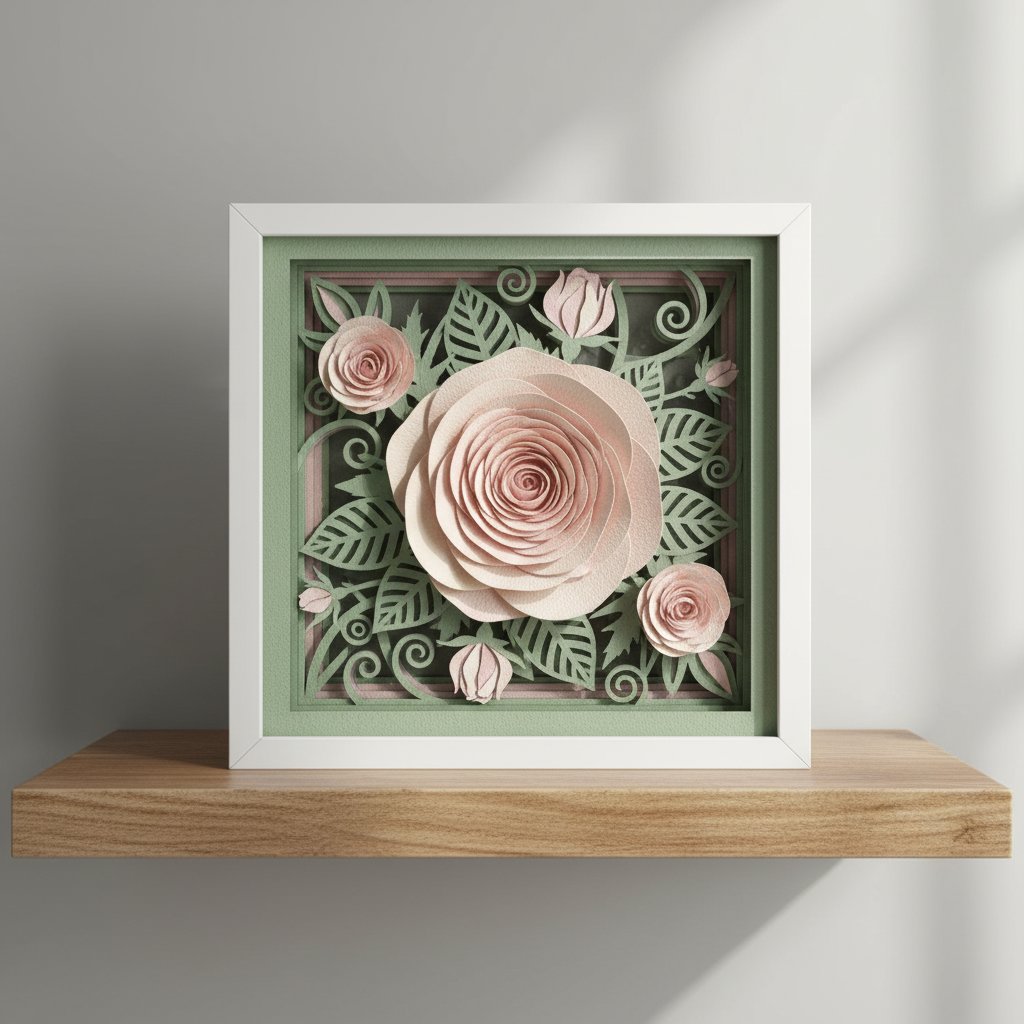
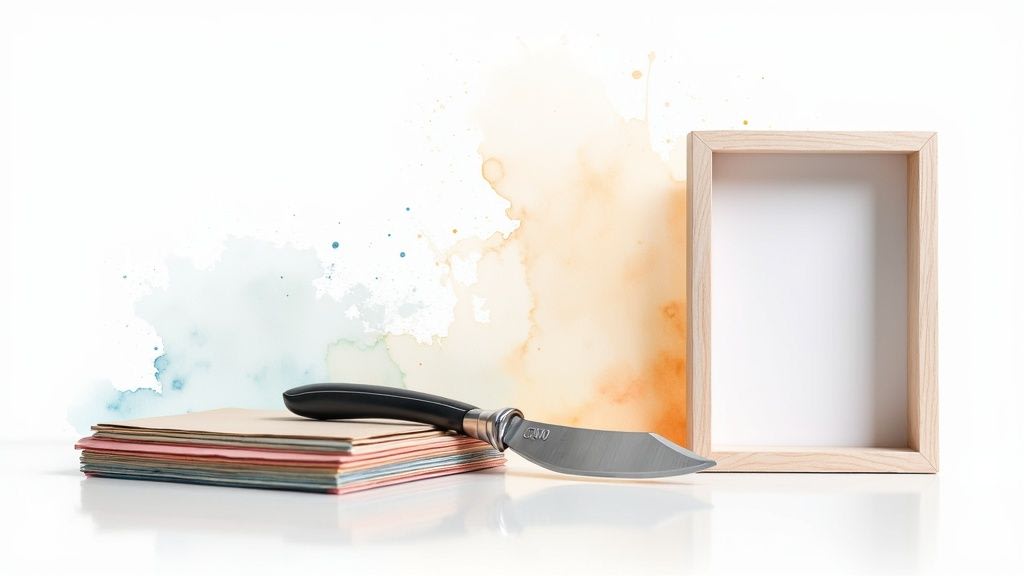
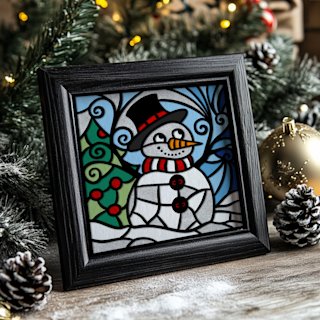
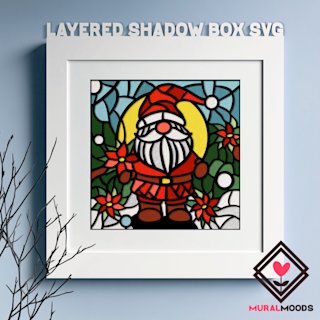
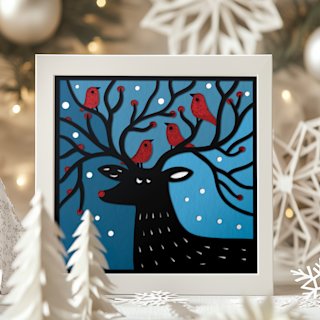
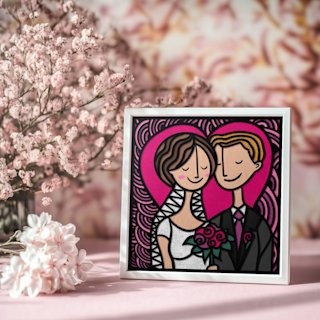
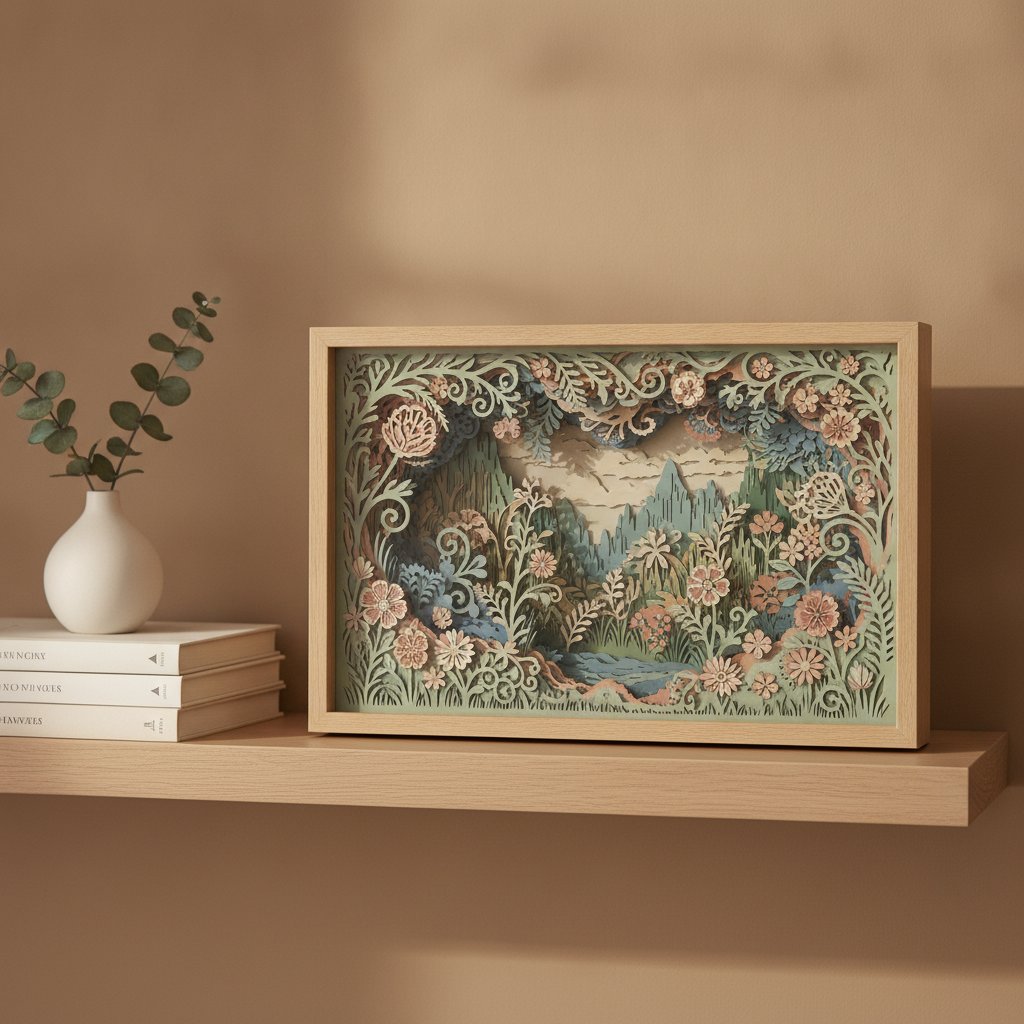
So, what exactly is a shadow box SVG? Think of it as a digital blueprint specifically designed for your Cricut machine to create layered, three-dimensional paper art. The SVG file contains a series of individual components that you'll cut from cardstock, then assemble into an intricate scene that pops with incredible depth inside a shadow box frame.
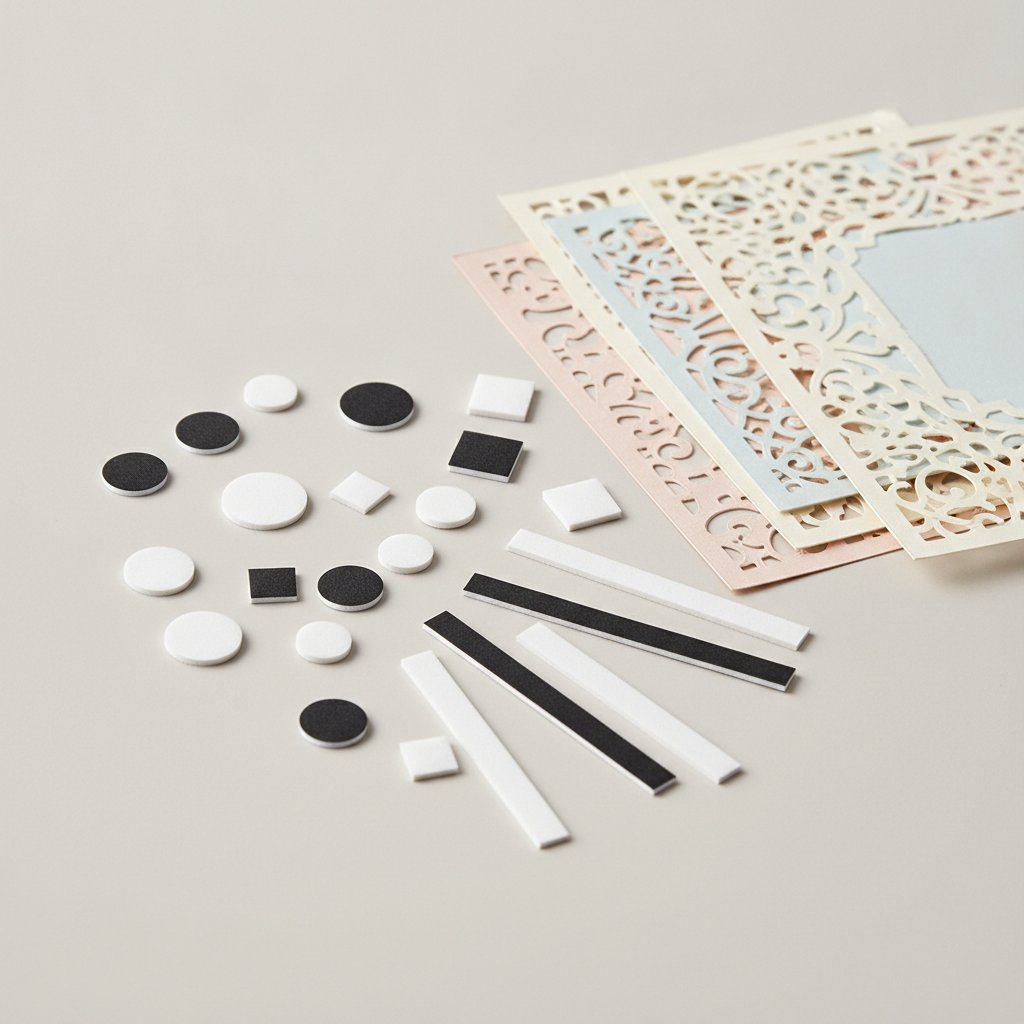
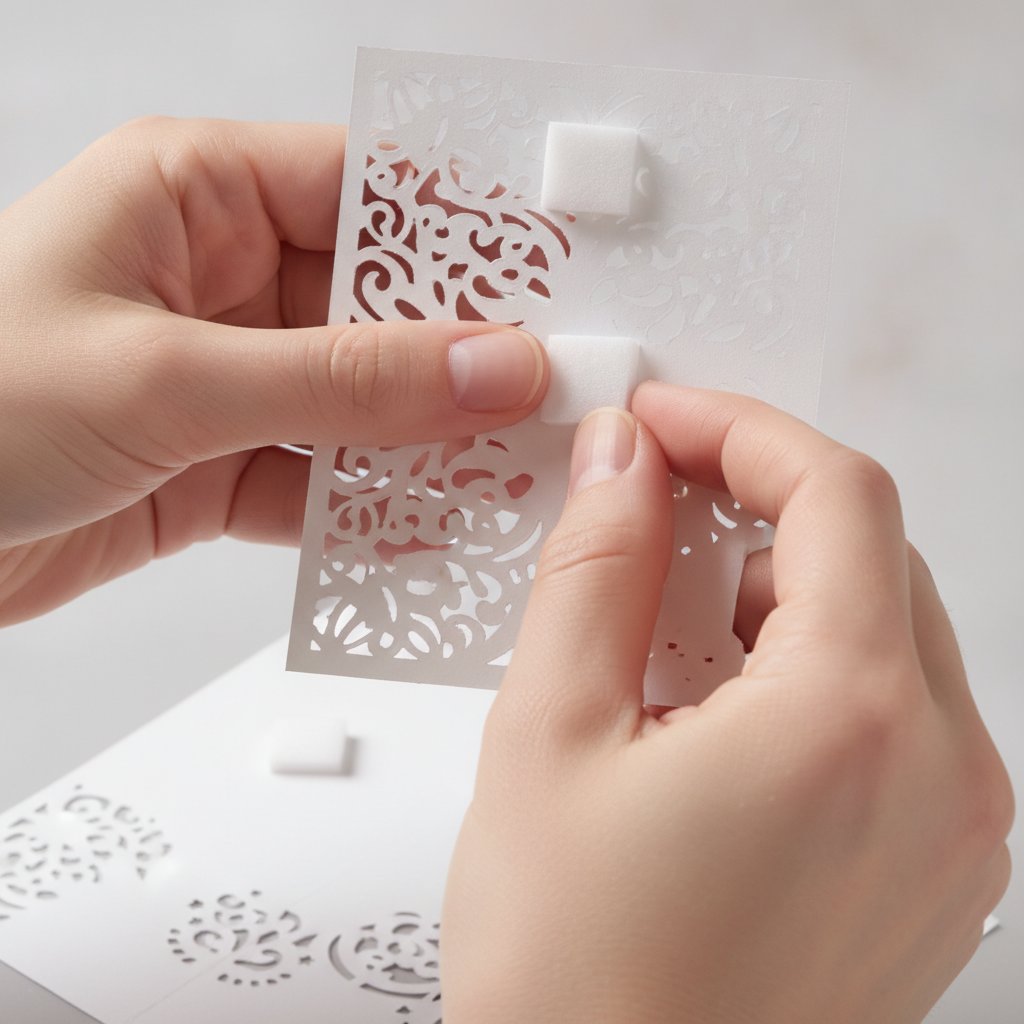
These designs are made for cutting machines like a Cricut. The real magic happens when you stack each paper layer, separating them with tiny foam spacers. This is what creates that signature 3D effect you see inside a deep shadow box frame, turning a simple SVG into a work of art.
Bringing Your 3D Layered Art to Life with Cricut
Ready to transform a flat digital SVG file into a jaw-dropping piece of 3D art? This guide will walk you through the entire process of using shadow box SVG files with your Cricut. For the machine-specific import steps, pair it with our multi-layer SVG import guide for Cricut Design Space and our full how to make a layered paper cut shadow box walkthrough. We're going to get past the simple "click and cut" and dive into the little details that give your final project that professional, polished finish. You'll learn how to pick the best cardstock for paper cut shadow boxes, nail the assembly, and even personalize your creation.
This is so much more than just another craft project. It's about turning a shadow box SVG into a meaningful keepsake, a stunning piece of home decor, or the perfect handmade gift. Whether you're crafting a pet memorial, a whimsical nursery decoration, or a festive holiday scene with your Cricut, the process is incredibly rewarding—and much simpler than you might think once you get the hang of it.

From Digital Design to Physical Creation
The journey from an SVG file on your computer to a finished piece of art is where your creativity truly shines. Your Cricut handles all the precise cutting, but it's your hands that bring the entire vision to life.
Here's a look at what we'll cover to get you comfortable with any layered shadow box SVG project you tackle:
- Picking Your Materials: We'll explore why the right cardstock and adhesives are non-negotiable for building stable, dimensional art with your Cricut that lasts.
- Prepping in Cricut Design Space: I'll show you how to size your SVG perfectly for your frame, double-check each layer, and select the right cut settings for crisp lines.
- Mastering Assembly: You'll learn the best way to apply foam spacers to get that flawless 3D effect without any frustrating sinking or warping.
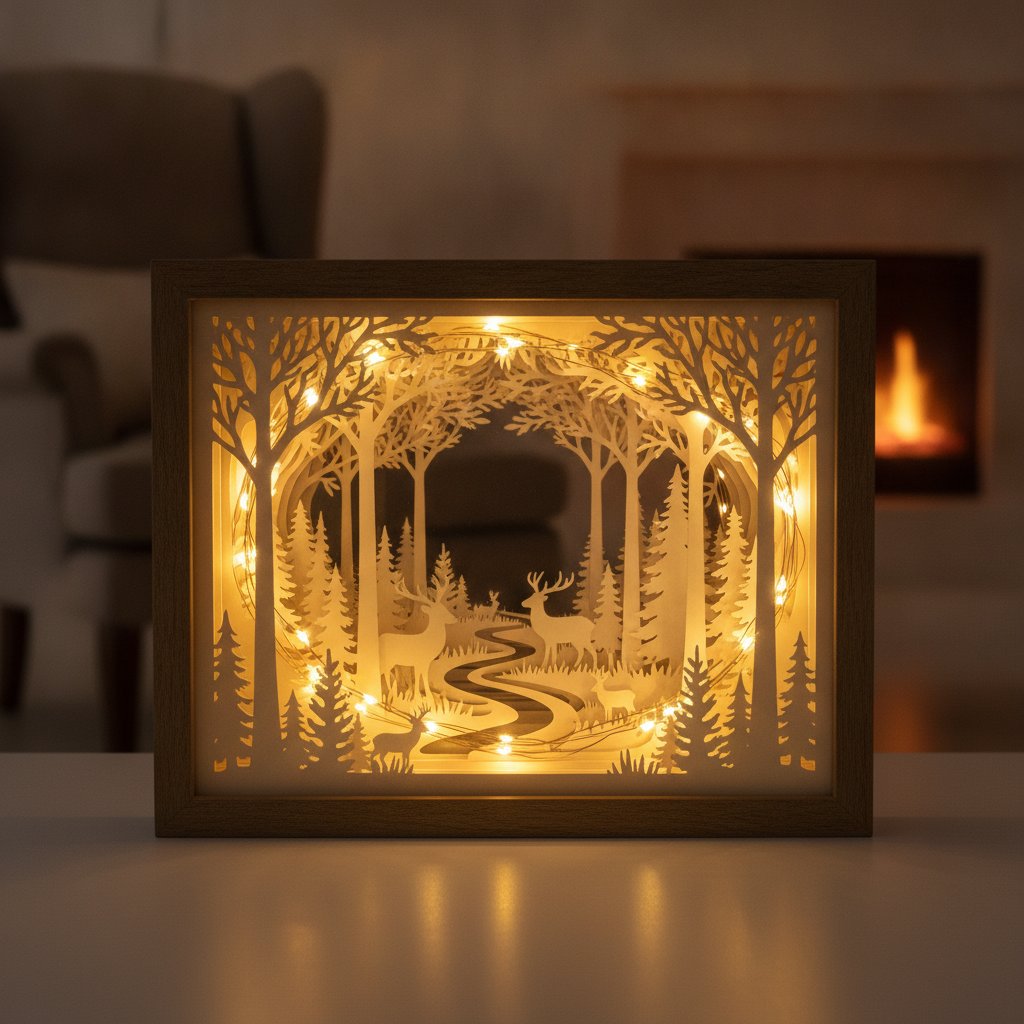
- Adding Finishing Touches: We'll even get into fun ways to personalize your shadow box, like adding vinyl text to the glass or incorporating fairy lights for a magical glow.
The secret to a great-looking shadow box is consistency. When every layer is cut cleanly on your Cricut and spaced evenly, the final piece looks sharp, professional, and captivating. That small bit of extra care is what elevates a project from a simple craft to a genuine work of art.
We're going to break down every step, from the initial SVG file prep in Design Space to placing that final, beautiful piece into its frame. Let's get started and create something you'll be proud to display.