Cutting Mistakes That Ruin Your Layers
Using Dull or Wrong Blades
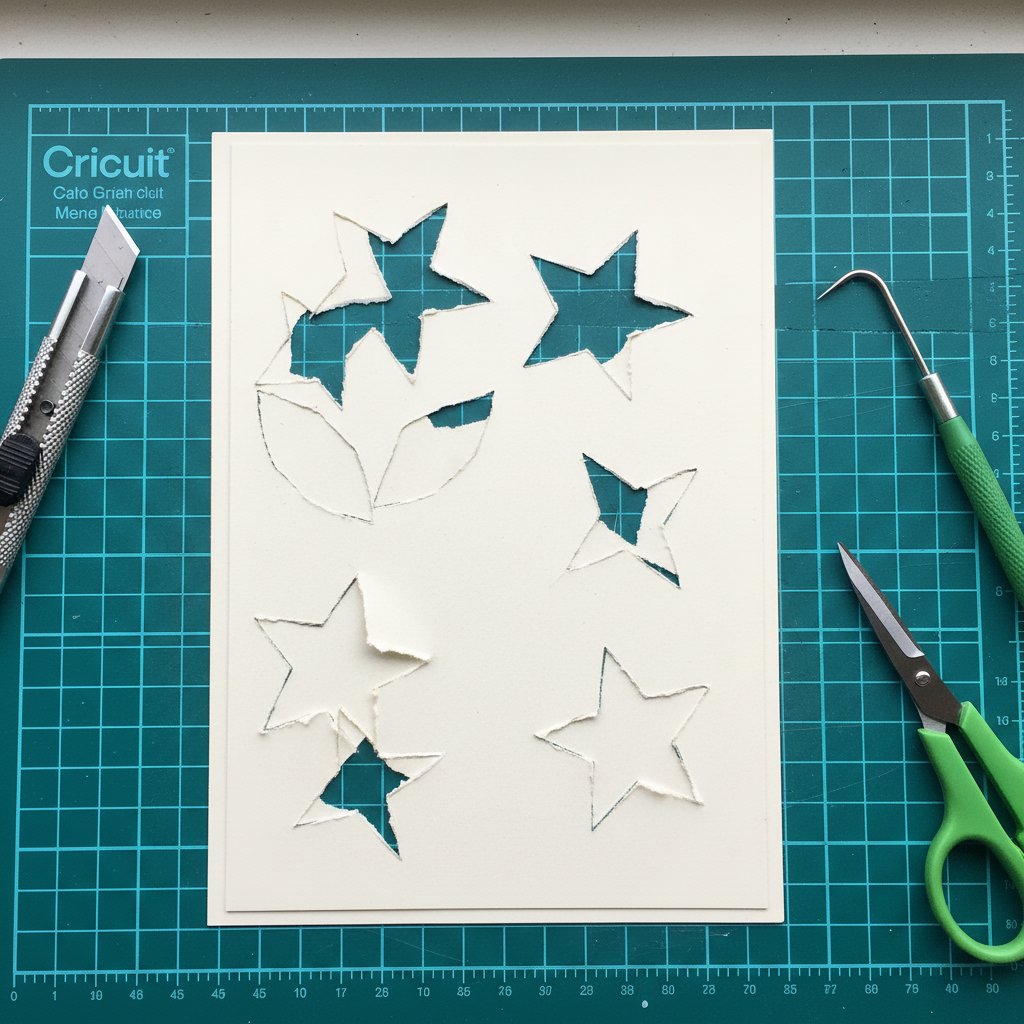
One of the most common paper light box mistakes happens before you even start cutting. Using a dull blade or the wrong blade type creates ragged, torn edges that make your shadow box look unprofessional and can cause structural problems during assembly. Check out our assemble layered papercut shadow boxes for more details.
The problem: Dull blades require more pressure to cut through cardstock, which causes the paper to tear instead of cut cleanly. Blades that have been used for vinyl develop a sticky residue that pulls at paper fibers, creating fuzzy tears along cut lines. When you try to remove pieces that aren't completely cut through, you'll damage the delicate details in your design.
How to avoid it: Use a fresh or nearly-new Fine-Point Blade for Cricut machines or a clean AutoBlade for Silhouette machines when starting a shadow box project. If you've cut more than 5-10 projects with your current blade, replace it before starting multi-layer shadow boxes. Never use blades that have cut vinyl for paper projects, as the adhesive residue will ruin your cardstock.
Test first: Before cutting all your layers, run a test cut on scrap cardstock from the same package you'll use for your project. A proper cut should go completely through the paper with clean edges but shouldn't score your cutting mat. If you see fuzzy edges or incomplete cuts, replace your blade before proceeding.
Incorrect Cutting Mat Adhesion
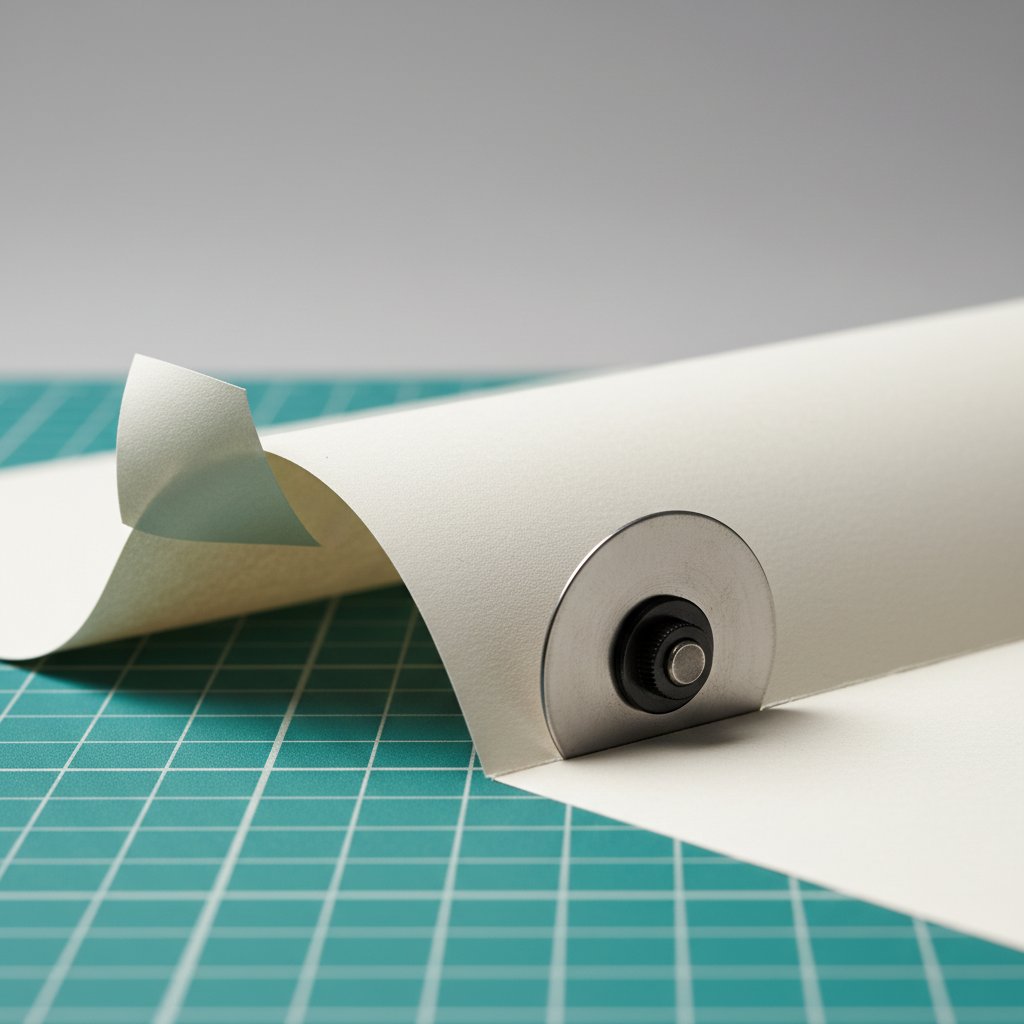
Your cardstock must remain firmly attached to your cutting mat throughout the entire cutting process. When paper lifts or shifts during cutting, you'll get incomplete cuts, misaligned details, or torn edges.
The problem: If your mat is too sticky, you'll tear the paper when trying to remove it. If your mat isn't sticky enough, the cardstock will lift during cutting, causing the blade to miss sections or create jagged tears. Bumpy, dirty mats covered in paper debris from previous projects will cause miscuts and tears because the cardstock can't lie flat.
How to avoid it: Use a StandardGrip mat (green for Cricut) for 65-80 lb cardstock. Before placing cardstock on the mat, inspect the mat surface for debris, lint, or stuck paper pieces. Clean your mat with warm soapy water when it accumulates residue, then let it air dry completely before reuse.
Proper loading technique: Place your cardstock on the mat and use a brayer or scraper to press it down firmly, working from the center outward to eliminate air bubbles. Pay special attention to corners and edges, which tend to lift during cutting. Make sure there are no areas where the paper lifts off your mat before loading it into your machine.
Mat maintenance tip: After every 3-4 shadow box projects (or sooner if you notice reduced stickiness), clean your mat or use a restickable spray designed for cutting mats to restore proper adhesion.
Wrong Cutting Settings for Cardstock Weight
Choosing incorrect pressure, force, or speed settings is one of the most frustrating paper light box mistakes because it wastes expensive cardstock and time.
The problem: Settings that are too light leave paper still attached at critical points, requiring you to manually finish cuts with a craft knife (which rarely looks as clean as machine cuts). Settings that are too aggressive create overcut marks, drag lines, or torn edges around intricate details. Many beginners use the default "Cardstock" setting without realizing that different cardstock weights need different adjustments.
How to avoid it: For Cricut machines, start with "Medium Cardstock" for 65 lb cardstock or "Cardstock for Intricate Cuts" for detailed shadow box designs. For Silhouette machines, begin with blade depth 3-4, force 10-12, and speed 6-8 for standard 65-80 lb cardstock.
Critical rule: Never adjust multiple settings at once. If your test cut doesn't go completely through, increase pressure or force by one increment only, then test again. If you're getting torn edges, reduce speed slightly or decrease pressure.
The more intricate your designs become, the more likely small bits of paper will get stuck in your blade and cause tears. For highly detailed shadow box templates with tiny cutouts, use the slowest speed setting to give your blade time to navigate corners and curves without tearing.
Weeding Too Aggressively or Carelessly
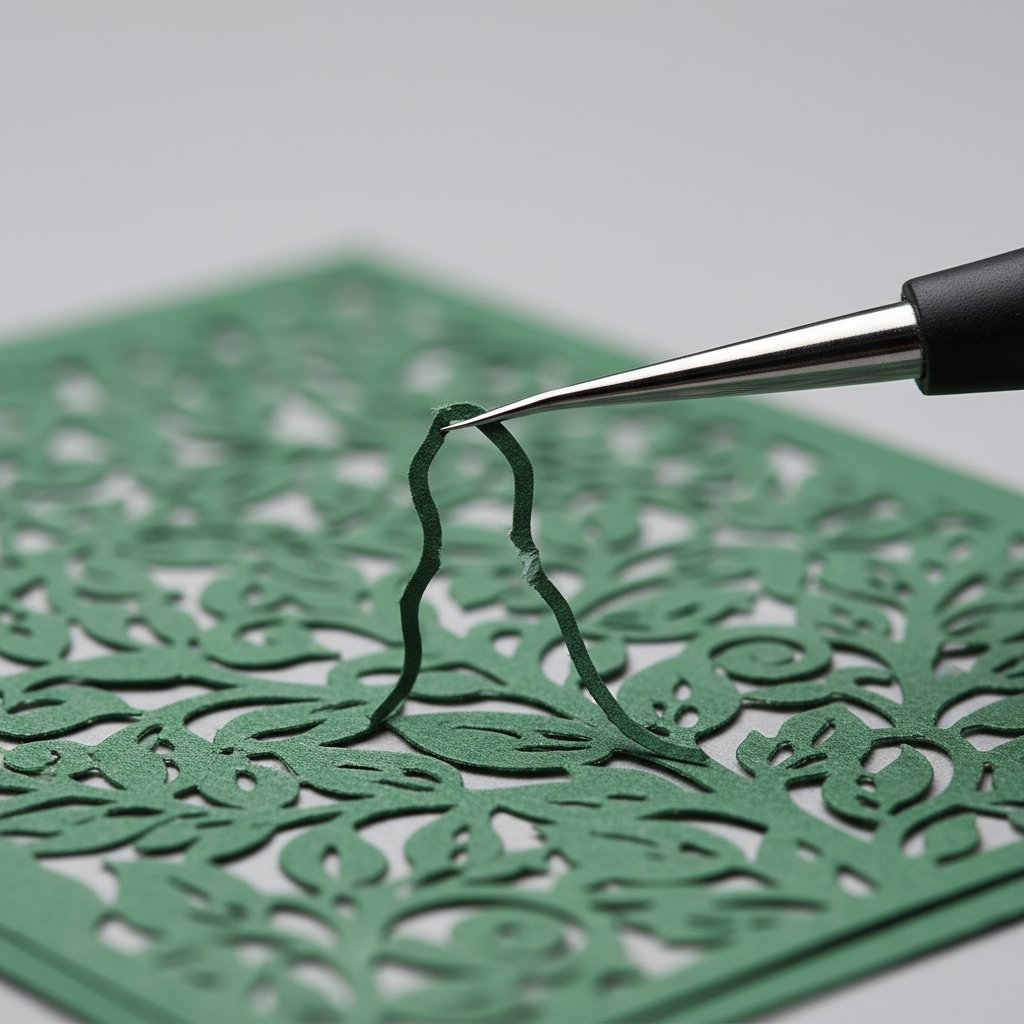
Weeding (removing the cut-away pieces from your design) requires patience and precision. Rushing this step destroys hours of work in seconds.
The problem: Pulling out cut pieces too quickly tears the surrounding paper, especially around narrow connections and delicate details. Trying to remove pieces that aren't completely cut through rips the entire layer. Leaving small cut pieces in place because they're hard to remove creates shadowy spots that show when your shadow box is backlit.
How to avoid it: Use a weeding tool with a sharp, fine point to carefully pop out cut pieces. Start with the largest pieces and work toward smaller details. Support the surrounding paper with your finger while removing pieces near narrow joints where mistakes can happen most easily.
Work on a stable surface in good lighting so you can clearly see all cut lines. If a piece resists removal, it's not fully cut. Use a craft knife to gently finish the cut rather than forcing it out and tearing your layer.
For intricate areas: Go slowly and focus on accuracy. Some shadow box designs have extremely delicate details that require 5-10 minutes of careful weeding per layer. This isn't a step you can rush without consequences.
Not Doing Test Cuts Before Cutting All Layers
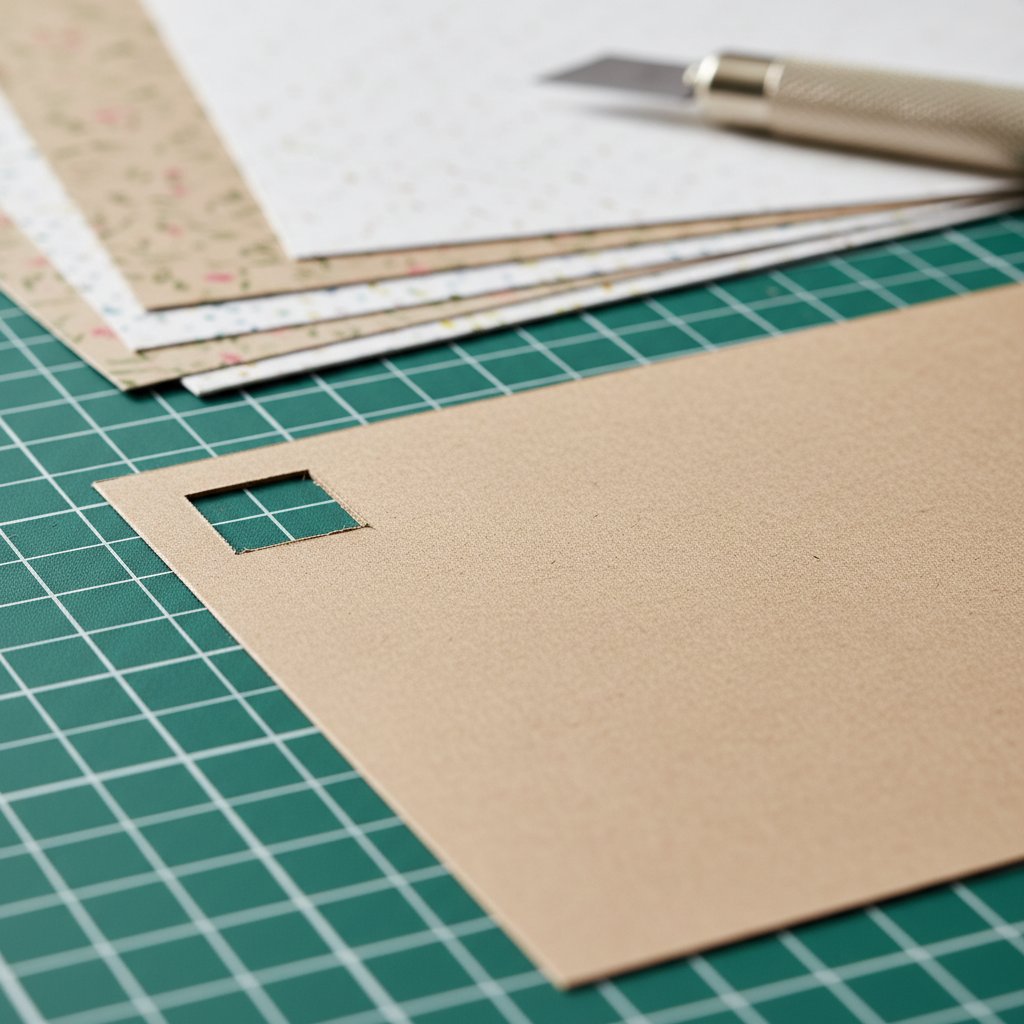
Skipping test cuts is perhaps the most expensive paper light box mistake beginners make.
The problem: You cut all 8-12 layers of your shadow box with incorrect settings, only to discover that every single layer has incomplete cuts, torn edges, or overcut marks. Now you've wasted $10-15 worth of cardstock and several hours of work.
How to avoid it: Always cut a test layer first using a piece of cardstock from the same package you'll use for your project. Different cardstock brands and even different color batches from the same brand can have slight thickness variations that affect cutting.
Choose the most intricate layer from your design for your test cut. If settings work well on the most detailed layer, they'll work on simpler layers. Examine your test cut carefully:
- Are all cuts complete with no paper still attached?
- Are edges clean without fuzzy tears?
- Are there any drag marks or overcut lines?
- Do small intricate pieces cut cleanly?
Only after a perfect test cut should you proceed to cutting all your layers. The 5-10 minutes spent on a test cut can save hours of frustration and wasted materials.