Key Differences Between Paper Cut and Traditional Shadow Boxes
Purpose and Function
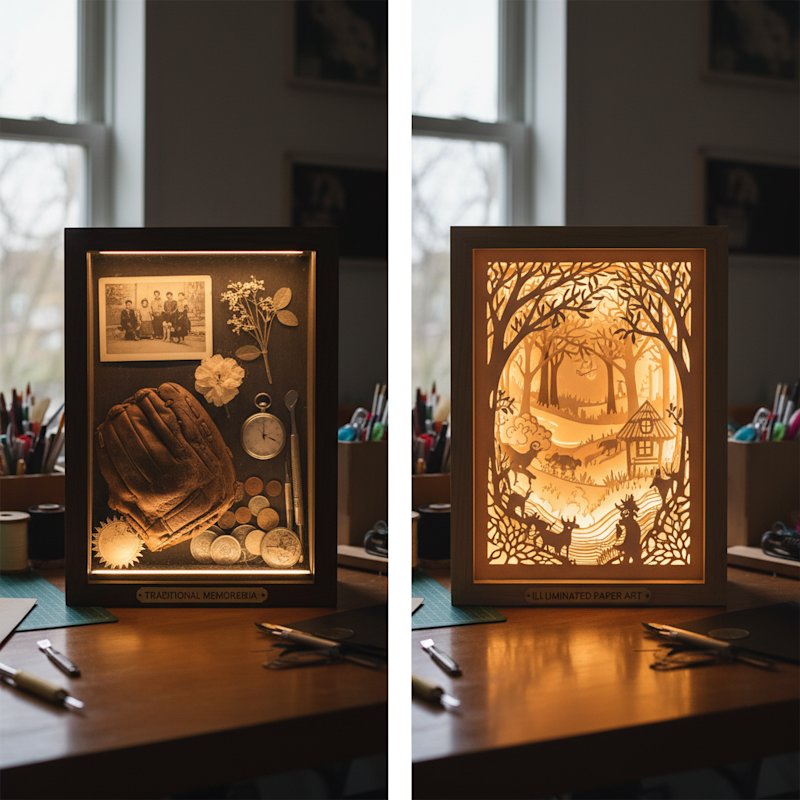
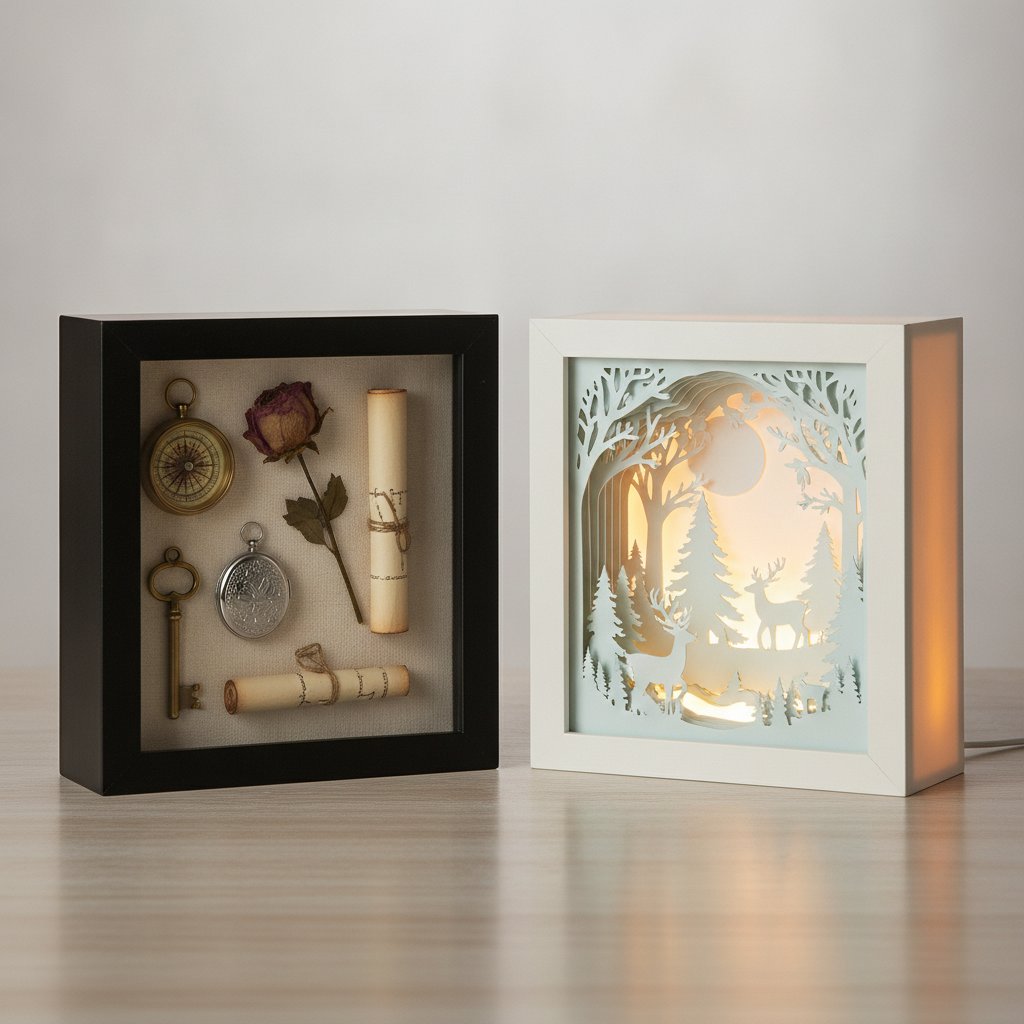
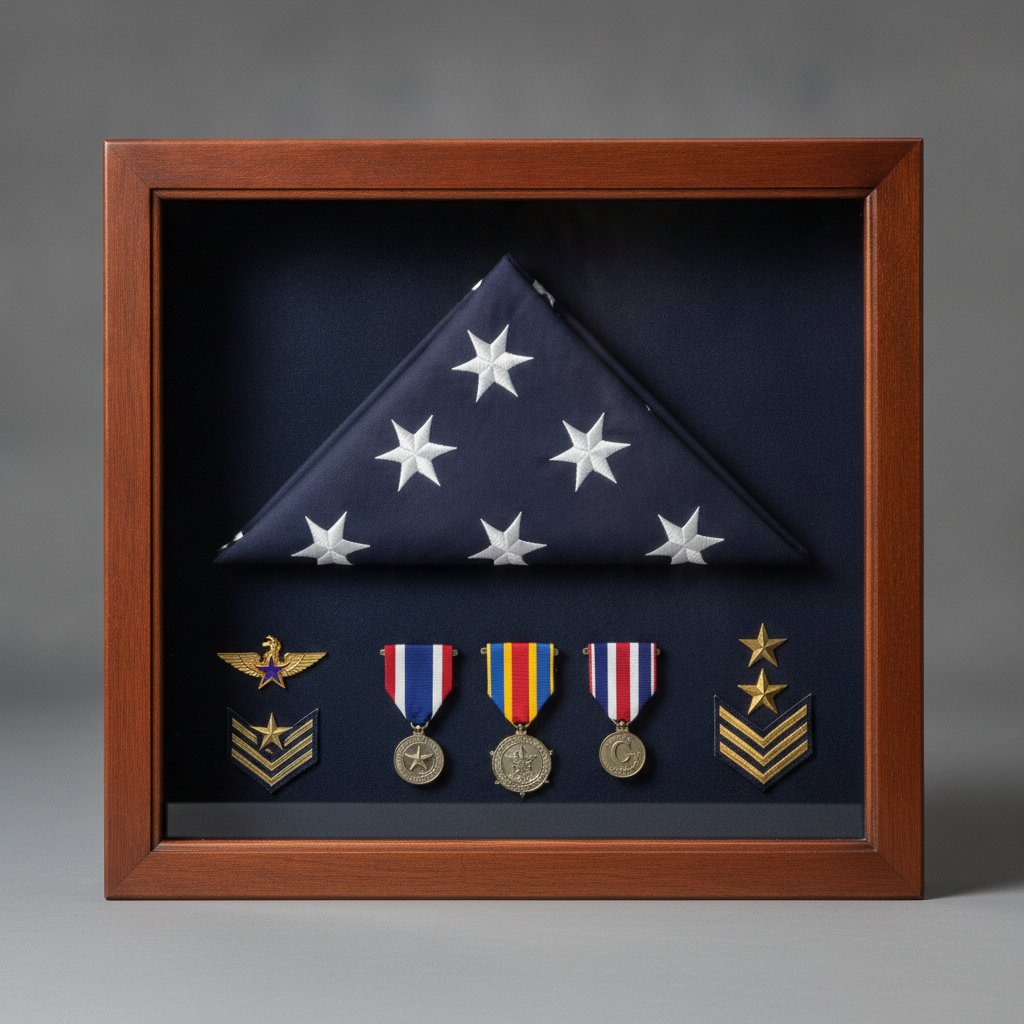
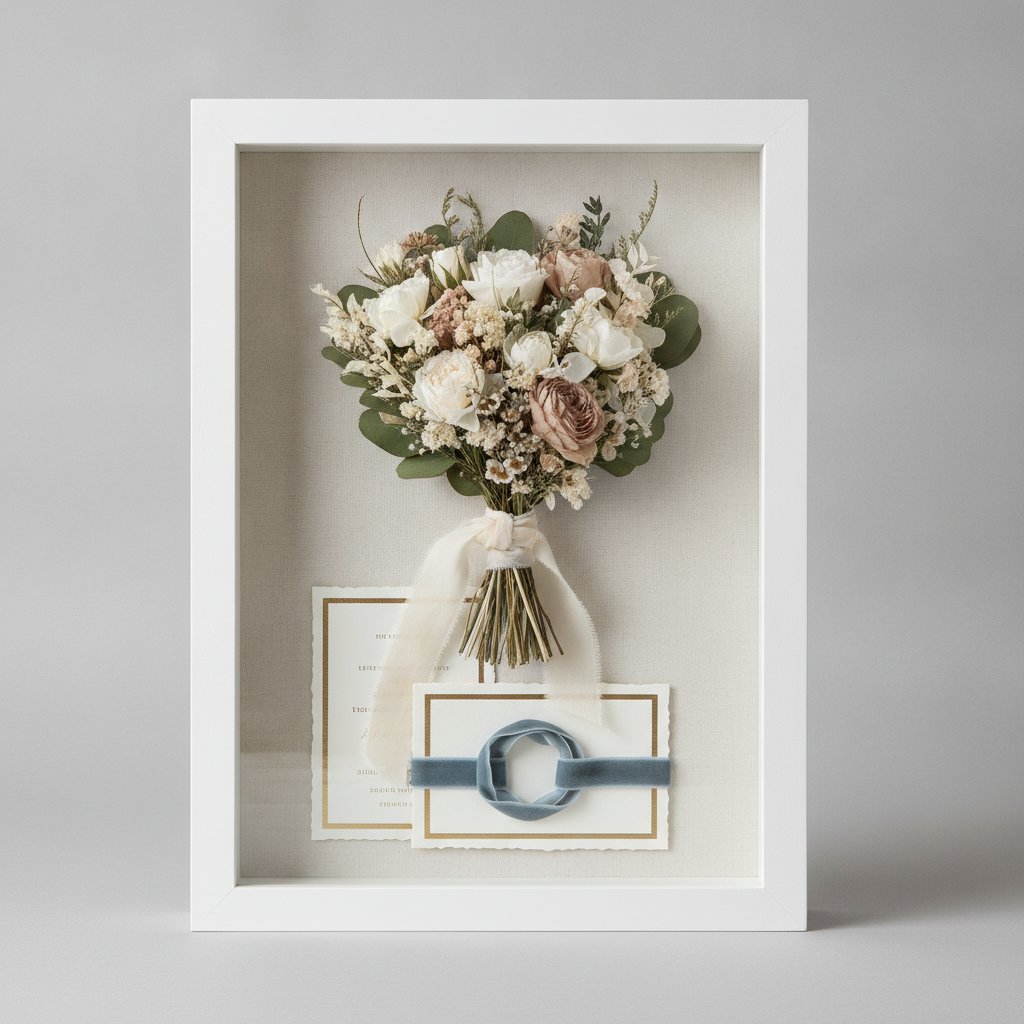
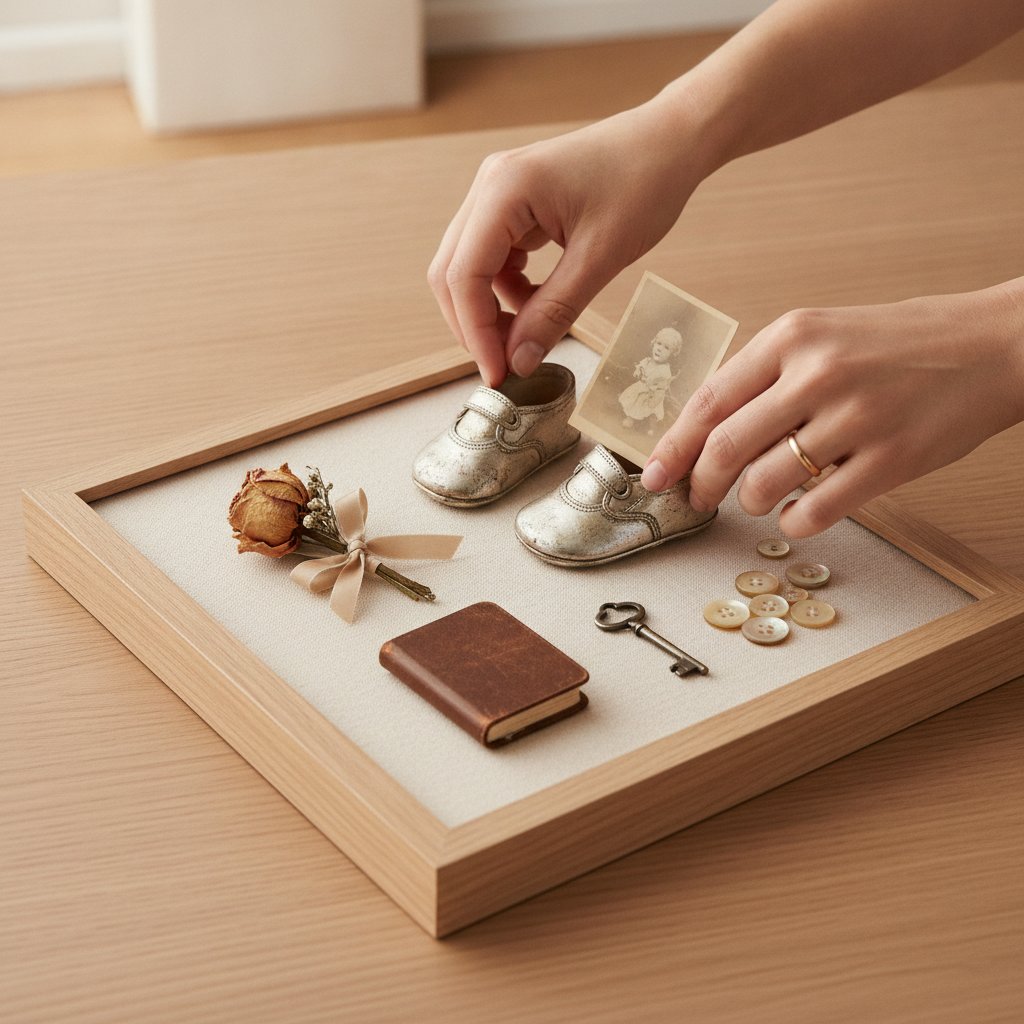
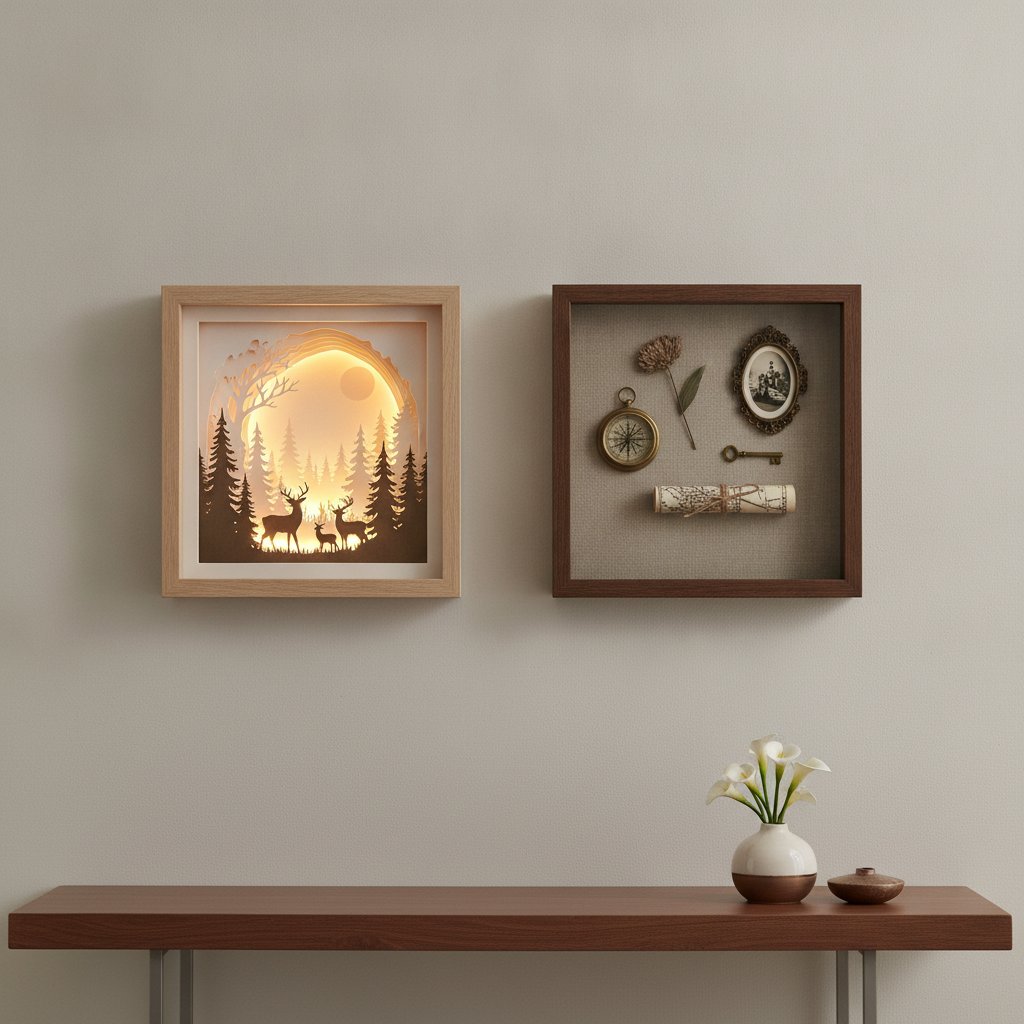
Traditional shadow boxes preserve and display existing three-dimensional objects. You select items you already own or have collected, arrange them attractively, and secure them in the frame. The shadow box protects your items while making them visible.
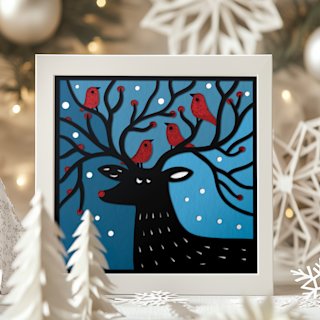
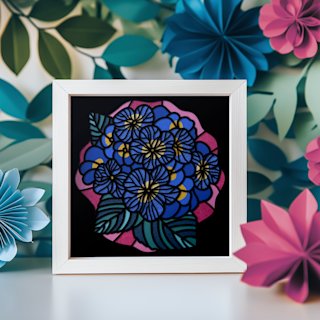
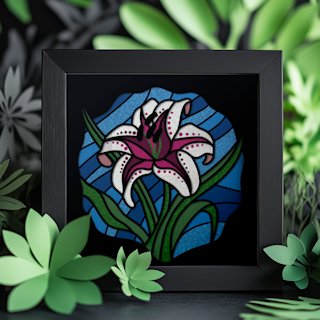
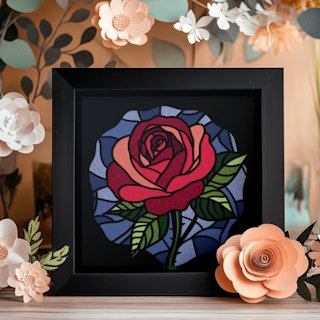
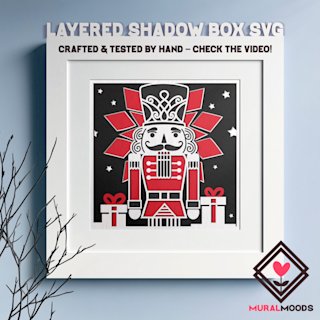
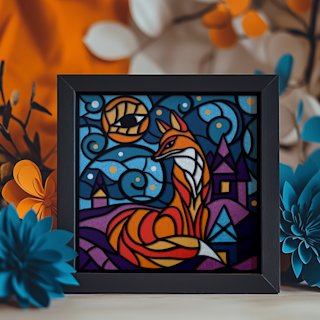
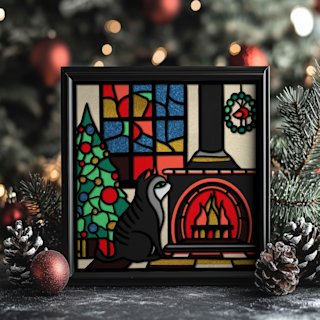
Paper cut shadow boxes are created artwork. You're making a new dimensional piece using cutting machine techniques, cardstock, and lighting. Nothing existed before you created it.
Materials and Supplies
Traditional shadow boxes require:
- The items you want to display
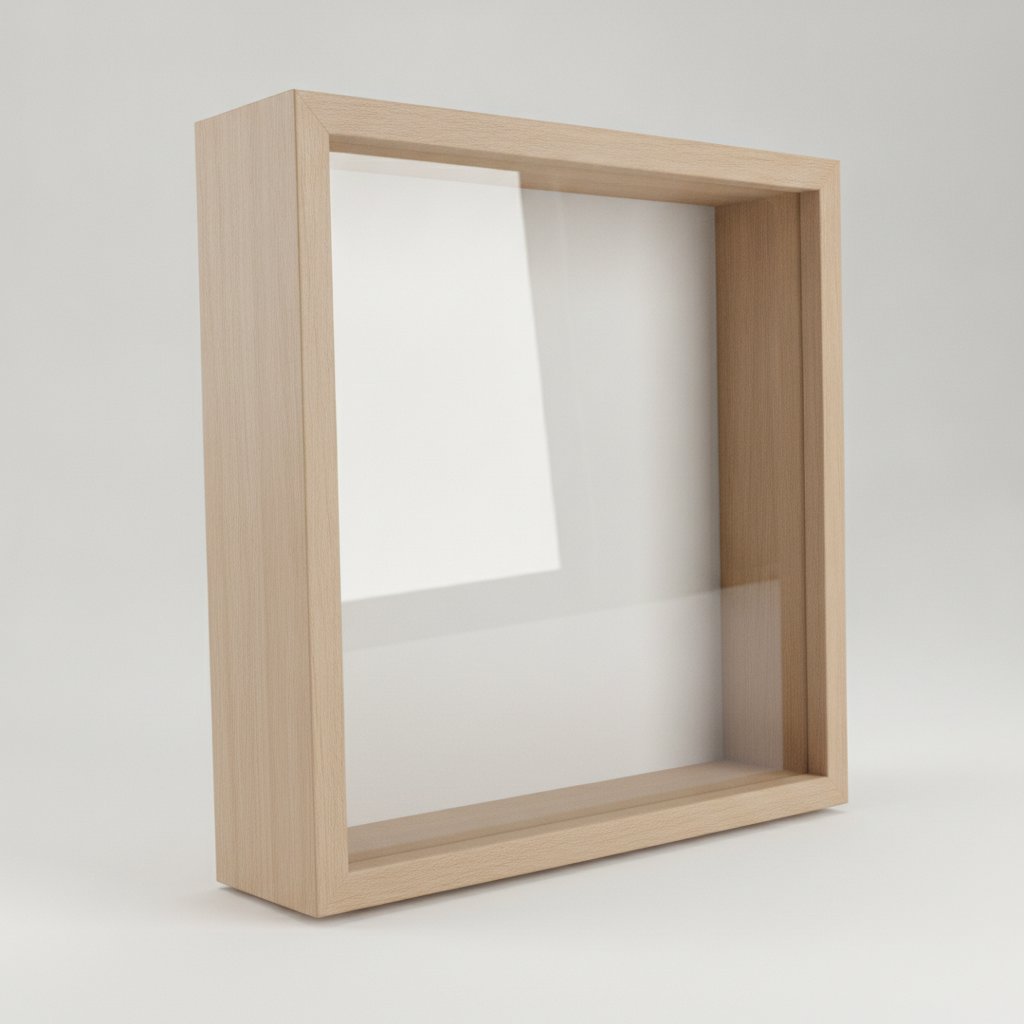
- A deep frame
- Mounting materials (pins, adhesive, wire, putty)
- Backing board (often fabric-covered)
- Optional: decorative background materials
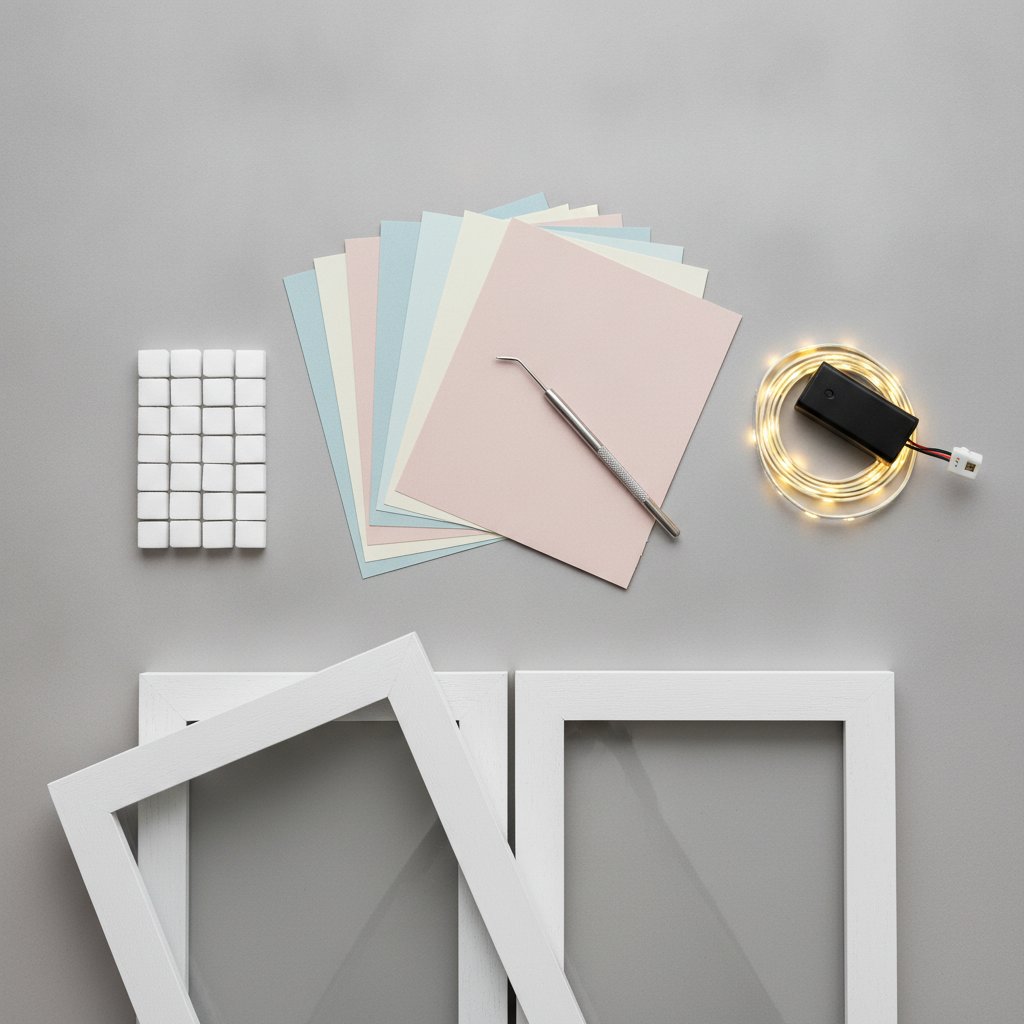
Paper cut shadow boxes require:
- Multiple sheets of cardstock (6-12+ sheets)
- Cutting machine (Cricut or Silhouette)
- SVG template file
- Foam spacers or mounting tape
- LED strip lights and battery pack
- Deep box frame
- Cutting tools (weeding tool, spatula)
- Adhesive for assembly
The material costs differ significantly. Traditional shadow boxes mainly need the frame and basic mounting supplies, while paper cut shadow boxes require cardstock, specialty cutting supplies, lighting, and templates.
Skill Level and Time Investment
Traditional shadow boxes are beginner-friendly and quick to assemble. Anyone can arrange objects in a frame, and the process typically takes 30-60 minutes depending on complexity. The main skill is aesthetic arrangement of your items.
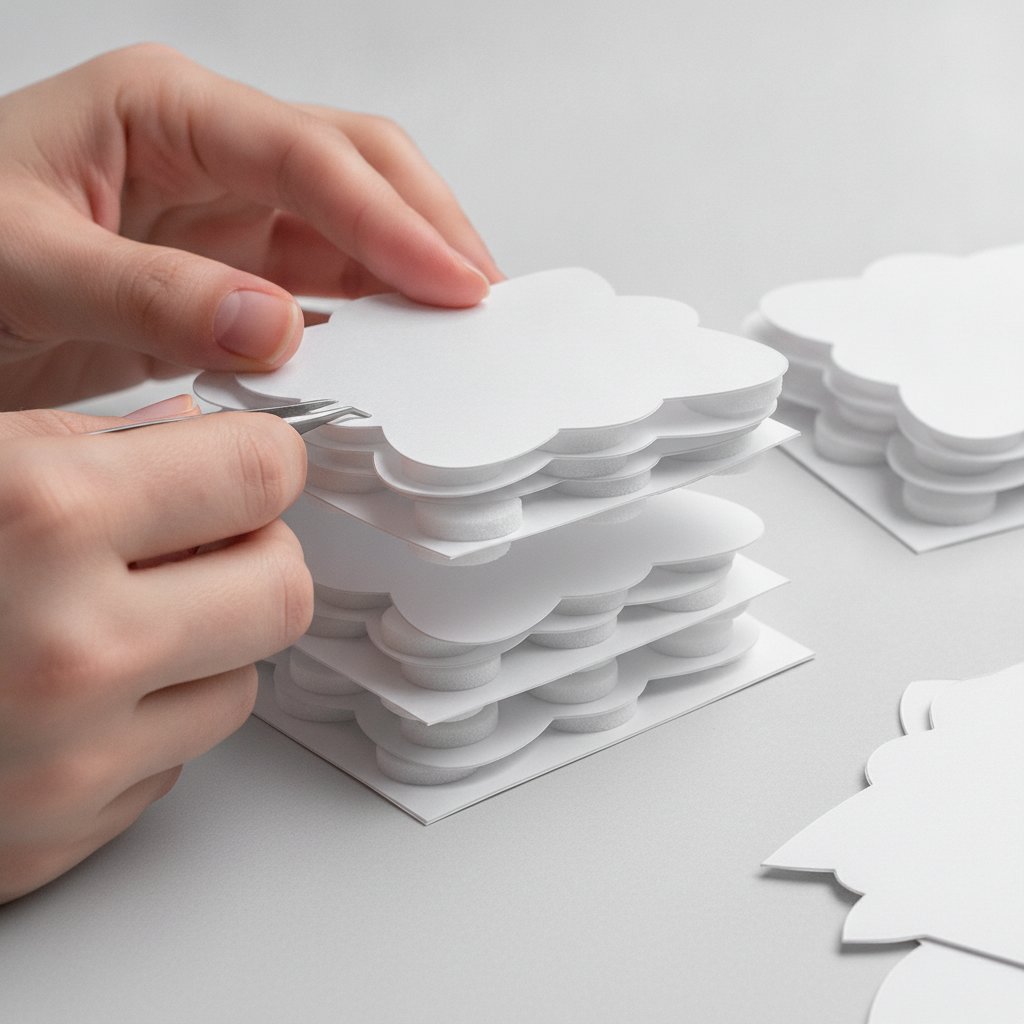
Paper cut shadow boxes require intermediate crafting skills and significantly more time. Your first project may take 3-4 hours, including cutting all layers (60-90 minutes), weeding intricate details, assembling layers with precise alignment (60-90 minutes), and installing lighting. You need familiarity with your cutting machine, experience with cardstock projects, and patience for detailed work.
However, once you've completed 2-3 paper cut shadow boxes, the process becomes faster and easier. Experienced crafters can complete simpler designs in 2 hours.
Visual Impact and Aesthetics
Traditional shadow boxes create visual interest through the arrangement and significance of the displayed objects. The depth of the frame creates natural shadows, and the items themselves provide texture, color, and meaning. The impact comes from what you're displaying and how it's arranged.
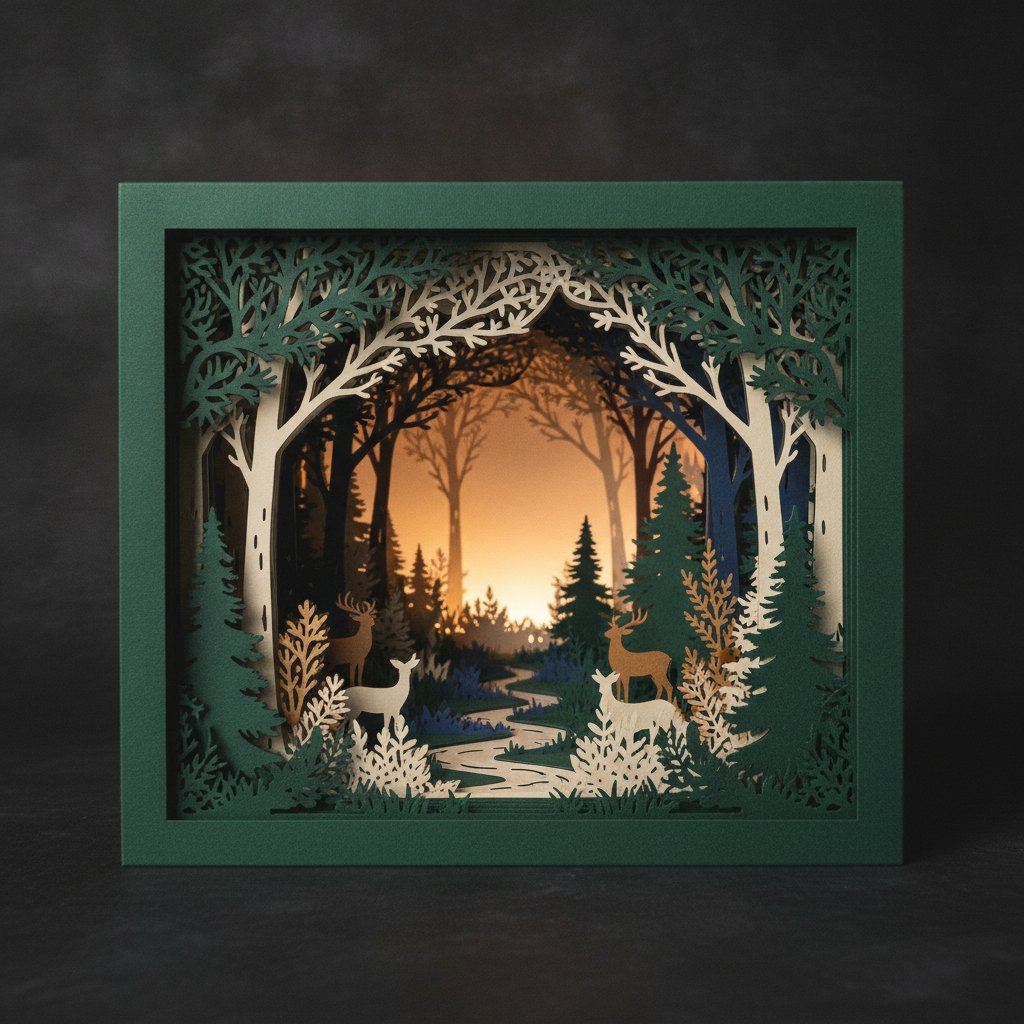
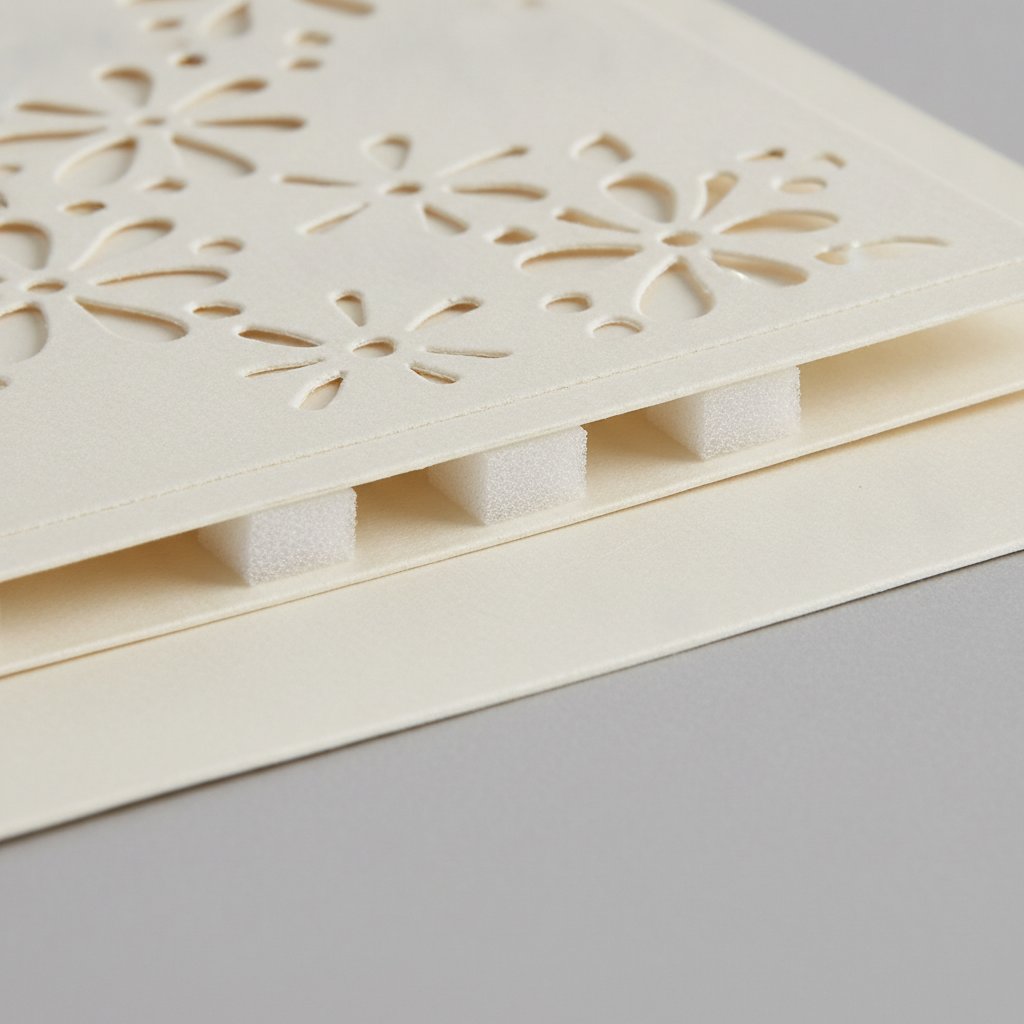
Paper cut shadow boxes create dramatic visual impact through light, layering, and dimensional depth. When illuminated, the LED backlighting shines through layers and cutouts, creating a glowing effect that highlights every detail. The three-dimensional depth created by foam spacers makes flat paper appear to have significant dimension. The visual effect is often stunning and eye-catching, especially in low-light conditions where the illumination effect is most prominent.
Customization and Personalization
Traditional shadow boxes are customized by selecting which items to display and how to arrange them. You might choose fabric colors for the backing, add labels or nameplates, or arrange items in meaningful patterns. The customization is in curation and arrangement.
Paper cut shadow boxes can be customized through color choices, design selection, and template modifications. You can:
- Choose cardstock colors to match your decor
- Resize designs for different frame sizes
- Combine elements from multiple templates
- Add personalized text or names
- Modify designs in your cutting software
- Select LED light colors (with RGB lights)
Both offer personalization, but in very different ways.
Durability and Maintenance
Traditional shadow boxes are very durable once assembled. The glass protects items from dust and damage, and properly secured objects won't shift or fall. Maintenance is minimal, usually just cleaning the glass periodically.
Paper cut shadow boxes are generally durable when assembled correctly with strong foam spacers and adhesive. However, they require some ongoing care:
- Battery replacement every few months (depending on usage)
- Keeping away from direct sunlight (which can fade cardstock)
- Occasional dusting (if not fully sealed)
- Careful handling during moves (layers can shift if dropped)
The LED lights typically last for years, but battery packs may eventually need replacement.
Cost Considerations
Traditional shadow boxes: Costs vary widely based on what you're displaying and frame quality. Basic projects cost $15-30 for the frame plus mounting supplies. Custom framing services can cost $100-500+ for large or complex displays.
Paper cut shadow boxes: Initial investment is higher due to equipment and supplies. Your first project costs approximately:
- $20-40 for the frame
- $10-20 for cardstock (buying extra for test cuts)
- $10-20 for LED lights
- $5-10 for foam spacers
- $3-15 for SVG template
- Total: $48-105 for your first project
However, once you have lights, foam spacers, and tools, subsequent projects only require cardstock, templates, and frames, reducing costs to $30-60 per project.
If you already own a Cricut or Silhouette machine, paper cut shadow boxes are cost-effective art projects. If you need to purchase a cutting machine specifically for this craft, factor in $200-400 for the machine.