How to Import and Use Templates with Silhouette
Silhouette Studio handles shadow box templates slightly differently than Cricut Design Space, but the process is equally straightforward once you understand the workflow.
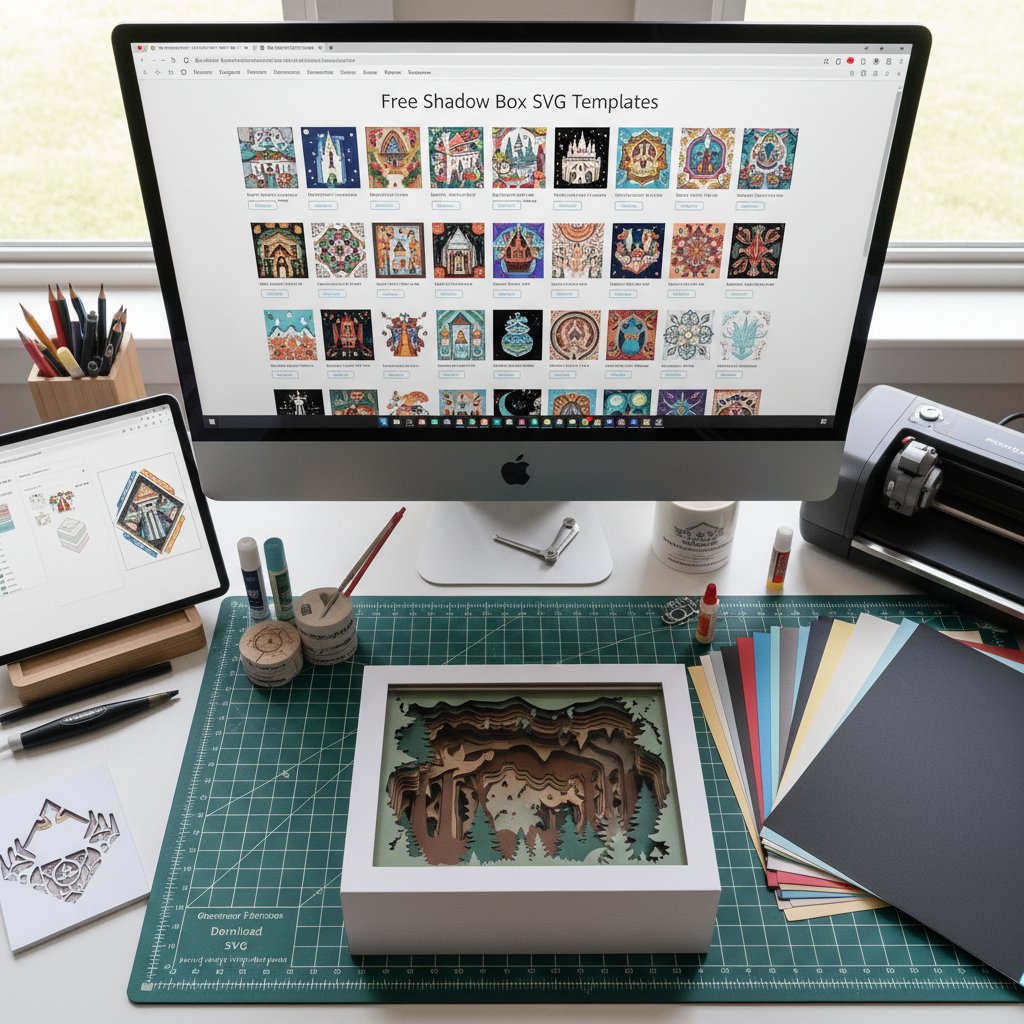
Importing SVG Files into Silhouette Studio
Step 1: Open Silhouette Studio.
Step 2: Go to File > Open (or File > Merge if adding to an existing project).
Step 3: Navigate to your downloaded shadow box template file. If it's in a ZIP archive, extract it first.
Step 4: Select the SVG or DXF file and click "Open."
Step 5: The template imports onto your workspace. Multi-layer designs typically import as grouped objects.
Step 6: If layers are grouped, you'll need to ungroup them to work with individual layers. Right-click on the design and select "Ungroup." You may need to ungroup multiple times for complex multi-layer templates.
Step 7: Once ungrouped, each layer is individually selectable and moveable.
Important note: Some shadow box templates import better as DXF files in Silhouette Studio, especially if SVG files show unexpected grouping or layer organization issues. If your SVG doesn't import cleanly, check if the designer included a DXF version and try importing that instead.
Adjusting Settings for Cardstock
Before cutting, configure Silhouette Studio settings for your cardstock weight:
Step 1: Select your material from the Send panel. Choose "Cardstock, Medium Weight" for 65-80 lb cardstock.
Step 2: If cutting manually, set these typical starting values:
- Blade Depth: 3-4 (adjust based on your specific cardstock thickness)
- Force: 10-14 (start at 10 for 65 lb, increase to 12-14 for 80 lb cardstock)
- Speed: 6-8 (slower speeds work better for intricate details)
Step 3: Always perform a test cut before cutting your actual project layers. Use the test cut feature or cut a small section on scrap cardstock to verify settings produce clean cuts without tearing or incomplete cuts.
Step 4: Adjust one setting at a time if test cuts aren't perfect. If cuts don't go completely through, increase blade depth or force. If paper tears or shows drag marks, decrease force or blade depth.
Cutting and Managing Layers
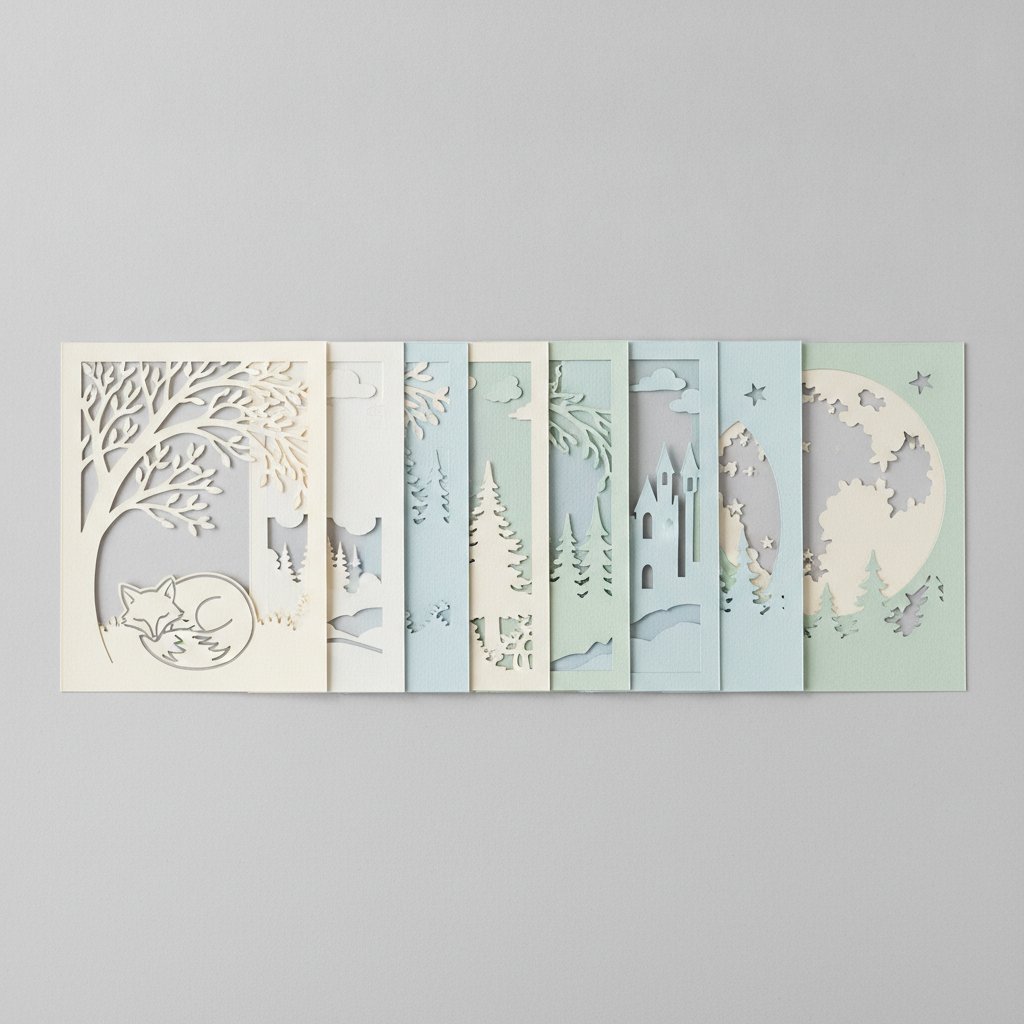
With settings optimized, cut your shadow box layers:
Step 1: Isolate the layer you want to cut by moving it to your cutting mat area and moving other layers outside the cutting area, or by deleting/hiding other layers temporarily.
Step 2: Position the layer on your virtual cutting mat, ensuring it fits within your actual mat dimensions with proper margins.
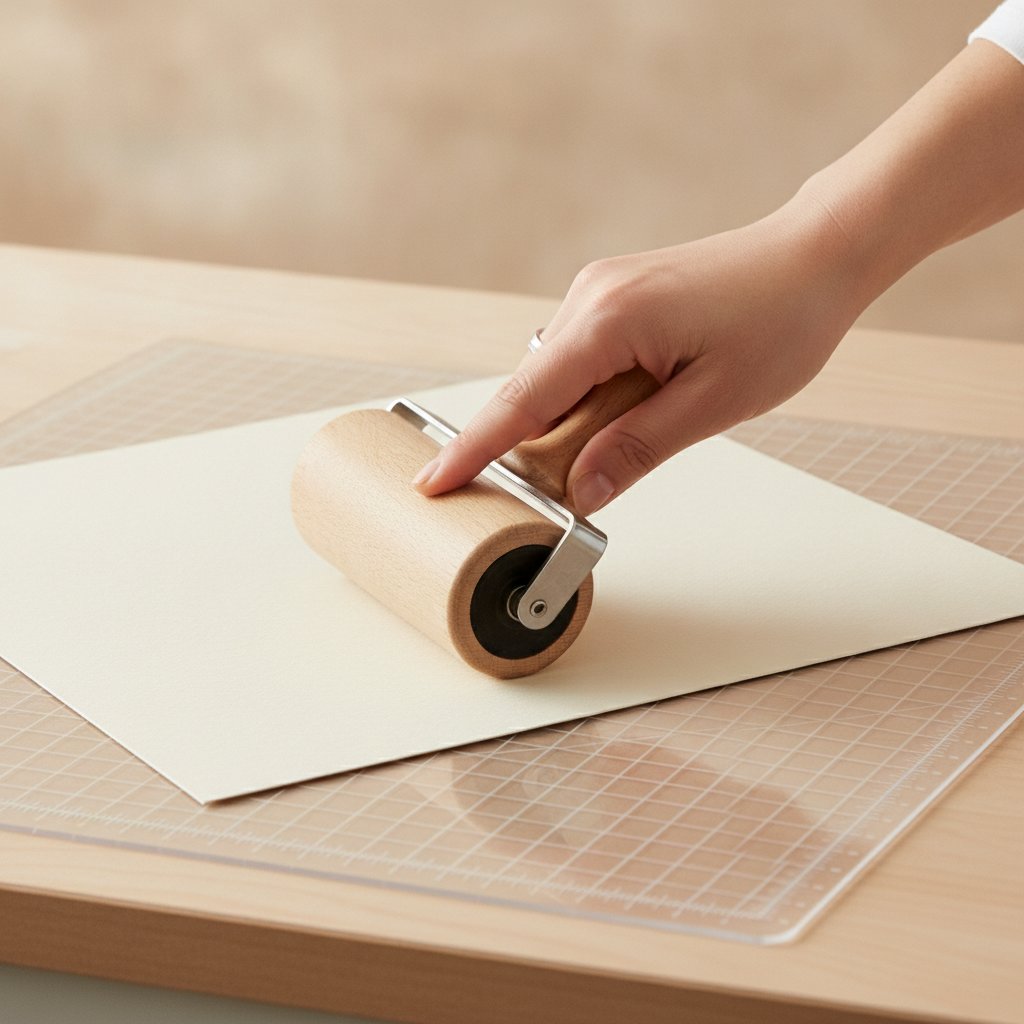
Step 3: Load cardstock onto your physical cutting mat, smoothing it firmly with your scraper or brayer.
Step 4: Load the mat into your Silhouette machine.
Step 5: Click "Send" in Silhouette Studio to send the layer to your machine.
Step 6: The machine cuts the layer. Remove the mat carefully when cutting completes.
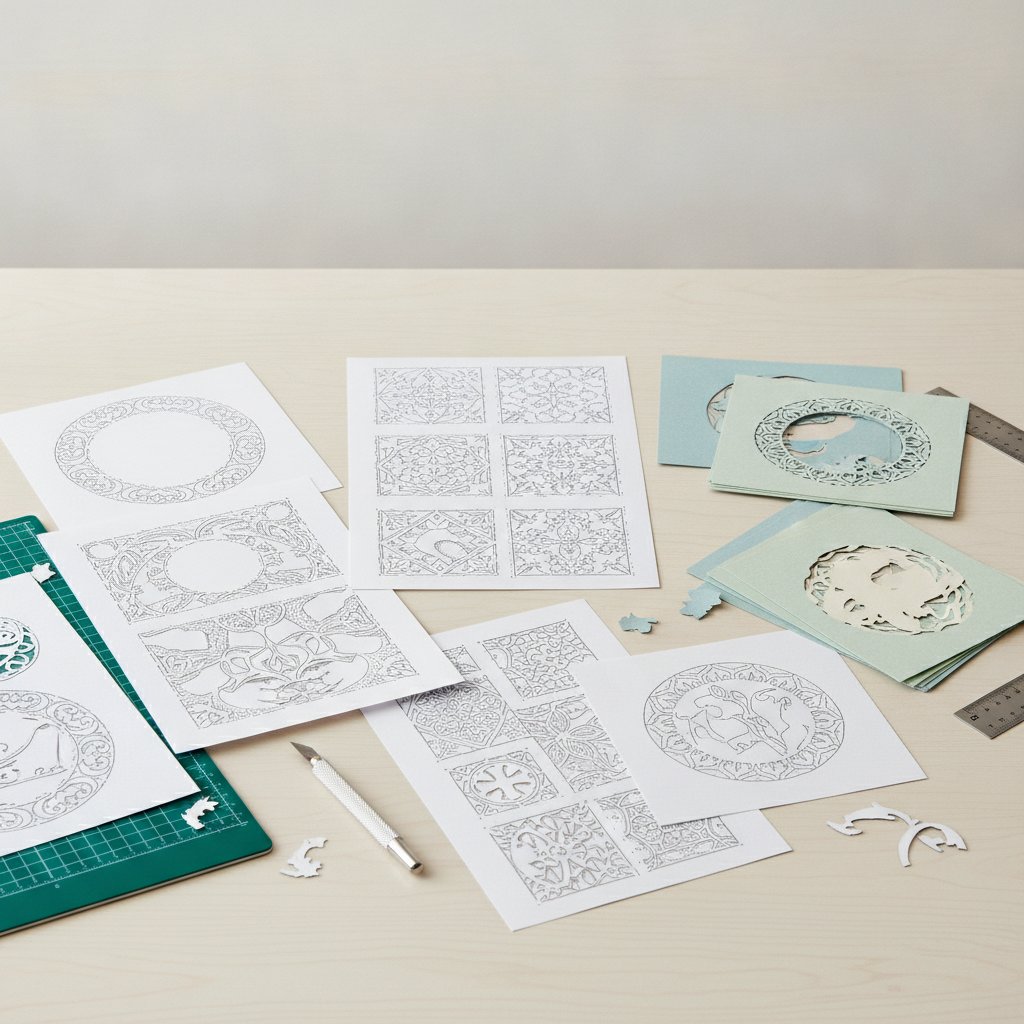
Step 7: Peel away the cut layer, then weed out small cutout pieces with your pick tool.
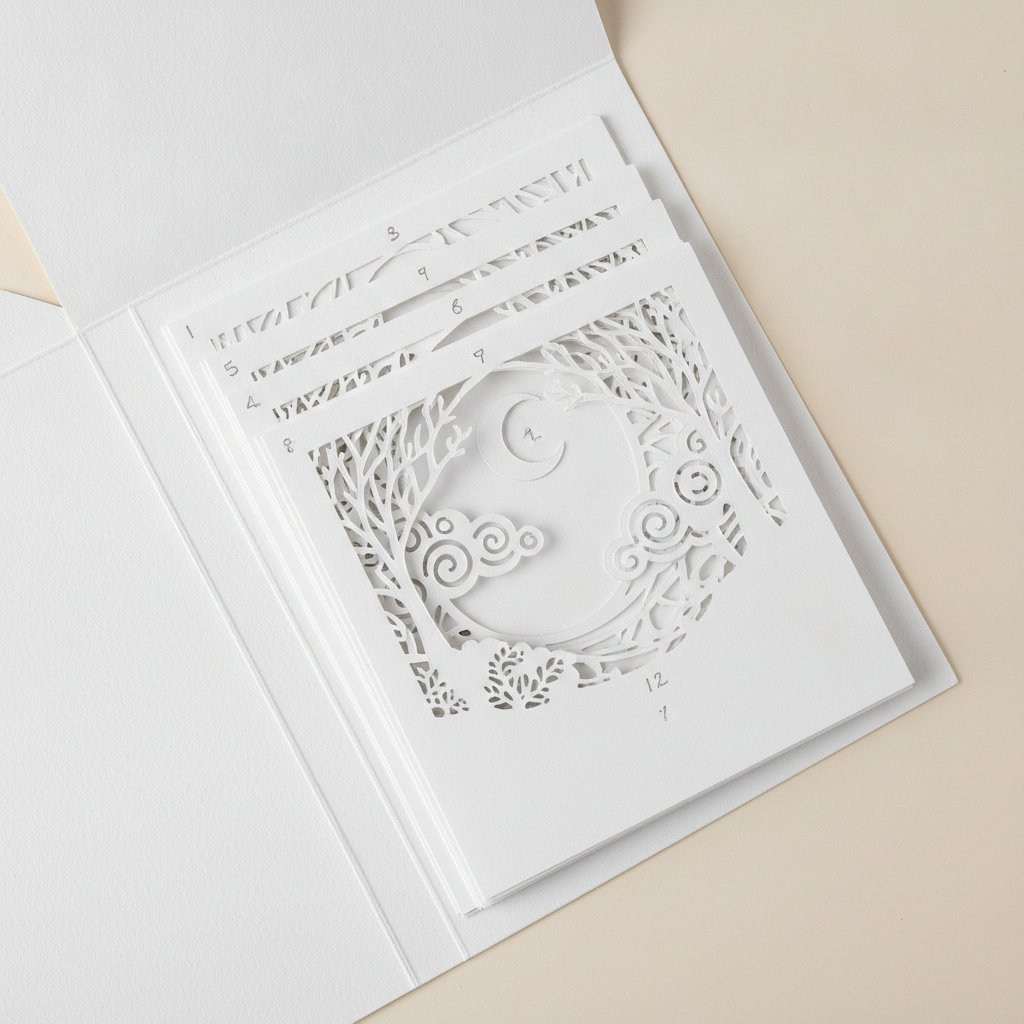
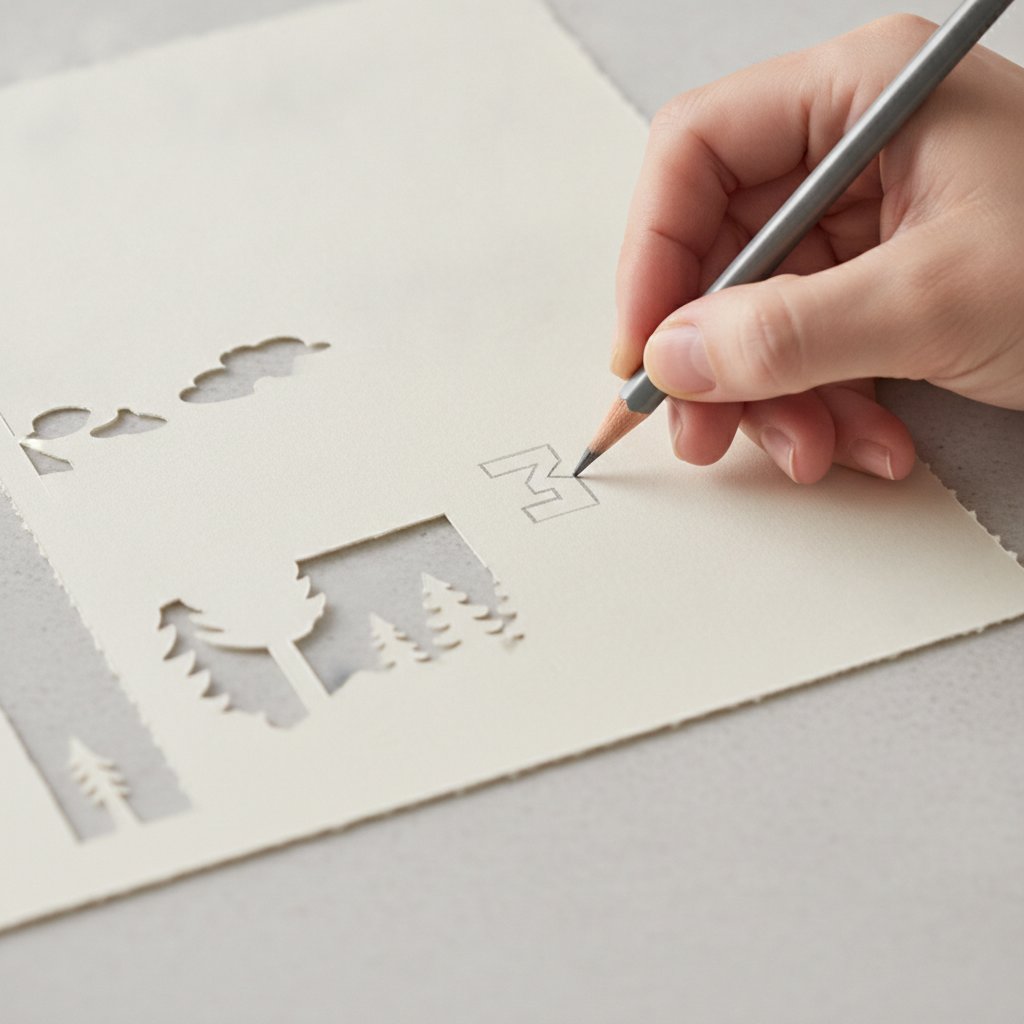
Step 8: Label the back with the layer number in pencil.
Step 9: Repeat for remaining layers, cutting them in numerical order.
Silhouette users should clean their cutting mats regularly between layers, as the small cutout pieces can accumulate and reduce mat adhesion for subsequent cuts.