Blade Selection and Maintenance: The
Most Critical
Factor
Your blade determines 80% of your glitter cardstock cutting success. Even perfect
settings and
mat selection won't save you if your blade is dull, dirty, or incorrectly installed.
Best Blades for Glitter Cardstock
Fine-Point Blade (Standard):
- Works for most glitter cardstock (65-80 lb weight)
- Suitable for intricate shadow box designs
- Limitation: Dulls quickly on glitter cardstock (expect 15-20 projects before
replacement)
Premium Fine-Point Blade (German Carbide Steel):
- Lasts 4x longer than standard blades on abrasive materials
- Maintains sharp edge through dozens of glitter projects
- Best investment for crafters who regularly use glitter cardstock
- Initial cost is higher, but cost-per-project is actually lower
Deep-Point Blade:
- Required for thick glitter cardstock (100+ lb weight)
- Necessary for layered materials or chipboard
- Not ideal for intricate designs (wider cutting path)
Blade to avoid: The rotary blade is not recommended for glitter cardstock. It's
designed for
fabric and thin materials, and the glitter particles will quickly gum up the mechanism.
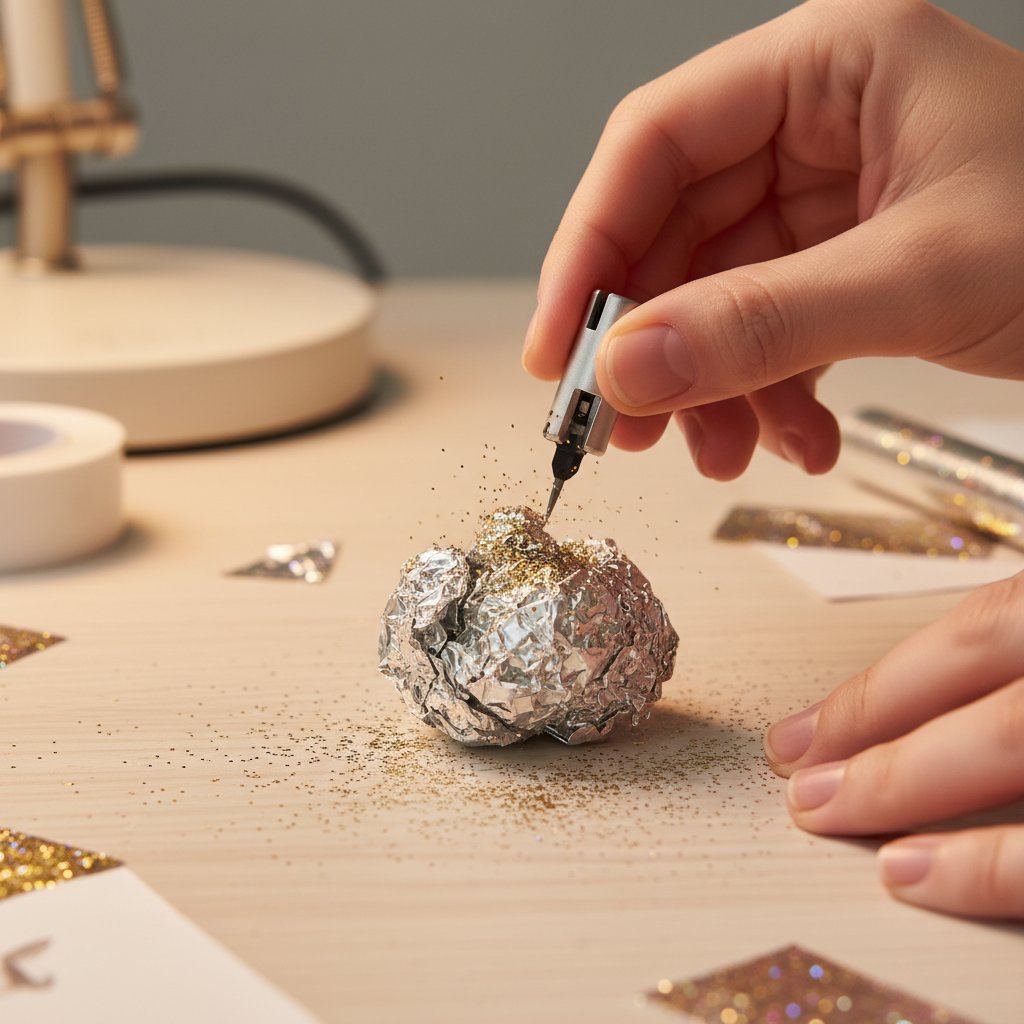
The Aluminum Foil Blade Cleaning Trick
Glitter cardstock is notorious for leaving adhesive residue and micro-particles on
your blade
edge. Even invisible buildup degrades cutting performance dramatically.
The aluminum foil technique:
- Take a sheet of aluminum foil (regular kitchen foil)
- Ball it up loosely
- Stab your blade into the foil ball 15-20 times
- The abrasive foil scrapes away residue without damaging the blade edge
- Wipe blade with a lint-free cloth
When to clean: After every 3-5 glitter cardstock cuts, or immediately if you notice:
- Rough or jagged cut edges
- Inconsistent cutting depth
- Tearing instead of clean cuts
When to Replace Your Blade
Glitter cardstock is exceptionally hard on blades. Replace immediately when you see:
- Tearing persists even after cleaning with aluminum foil
- Visible damage to the blade tip (use a magnifying glass to inspect)
- Inconsistent cuts across the same design
- You've completed 15-20 glitter cardstock projects (for standard blades)
- Rough edges on intricate details
Blade preservation tip: Dedicate one blade specifically to glitter cardstock.
Don't use your
"glitter blade" for regular cardstock or vinyl—this maximizes its working life and ensures
consistent
performance.
Proper Blade Installation
A blade that isn't fully seated in the housing will cause depth inconsistencies
and poor
cuts:
- Remove blade from packaging carefully (don't touch the blade tip)
- Insert into blade housing with the blade facing the correct direction
- Push firmly until you hear and feel a click
- Gently tug on the blade—it should not pull out
- Insert housing into the machine's clamp, ensuring it's locked securely
Common mistake: Assuming the blade is installed correctly because it "went
in." If you
didn't hear a click, it's not properly seated.