Articles13 min read

Preserve Paper Art from Fading: 7 Proven Methods

Protect your papercrafts and shadow boxes with these proven preservation methods.

Pressed flower shadow box display with preserved petals and leaves arranged on acid-free backing

Preserve Paper Art from Fading: 7 Proven Methods

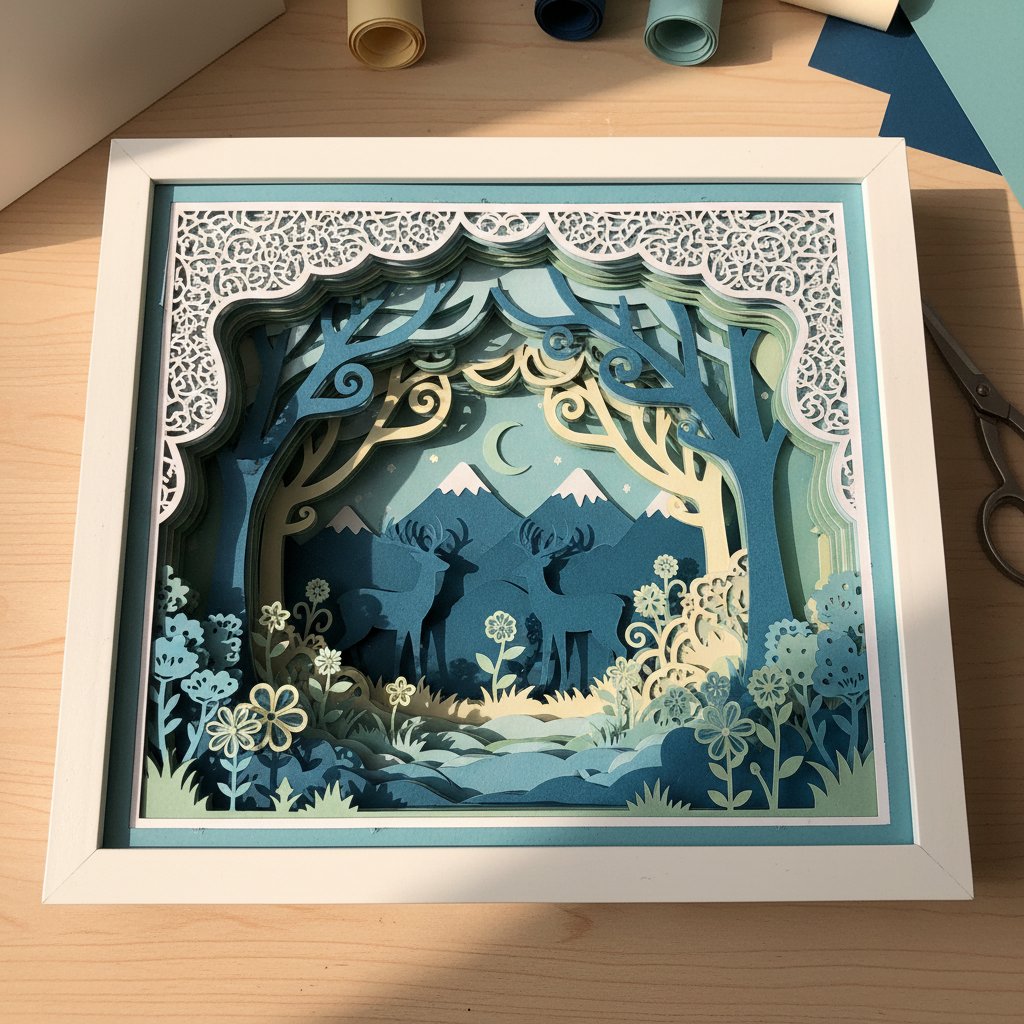
You spent hours designing, cutting, and assembling a layered paper shadow box. The layers line up perfectly, the lighting creates stunning depth, and the whole piece makes you proud. Six months later, the front layer looks washed out. The vibrant colors you carefully selected have shifted dull and flat.

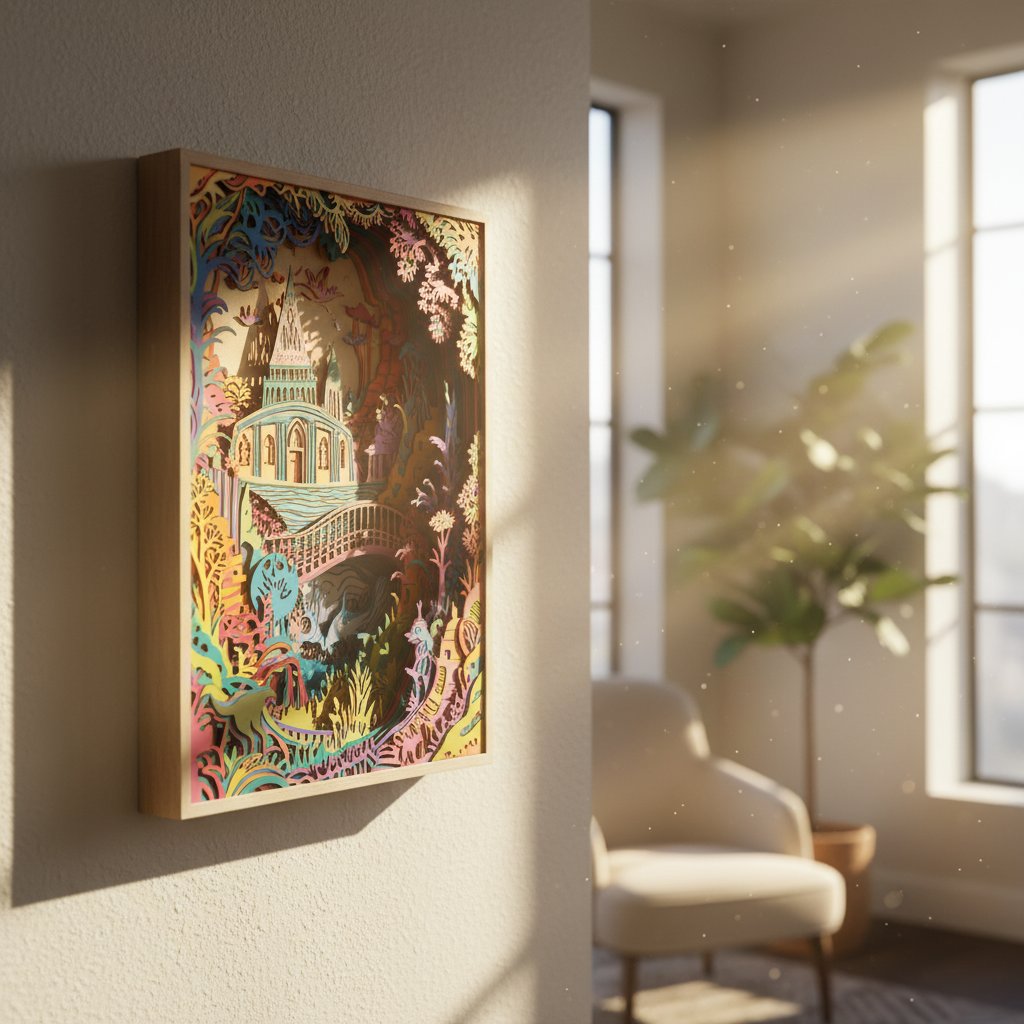
Paper fading is silent and irreversible. Once those pigments break down, no restoration trick brings them back. The good news? Fading is almost entirely preventable when you understand what causes it and apply the right protection methods.

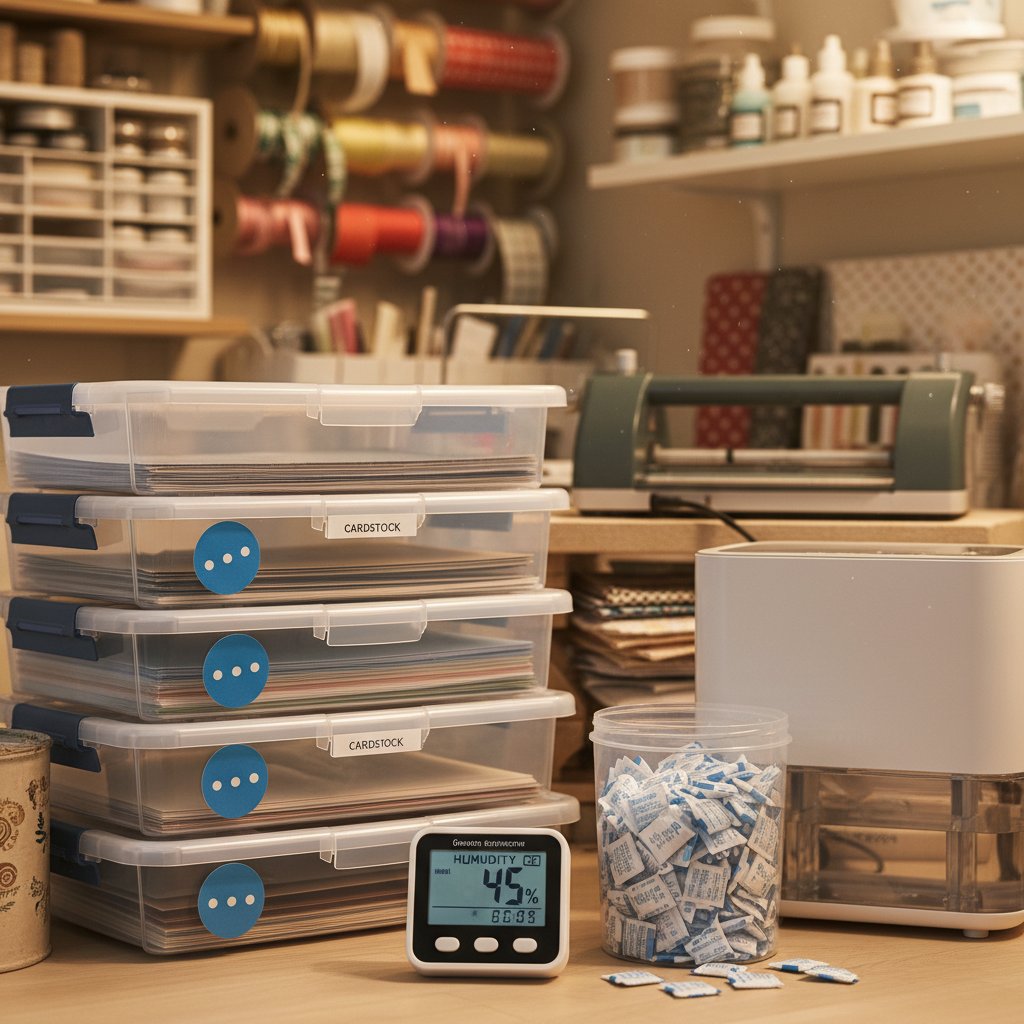
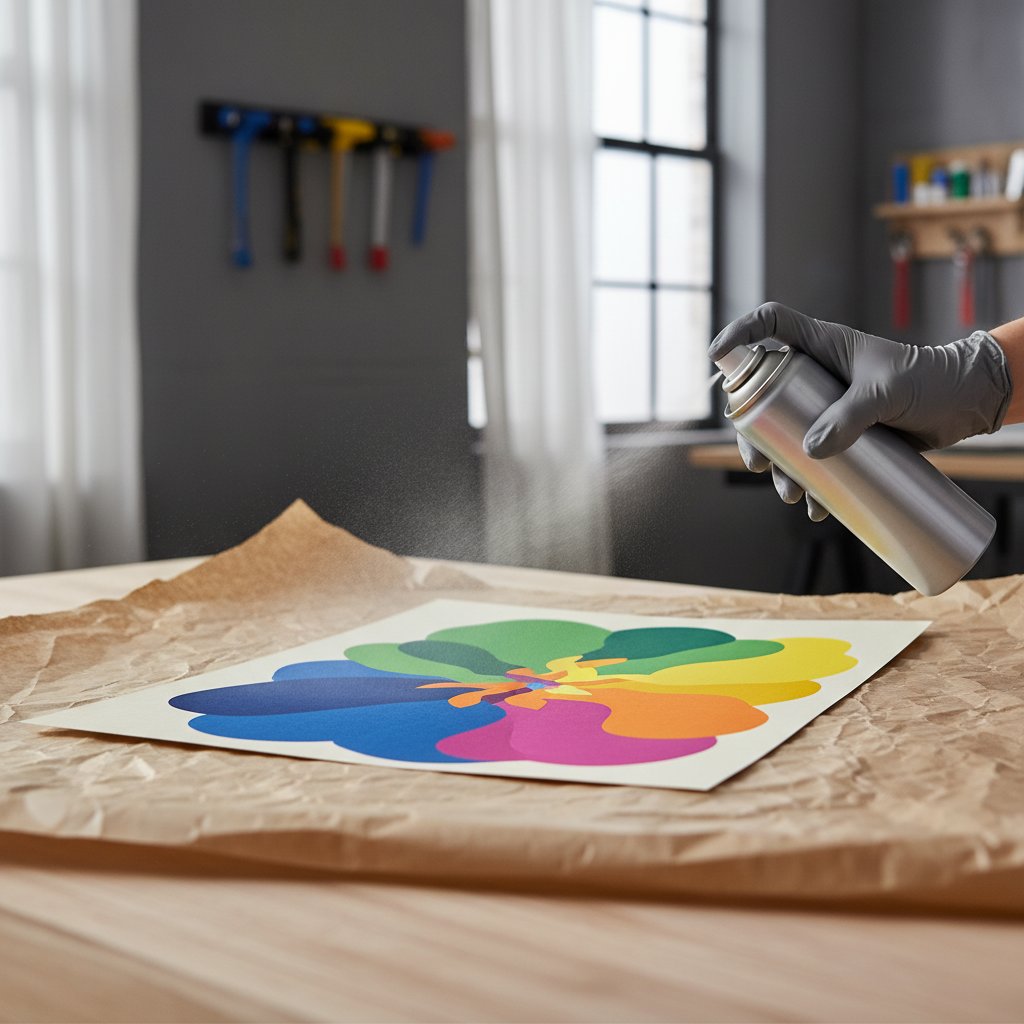
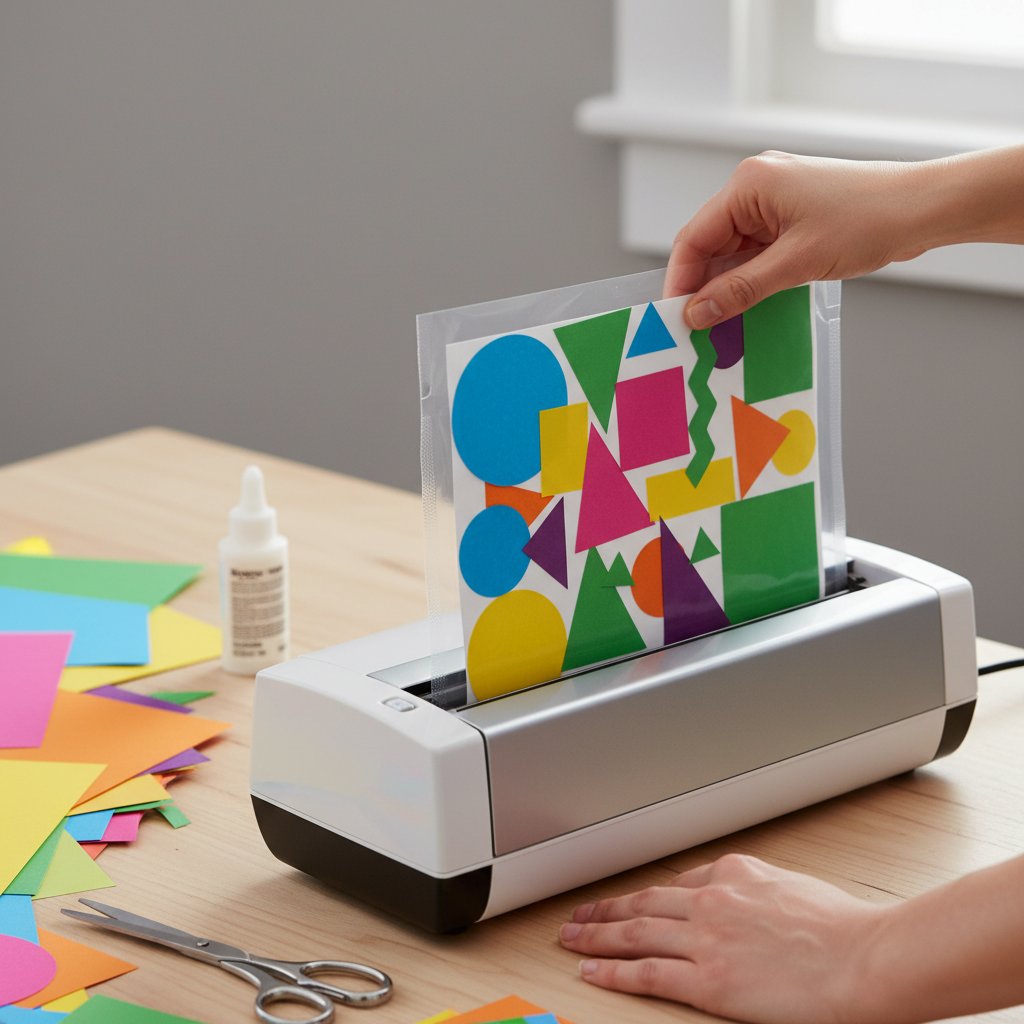
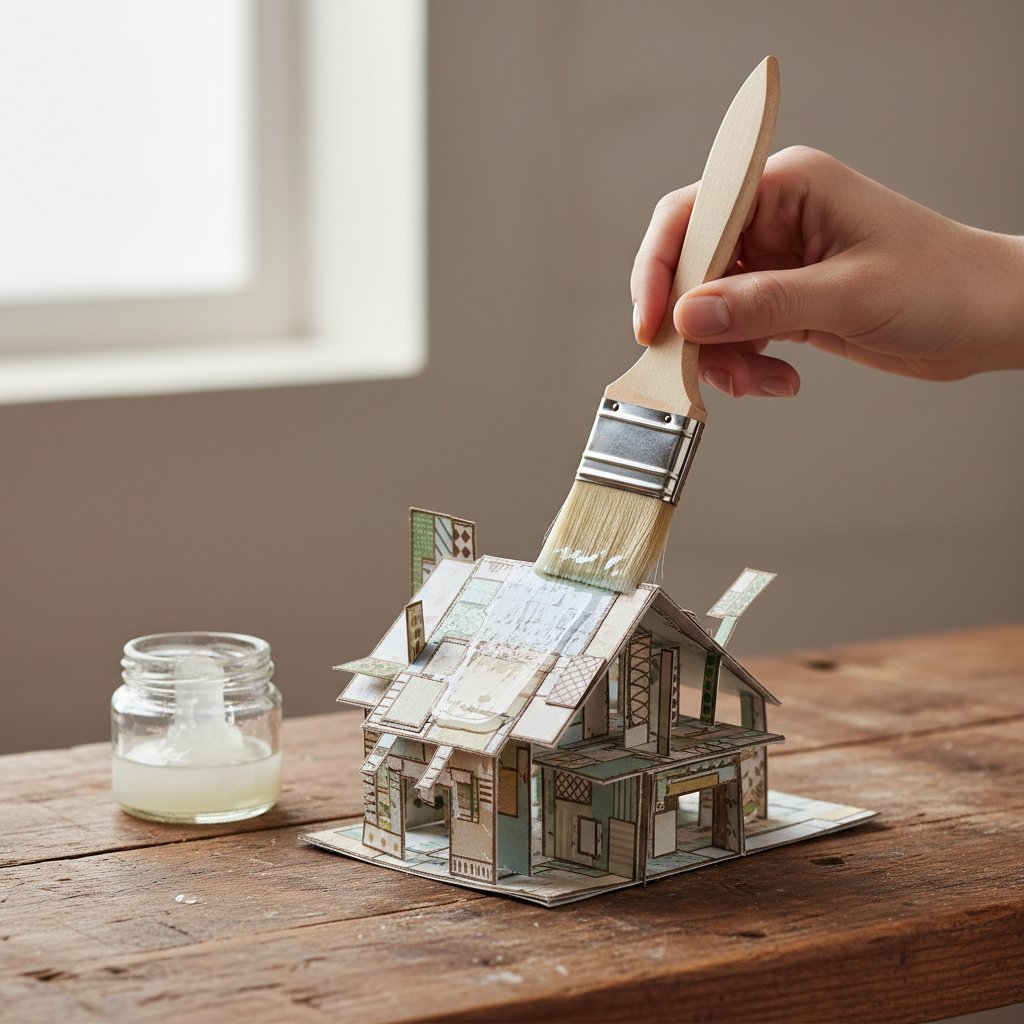
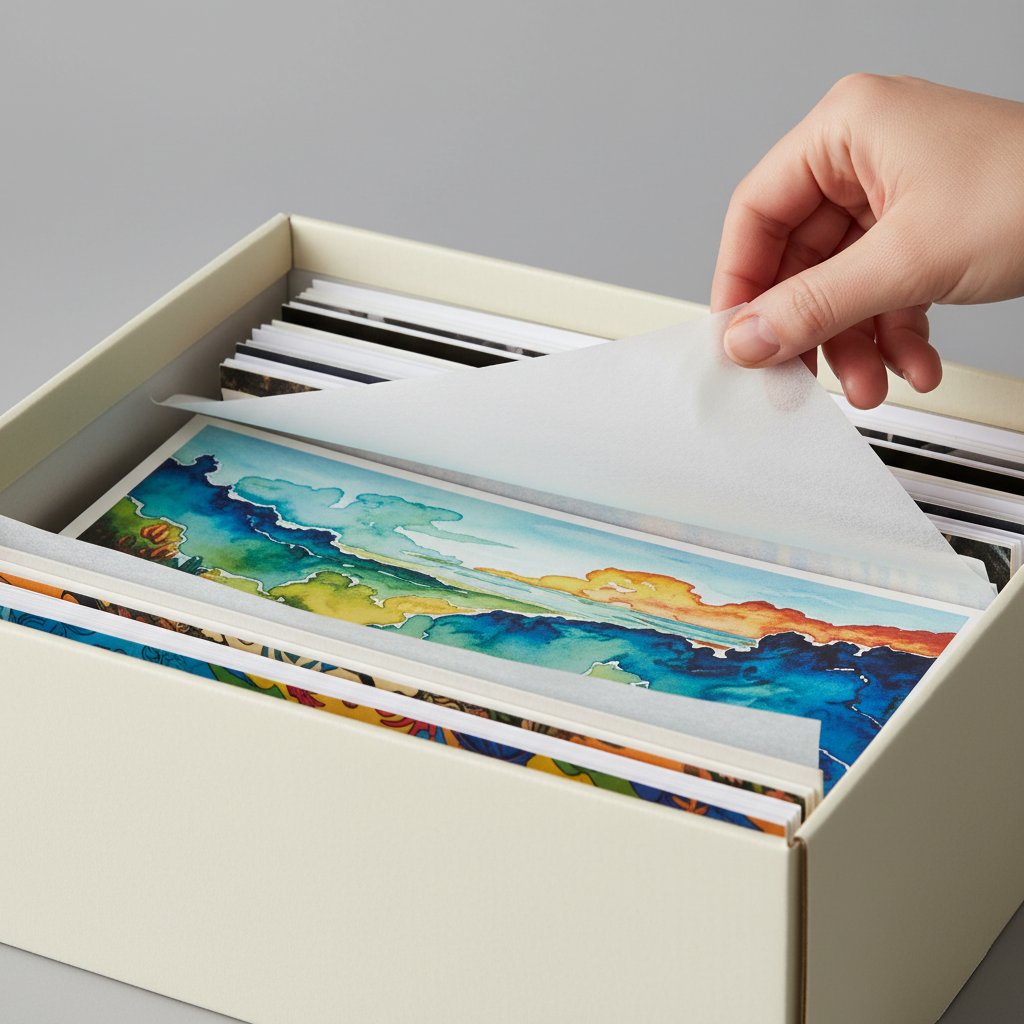
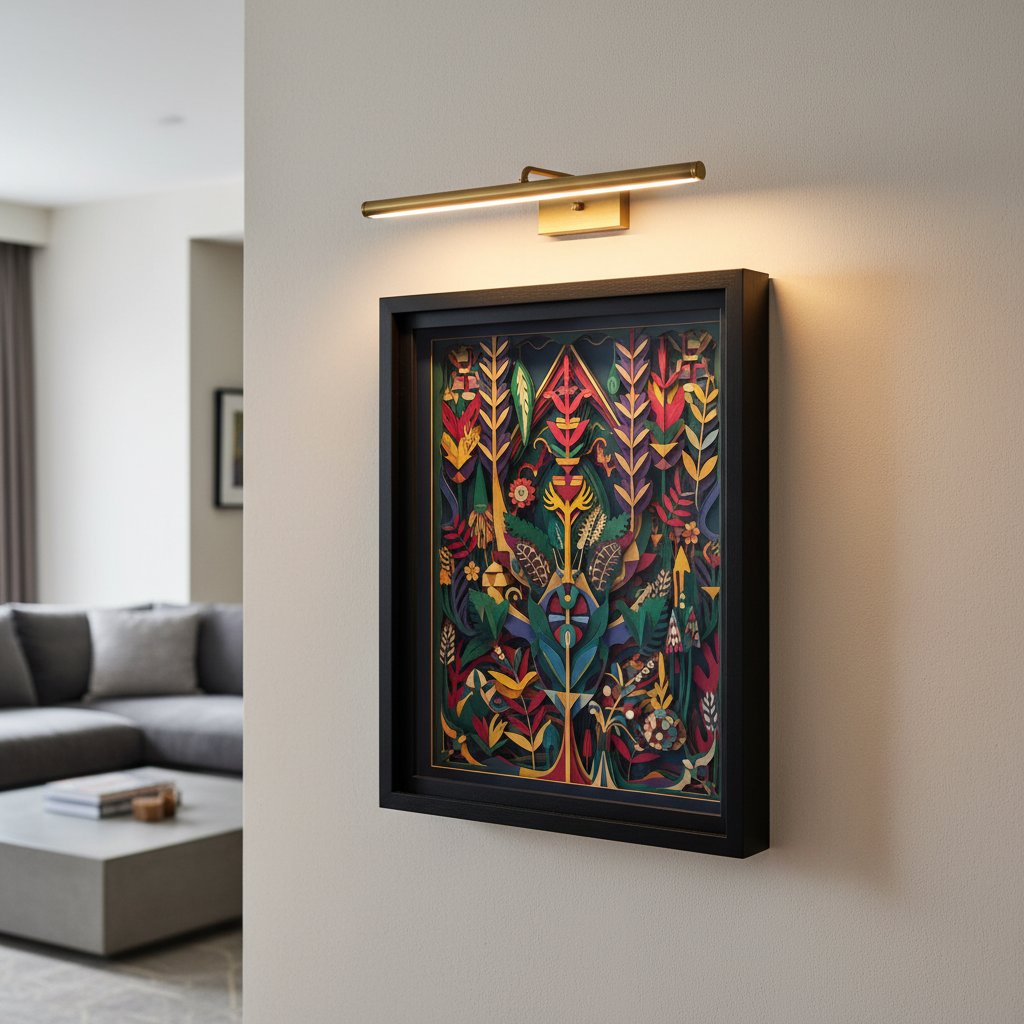
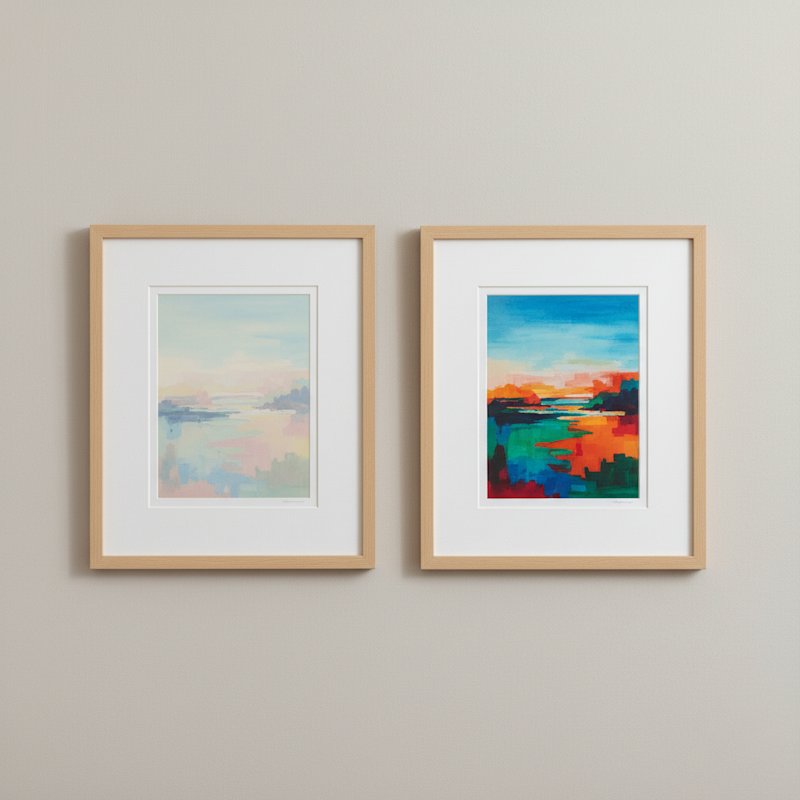
In this guide, you'll learn exactly how to preserve paper art from fading using seven proven techniques: UV-blocking sprays, UV-filtering glass, archival framing, smart display placement, lamination, sealants, and proper long-term storage. Whether you're protecting a finished shadow box, a framed papercut, or loose art prints, these methods work.

Let's make sure the piece you worked so hard on looks just as good in ten years as it does today.

Why Paper Fades: The Science Behind Color Loss

Before you can protect your art, you need to understand what destroys it. Paper fading comes from three main culprits.

Ultraviolet Light — The Number One Enemy

UV radiation from sunlight and fluorescent bulbs breaks down the chemical bonds in paper dyes and pigments. This process, called photodegradation, happens fastest with:
UV-protected framed paper art on display shelf

  • Direct sunlight hitting the artwork for even an hour a day
  • Fluorescent lighting in offices and craft rooms (they emit UV rays)
  • Proximity to windows, even without direct sun exposure

Warm colors — reds, oranges, yellows — tend to fade fastest because their pigment molecules are less stable under UV exposure. Blues and greens hold up longer, but they're not immune.

Visible Light and Heat

Even without UV, visible light generates heat that slowly degrades paper fibers and pigments. A shadow box displayed under a hot incandescent bulb fades faster than one in a cool, dim room.

Environmental Factors

Humidity, airborne pollutants, and acid migration from non-archival materials all accelerate fading. High humidity causes paper fibers to swell, making them more reactive to light damage. Acidic backing boards or adhesives leach chemicals into your art over time, causing yellowing and brittleness.
Humidity-controlled storage for paper art

For a deep dive on how humidity affects paper specifically, see our guide on humidity impact on Cricut cutting and paper quality.

Method 1: UV-Blocking Sprays

UV-blocking sprays create a clear, protective film over your paper art that absorbs harmful ultraviolet radiation before it reaches the pigments. Think of it as sunscreen for your crafts.

How UV Sprays Work

These sprays contain chemical UV absorbers — typically benzotriazole or benzophenone compounds — that convert UV energy into harmless heat. The coating is invisible and doesn't alter the appearance of your art when applied correctly.

Best UV Sprays for Paper Art

ProductUV ProtectionFinishBest For
Krylon UV-Resistant Clear Coating99% UV blockMatte, satin, glossFramed art, shadow boxes
Mod Podge Clear Acrylic SealerUV resistantMatte, glossMixed media, layered pieces
Golden Polymer Varnish with UVLSProfessional gradeSatin, glossMuseum-quality pieces
Archival Mist (Bookkeeper)Deacidifying + UVInvisiblePaper documents, prints

Application Tips

  1. Work in a well-ventilated area — spray outdoors or in a garage with the door open
  2. Hold the can 10–12 inches away from the art surface
  3. Apply thin, even coats — two to three light coats beat one heavy coat
  4. Let each coat dry 15 minutes before adding the next
  5. Test on scrap paper first — some sprays can darken or shift colors slightly
  6. Reapply annually for pieces in bright rooms

Limitation: UV sprays are excellent for framed pieces and shadow boxes behind glass. They're less effective on art displayed in direct sunlight for extended periods — pair them with smart placement (covered later) for best results.

Method 2: UV-Filtering Glass and Acrylic

If you frame your paper art, the glass or acrylic you choose matters more than most people realize. Standard picture glass blocks almost zero UV radiation. Upgrading to UV-filtering glazing is one of the most effective single steps you can take.

Glass vs. Acrylic: Which to Choose

UV-filtering glass (also called conservation glass):

  • Blocks 97–99% of UV rays
  • Resists scratching
  • Heavier — not ideal for large pieces
  • Can shatter, risking damage to the art underneath

UV-filtering acrylic (museum-grade Plexiglas):

  • Blocks 92–99% of UV rays
  • Lightweight — ideal for large shadow boxes
  • Shatter-resistant
  • Scratches more easily than glass
  • Costs more than standard glass but comparable to conservation glass

For layered shadow boxes, acrylic is usually the better choice. The depth of the frame means the glazing sits further from the art, and acrylic's lighter weight prevents stress on the frame joints over time. For help choosing the right frame depth, see our guide on choosing frame size and depth for paper cut shadow boxes.

What to Look For

  • 99% UV blocking minimum — don't settle for less
  • Anti-glare coating optional — reduces reflections but can slightly soften sharpness
  • Museum-grade if the piece is valuable or sentimental

Cost Expectation

Expect to pay $15–40 for a small UV-glazing sheet and $40–100+ for larger sizes. This is a one-time investment that protects your art for decades.

Archival-Quality Templates for Long-Lasting Paper Art
These shadow box designs are cut from acid-free cardstock and sealed behind glass-ready frames — built to last for decades when you follow the preservation methods above.

Method 3: Archival Framing Techniques

Archival framing uses acid-free, lignin-free materials at every layer between your art and the outside world. Even if you use UV glass, non-archival materials inside the frame can cause yellowing and degradation from the inside out.

The Archival Framing Stack

Build your frame from back to front using these materials:

  1. Acid-free backing board — Use archival foam core or conservation-quality mat board. Never use regular cardboard.
  2. Archival mat or spacer — Keeps the art from touching the glass directly. Cotton rag mats are the gold standard.
  3. Acid-free mounting — Use archival photo corners, hinge mounts with rice starch paste, or archival mounting strips. Never use regular tape or glue on the art itself.
  4. The artwork — Mount without adhesives touching the paper whenever possible.
  5. UV-filtering glazing — Glass or acrylic as discussed above.
  6. Sealed frame back — Use acid-free backing paper and framing tape to seal dust and pollutants out.

Materials to Avoid

  • Regular cardboard backing
  • Pressure-sensitive tapes (Scotch tape, masking tape)
  • Rubber cement or white glue
  • Non-archival mat board (wood pulp mats contain lignin that causes acid burn)
  • Spray adhesives directly on the artwork

Acid-Free Spray for Paper Art

Products like Bookkeeper Archival Mist and Wei T'o Acid Neutralizer spray a fine mist that deposits an alkaline buffer onto paper, neutralizing existing acids and preventing future acid formation. These deacidifying sprays are especially useful for older paper art or prints on non-archival paper stock.

Apply before framing by misting the back of the artwork lightly and allowing it to dry completely — typically 24 hours.

Method 4: Smart Display Placement

The best preservation method costs nothing: put your art in the right spot. Even UV glass and archival framing can't fully compensate for terrible placement.

Where to Display Paper Art

Best locations:

  • Interior walls with no direct sunlight
  • Rooms with LED lighting (LEDs emit negligible UV)
  • Walls perpendicular to windows rather than opposite them
  • Climate-controlled rooms (68–72°F, 40–50% relative humidity)

Worst locations:

  • Walls facing south or west windows (highest UV exposure in the Northern Hemisphere)
  • Bathrooms and kitchens (humidity spikes)
  • Near heating vents or radiators
  • Under fluorescent tube lighting
  • In a sunroom or conservatory

Practical Display Rules

  1. If you can read a book comfortably without turning on a light, the spot is too bright for paper art. A helpful rule of thumb from conservators.
  2. Rotate displayed pieces every 3–6 months. Give each piece a rest period in dark storage to extend its life.
  3. Use LED picture lights instead of incandescent or halogen. LEDs produce almost no UV and minimal heat.
  4. Close curtains or blinds during peak sun hours if art is near a window.

Seasonal Adjustments

In summer, lower blinds during the brightest hours (10 AM–3 PM). In winter, watch for condensation on windows near displayed art — it signals humidity that can warp and damage paper. For more on protecting paper from environmental damage, see our paper storage and warping prevention guide.

Designs That Look Beautiful Even After Years on Display
Proper preservation starts with the right project. These templates use bold, high-contrast cuts that maintain visual impact even if minor fading occurs over time.

Method 5: Lamination for Paper Art

Lamination seals paper art between two layers of plastic film, creating a moisture-proof, UV-resistant barrier. It's affordable, accessible, and effective — but it comes with trade-offs.

When Lamination Makes Sense

Lamination is a good fit for:

  • Children's art that gets handled frequently
  • Display signs and labels for craft shows or markets
  • Reference sheets and templates you use repeatedly
  • Informal display pieces where preservation outweighs original aesthetics

When to Skip Lamination

Avoid laminating:

  • Valuable or original artwork — lamination is permanent and irreversible
  • Shadow box front layers — the plastic film changes how light passes through, reducing depth effect
  • Vintage or antique paper — heat lamination can damage fragile fibers
  • Art you may want to reframe or reformat later

Cold Lamination vs. Hot Lamination

Cold (pressure-sensitive) lamination uses adhesive film without heat. It's safer for delicate paper and inkjet prints that can melt or bleed under heat. Most cold-laminate pouches also include UV inhibitors.

Hot (thermal) lamination uses heat to activate adhesive. It creates a stronger, clearer seal but risks heat damage to certain inks, wax-based coatings, and heat-sensitive papers.

For paper art preservation specifically, cold lamination is the safer choice.

UV-Rated Laminating Pouches

Look for laminating pouches labeled "UV resistant" or "UV blocking." These contain UV absorbers in the film itself, adding a layer of protection on top of the physical barrier.

Method 6: Sealants to Prevent Paper Fading

Sealants differ from UV sprays in that they create a thicker, more durable protective layer on the surface of your paper art. They're especially useful for shadow box pieces, mixed-media work, and art that will be displayed without glass protection.

Types of Sealants

Acrylic sealer (spray or brush-on):

  • Creates a clear, waterproof barrier
  • Available in matte, satin, and gloss finishes
  • Good for shadow box layers displayed behind glass
  • Apply 2–3 thin coats for even coverage

Mod Podge (découpage medium):

  • Water-based sealer, glue, and finisher in one
  • Apply with a brush for detailed control
  • Available in dishwasher-safe and outdoor formulas for extra durability
  • Can leave visible brush strokes on smooth paper — spray application preferred

Polyurethane spray:

  • Heavy-duty protection for art in high-moisture environments
  • Available in water-based (low odor) and oil-based (more durable) formulas
  • Overkill for most indoor paper art — reserve for outdoor or bathroom displays

How to Seal Paper Art to Prevent Fading

Follow this process for best results:

  1. Clean the surface — use a soft, dry brush or compressed air to remove dust
  2. Test on a scrap piece of the same paper with the same inks or colors
  3. Apply in thin, even coats — spray from 10–12 inches away
  4. Allow full drying time between coats (check product label, typically 15–30 minutes)
  5. Build up 2–3 layers for adequate protection
  6. Let cure for 24 hours before handling or framing

Combining Sealants with UV Sprays

For maximum protection, apply a UV-blocking spray as the final topcoat over your sealant. The sealant provides the physical barrier, and the UV spray adds the light-absorbing chemistry. This combination gives paper art the best chance of lasting decades without visible fading.

Method 7: Long-Term Storage of Paper Art

Not every piece can be on display. Paper art stored properly survives for generations. Paper art stored poorly yellows, curls, and fades — even in the dark, because acid migration and humidity don't need light to do their damage.

The Ideal Storage Environment

FactorTarget RangeWhy It Matters
Temperature65–70°F (18–21°C)Slows chemical reactions that cause yellowing
Relative humidity30–50% RHPrevents mold, warping, and glue degradation
Light exposureComplete darknessEliminates photodegradation entirely
Air circulationModeratePrevents moisture buildup and mold growth

Storage Materials

Use these for safe long-term storage:

  • Acid-free archival boxes with reinforced corners
  • Interleaving tissue paper (acid-free, unbuffered) between stacked pieces
  • Polyethylene or polypropylene sleeves (not PVC — it off-gases and sticks to art)
  • Silica gel packets inside closed boxes to absorb excess moisture
  • Cotton gloves for handling valuable pieces (oils from skin cause spots over time)

Storage Checklist

  1. Clean each piece with a soft brush before storing
  2. Place acid-free tissue between every layer of stacked art
  3. Store flat — never roll or fold paper art
  4. Keep boxes off the floor (use shelving to avoid moisture and pests)
  5. Label boxes clearly with contents and date stored
  6. Check stored pieces every 6–12 months for mold, pests, or yellowing
  7. Replace silica gel packets every 6 months

For comprehensive storage guidance including humidity control and organizational systems, see our detailed paper storage and warping prevention guide.

What Not to Store Paper Art With

  • Newspaper and newsprint — highly acidic, causes yellowing on contact
  • Rubber bands — they degrade and stick to paper over time
  • Wooden shelves without a barrier — wood off-gases acids; use a shelf liner
  • Basements and attics — temperature and humidity fluctuations are extreme
  • Plastic garbage bags — they trap moisture and promote mold

Quick Reference: Protection Method Comparison

MethodUV ProtectionCostDifficultyBest For
UV SprayHigh$10–20EasyAny framed or unframed piece
UV Glass/AcrylicVery High$15–100+ModerateFramed art, shadow boxes
Archival FramingModerate (combo)$20–80ModerateValuable and sentimental pieces
Display PlacementFreeFreeEasyAll pieces — always do this
LaminationModerate$5–15EasyKids' art, signs, handled pieces
SealantsHigh$8–25Easy–ModerateShadow box layers, mixed media
Proper StorageComplete (dark)$10–50EasyRotated and archived pieces

Recommendation: Combine at least two methods for every piece. Display placement plus one physical barrier (UV glass or UV spray) gives you robust protection without excessive cost or effort.

Conclusion: Protect Your Art So It Lasts

You put too much work into your paper art to watch it fade. Every shadow box, papercut, and framed piece you create deserves protection that matches the effort you invested in making it.

The seven methods in this guide aren't theoretical — they're the same techniques used by museums, galleries, and professional conservators, scaled for home crafters. You don't need all seven for every piece. You need the right combination.

Your Preservation Action Plan

  1. Check your current displays today. Are any pieces in direct sunlight or near humid areas? Move them.
  2. Upgrade to UV-filtering glazing for your most valued framed pieces. One purchase, decades of protection.
  3. Apply UV spray to shadow box layers before final assembly — it takes 30 minutes and adds years to the life of your art.
  4. Use archival materials for new framing projects going forward. The cost difference is small; the protection difference is enormous.
  5. Store rotated pieces properly in acid-free boxes with silica gel in a climate-controlled room.

For more on choosing the right paper for projects that last, see our guide to the best cardstock for paper cut shadow boxes. And if you're just starting out and want to avoid common pitfalls, our article on papercutting mistakes and how to fix them covers the basics.

Your art tells a story. Make sure it stays vivid enough to tell it for years to come.


Sources: