Troubleshooting Existing Alignment Issues
When layers aren't aligning, systematic troubleshooting helps you identify and fix the problem
quickly.
Diagnosing the Problem
Cut test squares from each layer design. If all test squares are the same size and shape, your design
is fine—the
problem is machine or material related. If the test squares vary, you have a design issue.
Look for patterns in the misalignment. If all layers are off by the same amount in the same
direction, you have a
consistent error (likely calibration or mat loading). If errors vary randomly, think material problems
or mat
slippage.
Cut the same layer twice without moving the material. If both cuts land in the same (wrong) place,
it's a
calibration issue. If they land in different places, you have material movement or mat problems.
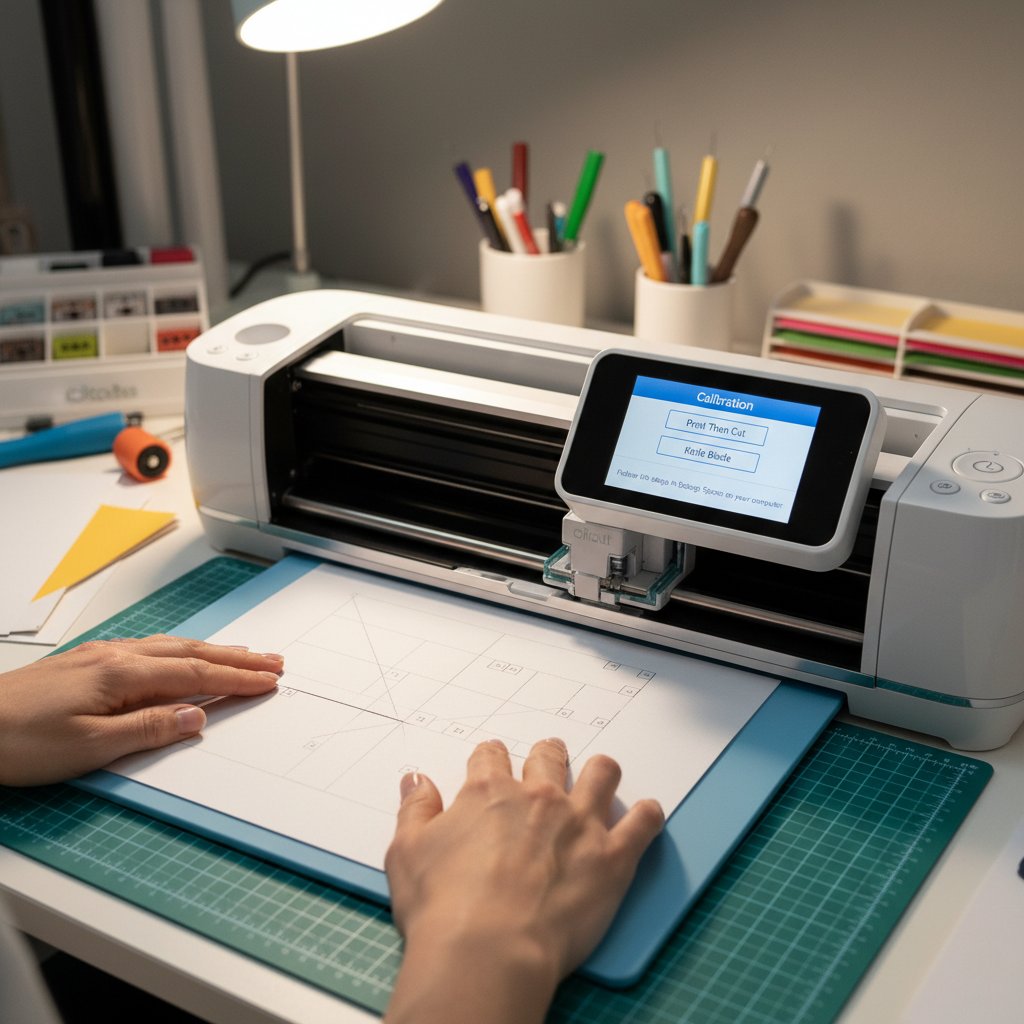
Calibration Fixes
Run your machine's calibration process. For Cricut, this is in Settings > Calibration. For
Silhouette,
it's in the machine preferences.
Take your time during calibration. When selecting which cut is most centered, look carefully. Choose
the cut
that's actually centered, not the one you think should be centered.
Try the "opposite selection" trick if normal calibration doesn't work. This advanced
technique
helps when your machine is significantly miscalibrated. Instead of selecting the most centered cut,
select the cut
that's opposite to your error pattern. If your cuts land too far right and down, select the
calibration cut
that's far left and up. This tricks the machine into overcorrecting, which can fix stubborn
calibration
issues.
Remember that calibration won't fix every problem. If your layers are perfectly cut but randomly
misaligned,
calibration isn't the answer—look to mat and material issues instead.
Mat Recovery
Restore tackiness to worn mats with a lint roller. Roll it firmly across the entire mat surface to
remove debris
and redistribute the adhesive. This can add weeks of life to a tired mat.
Clean sticky mats properly. Use a plastic scraper to remove paper fibers and debris. For sticky
residue, use a
baby wipe—never alcohol, which damages the adhesive. Let the mat air dry completely before using.
Test mat tackiness before cutting multi-layer projects. Press a small piece of cardstock onto the
mat, then peel
it off. It should resist slightly but release cleanly. If it falls off easily, your mat is too worn
for precision
work. If it's hard to remove, your mat may be too sticky (yes, this causes problems too—overly
sticky mats can
warp thin materials).
Know when to replace rather than recover. If your mat has permanent warping, deep gouges, or has been
refreshed
multiple times, it's time for a new one. For multi-layer shadow box work, fresh mats are worth the
investment.
Material Fixes
Flatten curled cardstock by reversing the curl, then weighting it overnight. Place the curled sheet
curl-up on a
flat surface, then stack heavy books on top. By morning, it should be flat enough to use.
Control humidity in your craft space. A small dehumidifier in humid climates or a humidifier in dry
climates
keeps paper stable. Ideal conditions are 40-50% relative humidity.
Pre-test suspect paper. If a sheet looks questionable, cut a simple test shape. If it cuts cleanly
without
lifting or shifting, it's probably fine. If it shows any movement during cutting, use different
paper.
Eliminate static with dryer sheets. Wipe your paper with a dryer sheet before cutting in dry winter
conditions.
This reduces static buildup that can cause paper to lift during cutting.