Choosing Standard Frame Sizes for Paper
Cut Projects
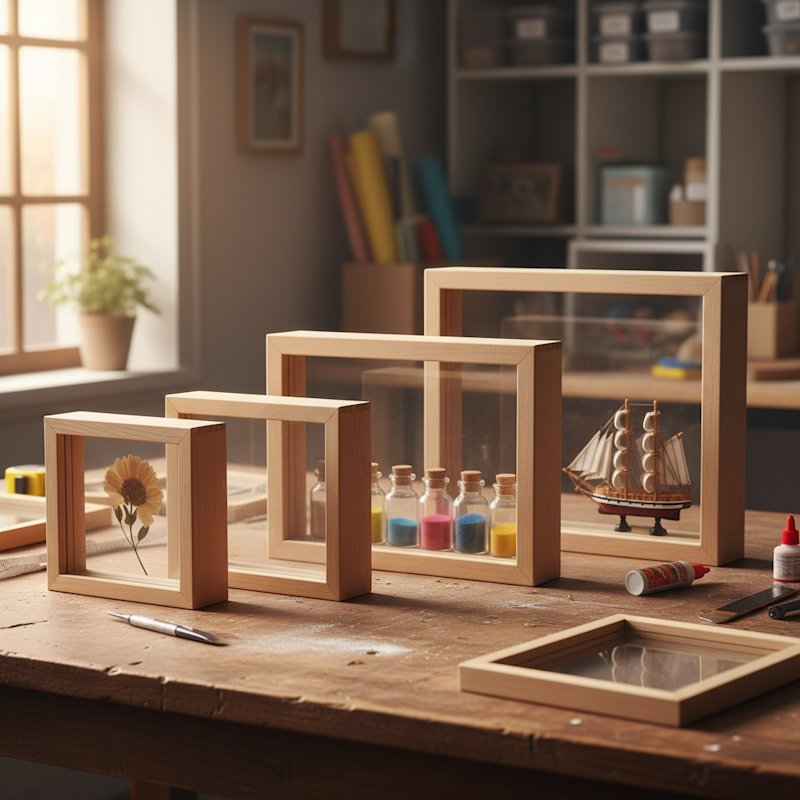
Shadow box frames come in standard sizes that align with common paper dimensions and home decor
display
preferences. Understanding these standards helps you choose templates designed for readily available
frames.
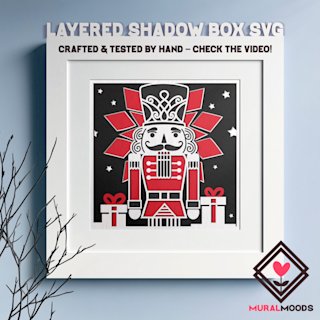
8×8 Inch Frames
Perfect for: First projects, single-subject designs, smaller seasonal decor, desk or
shelf
displays
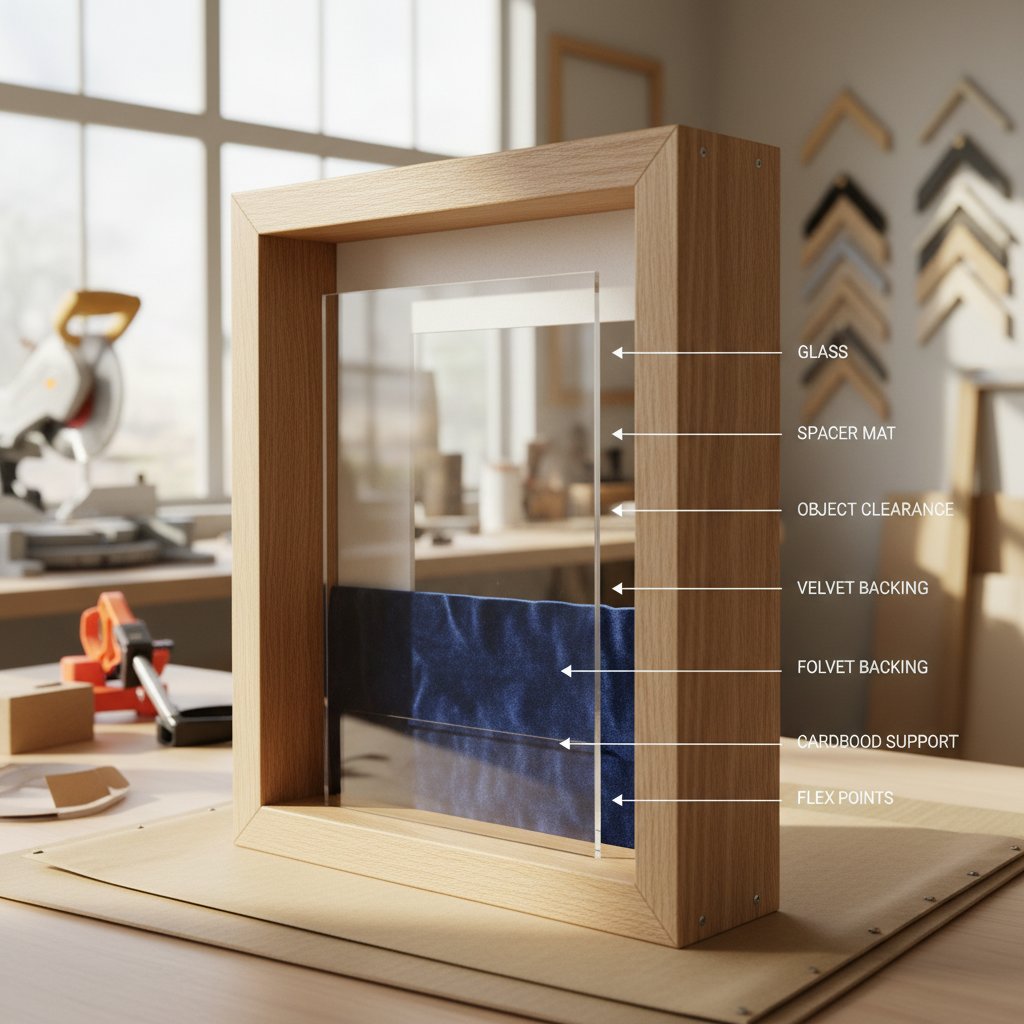
Layer capacity: Comfortably fits 6-10 layer designs when using a frame with 2-3 inch
depth
Advantages: Widely available at craft stores, affordable (often $15-25), doesn't
require
large amounts of cardstock, quick to cut and assemble
Design types: Simple florals, single character designs, small seasonal pieces
(ornaments, small
animals, geometric patterns)
Shopping tip: Michael's, Hobby Lobby, and JOANN regularly stock black 8×8 shadow
boxes in
their frame sections. Check for 40-50% off coupon availability.
8×10 Inch Frames
Perfect for: Standard photo frame size conversions, portrait-oriented designs, wall
gallery
arrangements
Layer capacity: Accommodates 8-12 layer designs in frames with 2.5-3 inch depth
Advantages: Most common frame size means maximum selection variety, often cheaper
than other
sizes due to mass production, works well for vertical compositions like trees or standing figures
Design types: Portrait scenes, vertical nature compositions, character designs,
architectural
elements with height
Shopping tip: Amazon and Target offer excellent variety in this size, often with
better prices
than specialty craft stores.
11×14 Inch Frames
Perfect for: Detailed landscape scenes, multiple subjects, statement pieces, focal
wall art
Layer capacity: Handles 10-15 layer complex designs when using 3+ inch depth frames
Advantages: Provides substantial canvas for intricate detail, creates impressive
visual impact,
works beautifully for complex cityscapes or nature scenes with multiple elements
Design types: Multi-building city scenes, elaborate floral arrangements, complex
wildlife
scenes, large seasonal displays
Shopping tip: This size enters "specialty frame" pricing territory ($30-60
typical).
Online retailers often beat craft store prices significantly.
12×12 Inch Frames
Perfect for: Symmetrical designs, modern decor, square compositions,
Instagram-friendly displays
Layer capacity: Similar to 11×14 inch frames, handles 10-15 layers with adequate
depth
Advantages: Square format works beautifully for mandalas, centered subjects, and
balanced
compositions, trendy size for modern home decor, standard scrapbooking paper size (12×12) means
efficient
cardstock use
Design types: Circular designs, mandalas, centered single subjects, symmetrical
patterns,
wreaths
Shopping tip: IKEA's RIBBA frames (though not specifically shadow boxes) can
work for
shallower projects and offer sleek modern styling.
Custom Sizes and Non-Standard Frames
When standard sizes don't fit your vision, custom frame shops can build shadow boxes to exact
specifications.
This option suits:
- Very large statement pieces (16×20 or larger)
- Unusual aspect ratios (long horizontal panoramas, extra-tall vertical designs)
- Extra-deep requirements for complex multi-layer projects
- Specific decor matching needs
Custom frame considerations: Expect prices starting around $75-150+ depending on
size and
materials. Order frames before finalizing your design to ensure accurate sizing. Custom frames often
take 2-4
weeks for fabrication.