Articles10 min read

What is Mixed Media Paper Art?

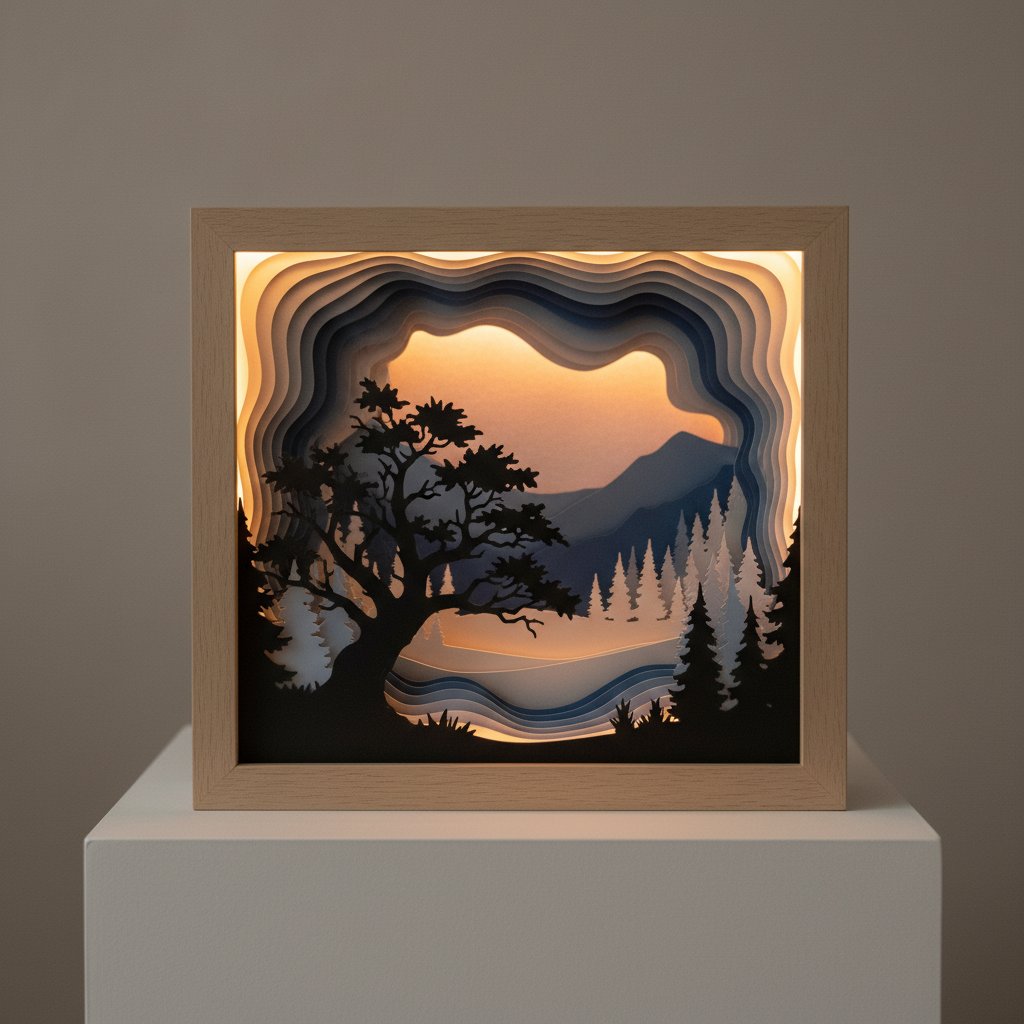
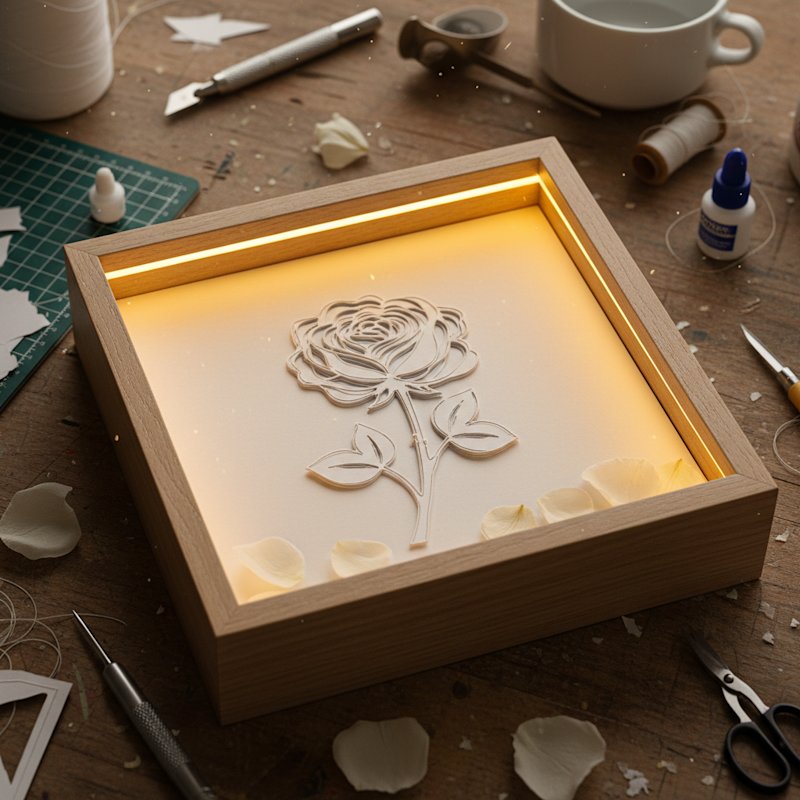
My first mixed media piece happened by accident. I was assembling a layered shadow box for a friend's birthday — the Hydrangea Shadow Box template I'd bought from Mural Moods — and I accidentally glued a scrap of vintage sheet music behind the top layer before adding the LED lights. The music pages glowed through the pale purple petals like a secret message. That one mistake opened a door I didn't know existed: combining different paper techniques in a single piece to create something none of them could achieve alone.

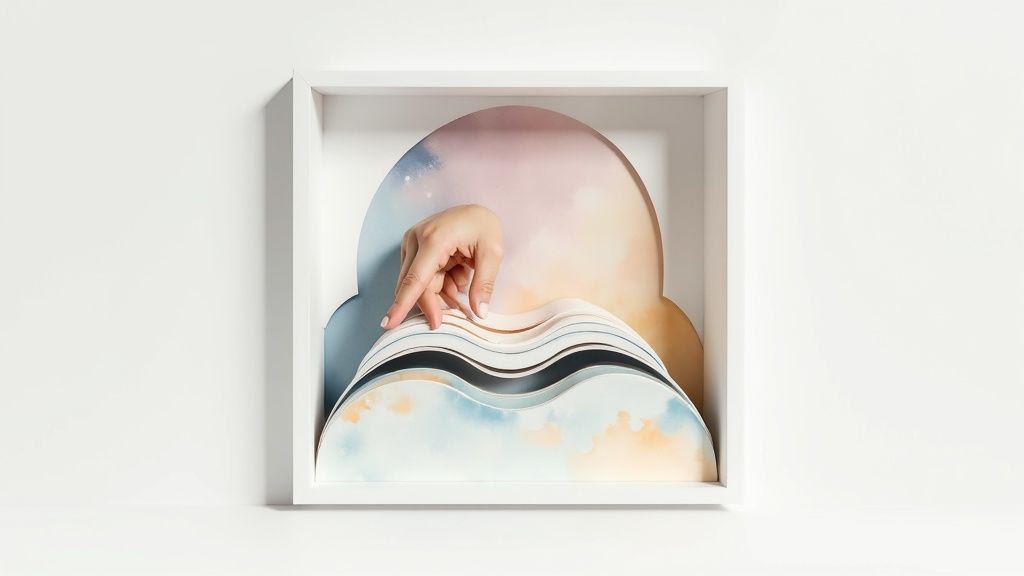
Mixed media paper art is exactly what it sounds like: layering multiple paper-based techniques — cutting, tearing, folding, painting, collaging, transferring — into one artwork. The result is wall art with real depth, texture, and visual complexity that flat prints simply can't match. And because you're working primarily with paper, it's one of the most affordable art forms to practice at home.

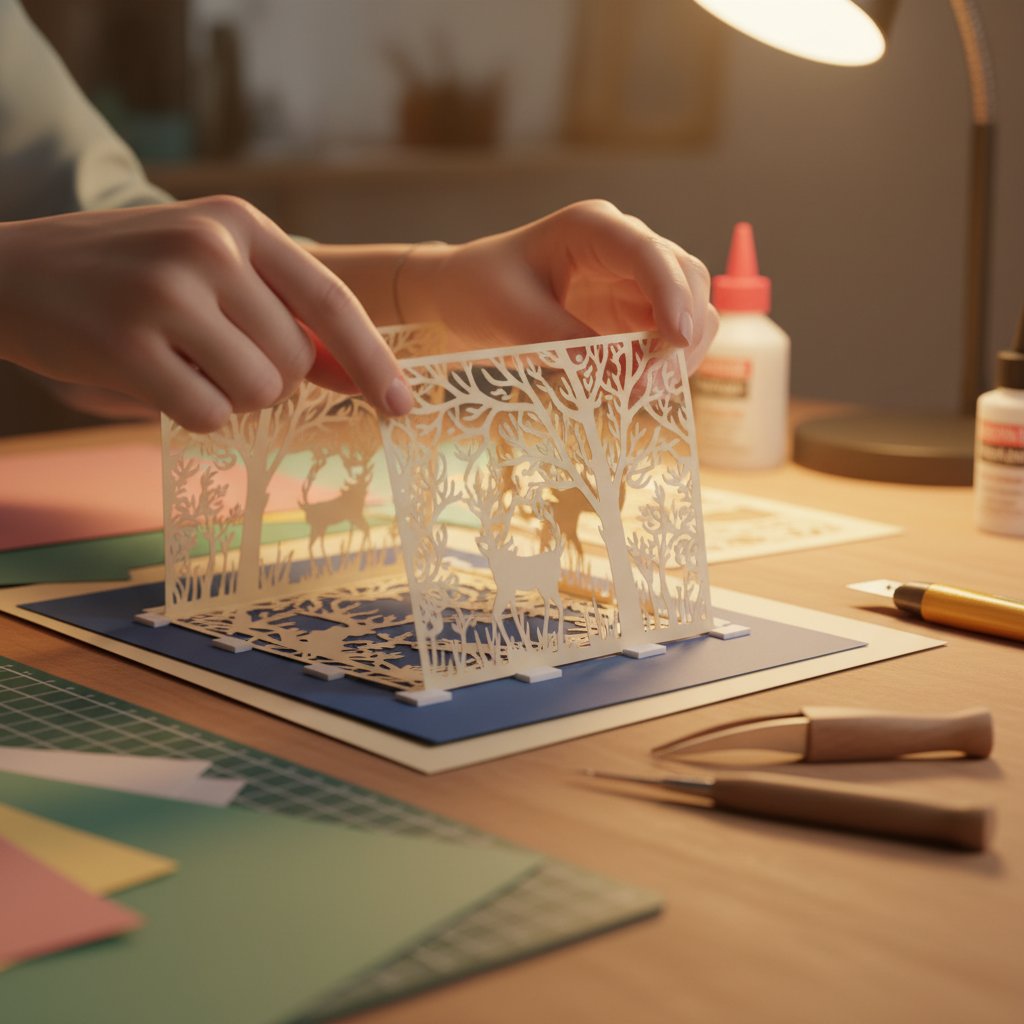
If you're new to paper cutting specifically, our guide to how to make a layered paper cut shadow box covers the fundamentals of cutting and assembly. Mixed media builds on those same skills but adds more techniques to your toolkit.

Colorful mixed media art journal spread showing layering techniques with paper paint and collage elements

Ready-to-cut layered templates for your mixed media base
Start your mixed media wall art with professionally designed shadow box templates. Each SVG includes multiple layers you can customize, paint, or combine with other materials. Instant download, works with Cricut and Silhouette.

Essential Materials for Mixed Media Paper Art

One of the best things about mixed media paper art is that you probably own half the supplies already. Here's what you need to get started, organized by technique:

Cutting and Layering:

  • Cardstock in multiple weights (65 lb for cutting, 110 lb for structural layers)
  • Craft knife with fresh blades (or a Cricut/Silhouette cutting machine)
  • Self-healing cutting mat
  • Metal ruler for straight cuts

Collage and Adhesion:

  • Matte medium or Mod Podge (for gluing and sealing)
  • Double-sided tape (for clean, invisible bonds between layers)
  • Foam tape or adhesive dots (for creating dimension between layers)

Surface Treatments:

  • Acrylic paint in a limited palette (3-4 colors is plenty)
  • Ink pads or distress inks for edge treatments
  • White gesso (for priming surfaces and adding texture)
  • Spray bottle with water (for controlled paper warping)

Image Transfer Supplies:

  • Laser-printed images (inkjet won't work for transfers)
  • Gel medium (matte or gloss)
  • Burnishing tool or old credit card
  • Damp cloth for rubbing away paper backing

For a deep dive into choosing the right paper weight for each technique, see our best cardstock guide for paper cut shadow boxes.

Various beginner-friendly paper cut shadow box design templates displayed on a craft table showing simple floral and geometric patterns

Technique 1: Paper Layering for Depth

Paper layering is the foundation of mixed media wall art — and if you've ever made a shadow box, you already know how it works. The principle is simple: multiple sheets of paper stacked with small gaps between them create the illusion of depth that a single flat image cannot achieve.

What I learned the hard way: My first standalone layered piece (not a shadow box, just layers on a flat backing) collapsed because I used too much foam tape and the weight pulled the layers away from the backing. The fix: use spacer strips of folded cardstock instead of foam tape for larger pieces. They're lighter, cheaper, and you can cut them to exact heights.

Steps for a layered wall art panel:

  1. Choose a design with 3-5 layers (shadow box SVG templates work beautifully for this)
  2. Cut each layer from a different paper type or color
  3. Paint, ink, or distress each layer individually before assembly
  4. Attach spacer strips to the back of each layer
  5. Stack from back to front, securing each layer to the one behind it
  6. Mount the assembled piece in a deep frame or on a canvas panel

Close-up of hands carefully aligning and placing a paper layer onto foam spacers during shadow box assembly

Pro tip: For wall art specifically, seal the front layer with a spray fixative or matte varnish. Unsealed paper absorbs moisture from the air and can warp over time, especially in humid rooms. Our guide on how to preserve paper art from fading covers this in detail.

Technique 2: Image Transfers onto Paper

Image transfers let you move a photograph, pattern, or printed design onto paper without visible edges — it looks like the image was printed directly onto the surface. This is one of the most satisfying techniques in mixed media because the reveal moment (peeling off the paper backing) feels like magic.

What I observed: I tried my first image transfer using a botanical print onto watercolor paper. The transfer wasn't perfect — parts were slightly faded, and there were small tears in the surface. But those imperfections made it look intentionally vintage, like a page from an old naturalist's journal. Mixed media thrives on happy accidents.

Steps:

  1. Print your image using a laser printer (this is critical — inkjet prints will smudge and won't transfer)
  2. Apply a generous, even coat of gel medium to your receiving paper
  3. Place the printed image face-down onto the wet gel medium
  4. Burnish firmly with a credit card or brayer, working from center to edges to remove air bubbles
  5. Let it dry completely (at least 2-3 hours, overnight is better)
  6. Dampen the back of the printed paper with a wet cloth
  7. Gently rub in small circles to remove the paper pulp, revealing the transferred image beneath

Common mistake: Rubbing too aggressively during step 7. Go slowly. If the image starts lifting, stop and let it dry before continuing.

Layered paper cut shadow box showing assembled frame with multiple layers and depth

Stained glass and nature-inspired templates for layered art
Combine papercut layering with image transfers or collage using our stained glass flower templates. The open-work designs let background textures and transfers show through the layers.

Technique 3: Collage Integration Methods

Collage in mixed media wall art isn't just about gluing random paper scraps together. The strongest pieces use collage with intention — each torn piece or cut shape serves the overall composition. Here's how to integrate collage into layered paper art:

Method 1: Background Texture Collage
Build your background layer from torn pages of old books, sheet music, or patterned paper. Apply pieces with matte medium, overlapping edges. Once dry, paint a thin wash of acrylic over the entire surface to unify the colors. The text and patterns will show through as subtle texture.

Method 2: Focal Point Collage
Cut specific shapes from different papers — a flower from handmade paper, leaves from painted tissue, a bird from vintage book illustrations. Arrange these cut pieces as the focal point of your artwork, with layered papercut elements surrounding them.

Method 3: Inlaid Collage
Cut a shape from your top paper layer, then collage interesting materials into the void. When you view the finished piece, the collaged area shows through the cutout like a window into another world.

For a related technique using paper strips and rolling, see our paper quilling art guide for beginners.

Nature scene with layered paper cut silhouettes showing dramatic depth through multiple layers

Technique 4: Stenciling and Masking Effects

Stenciling adds pattern and texture to mixed media pieces without the precision required for paper cutting. You can use commercial stencils or create your own from cardstock using a craft knife or cutting machine.

Making custom stencils from SVG templates:
Many shadow box SVG templates have geometric or floral patterns that work beautifully as stencils. Simply cut the design from heavy cardstock or acetate, then use it as a mask for applying paint, ink, or texture paste.

What I observed: I used the negative space from a cut shadow box layer as a stencil and sponged gold acrylic paint through it onto a dark background panel. The result was a repeating botanical pattern in metallic gold that looked like it took hours to paint by hand. It took about three minutes.

Steps for stenciling on paper art:

  1. Secure your stencil to the paper with low-tack tape
  2. Load a sponge or brush with minimal paint (less is more — you can always add another layer)
  3. Dab or pounce the paint through the stencil openings (don't brush, which pushes paint under the edges)
  4. Carefully lift the stencil while the paint is still wet
  5. Let dry completely before adding additional layers

Masking variation: Instead of applying paint through a stencil, place cut paper shapes on your surface, paint over everything, then remove the shapes to reveal unpainted silhouettes. This is called masking, and it creates crisp negative-space designs.

For structured stencil projects, our DIY stencil art on canvas guide walks through the process from template to finished piece.

Common Mistakes and How to Fix Them

Overworking the surface. Mixed media invites experimentation, but adding too many techniques to one piece creates visual chaos. Limit yourself to 2-3 techniques per artwork. If a piece feels cluttered, paint over sections with gesso and start fresh on those areas.

Using the wrong adhesive. Regular glue sticks fail on mixed media surfaces — they dry out and let go within months. Use matte medium for paper-to-paper bonds and gel medium for heavier materials. For dimensional layers, double-sided tape or foam adhesive is more reliable than wet glue.

Ignoring paper grain. Paper has a grain direction (like wood). Cutting against the grain causes rough edges; folding against the grain creates cracks. To find the grain, gently bend the paper in both directions — it bends more easily with the grain. Our common beginner mistakes guide covers this and other cutting fundamentals.

Skipping the sealant. Unsealed mixed media pieces are vulnerable to humidity, UV fading, and surface damage. A single coat of spray matte varnish protects without changing the appearance. For high-humidity rooms (bathrooms, kitchens), use two coats.

Poor color planning. Random color choices produce muddy results. Pick a color palette before you start: either analogous (colors next to each other on the color wheel) or complementary (opposites). Stick to 3-4 colors maximum plus neutrals.

Illuminated shadow box displaying a layered paper scene with warm glowing backlight

Framing and Displaying Your Mixed Media Wall Art

Mixed media pieces with dimensional layers need deeper frames than flat prints. Here are your options:

Shadow box frames (1-3 inch depth): Ideal for layered pieces. Available at most craft stores. Choose a frame depth that accommodates your tallest element with a small margin.

Canvas panel mounting: Adhere your layered piece directly to a stretched canvas using gel medium. The canvas edge becomes the frame. This works well for pieces under 8 layers thick.

Floating frame: A glass-front frame with a gap between the art and the glass. Shows off dimensional elements while protecting from dust and humidity.

Gallery wall grouping: Create a series of 3-5 small mixed media pieces (4x6 or 5x7 inch) and display them together. The variety of techniques and colors within a unified theme creates a striking gallery wall.

Framed paper art displayed away from direct sunlight to prevent fading

Lighting consideration: Dimensional paper art looks dramatically different under different lighting. Side-lighting (from a picture light or track light at an angle) creates shadows between layers that enhance the 3D effect. Backlighting (for translucent papers) reveals hidden layers and transfers. Experiment with placement before committing to a wall position.

For frame sizing guidance specific to layered pieces, see our frame size and depth guide for paper cut shadow boxes.

Paper art templates designed for layering and display
Each template includes multiple depth layers you can combine with paint, transfers, and collage. Start with a professional papercut base, then make it yours with mixed media techniques.

Frequently Asked Questions

Do I need a cutting machine for mixed media paper art?
No. While a Cricut or Silhouette makes cutting intricate layers faster, you can achieve excellent results with a craft knife and patience. Many mixed media techniques (collage, transfers, stenciling) don't require precision cutting at all. Start with hand-cut geometric shapes and upgrade to machine cutting when you're ready.

What's the best paper weight for mixed media?
It depends on the technique. For structural layers and cutting, use 65-110 lb cardstock. For collage backgrounds, lighter papers (20-40 lb text weight) work better because they conform to surfaces. For image transfers, smooth hot-press watercolor paper (140 lb) gives the clearest results. See our cardstock types guide for a detailed breakdown.

Can I sell mixed media paper art?
Yes, original mixed media artworks can be sold. If you use commercially purchased SVG templates as elements, check the seller's license terms — most allow physical finished products but restrict digital redistribution. Always create enough original content (painting, transfers, collage) that the template is just one component, not the entire product.

How do I protect mixed media art from moisture?
Seal the finished piece with two coats of acrylic spray varnish (matte or satin). For additional protection in humid environments, display behind glass and avoid hanging in bathrooms or near kitchen sinks. Our paper art preservation guide has more detailed protection strategies.

For more paper art project ideas, explore our DIY paper wall art for home decor guide and five easy paper cut shadow box projects for beginners.