Articles13 min read

Giant Paper Flowers for Wall Art

Craft oversized blooms from cardstock or crepe paper, scale templates from 8 to 24 inches, mount on any wall surface, and arrange multi-flower displays for gallery-worthy impact.

Simple floral silhouette shadow box with layered rose petals creating depth through backlighting

Giant paper flowers have taken wall decor from "craft project" to "gallery-worthy statement art." At 12 to 24 inches across, a single bloom fills the visual space of a framed canvas — but with depth, texture, and colour you simply cannot get from a flat print.

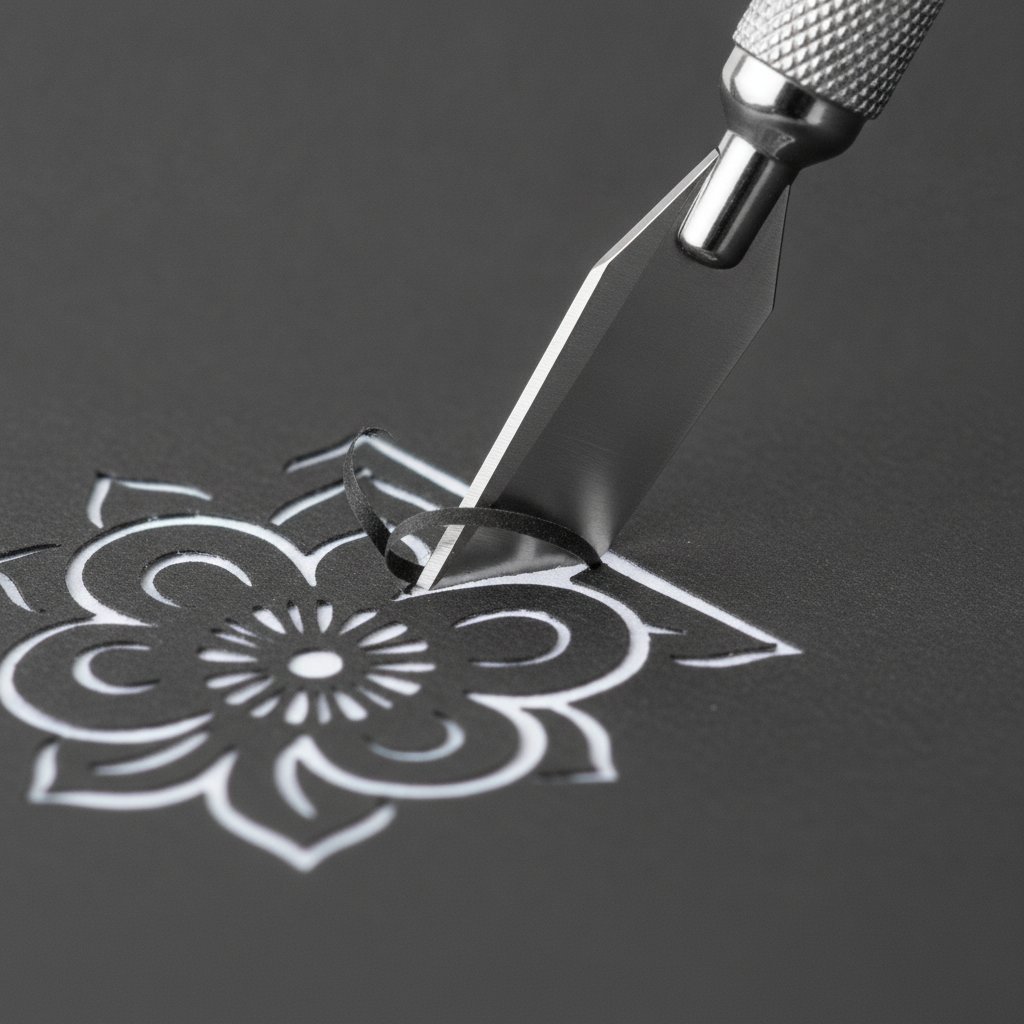
I built my first giant paper flower wall for a friend's nursery in 2023. Three roses, two peonies, and a scattering of leaves across a 4-foot wall section. Total material cost: about $18 in cardstock. The result looked like a professional installation. That project taught me that the difference between "homemade" and "handmade art" comes down to three things: petal shaping technique, colour consistency, and mounting precision.

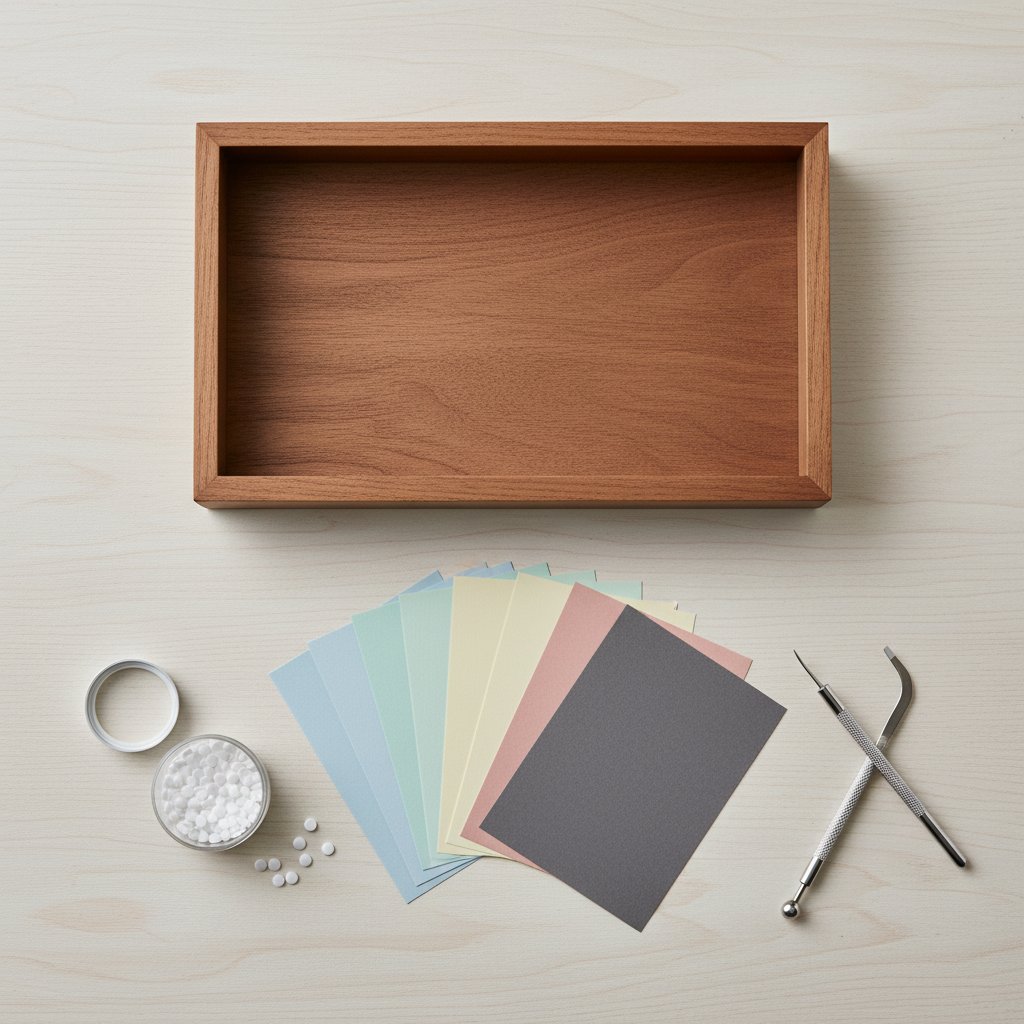
This guide covers the full process — from choosing the right paper and scaling your templates to building petals that hold their shape, mounting flowers securely on any wall surface, and arranging multiple blooms for maximum visual impact. Whether you want a single 20-inch rose above your sofa or an entire flower wall for an event, the framework is the same.

Why Giant Paper Flowers Make Stunning Wall Art

Glowing backlit layered paper-cut flower shadow box hanging on a wall

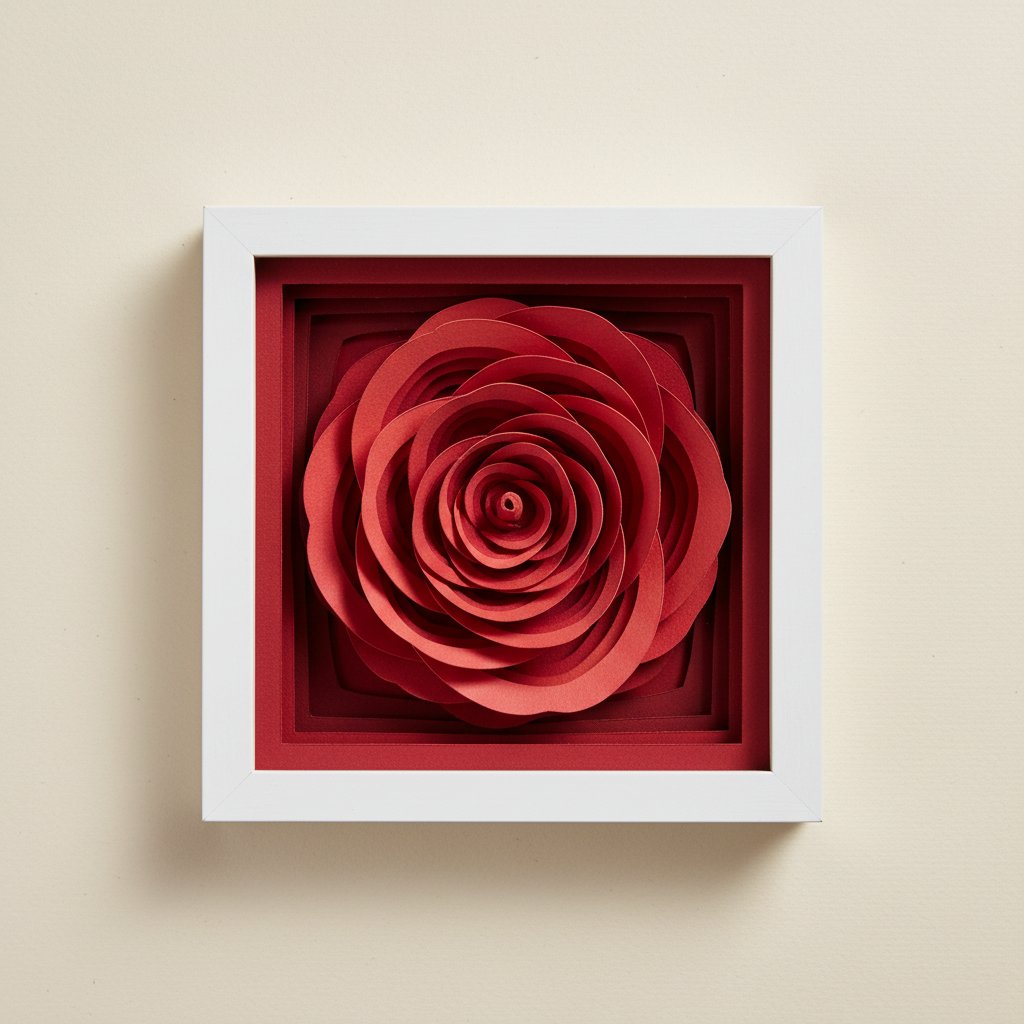
Scale changes everything. A 6-inch paper rose is a nice craft project. A 20-inch paper rose is wall art. Here's why oversized paper flowers work so well as decor:

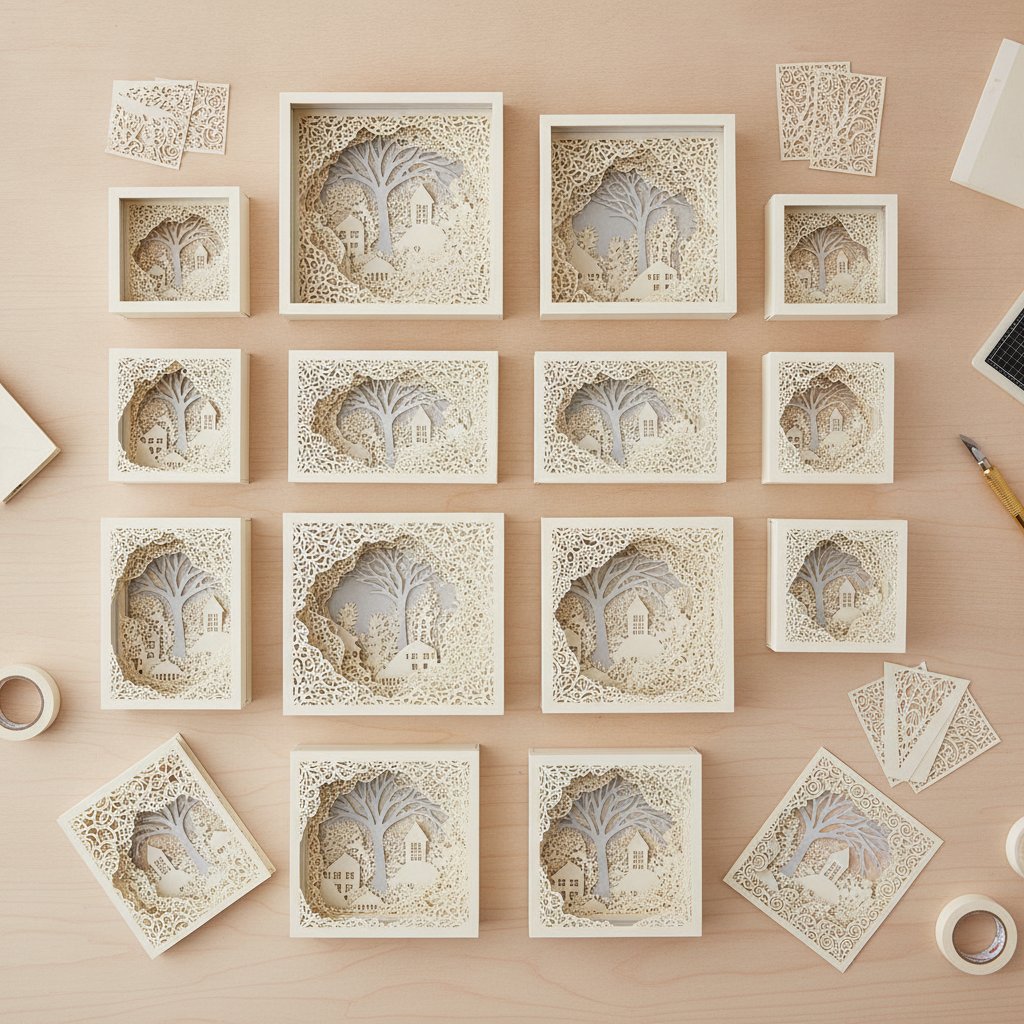
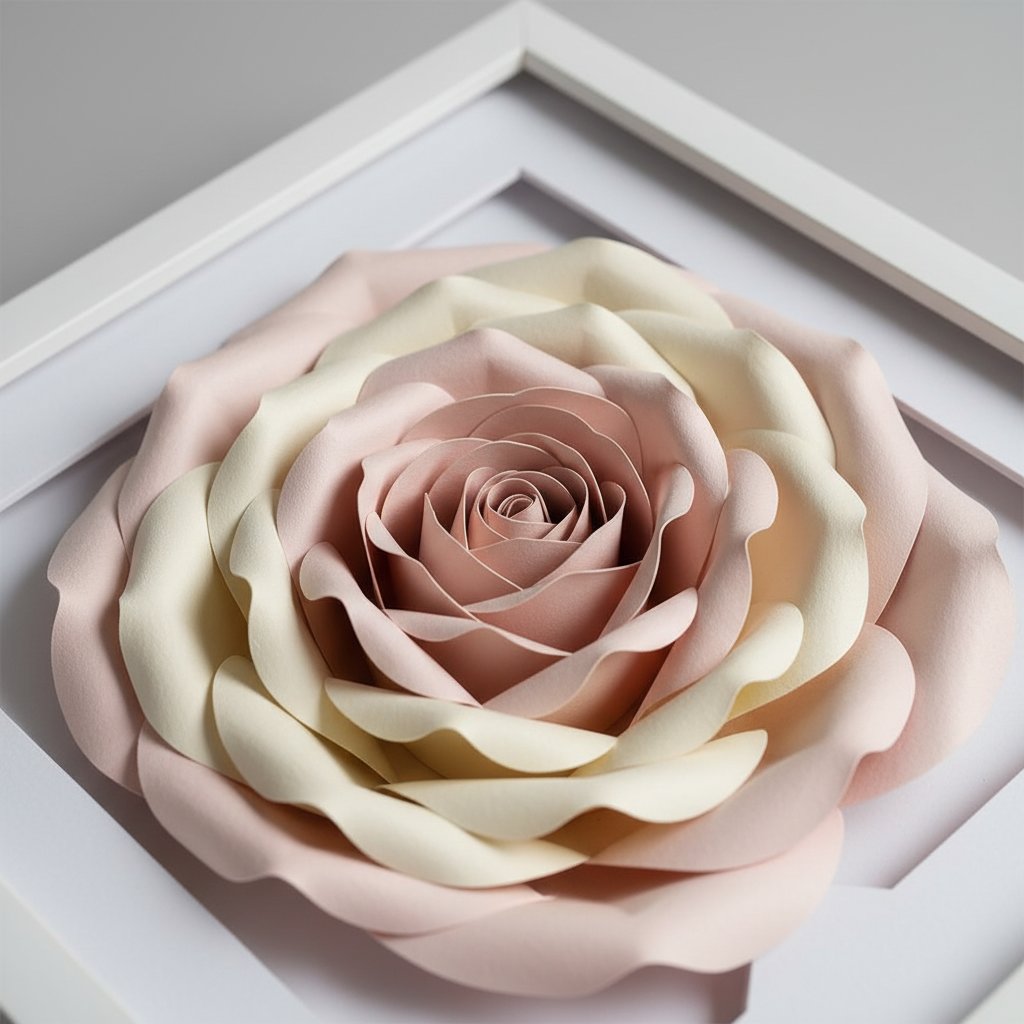
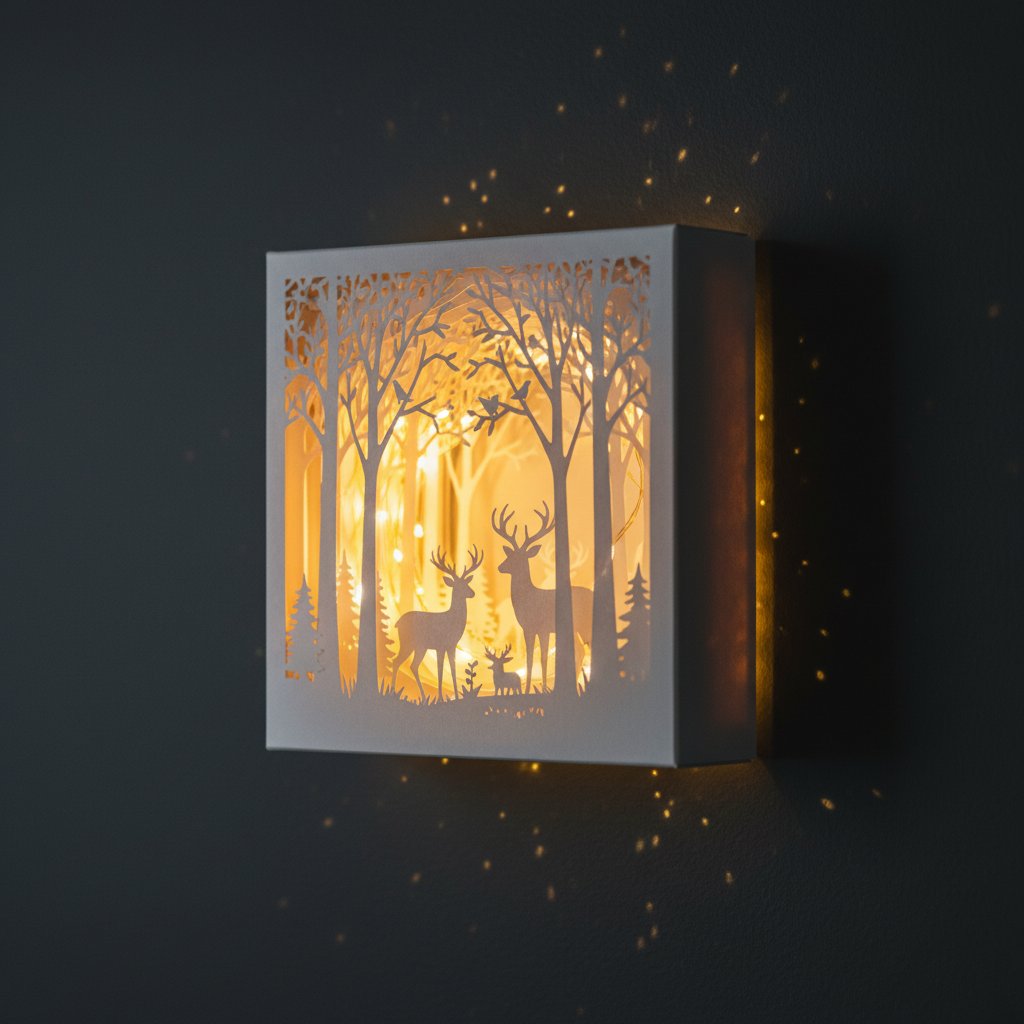
Dimension and shadow. Unlike flat prints or canvas art, giant paper flowers project 2-4 inches off the wall. Every petal casts its own shadow, and the play of light changes throughout the day. This living quality makes the piece feel dynamic rather than static.

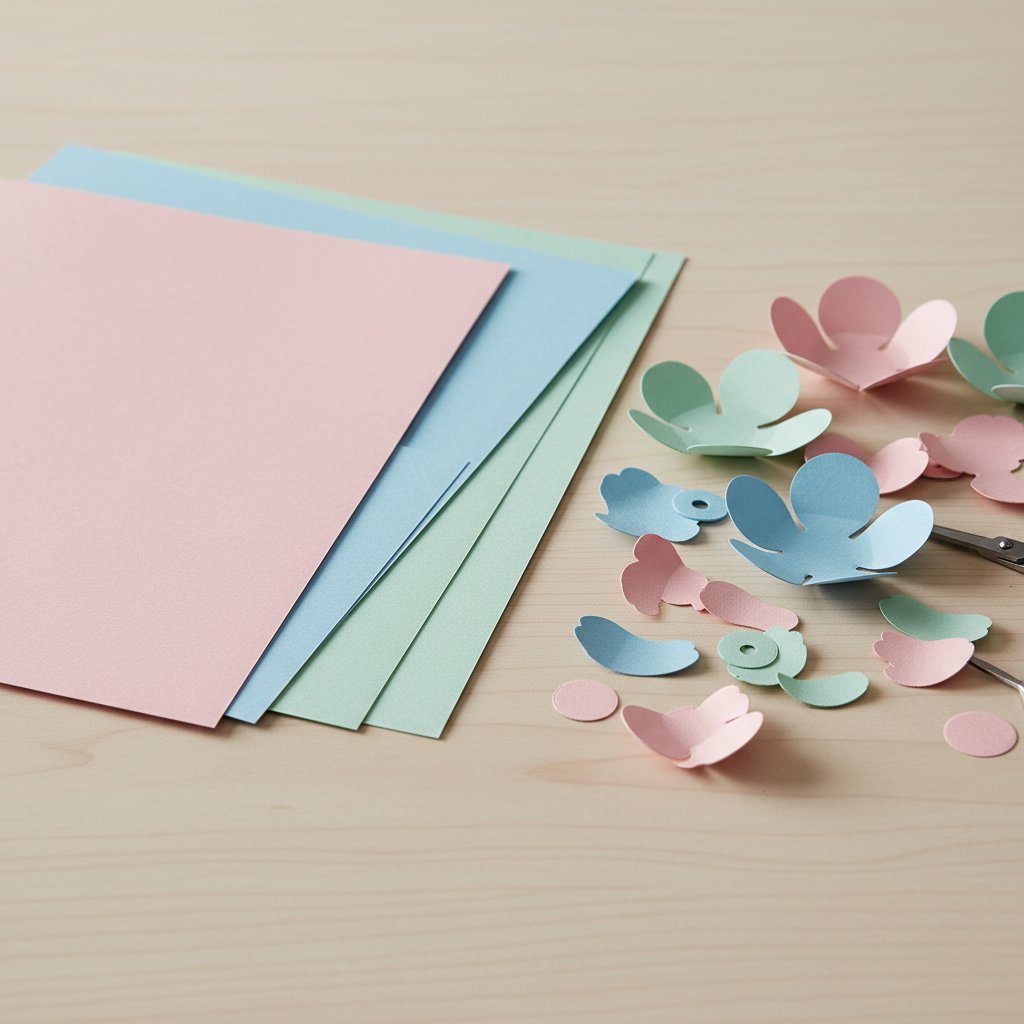
Complete colour control. You are not limited to what a manufacturer offers. Want an exact shade of dusty mauve to match your curtains? Cardstock exists in over 200 colours. You can mix shades within a single flower — darker at the center, lighter on outer petals — for a realism that mass-produced art cannot touch.

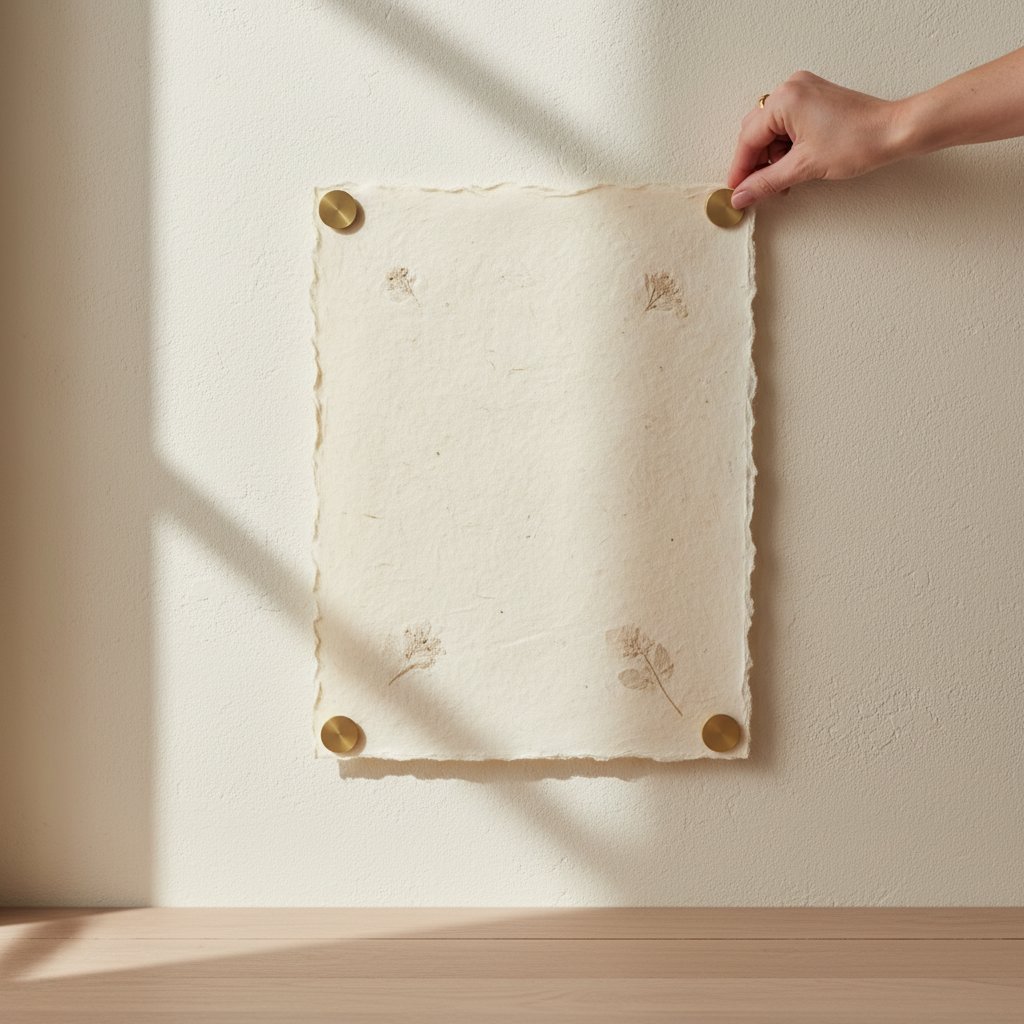
Lightweight and renter-friendly. A 20-inch paper flower weighs 2-4 ounces. You can mount an entire arrangement using Command strips or adhesive hooks without drilling a single hole. When you move, the flowers come down cleanly.

Cost-effective impact. A single 24-inch paper rose costs roughly $3-5 in materials and fills the visual space of a $100+ framed print. A full wall arrangement of 7-10 flowers runs $25-50 in supplies.

Choosing the Right Paper Material

Fanned stack of colored cardstock sheets beside cut paper flower petals ready for layering

The paper you choose determines everything — how the flower looks, how long it lasts, and how easy it is to shape. Here's how the three main options compare for giant wall flowers.

Cardstock (160–250 gsm) — Best Overall

Cardstock is the workhorse material for giant paper flowers. It holds its shape indefinitely, comes in hundreds of colours, and cuts cleanly on a Cricut or with scissors. For flowers 12 inches and above, 200–250 gsm cardstock gives the rigidity you need without being impossible to curl.

I tested 13 different cardstock brands for petal shaping and colour consistency (see my complete cardstock guide for detailed comparisons). The key finding: heavier cardstock (230+ gsm) produces sharper, more architectural petals, while lighter weights (160–180 gsm) allow softer, more natural curves. For roses and peonies, go heavier. For ranunculus and anemones with tight centers, lighter weight works better.

Pros: Durable, colour-stable, easy to cut, holds shape for years, available everywhere.

Cons: Less natural movement than crepe, can look "flat" without shaping.

Crepe Paper — Best for Realism

Crepe paper (particularly double-sided Italian crepe at 180 gsm) stretches and moulds in ways cardstock cannot. You can cup petals, stretch edges, and create the ruffled, organic look of real flowers. The stretch also means petals move slightly in air currents — surprisingly lifelike.

Pros: Most realistic appearance, natural movement, stretches for shaping.

Cons: Colours fade in direct sunlight within months, harder to find in stores, more expensive per sheet, less structural rigidity for very large flowers (18"+).

Tissue Paper — Accent Only

Tissue paper works for filler flowers, baby's breath clusters, and translucent center details. On its own, it lacks the body for giant wall blooms. Use it as a complementary material, not the primary one.

Weight Considerations for Wall Mounting

A single 20-inch flower made from 230 gsm cardstock weighs approximately 3 ounces with a foam-board backing. A crepe paper flower of the same size weighs about 2 ounces. For reference, a Command strip rated at 1 pound can hold 5-6 giant flowers. Weight is almost never the limiting factor — surface preparation is.

Pair giant paper flowers with a layered hydrangea shadow box for a mixed-dimension wall display. The Hydrangea Shadow Box SVG template gives you a backlit floral piece that complements 3D paper blooms beautifully.

Essential Tools and Supplies

Overhead flat lay of shadow box supplies including a frame colored cardstock foam dots and craft tools

You do not need specialised equipment to make giant paper flowers. But a few specific tools make the process dramatically faster and more consistent.

A fresh sharp craft knife making a clean precise cut through dark cardstock on an intricate floral papercut design

Cutting: Machine vs. Hand Templates

Cricut Maker or Explore Air 3 — If you already own a Cricut, use it. Cut time drops from 45 minutes per flower to about 8 minutes. The key advantage is consistency: every petal is identical, which makes assembly faster and the final flower more symmetrical.

Hand-cutting with printable templates — Entirely viable and many paper flower artists prefer it for giant sizes. Print a template on regular paper, trace onto cardstock, and cut with sharp scissors. For flowers over 16 inches, hand-cutting is sometimes faster than a Cricut because you avoid the mat-size limitations.

Adhesives

  • Hot glue gun (low temp): The go-to for assembly. Bonds instantly, holds permanently. Use low temperature to avoid warping cardstock. - Quick-dry craft glue (Tacky Glue): Better than hot glue for fine detail work on flower centers. Takes 30 seconds to set. - Double-sided tape (1/4 inch): Useful for attaching flowers to foam-board backings before wall mounting.

Shaping Tools

  • Bone folder or scoring tool: For creasing petals along the center vein. - Pencil or dowel (1/4 inch): For curling petal edges. Roll the petal edge around the dowel to get a natural curve. - Foam shaping mat: A dense foam pad lets you press and cup petals using a ball tool. This is what transforms a flat piece of paper into a 3D petal.

Mounting Hardware

  • Command strips (large, 1-lb rated): For single flowers and small clusters on drywall. - Adhesive hook-and-loop (Velcro) strips: For flowers you want to remove and reposition. - Foam board circles (8-12 inch): Acts as a rigid backing for each flower. The flower attaches to the board; the board attaches to the wall. - Clear push pins: For flowers mounted on cork boards or fabric-covered walls.

Size Scaling Framework: From Accent to Statement

Sets of cut cardstock shadow box layers in several different sizes arranged for various frame dimensions

One of the most common questions I get is "what size should my flowers be?" The answer depends on where they're going and what effect you want. Here's the framework I use for every project.

Small (8–10 inch) — Accent Pieces

Use small flowers as fillers between larger blooms, in tight spaces (beside mirrors, above door frames), or in clusters of 5-7 for a cascading garland effect. Small flowers need 4-6 petals per layer and work well with lighter cardstock (160 gsm) since they do not need much structural support.

Best for: Hallways, small bathrooms, beside existing wall art, filler in large arrangements.

Medium (12–16 inch) — Statement Pieces

This is the sweet spot. A 14-inch flower is large enough to command attention on its own but small enough that one person can assemble and mount it in under an hour. Most of my wall installations use 12-14 inch flowers as the primary size, with smaller and larger flowers for variety.

Best for: Bedroom accent walls, above headboards, living room feature walls, nursery decor.

A single 20-inch rose above a sofa replaces a framed print. Two 24-inch peonies flanking a mirror create a symmetrical focal point that draws the eye immediately. At this size, each petal is 8-10 inches long — you feel the scale when you hold one.

Large flowers need a rigid backing (foam board or cardboard circle) to maintain shape on the wall. Without it, gravity pulls the petals down over weeks. Use 230+ gsm cardstock.

Best for: Above sofas, dining room walls, event backdrops, staircase landings.

Extra Large (30+ inch) — Room Dividers and Backdrops

Flowers over 30 inches cross from "wall art" into "architectural element." They work for photo backdrops, wedding arches, and room dividers. At this scale, you need wire armatures inside each petal for support, and mounting requires actual hardware (not just adhesive strips).

Best for: Events, commercial spaces, open-plan room dividers.

Scaling Formula

To resize any petal template, multiply all dimensions by your target diameter divided by the template's base diameter. Example: a template designed for a 10-inch flower, scaled to 18 inches=multiply all measurements by 1.8. Petal count stays the same; only size changes.

Step-by-Step: Making a Giant Paper Rose (16 inch)

Close-up of layered paper-cut flower shadow box showing depth between rose petal layers

This tutorial covers a 16-inch open rose — the most versatile and requested giant flower style. Once you understand this build, you can adapt it for peonies, ranunculus, and other bloom types.

Step 1: Template and Cutting

You need three petal sizes: small (center), medium (inner ring), and large (outer ring). A standard 16-inch rose uses 5 small petals, 7 medium petals, and 10 large petals. Cut all petals from the same colour cardstock for a monochrome look, or use 2-3 shades for depth (darker at center, lighter at edges).

If using a Cricut: Set to "Cardstock for Intricate Cuts" with a fresh Fine-Point blade (my Cricut cardstock settings guide has exact pressure and blade settings for every paper weight). Cut each size separately to avoid confusion. If hand-cutting: Print the template, trace with pencil, and cut with detail scissors.

Step 2: Shaping the Petals

This is the step that separates flat cutouts from realistic flowers. Each petal needs three shaping actions:

  1. Center crease. Fold each petal slightly off-center (not exactly in half — real petals are asymmetrical). Run a bone folder along the fold for a crisp line.

  2. Edge curl. Roll the top edges of each petal around a 1/4-inch dowel or pencil. For outer petals, curl backward. For center petals, curl forward (toward the center crease).

  3. Cupping. Place the petal on a foam mat and press the center with a ball tool. This creates a concave shape that wraps around the flower center naturally.

Spend 30-45 seconds per petal on shaping. It feels slow but this is where the magic happens. Unshaped petals give you a flat paper cutout. Shaped petals give you a flower.

Step 3: Building the Center

Cut a 3-inch circle from cardstock as your base. Apply hot glue to the bottom 1/3 of the first small petal and press it onto the center of the circle, curved side up. Repeat with the remaining 4 small petals, overlapping each by about 1/3. The small petals should form a tight bud in the center.

Step 4: Adding Petal Layers

Work outward from the center. Apply glue to the bottom 1/3 of each medium petal and attach it to the base circle, overlapping the previous petal. Angle each petal slightly outward — the flower should gradually open as you add layers.

After the medium ring, attach the large outer petals the same way. These should be the most open and curled-back of all the layers. If any petal sits too flat, add a pea-sized dollop of hot glue behind it as a spacer to lift it.

Step 5: Adding a Backing Disc

Cut a 6-inch circle from foam board or stiff cardboard. Hot-glue it to the back of the flower. This backing serves two purposes: it keeps the flower flat against the wall and gives you a solid surface for mounting hardware.

For more Cricut flower project inspiration, see my [Cricut flower shadow box projects](/articles/cricut-flower-shadow-box-projects-hydrangea-lily-rose-more/) guide. For a different floral dimension, the Lily Flower Shadowbox SVG template creates a stained-glass effect when backlit — a striking contrast to 3D paper flowers on the same wall. Layer it behind or beside giant blooms for mixed-media impact.

Wall Mounting and Arrangement

Sheet of paper art mounted directly on a wall held flat at the corners by small adhesive strips

The arrangement makes or breaks the display. A perfectly built flower mounted crookedly or placed without thought looks worse than a mediocre flower arranged with intention.

Single Flower as Statement

One 18-24 inch flower works as a standalone piece above a sofa, headboard, or console table. Mount it at eye level (center of the flower at 57-60 inches from the floor, matching gallery hanging standards). Use two large Command strips on the foam backing — one at the top, one at the bottom — to prevent rotation.

Cluster Arrangements

The most popular layout is a triad: one large flower (16-20 inch) flanked by two medium flowers (10-14 inch) and filled with 3-5 small blooms and leaves. Place the large flower first, then build outward. Step back and assess after each flower — your eye will tell you where the gaps are.

For larger walls, a quints arrangement (1 large center, 2 medium flanking, 2 medium outer) fills a 5-6 foot wall section dramatically. Add small filler flowers and leaves between the main blooms to eliminate awkward gaps.

Ombre and Gradient Effects

Using 3-5 shades of the same colour family creates a sophisticated gradient. Start with the deepest shade at the bottom or center of your arrangement and transition to the lightest at the top or edges. This technique works particularly well with pink-to-white and navy-to-blue gradients.

I built a pink-to-white ombre wall for a client's daughter's room using 4 shades of pink cardstock across 12 flowers. The installation took 3 hours and cost $42 in materials. The result looked like a professional nursery design.

Mixing with Shadow Boxes

Illuminated layered paper-cut shadow box glowing warmly on a wall with fairy lights behind

Paper flowers and backlit shadow boxes complement each other perfectly. Mount 2-3 shadow boxes at the center of your arrangement, then surround them with paper flowers at varying heights. The shadow boxes provide ambient lighting (if using LED-backlit designs) while the flowers provide 3D texture. The combination gives your wall display both depth and glow.

See my flower shadow box ideas guide for specific shadow box designs that pair well with paper flowers, and my paper flower wall art for bedrooms article for bedroom-specific mounting and colour scheme advice. This mixed approach is one of my favourite techniques — the contrast between the structured, geometric shadow box layers and the organic, flowing paper flowers creates a really rich visual experience.

Maintenance and Longevity

Giant paper flowers are surprisingly durable when displayed indoors. Here's what to expect and how to keep them looking fresh.

Single layered paper-cut red rose silhouette shadow box in a square frame

Dusting

Dust is the primary enemy. Petal surfaces and curled edges trap dust over months. The best cleaning method is a soft makeup brush (large powder brush) — the bristles are gentle enough to sweep dust from petals without bending or creasing them. Run the brush lightly over each petal surface every 4-6 weeks. Avoid compressed air, which can force dust deeper into petal crevices and damage delicate edges.

Humidity and Temperature

Cardstock flowers handle normal indoor humidity (30-60%) without issue. Avoid bathrooms, kitchens, and exterior walls prone to condensation. If you live in a humid climate and notice petals softening, a light mist of spray starch (from 12 inches away) restores rigidity without discolouring the paper.

Sunlight

Direct sunlight fades cardstock within 3-6 months. Crepe paper fades faster — sometimes in weeks. Mount flowers on walls that receive indirect light or use UV-filtering window film on nearby windows. North-facing walls are ideal for colour preservation.

Storage for Seasonal Display

If you rotate your wall art seasonally, store flowers flat in a rigid container (pizza boxes work well for medium flowers). Place a sheet of tissue paper between stacked flowers to prevent petal compression. Stored this way, cardstock flowers maintain their shape for years.

Complete your giant paper flower wall with a backlit rose shadow box. The Rose Flower Shadowbox SVG creates a stained-glass rose that glows when paired with LED backlighting — a beautiful anchor piece at the center of any floral arrangement.
1.What paper weight works best for giant paper flowers?
For flowers 12 inches and above, 200-250 gsm cardstock gives the best balance of rigidity and workability. Heavier cardstock (230+ gsm) produces sharper, more architectural petals ideal for roses and peonies. Lighter weights (160-180 gsm) work better for flowers with tight, delicate centers like ranunculus. Crepe paper (Italian double-sided, 180 gsm) is best for realism but requires more shaping skill.
2.How do I mount paper flowers without damaging walls?
Use Command strips rated for 1 pound — a single strip can hold 2-3 large paper flowers since each flower weighs only 2-4 ounces. Attach the strip to a foam-board backing disc glued to the back of each flower, then press the backing to the wall. For repositionable displays, use adhesive hook-and-loop (Velcro) strips instead. Avoid hot-gluing flowers directly to walls.
3.Can I make giant paper flowers without a Cricut?
Absolutely. Print a petal template on regular paper, trace the shapes onto cardstock with a pencil, and cut with sharp scissors. For flowers over 16 inches, hand-cutting is sometimes faster than using a Cricut because you avoid mat-size limitations. The quality difference is minimal — shaping technique matters far more than cutting method.
4.How long do paper flowers last as wall art?
Cardstock flowers displayed indoors away from direct sunlight and high humidity last 3-5 years without any visible degradation. The colours remain stable, and the petal shapes hold indefinitely when mounted on a rigid backing. For more paper art longevity tips, see my [DIY paper wall art guide](/articles/diy-paper-wall-art-home-decor/). Crepe paper flowers may show fading after 6-12 months in indirect light. Dusting with a soft brush every 4-6 weeks keeps them looking fresh.
5.What size paper flowers work best for small walls?
For walls under 3 feet wide (beside a door, above a nightstand), use 8-10 inch flowers in clusters of 3-5. A single 12-inch flower also works as a focal point on a narrow wall. Avoid anything over 14 inches on small walls — the flower overwhelms the space and looks cramped rather than intentional.
6.Do paper flowers need glass protection like framed art?
No. Glass would eliminate the 3D effect that makes paper flowers special. The entire appeal is the depth, shadows, and texture of exposed petals. If you're concerned about dust or damage in a high-traffic area, place flowers higher on the wall (above 6 feet) where they're less likely to be bumped.