Articles10 min read

Paper Cutting for Party Decorations — Complete DIY Guide for Weddings, Birthdays & Events

Make unforgettable paper cutting party decorations for every celebration. From wedding backdrops and birthday banners to baby-shower keepsakes and holiday centerpieces — beginner-friendly techniques, budget breakdowns, and Cricut-ready projects.

Group of finished DIY paper lanterns of different styles glowing on a wooden shelf

Nothing personalises a celebration quite like paper cutting party decorations you made yourself. A hand-cut banner with the guest of honour's name, a wall of layered paper flowers behind the cake table, a delicate cake topper — these are the details people photograph, remember, and ask you about for their own events. The best part: they cost a fraction of what a professional decorator charges, and they're genuinely fun to make.

Group of finished DIY paper lanterns of different styles glowing warmly on a wooden shelf

This guide walks you through paper cutting for events of every kind — weddings, birthdays, baby showers, and holidays — with real projects at three skill levels, a budget-versus-premium breakdown, and clear guidance on when to cut by hand and when to let a Cricut do the heavy lifting. Whether you're decorating for a first birthday or designing an entire wedding, you'll leave with a plan you can start tonight.

Here's what we'll cover:

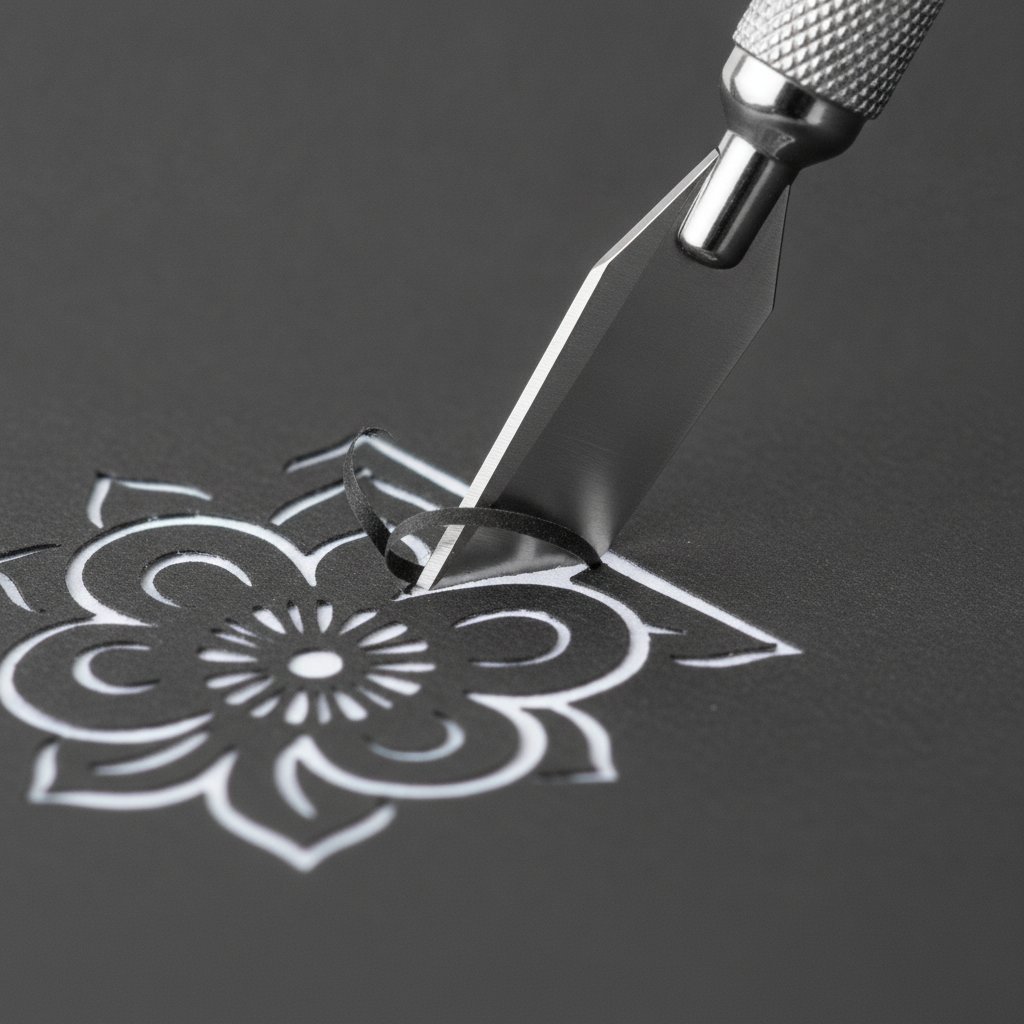
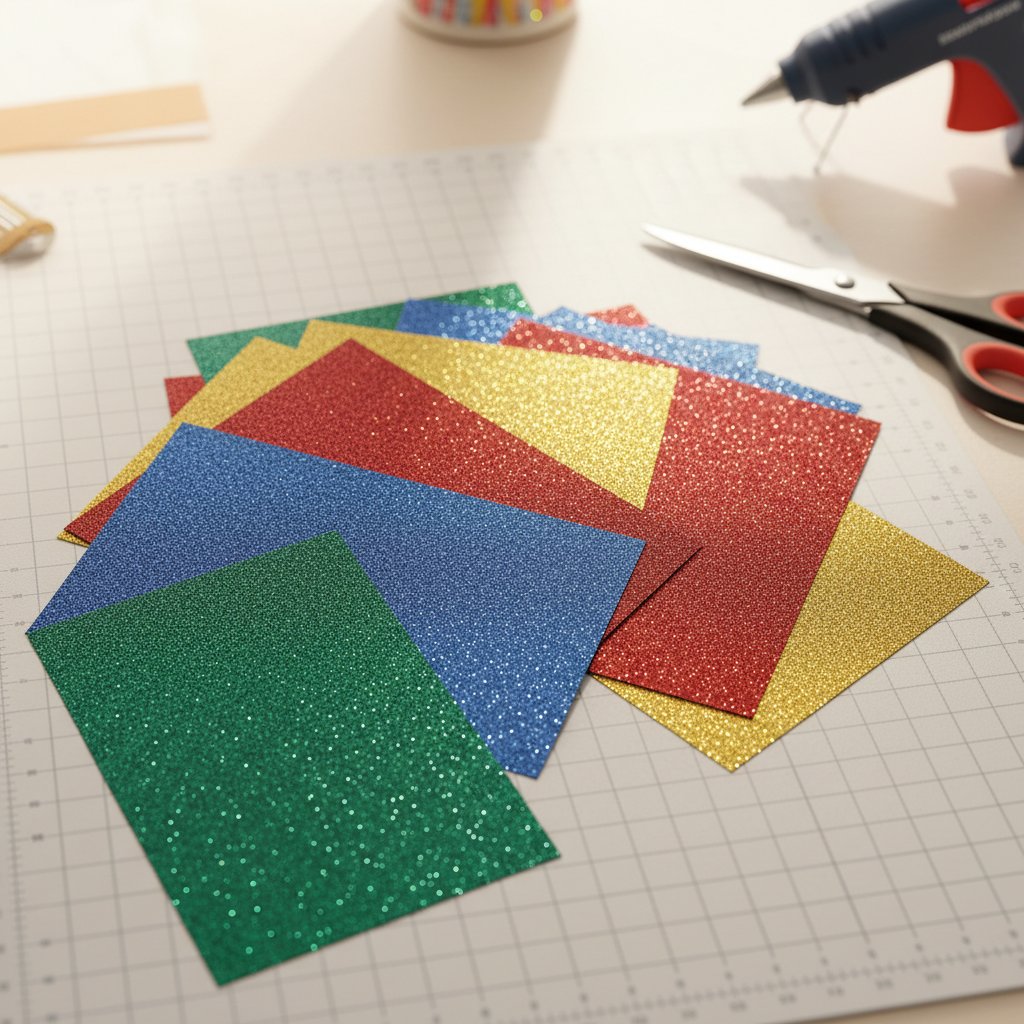
  • The tools and materials every party-paper stash needs
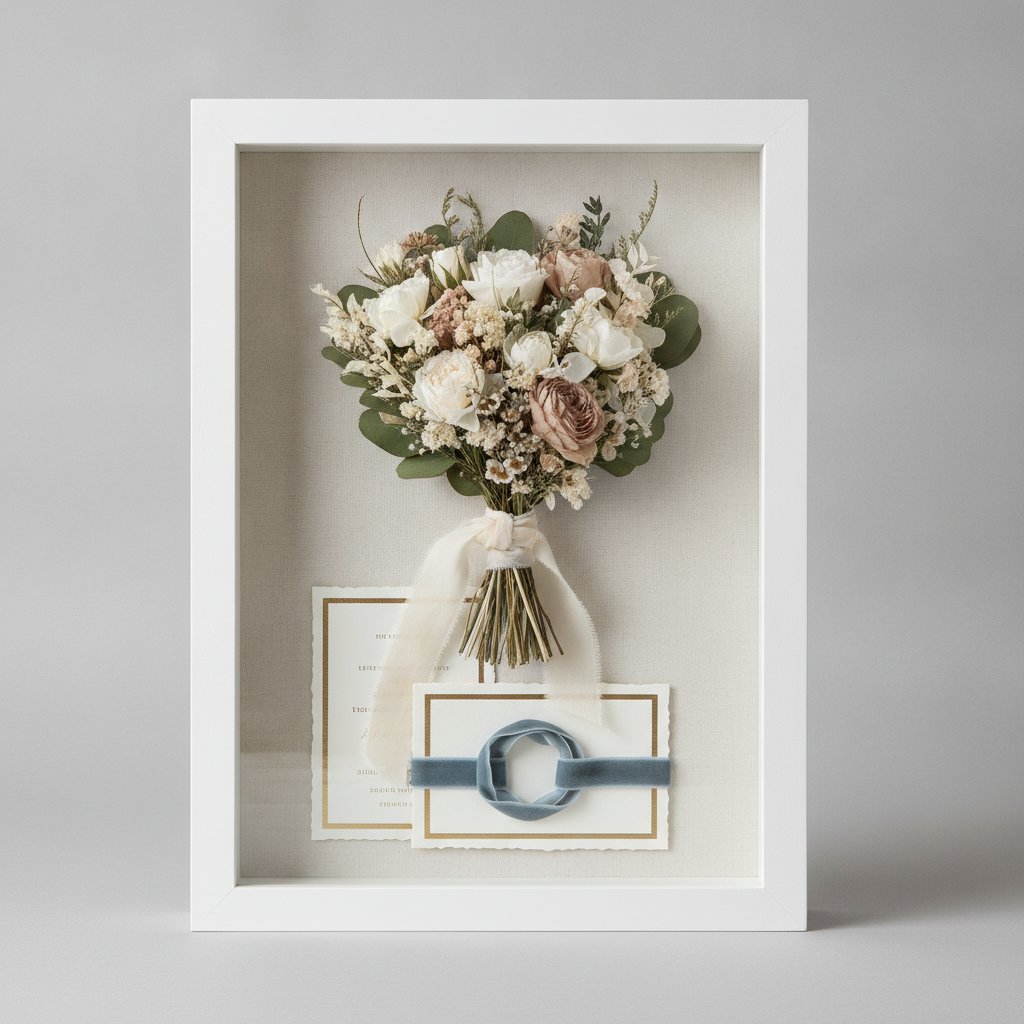
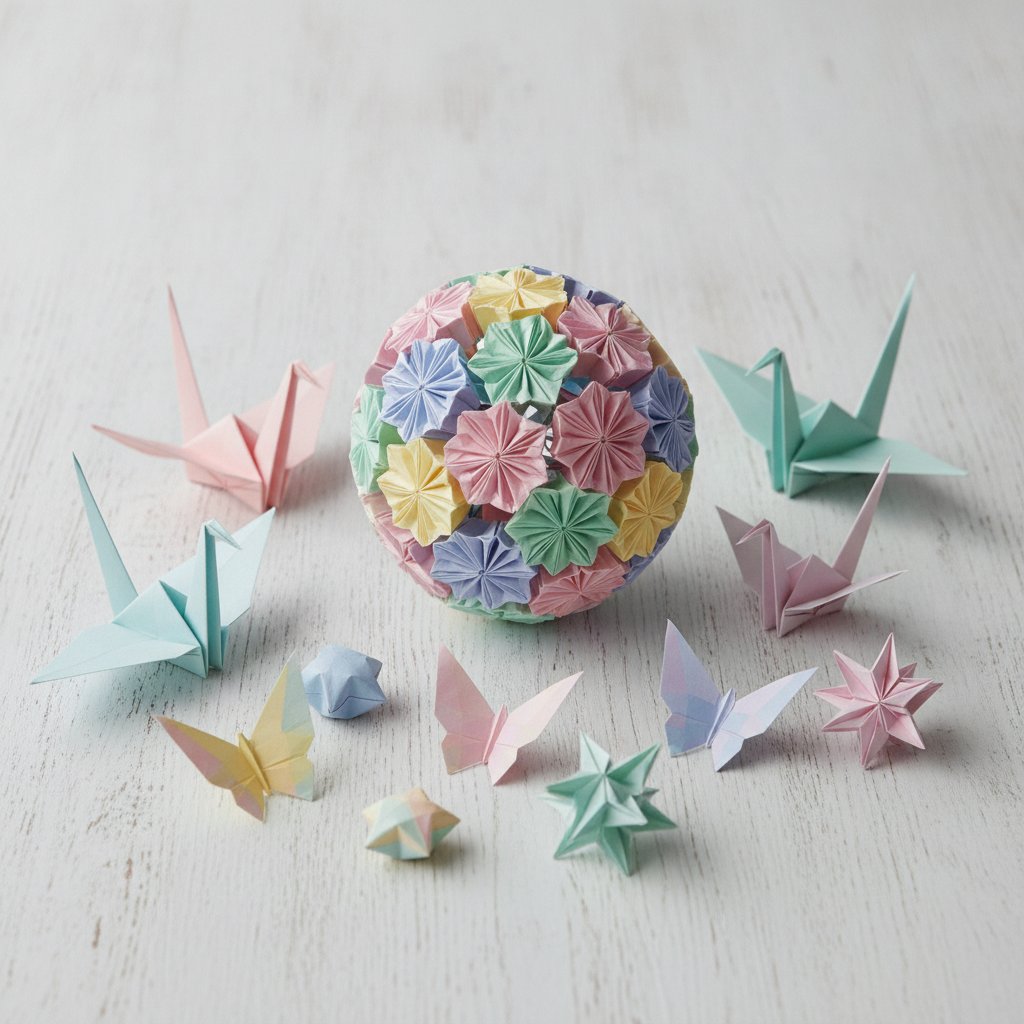
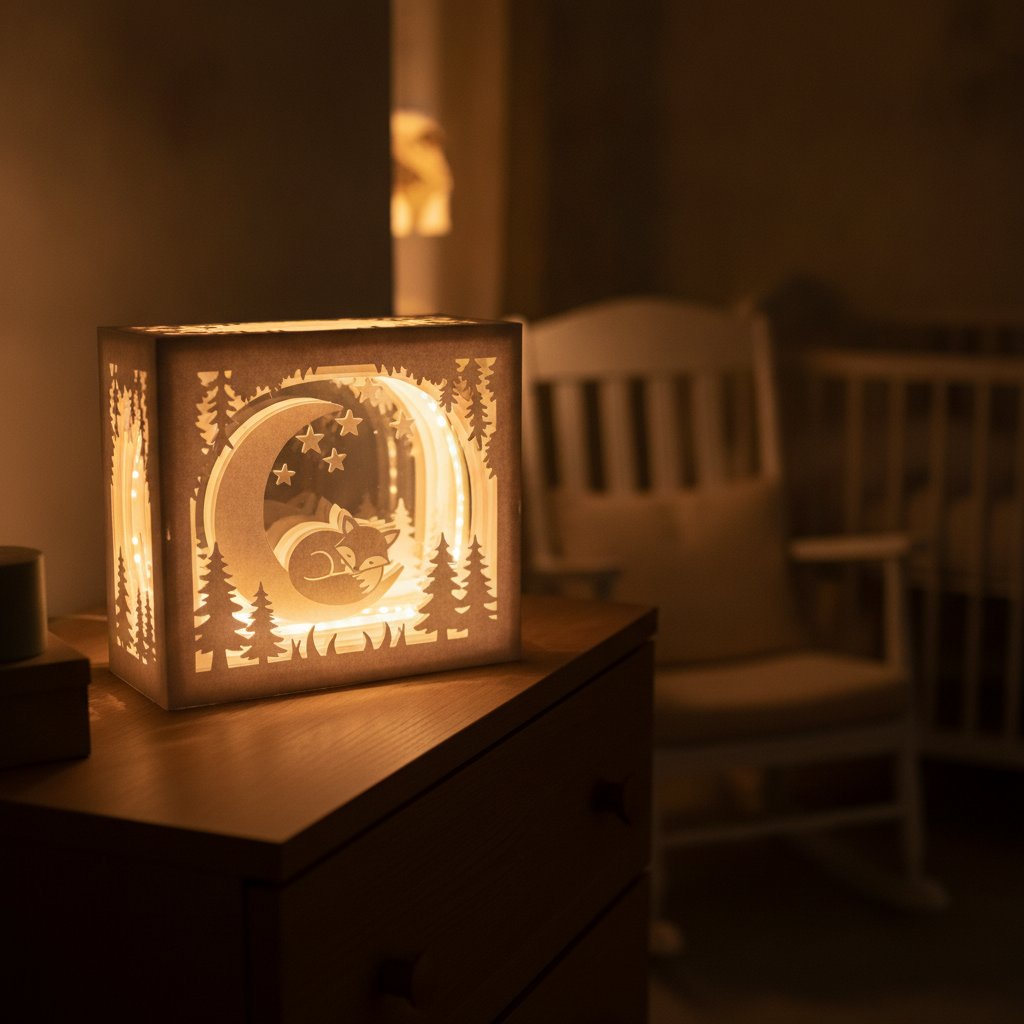
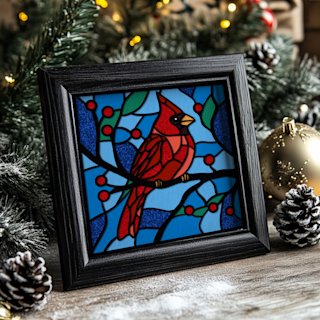
  • Wedding, birthday, baby-shower, and holiday project sets (beginner → advanced)
  • A budget-vs-premium cost table so you can plan with real numbers
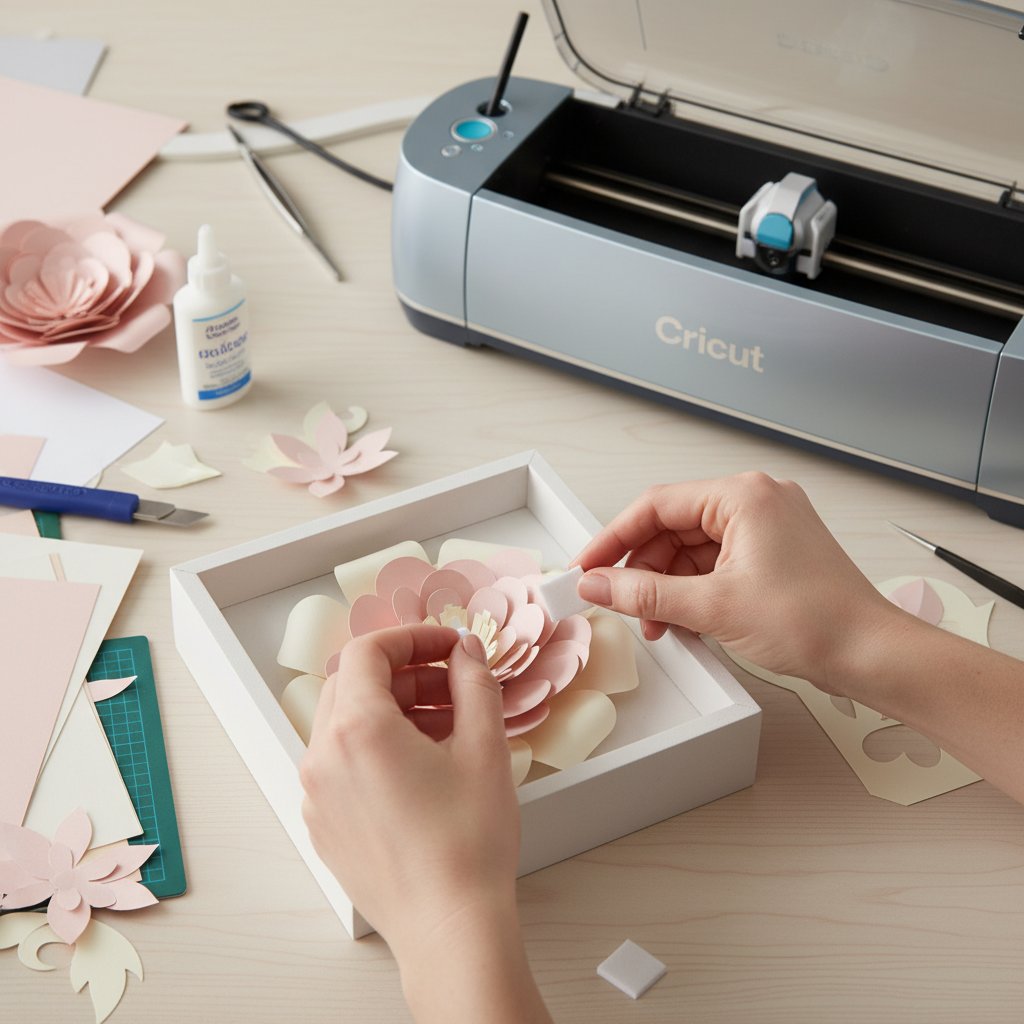
  • Hand-cutting vs. machine-cutting — when each wins
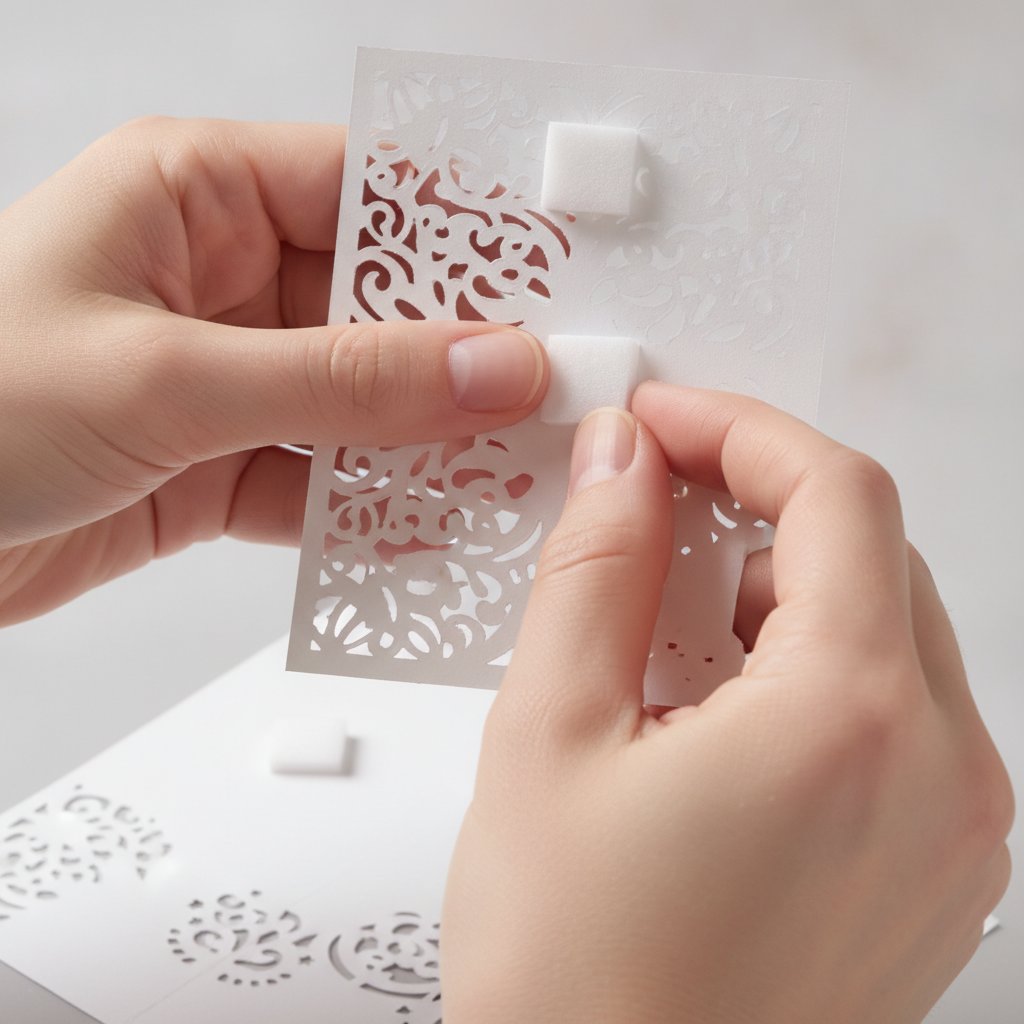
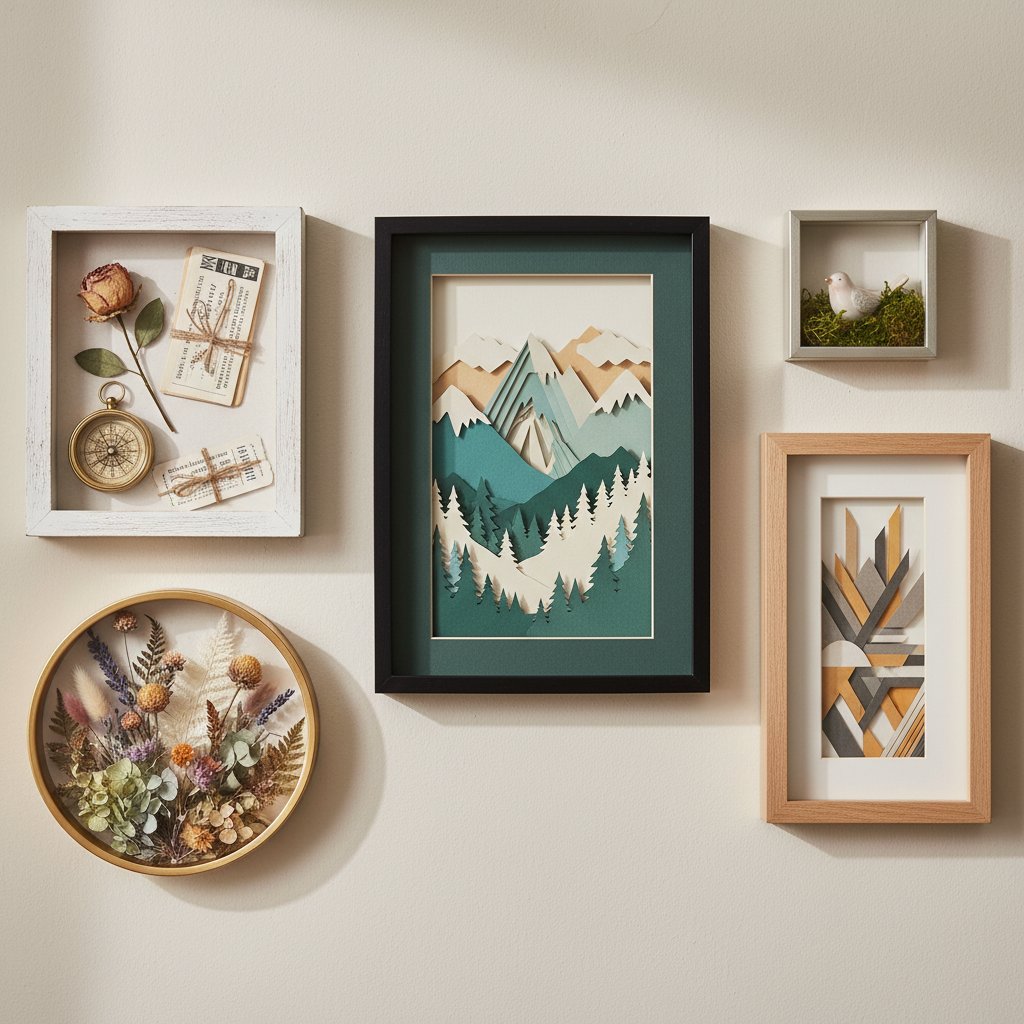
  • Assembly, display, and storage tips that keep your decor looking professional

A quick note before we start: paper party decor leans heavily on the same cutting skills you'd use for any papercraft. If you're brand new to cutting machines, pair this guide with our Cricut paper cutting for beginners walkthrough.

Why Paper Cutting Elevates Party Decor

Store-bought party decorations look fine. Hand-cut decorations look considered — like someone cared enough to plan the colour palette, cut each piece, and assemble it for this specific person and this specific day. That intentionality is the whole appeal.

Three things make paper the best medium for personal celebrations:

  • It's fully customisable. Names, dates, themes, inside jokes, a couple's monogram, a one-year-old's favourite animal — paper takes any of it. You're never limited to whatever the party aisle happens to stock.
  • It's dramatically cheaper. A complete paper decor set (banner, centerpiece, photo backdrop) typically runs $50–$200 in materials versus $200–$800 for pre-made. For weddings, DIY paper decor can run $150–$500 against $1,000–$3,000 for a professional.
  • It's reusable and recyclable. Sturdier pieces (banners, centerpieces) store flat and reuse across years; paper itself is recyclable when a piece has lived its party life.

The personalisation is where paper cutting earns its keep. A generic "Happy Birthday" banner is forgettable. A hand-cut banner in the birthday child's favourite colours, with their age as a layered cake topper, becomes the keepsake.

Essential Tools & Materials for Party Paper Cutting

You don't need much to start, and most of it does double duty across every event type.

The core hand-cutting kit:

A fresh sharp craft knife making a clean precise cut through dark cardstock on an intricate floral papercut design
  • Precision craft knife with replacement blades, plus a self-healing cutting mat (12×18 gives you room for larger party pieces)
  • Fine-tip scissors for curves and detail work, and a bone folder for crisp folds on banners and 3D elements
  • A metal ruler with non-slip backing for straight, repeatable cuts

Paper choices that matter for parties:

Fanned stack of jewel-tone glitter cardstock sheets catching the light
  • 65–80 lb cardstock in a party palette covers 90% of projects — sturdy enough to stand, light enough to hang
  • Glitter and metallic cardstock for sparkle (birthdays, New Year's, anniversaries)
  • Vellum for elegant overlays — soft, glowing accents that elevate weddings and baby showers. Our advanced vellum paper cutting guide shows how to cut and layer it without tearing

Adhesives for party assembly: foam adhesive squares (3D layering on centerpieces and cake toppers), a fine-tip glue pen for detail, a tape runner for banners, and a hot-glue gun for structural pieces like mobiles. For choosing the right cardstock weight per project, our Cricut cardstock guide maps weight to use.

Start With Ready-to-Cut Celebration SVGs
The fastest path to professional party decor is a well-designed SVG. These single-layer and layered templates upload straight into Design Space — cut names, numbers, animals, and florals in minutes instead of designing from scratch.

Wedding Paper Cutting Decorations

Weddings are where paper cutting saves the most money and adds the most magic. A cohesive paper decor scheme — ceremony backdrop, table numbers, signage, cake topper — ties a whole venue together for a fraction of a florist's quote.

A traditional shadow box displaying wedding keepsakes including a dried flower bouquet and mementos

Plan 3–6 months ahead for weddings: design and templates (1–2 weeks), cutting all pieces (1–3 weeks), assembly and finishing (1 week), plus buffer for first attempts. Store everything flat and transport in portfolio cases, assembling delicate pieces at the venue.

Wedding projects by skill level:

  • Beginner — Paper monogram initials. Cut the couple's initials from 65 lb cardstock in the wedding palette. Frame them or mount on foam board for the sweetheart table. Quick, high-impact, and meaningful.
  • Intermediate — Paper flower backdrop. 50–100 layered paper flowers in graduated sizes behind the cake or ceremony arch. Time-consuming but stunning, and reusable as home decor after. For modern, minimal wedding styling, see our minimalist paper wall art guide.
  • Advanced — Layered venue silhouette. A layered papercut of the ceremony arbor, the venue skyline, or the landscape where you got engaged, built with depth using foam spacers.

Birthday Party Paper Decorations

Birthdays are the most forgiving, most fun place to start with paper decor — and they scale from a first birthday to a milestone 50th with the same techniques.

A collection of origami models including paper cranes, butterflies, and a kusudama flower ball

Coordinate your paper colours with the balloons and tableware, and decide upfront whether each piece is a keepsake (a baby's first-birthday banner you'll store) or party-day-only (confetti cutouts).

Birthday projects by skill level:

  • Beginner — "Happy Birthday" banner. 6–8 letters cut from a mix of solid cardstock and glitter paper, strung on twine. The classic for a reason.
  • Intermediate — Themed photo backdrop. Balloons, confetti cutouts, and a large age-number cutout behind the cake. Add paper flowers for depth.
  • Advanced — 3D cake topper. A layered cake design or table-number stand that becomes the table centerpiece.

For matching party invitations and thank-you cards in the same theme, our paper cutting for greeting cards guide covers card construction end to end.

Elegant Floral & Wedding SVGs for Celebrations
These layered floral and wedding SVGs build stunning backdrops, table decor, and keepsake shadow boxes. Each uploads as clean separated layers — colour-sync them to your event palette and press Make It.

Baby Shower Paper Decorations

Baby showers love paper — it's soft, personalisable, and every piece can become nursery decor afterwards. Carry the nursery theme (animals, stars, clouds, botanicals) straight into the shower so the decor doubles as a gift.

A layered papercut shadow box glowing with soft warm white light in a darkened nursery at night

Baby-shower projects by skill level:

  • Beginner — Baby name banner. A mix of letter sizes and colours spelling the baby's name, ready to hang above the gift table and later above the crib.
  • Intermediate — Onesie-shaped guest book cutouts. Guests write wishes on paper onesies; you assemble them into a keepsake. Interactive and meaningful.
  • Advanced — 3D paper mobile. Animals, stars, and clouds on fishing line for the nursery, debuted at the shower.

The light-up shadow-box technique behind many nursery pieces is the same one that makes gorgeous party nightlights — see our DIY shadow box ideas for the full build.

Holiday Party Paper Decorations

Every major holiday has a paper-cutting tradition, and holiday decor is where a cutting machine pays for itself — you'll reuse the same designs year after year.

Finished glowing layered Christmas paper-cut shadow box centerpiece displayed on a mantel
  • Christmas: paper ornaments, garlands, table centerpieces, and gift tags. A glowing layered shadow-box centerpiece becomes an heirloom. Our seasonal paper shadow box crafts guide covers spring through winter.
  • Halloween: silhouette window scenes, spooky cutouts, haunted-house dioramas.
  • New Year's Eve: clock faces, confetti cones, and giant countdown numbers.
  • Valentine's Day: heart garlands and love-letter backdrops.

Holiday projects by skill level: beginner — seasonal garlands (snowflakes, hearts, autumn leaves); intermediate — layered table centerpieces (trees, pumpkins); advanced — light-up shadow boxes with LED strips.

Holiday & Seasonal SVGs for Year-Round Parties
Build holiday centerpieces and gift-quality shadow boxes from these layered seasonal SVGs. Each is designed for backlit display — add a LED strip for a glowing party centerpiece.

Hand-Cutting vs. Machine-Cutting for Party Decor

The right method depends on quantity and intricacy — most party crafters end up using both.

Hands attaching foam spacers to layered paper flower shadow box layers beside a Cricut machine
  • Hand-cutting is meditative and perfect for simple projects and small quantities — a single banner, a few name cards.
  • Machine-cutting (Cricut) wins for multiples, intricate silhouettes, and custom names/dates. Cutting 50 identical flowers by hand takes 6–8 hours; a Cricut does it in 1–2.
  • Hybrid approach — machine-cut the repeating bases (flowers, letters), hand-finish with embellishments (glitter accents, pearl drops) — gives you speed and a handmade touch.
ProjectHand-cutMachine-cut
1–2 simple banners✅ RecommendedOverkill
5+ banners or 50+ pieces❌ Too slow✅ Recommended
Intricate silhouettesPossible with patience✅ Recommended
Custom names/dates (1–5)✅ Doable✅ Faster for multiples

For material-specific blade and pressure settings across cardstock, vellum, and glitter paper, our Cricut cardstock guide has the full reference.

Budget-Friendly vs. Premium Party Paper Decor

You can throw a beautiful paper-decorated party at almost any budget. Here's what each tier buys you:

ItemBudget ($50–$100 total)Mid-range ($100–$200)Premium ($200+)
Banners$15 — hand-cut basics$25 — machine-cut, glitter accents$40 — metallic + vellum layers
Centerpieces$20 — simple layered$40 — 3D layered$75 — premium materials + LED
Photo backdrop$15 — paper streamers$35 — cutout shapes, multi-layer$60 — custom design, premium paper
Cake topper$10 — simple initials$25 — custom name + glitter$50 — intricate, metallic

Budget tier: hand-cut basics on core cardstock, simpler designs, fewer pieces. Mid-range: machine-cut detail, specialty papers, moderate quantities. Premium: intricate layered designs, vellum and metallic papers, large quantities, and LED-lit centerpieces.

The biggest single lever on cost is quantity × intricacy. A 50-flower backdrop at premium paper is a different budget than a 10-piece banner — design to your number, not the other way around.

Assembly & Display Tips for Party Paper Decor

Hands applying adhesive foam squares to the back of a cut cardstock papercut layer

Clean assembly is what separates "homemade" from "handmade-professional." A few rules that hold up across every project:

  • Use the right adhesive for the job. Foam squares for 3D depth (centerpieces, cake toppers), tape runners for banners, fine-tip glue for detail, hot glue for structure. The wrong adhesive is the #1 reason a piece sags or peels by party time.
  • Hang invisibly. Fishing line for floating effects, ribbon as a design element, washi tape for lightweight pieces, Command hooks for anything that must survive the whole event.
  • Build depth deliberately. Layer 2–4 elements with foam spacers rather than gluing everything flat — depth is what reads as "designed."
  • Plan for the environment. Most paper decor is indoor-only. For covered outdoor spaces, use 80 lb+ cardstock, secure with fishing line, and bring pieces indoors after. Wind, sun, and moisture will damage paper.
  • Assemble on a timeline. Cut everything in advance; assemble banners and flat pieces the day before; assemble delicate 3D pieces the morning of, or on-site.

Storing, Reusing & Wrapping Up

Good paper decor deserves to survive the party. Store banners and flat pieces in portfolio cases or flat files; keep 3D centerpieces in labelled, divided bins by event type (wedding, birthday, holiday) so next year's prep is grab-and-go. Repair tears with tape backing behind the layer, and re-glue loose layers promptly.

A gallery wall of diverse finished DIY shadow boxes including papercut art, keepsakes, and floral displays

A smart reuse strategy: build colour-neutral bases (a plain banner, a plain backdrop frame) and swap event-specific accents (the name, the age, the seasonal cutouts). One backdrop structure serves a birthday this month and a baby shower next.

Your Party-Decor Action Plan

  1. Pick the event and palette. Decide the occasion, the colour scheme, and your budget tier from the table above.
  2. Choose your method. Hand-cut a single banner; use a Cricut for multiples, intricate silhouettes, and custom names.
  3. Grab your SVGs and cardstock. Start with ready-to-cut templates and 65–80 lb cardstock in your palette.
  4. Cut, then assemble with the right adhesive. Build depth with foam spacers; hang with fishing line or Command hooks.
  5. Store the keepers flat. Label by event so next time is faster.

Paper cutting turns a generic party into a personal celebration, and once you've made one banner you'll see how quickly the skills compound into backdrops, centerpieces, and keepsakes. Start with one project you're excited about, and let the rest follow.

Every template in the MuralMoods Art shop uploads straight into Cricut Design Space as clean, separated layers — built for exactly the celebration workflow above. Browse the shop and start your next party project today.

1.How much do I save making paper party decorations instead of buying them?
Typically 50–75%. A full setup (banner, centerpiece, photo backdrop) costs about $50–$200 in materials versus $200–$800 pre-made. Weddings save even more: DIY paper decor runs $150–$500 against $1,000–$3,000 for professional decor. The biggest savings come from cutting your own shapes and doing the assembly.
2.How far in advance should I start making paper party decorations?
Start 2–4 weeks ahead for small parties (birthdays, baby showers) and 3–6 months ahead for weddings or large events. Break it into design and templates (1–2 weeks), cutting all pieces (1–3 weeks), and assembly (1 week). A Cricut shrinks the cutting phase dramatically — 6–8 hours by hand can become 1–2 hours by machine.
3.Can I use paper decorations for an outdoor party?
Most paper decor is designed for indoors. For covered outdoor spaces (porches, tents) use 80 lb+ cardstock, secure with fishing line and weather-resistant tape, and avoid delicate papers. Direct sun, wind, and rain will damage paper. For fully outdoor events, consider vinyl or weather-resistant materials, and bring paper pieces inside right after the event to avoid moisture damage.
4.What paper weight is best for party decorations?
65–80 lb cardstock works for most party pieces. Lighter 40–50 lb paper suits layered details and hanging elements that should stay light; 100 lb+ is ideal for standalone pieces like cake toppers and centerpieces. For high-traffic or outdoor-adjacent areas, use 80 lb+. Glitter paper is heavier than standard cardstock, so account for that on anything that hangs.
5.How do I cut identical shapes for party decorations?
Use templates or a cutting machine for perfect duplicates. By hand: make a cardboard template, trace it onto paper, and cut — or stack 2–3 sheets and cut through all layers at once. With a Cricut: design once in Design Space, set the quantity, and cut all pieces at once so every banner letter or flower is identical.
6.What's the best way to hang paper party decorations?
Match the hanger to the weight. Use fishing line for a floating, invisible look, ribbon as a deliberate design element, washi tape for lightweight pieces, and Command hooks for anything that must stay up through a whole event. Avoid pushing pins on rented-venue walls — Command hooks and fishing line are venue-friendly and removable.
7.Do I need a Cricut to make good paper party decorations?
No. Hand-cutting is perfect for simple projects and small quantities. A Cricut earns its place when you need many identical pieces (a 50-flower backdrop, a long banner), intricate silhouettes, or precise custom names and dates. Many crafters use a hybrid: machine-cut the repeating bases and hand-finish with embellishments.