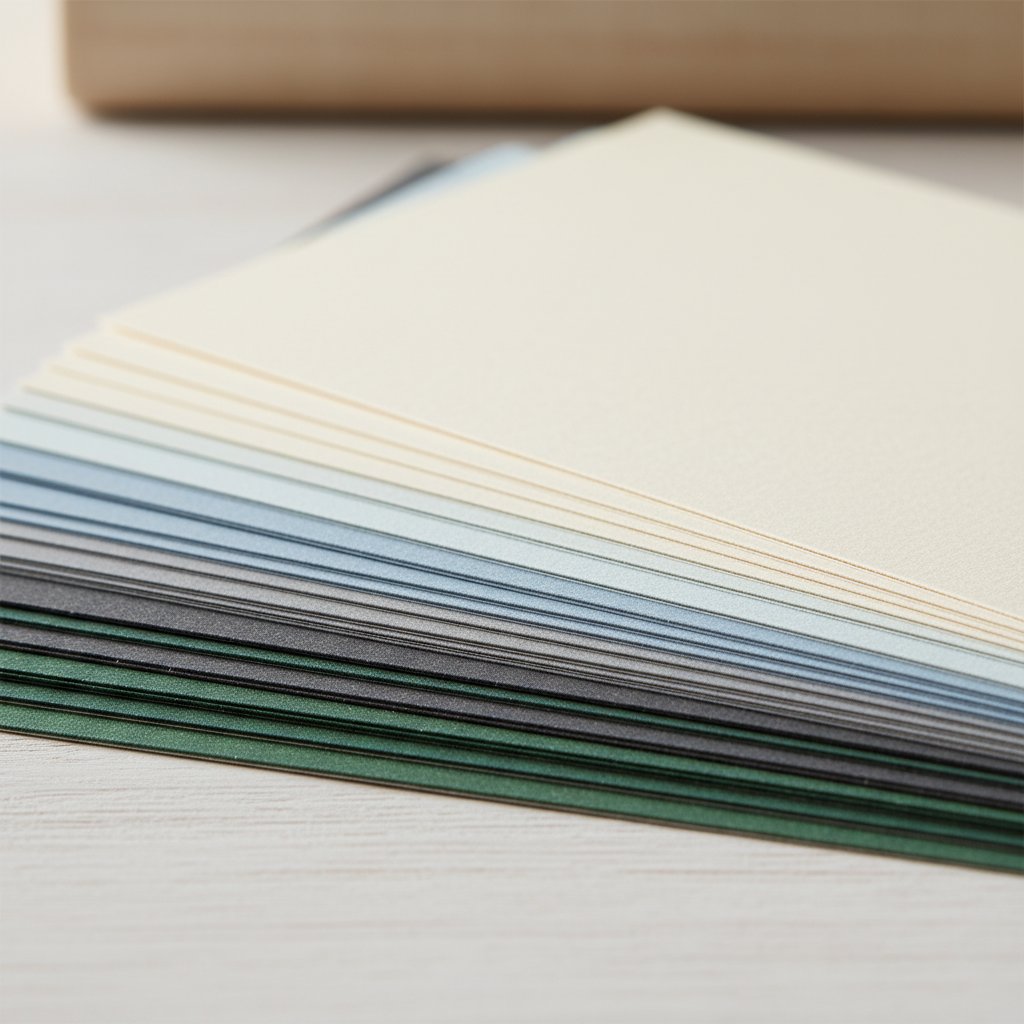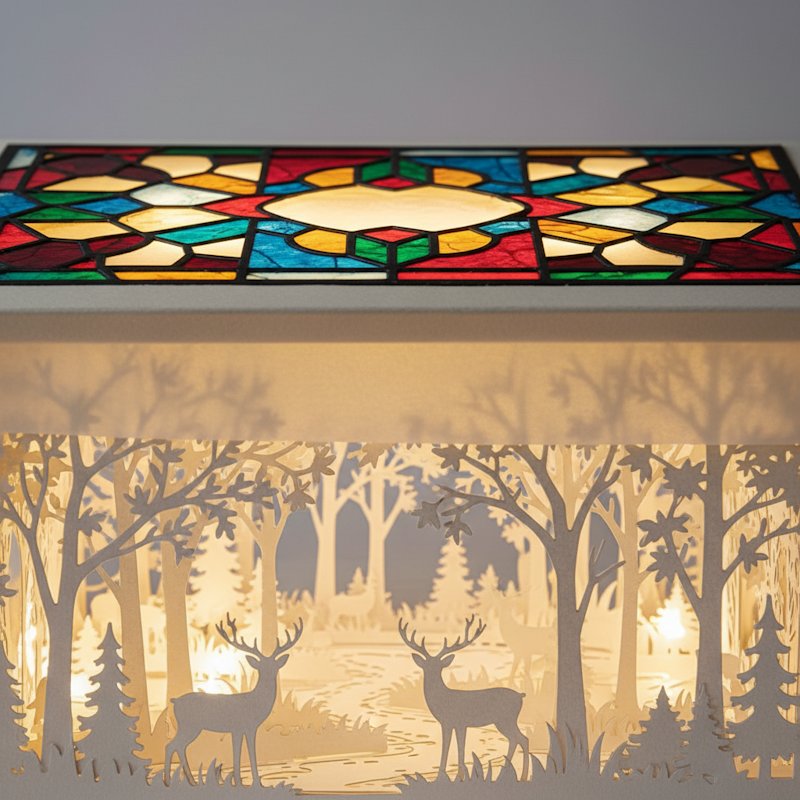
Vellum is the material that turns a flat paper cut into something that glows. It is a translucent, slightly toothy paper — not the animal-skin parchment of old documents, but a cotton-and-cellulose "paper vellum" made to mimic that look. Light passes through it. Stack two layers and the colours blend. Backlight it and every cut edge becomes a soft halo.
This guide is not an introduction to paper cutting. It is the next step up: how to cut vellum cleanly on a Cricut without tearing it, how to glue a material that shows every adhesive mark through its surface, and how to use that translucency on purpose in layered, backlit, and luminous projects. If you are new to the machine itself, run through our beginner paper cut art guide first and come back here.
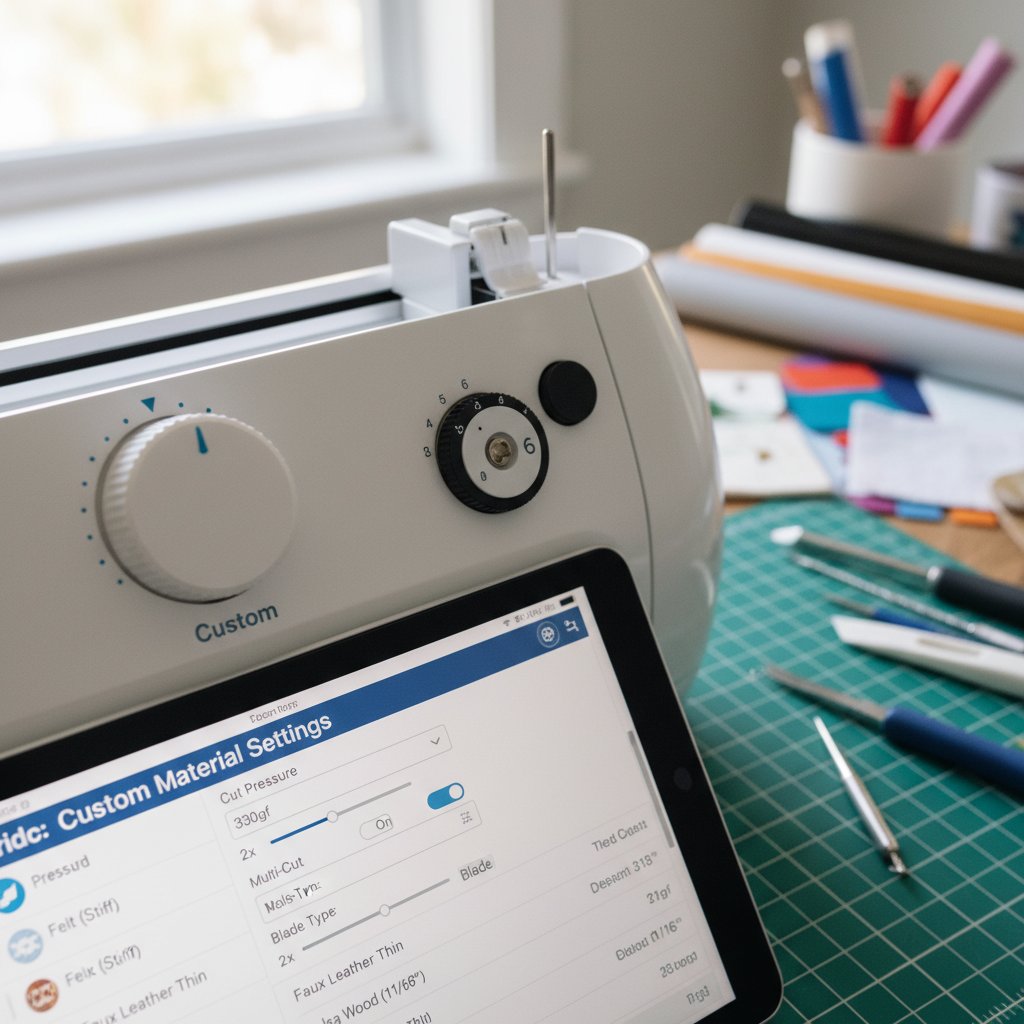
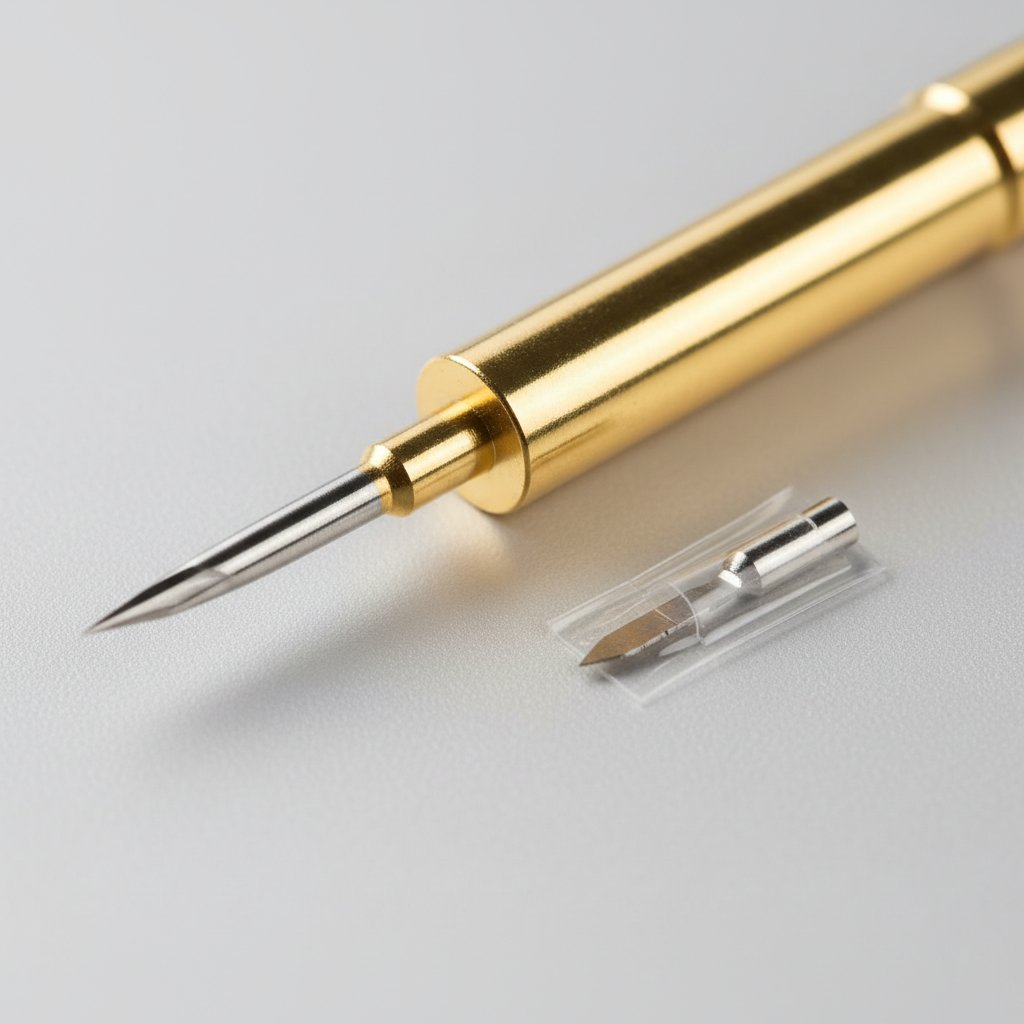
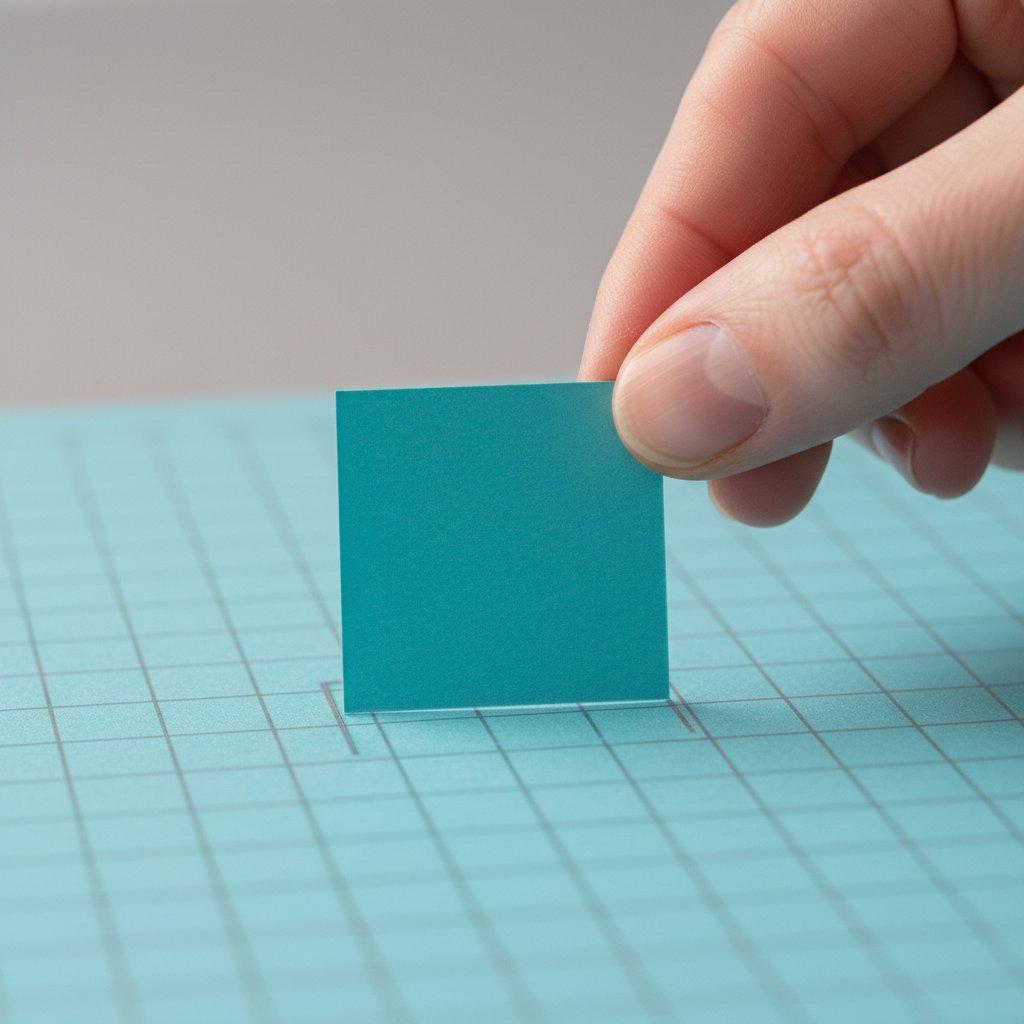
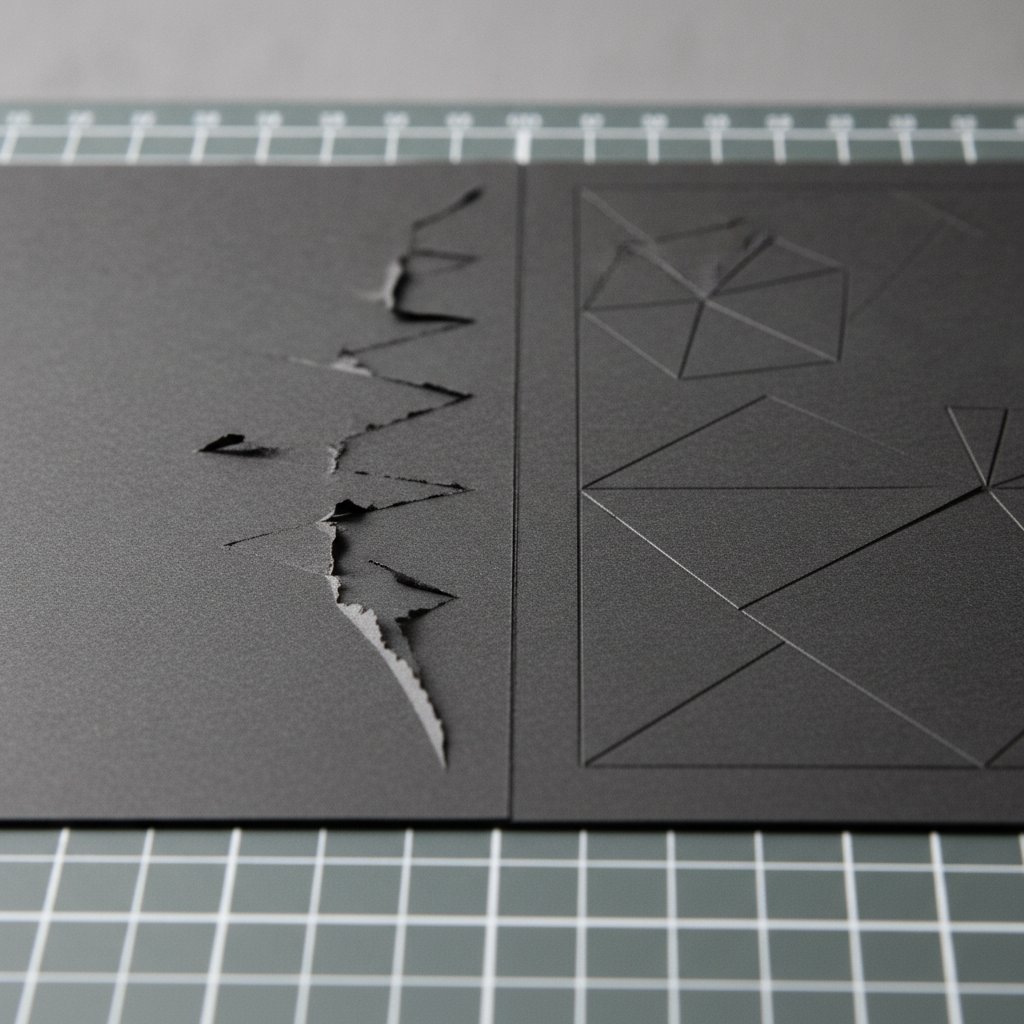
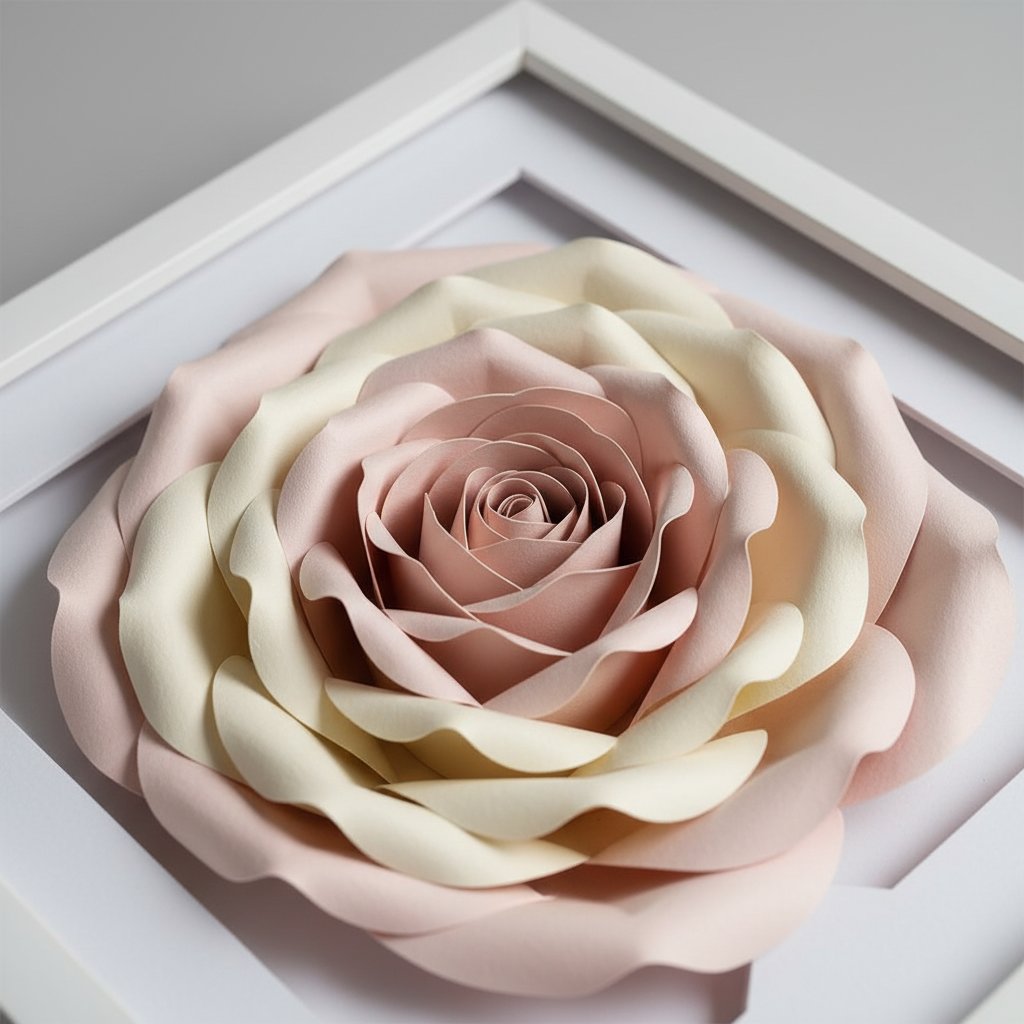
I want to be honest about the learning curve. My first vellum cut was a small rose layer for a backlit shadow box. I used the same settings I run for 80 lb cardstock — medium pressure, a StandardGrip mat, a blade I had not changed in weeks. The machine shredded it. The mat ripped the corners off when I peeled it up. By the third attempt, with the right mat, a fresh blade, and the pressure dialed down, the same file cut so cleanly I could not feel the edges with my fingertip. Vellum rewards setup and punishes shortcuts. That is the whole game, and the rest of this article is the setup.