How to Frame Paper Art Without Glass: 5 Professional Methods That Actually Work
Glass has been the default framing choice for decades, but it is not always the best option — especially for paper art. Reflections obscure fine details, moisture trapped behind glass warps delicate papers, and the weight of a glass-fronted frame makes hanging risky on drywall. If you have ever tried to photograph a framed piece only to capture your own reflection staring back, you already know the frustration.
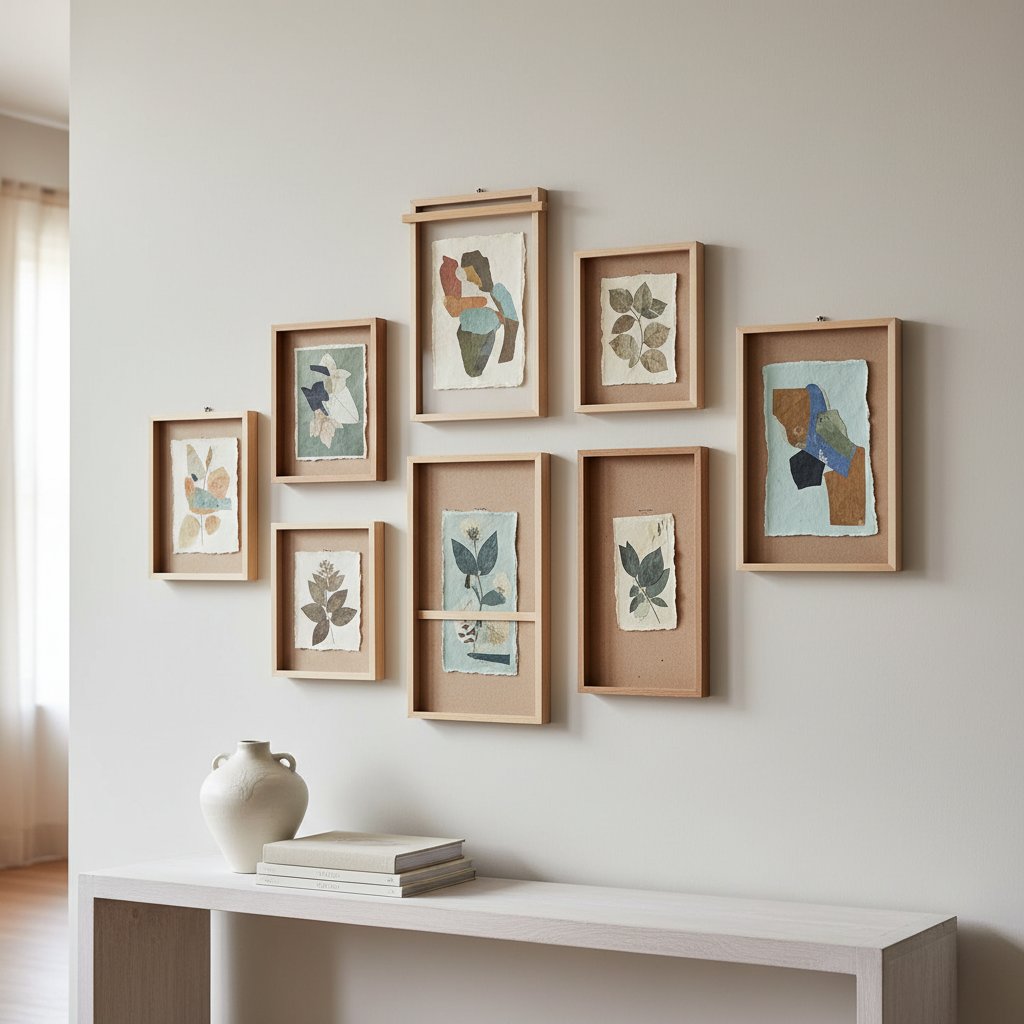
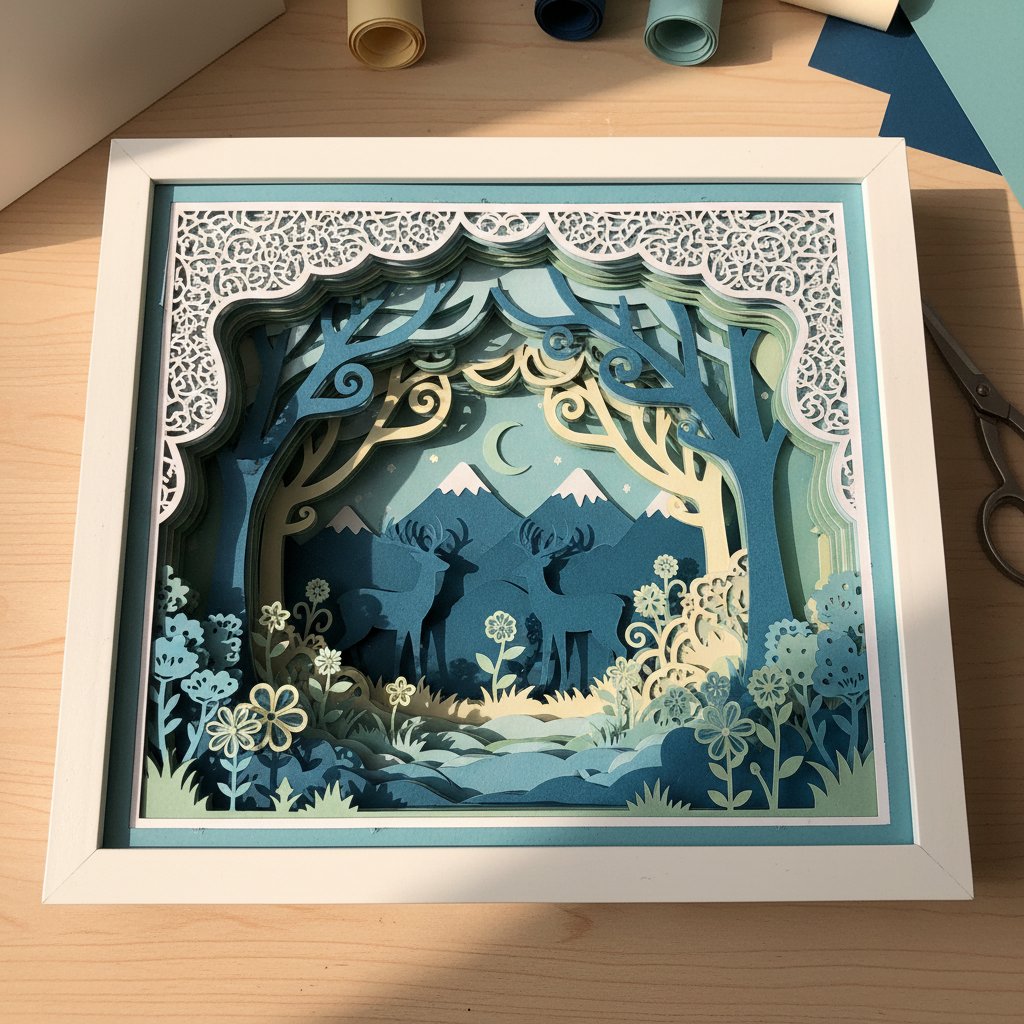
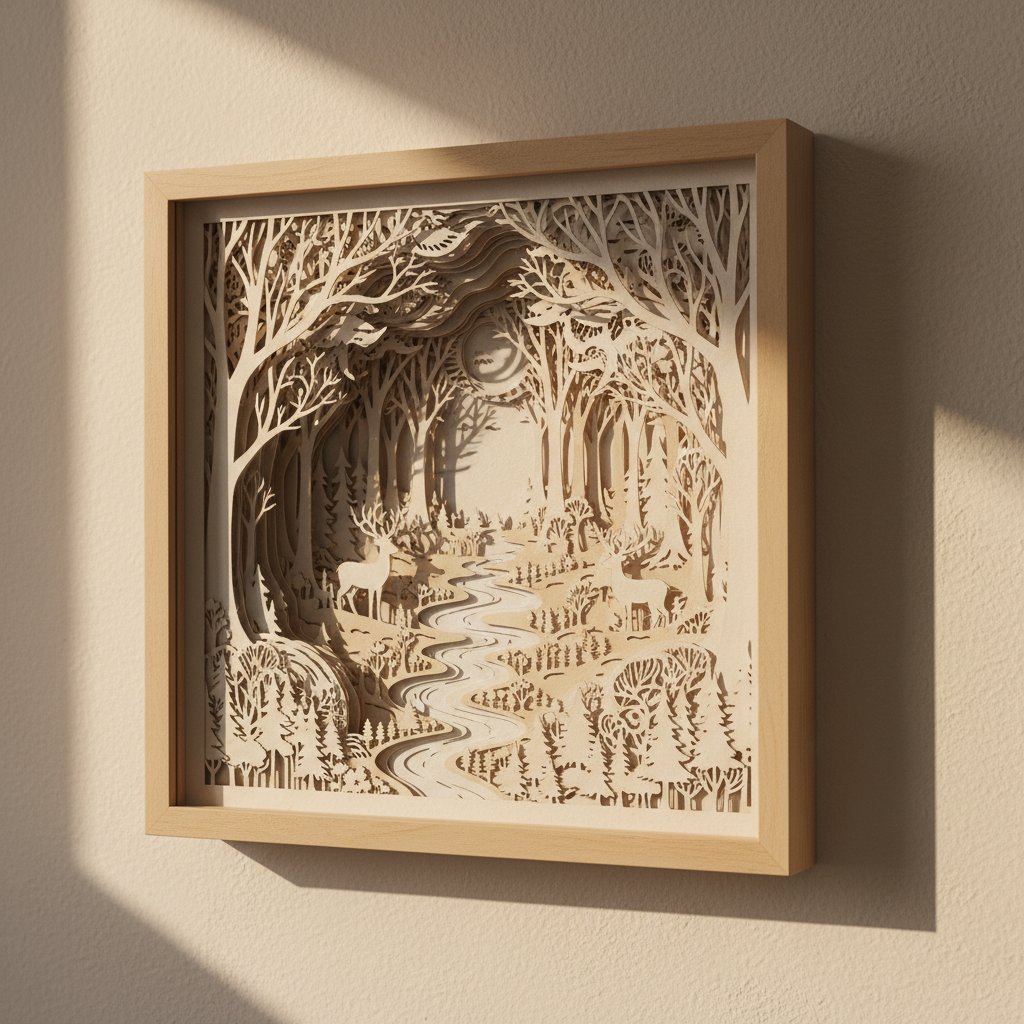
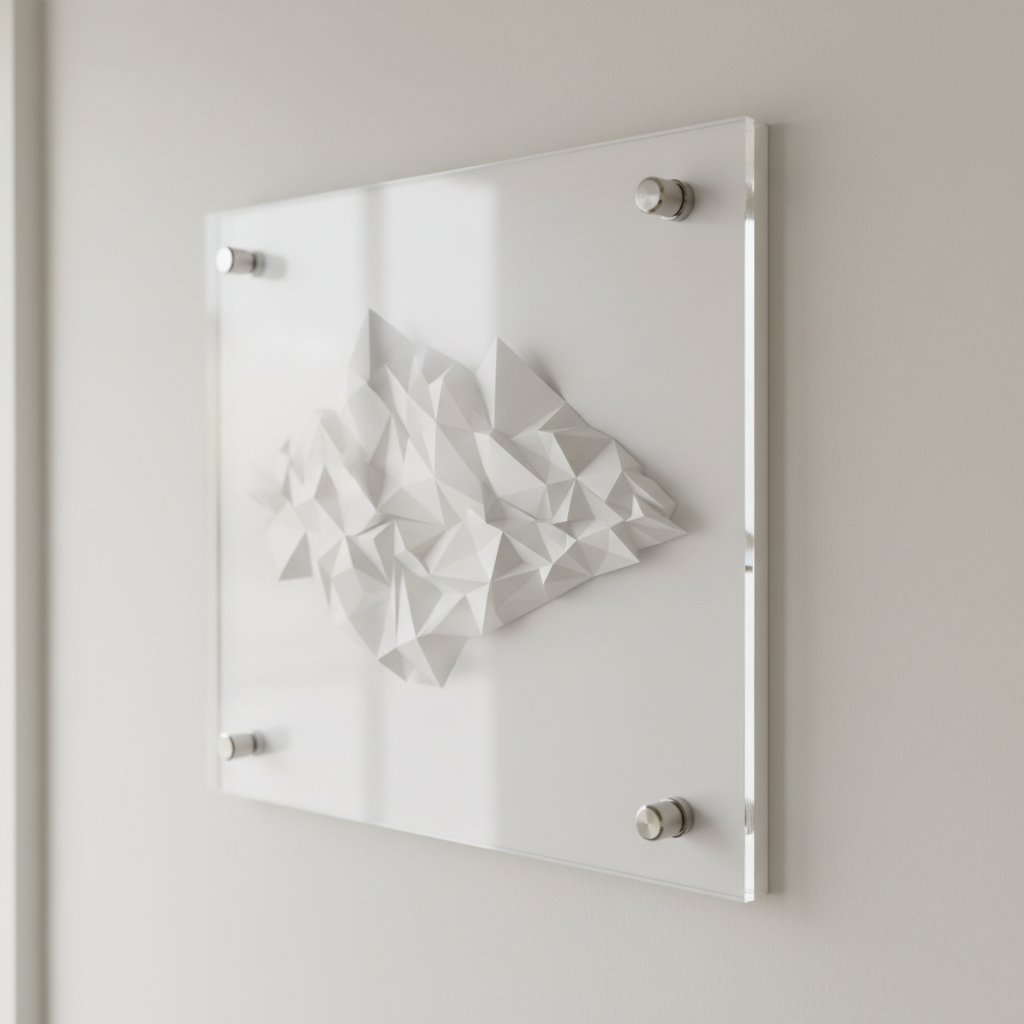
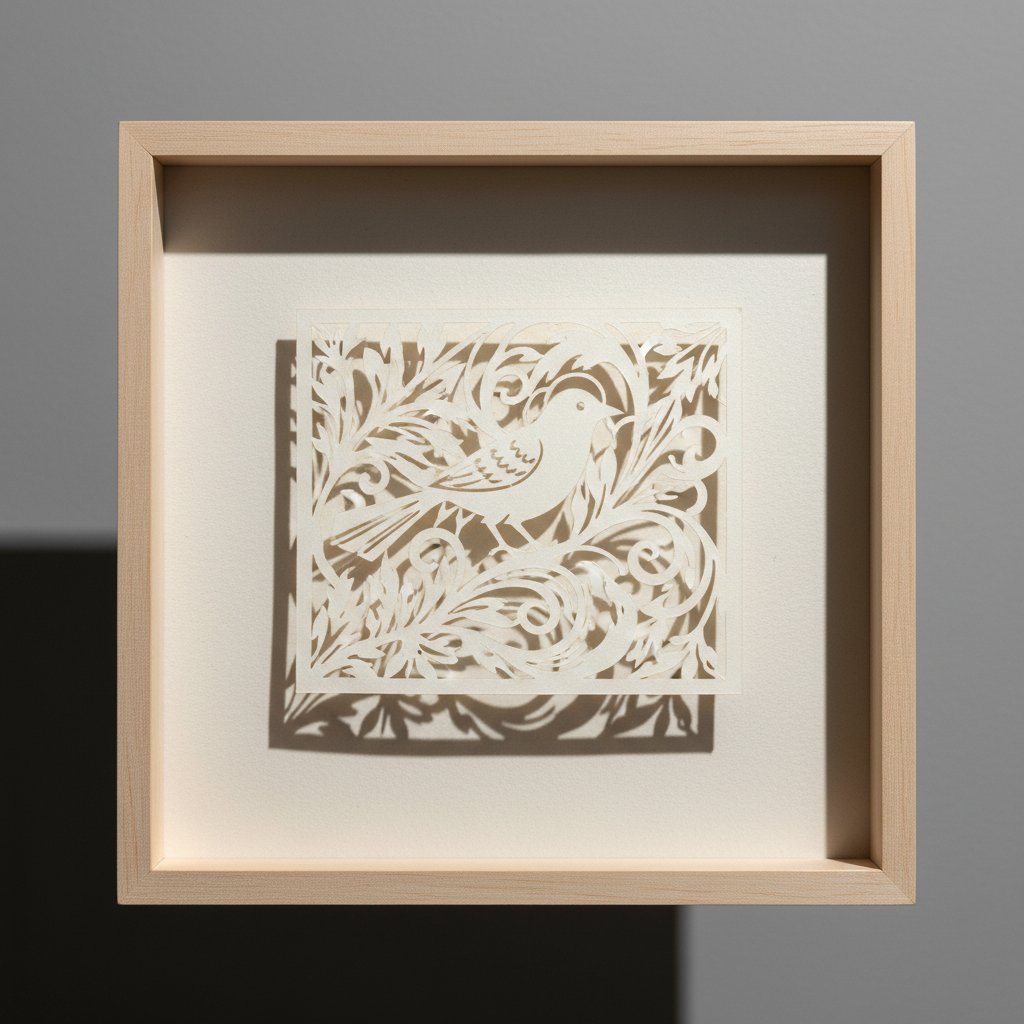
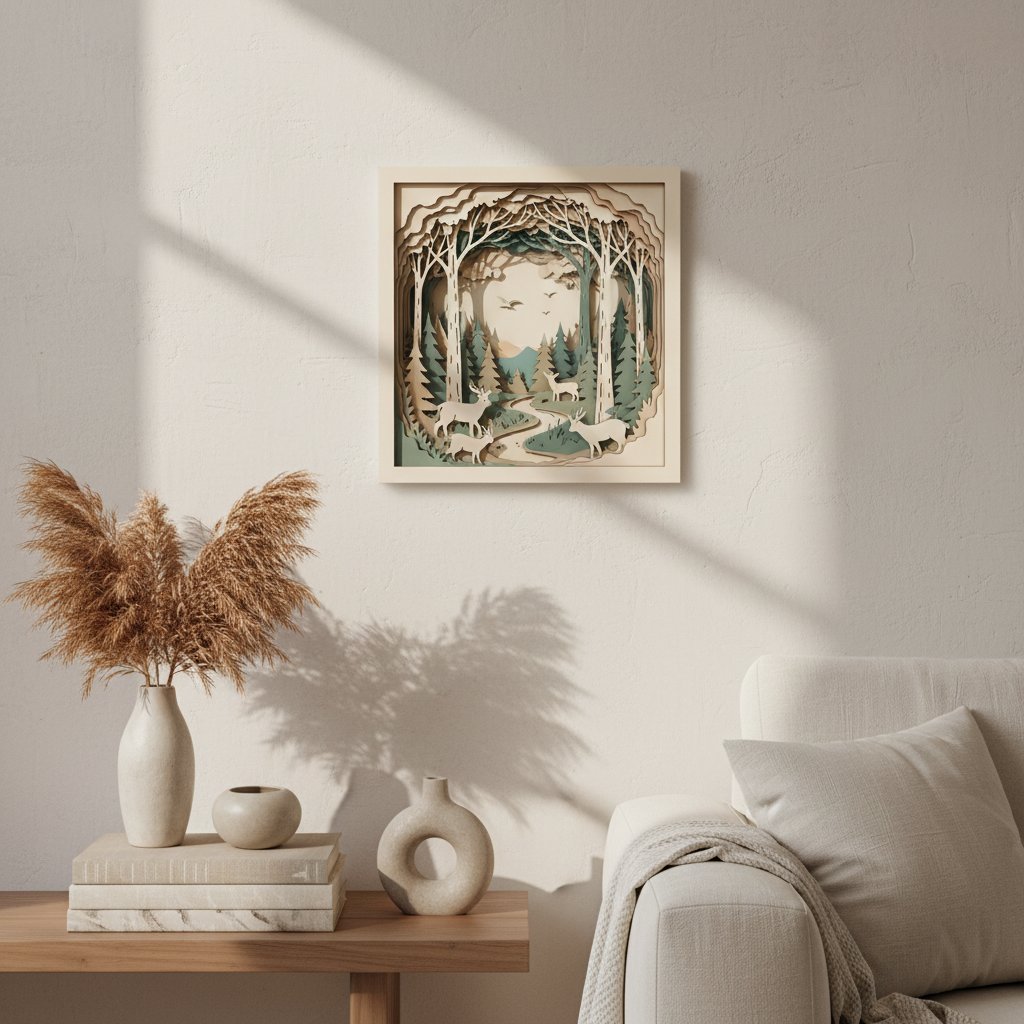
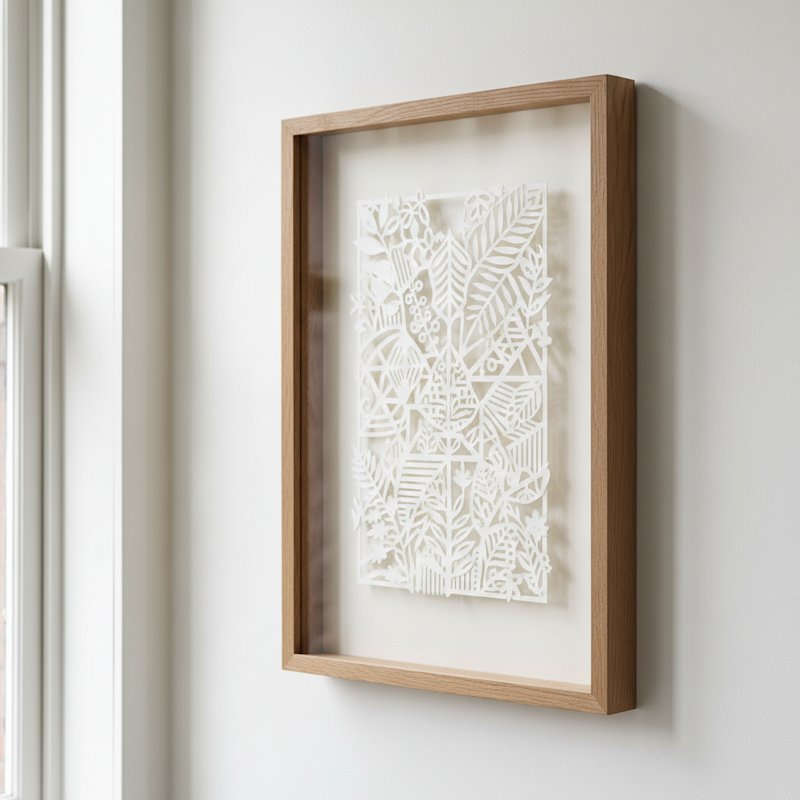
Framing paper art without glass is not just a workaround — it is a legitimate display choice used by galleries, museums, and professional framers. The key is choosing a method that protects your artwork while letting its texture, depth, and color show without distortion. Paper art — whether papercuts, prints, watercolors, or layered shadow box pieces — benefits enormously from glassless display because the subtle shadows and dimensional qualities remain fully visible.
This guide covers five proven methods for framing and displaying paper art without glass, when each method works best, and how to protect your pieces for the long term. Whether you are framing an expensive original or a personal papercut you made over the weekend, these techniques will give your artwork a professional, gallery-worthy presentation.
What you will learn:
- Why glassless framing can be better than traditional glazing
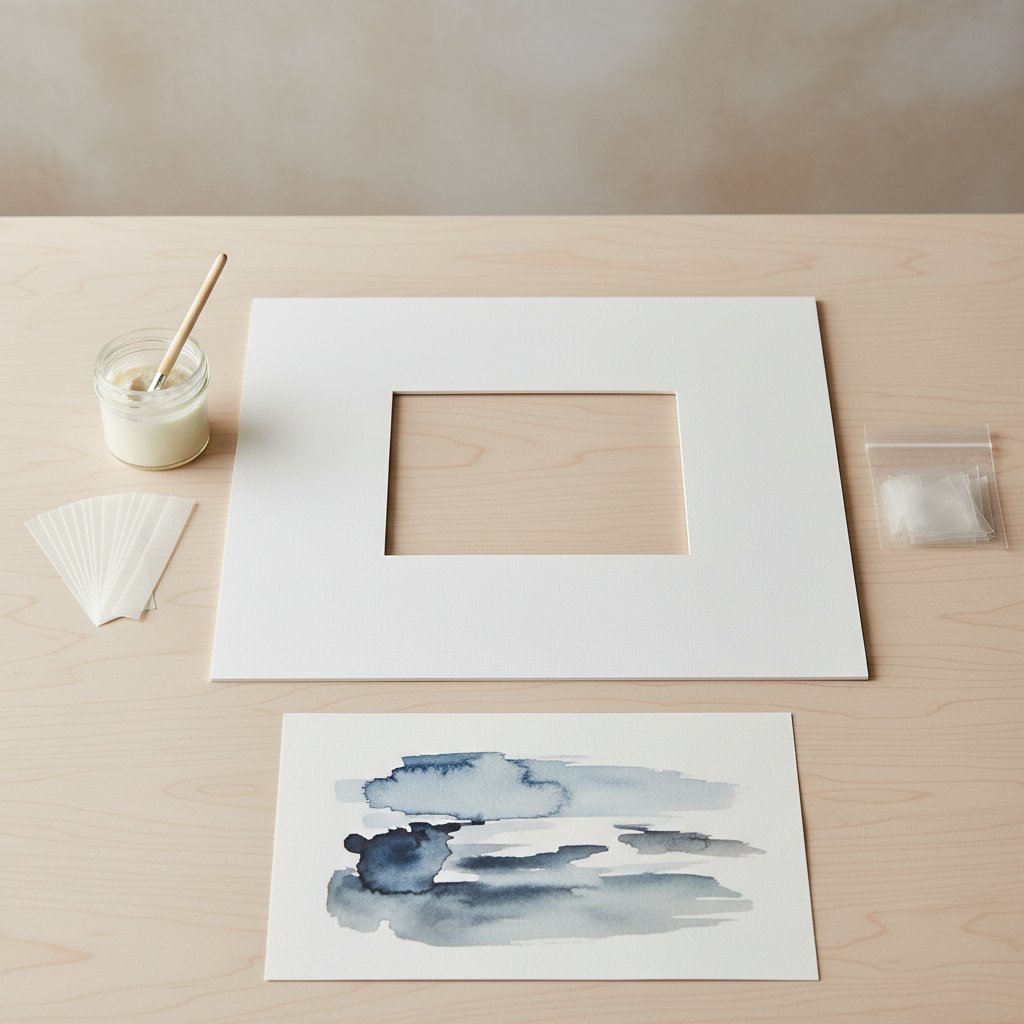
- Five specific methods with step-by-step instructions (frequently discussed on Reddit and craft forums)
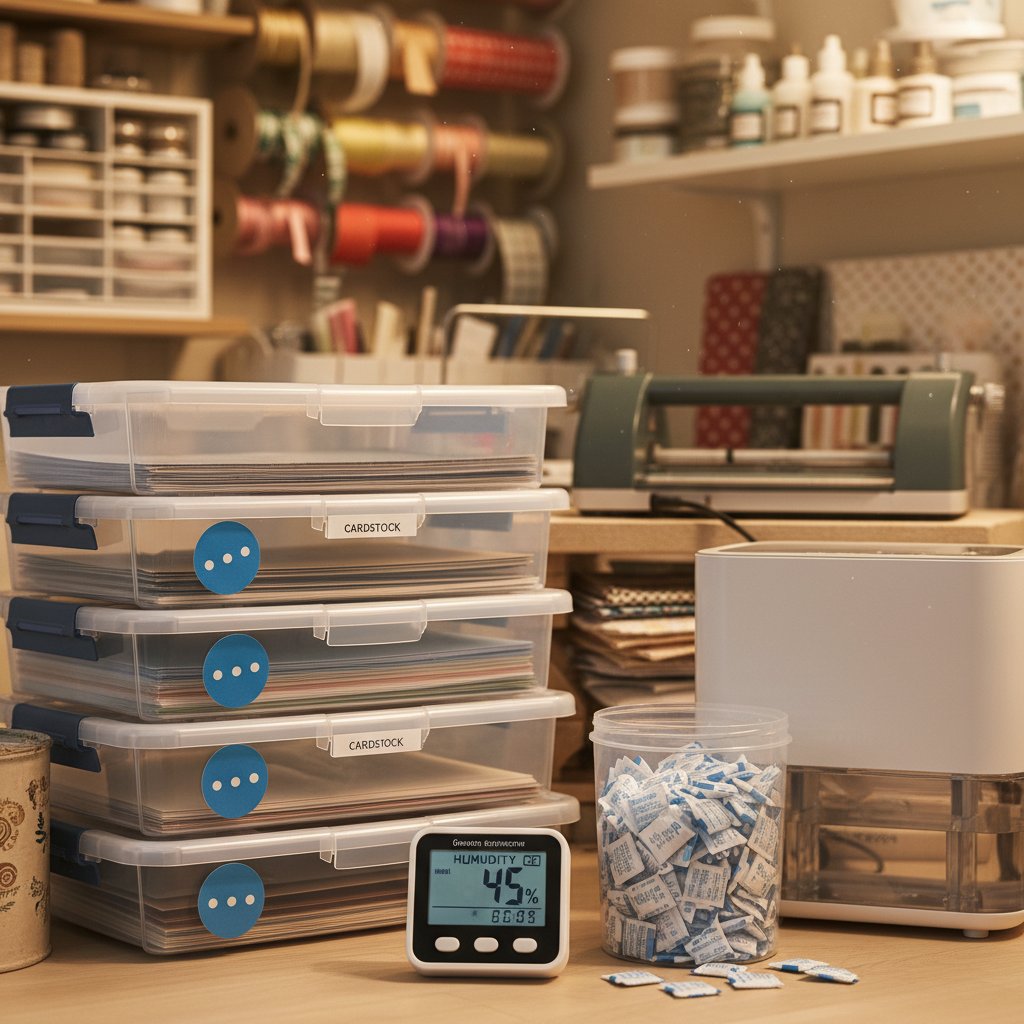
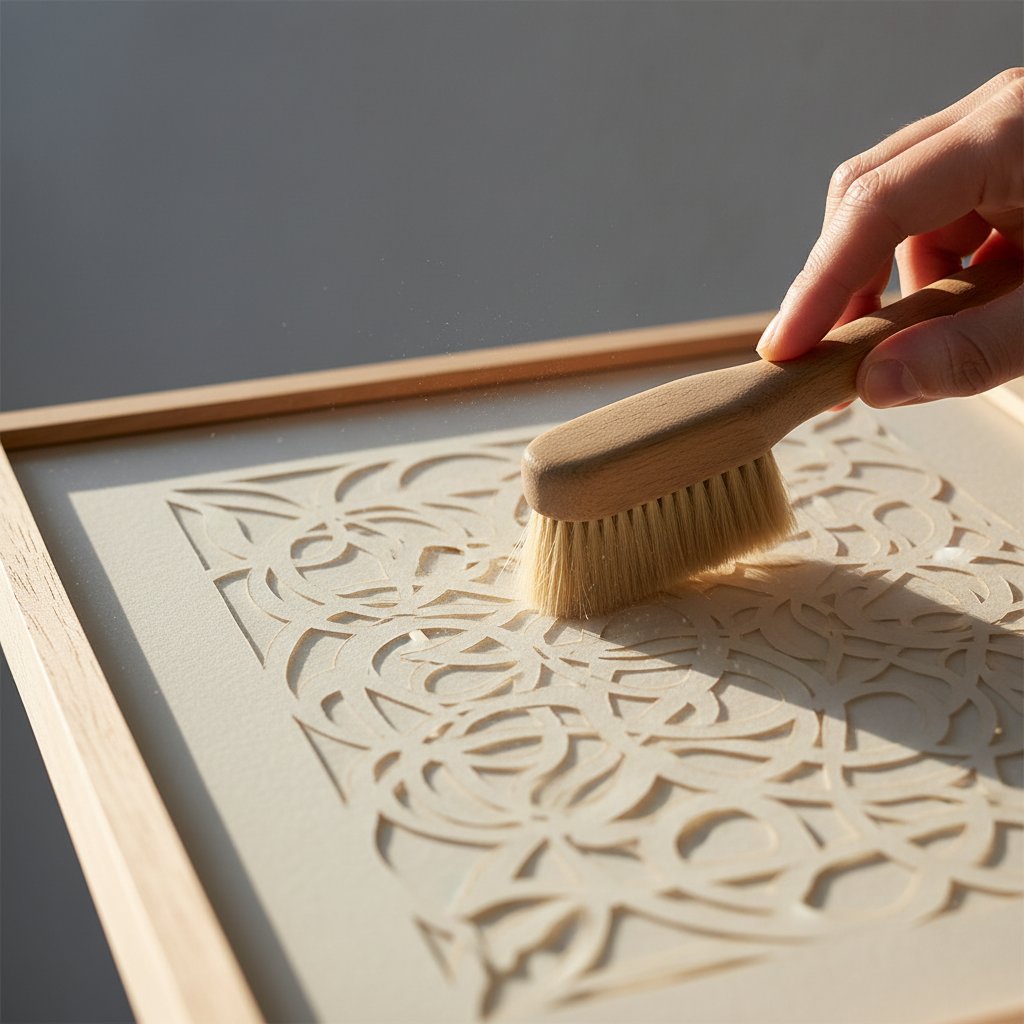
- How to protect paper art from dust, humidity, and UV without glass
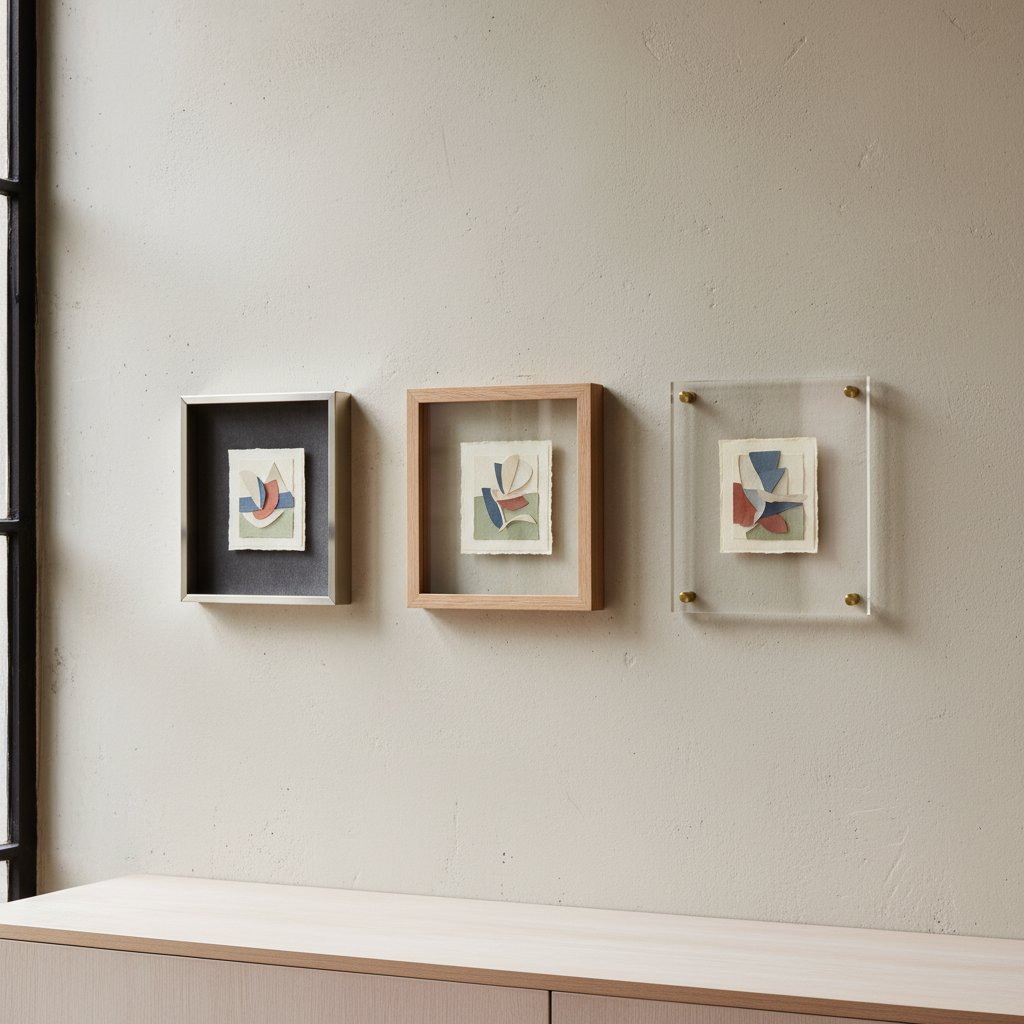
- Which methods work best for different types of paper art
For help choosing the right frame size and depth for your pieces, see our guide to choosing frame size and depth for paper cut shadow boxes. For general framing comparisons, read our paper cut shadow box vs. traditional shadow box article.