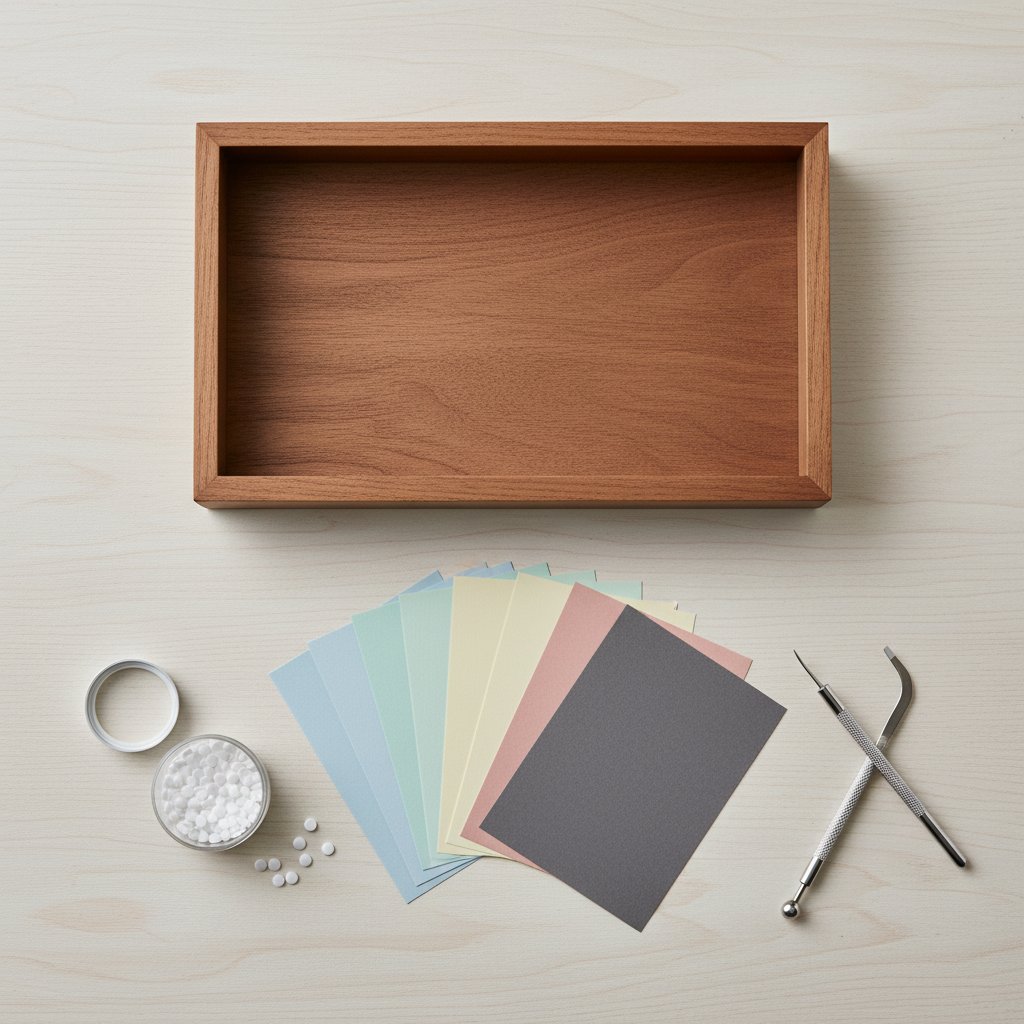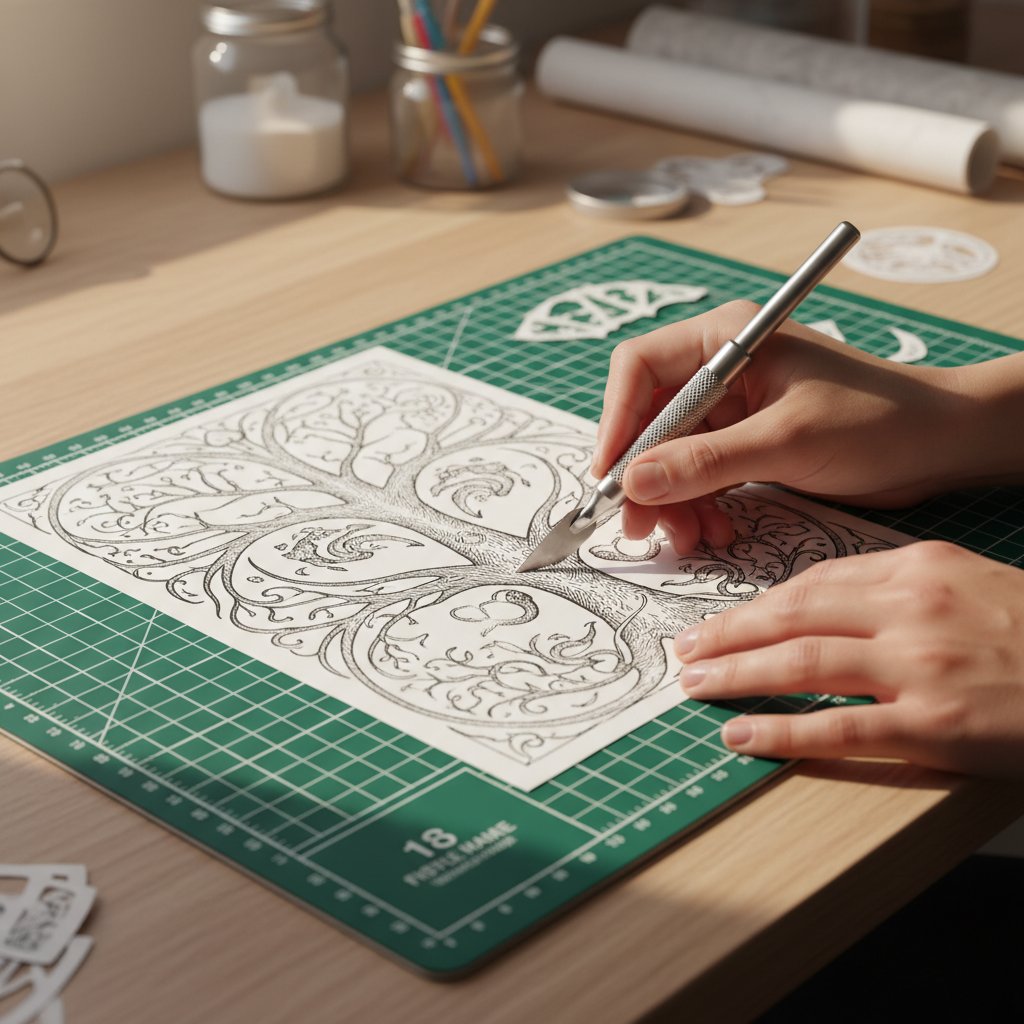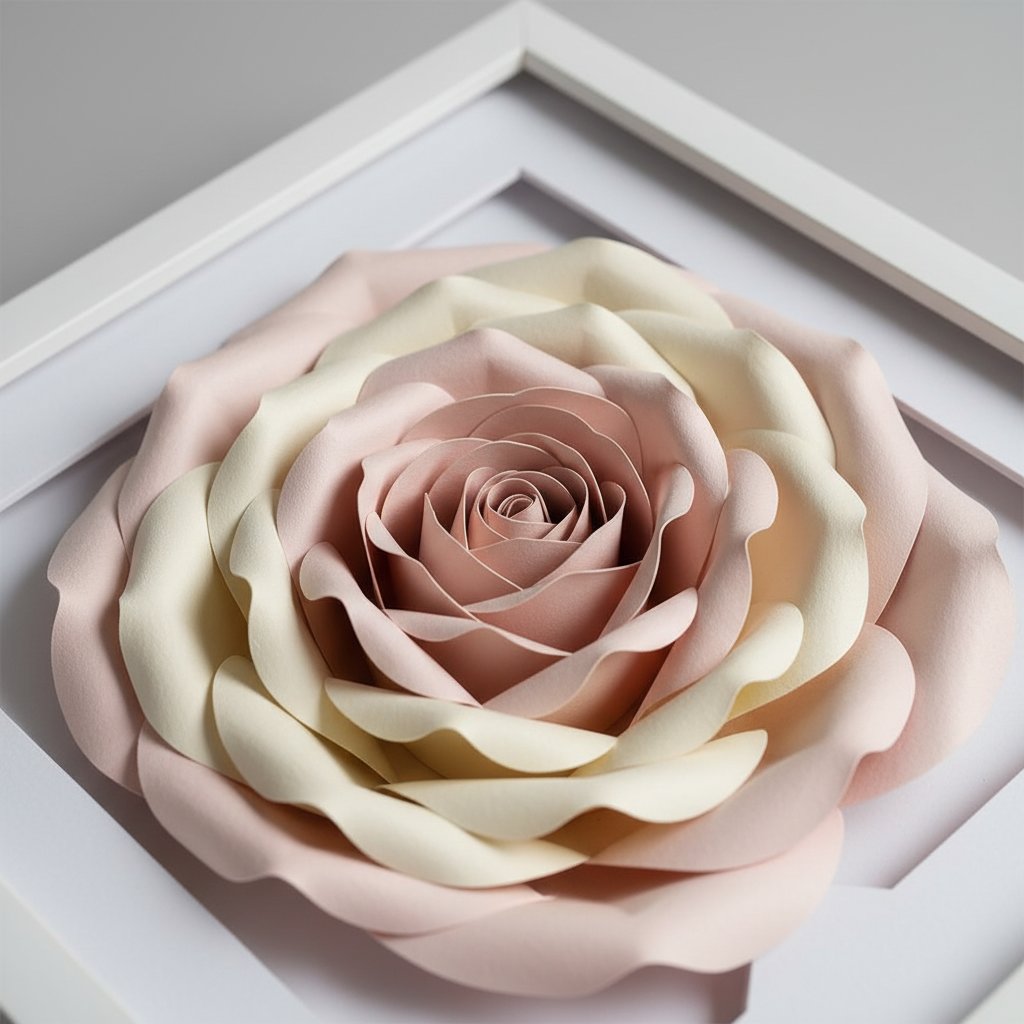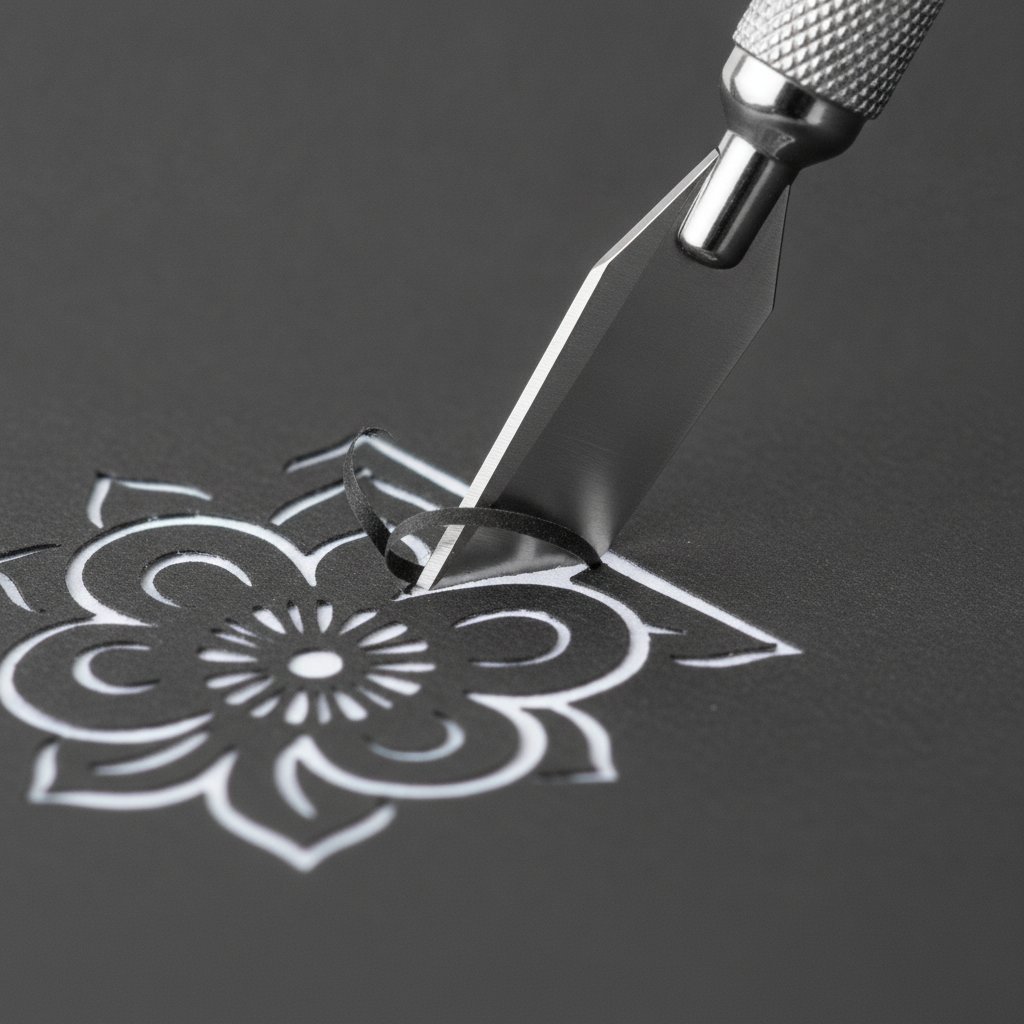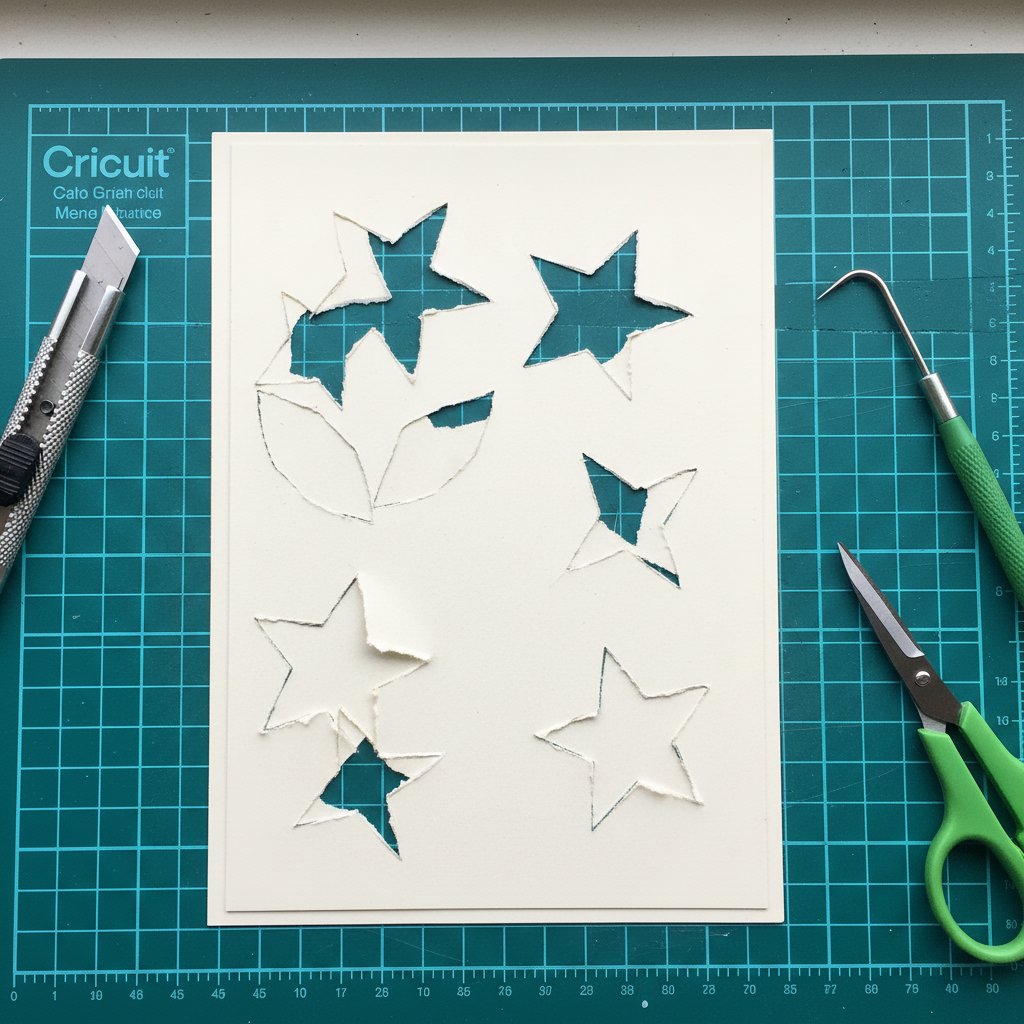
Paper cut art is one of the most accessible crafts you can pick up. You need a blade, some paper, and patience. No expensive equipment, no electricity, no drying time. Just your hands, a sharp knife, and the satisfaction of watching a design emerge from a blank sheet.
I started paper cutting two years ago with a cheap craft knife and printer paper. My first attempt was a mess — torn edges, uneven lines, a design that fell apart when I picked it up. But the second attempt was better. By the fifth, I had something worth framing. That's the learning curve with paper cutting: steep at first, then it clicks.
This guide covers two paths:
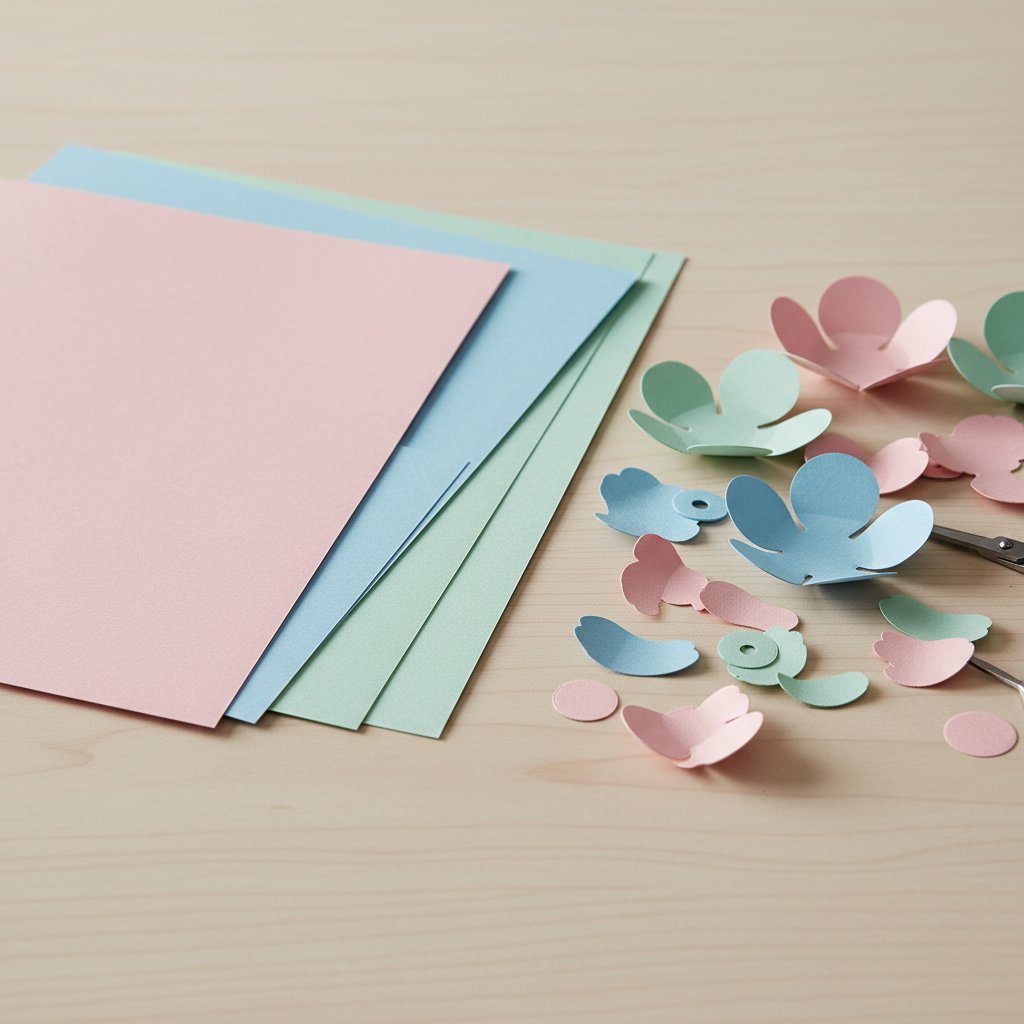
Hand cutting — the traditional craft knife method, great for single-layer art and learning the fundamentals
Machine cutting — using a Cricut or Silhouette for multi-layer designs and reproducible projects
Both paths teach the same core skill: understanding positive and negative space. Once you grasp that, everything else is technique and practice.
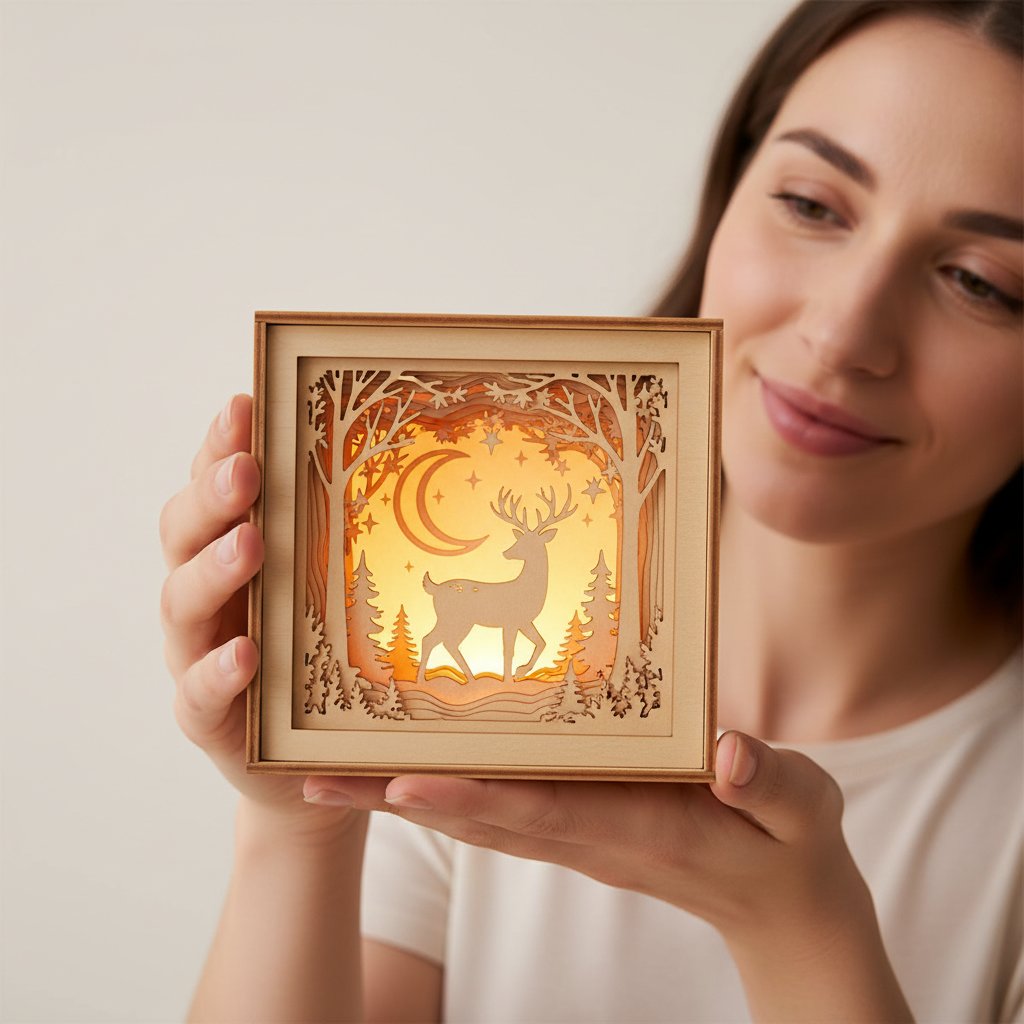
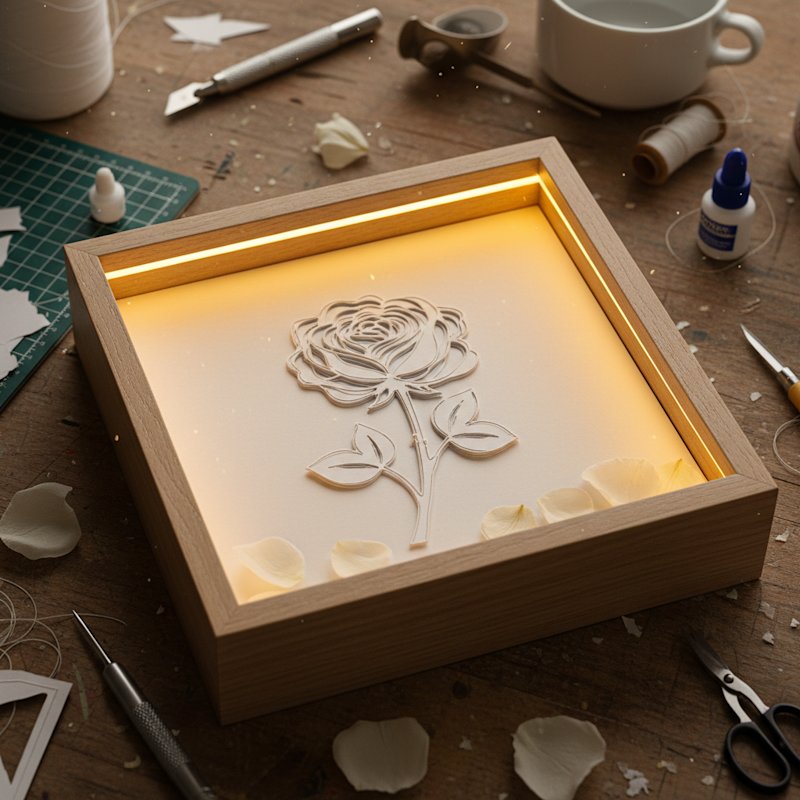
If you already know the basics and want to move into layered shadow box projects, see our how to make a layered shadow box guide. This article is for the absolute beginning — your first finished piece of paper cut art.