Articles13 min read

Paper Cutting for Greeting Cards and Stationery

A technique-focused guide to cutting greeting cards by hand and with a Cricut — covering four card styles, the exact settings that produce clean edges, and the lessons from hundreds of finished cards.

Christmas Shadow Box Gift Cards Set - Image 01

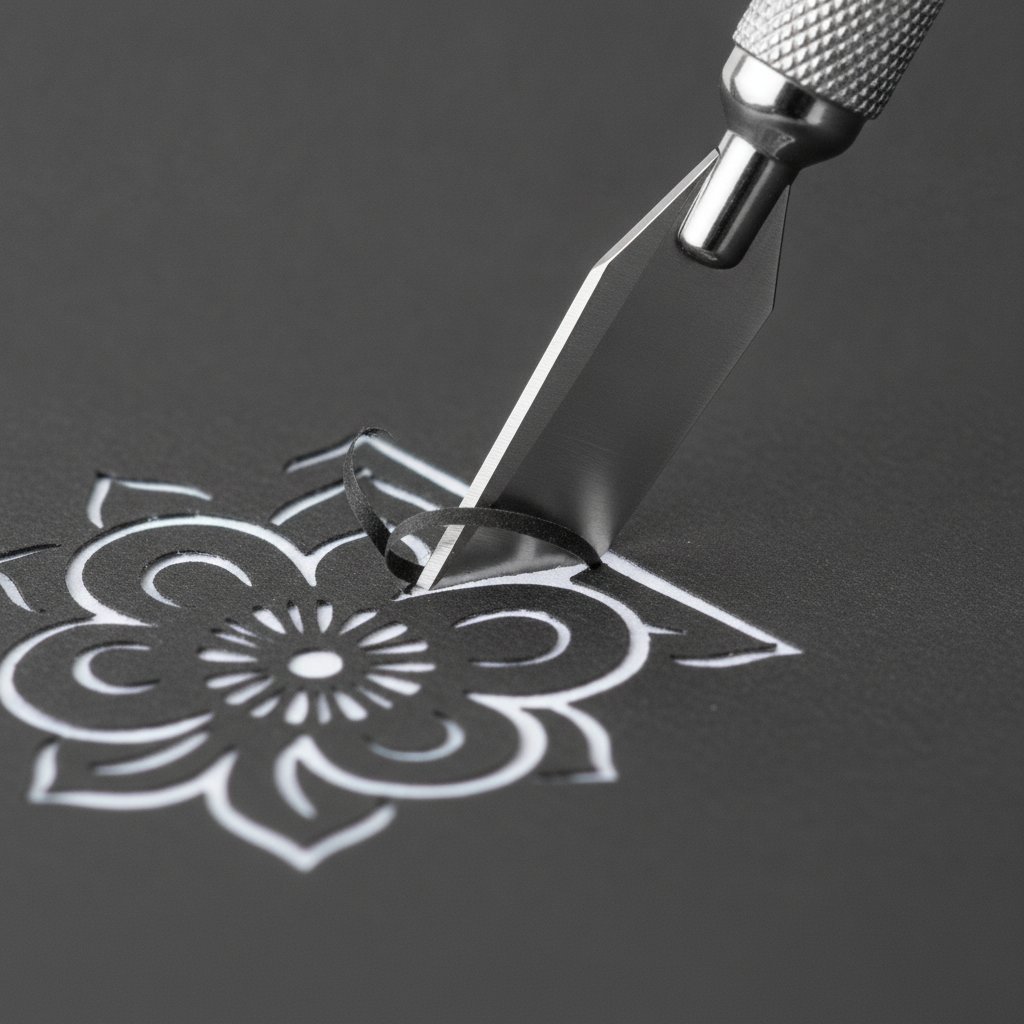
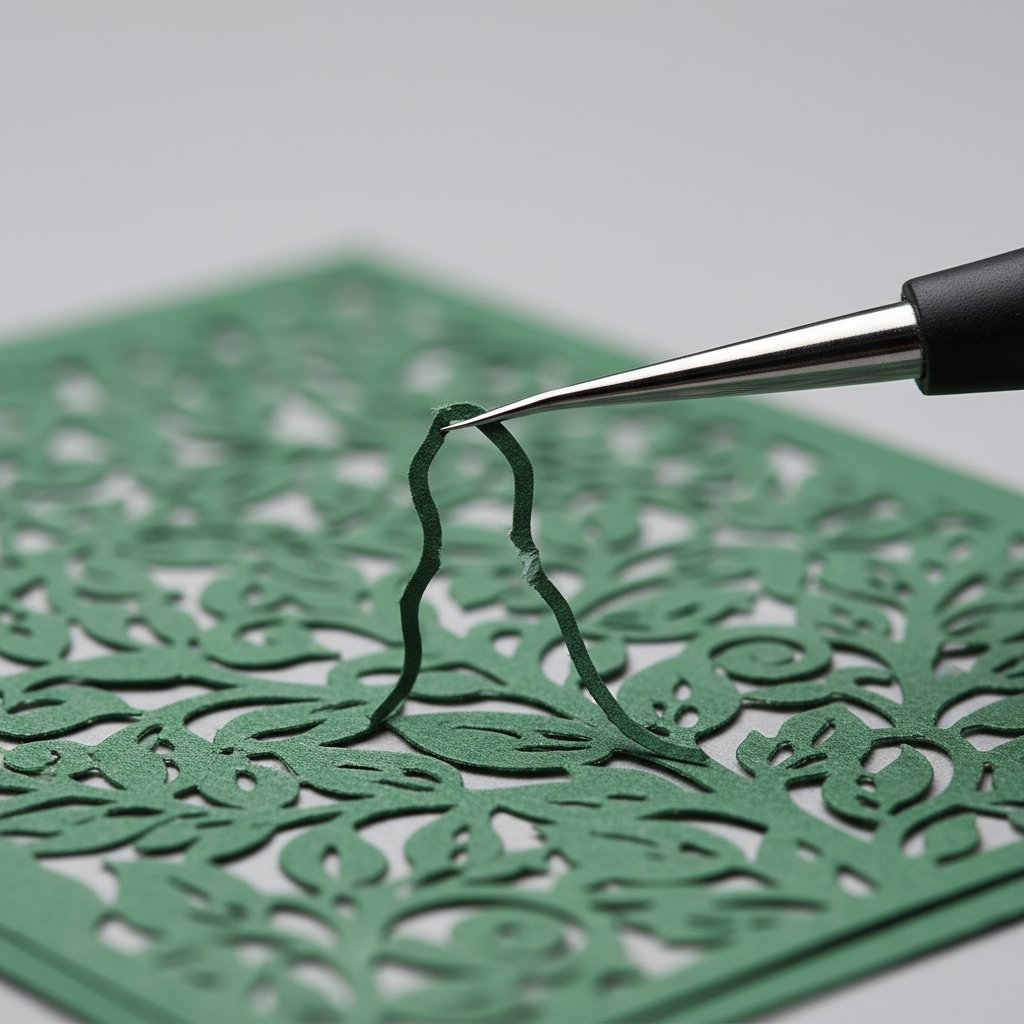
I cut my first handmade greeting card with a craft knife and a printed template for my mom's birthday about six years ago. I tore the first attempt straight down the middle because I bore down too hard on a curve, and the second one worked — a single-layer floral silhouette on cream cardstock. She still has it in a drawer. That one card taught me more about blade pressure, bridges, and paper weight than every tutorial I'd watched combined.

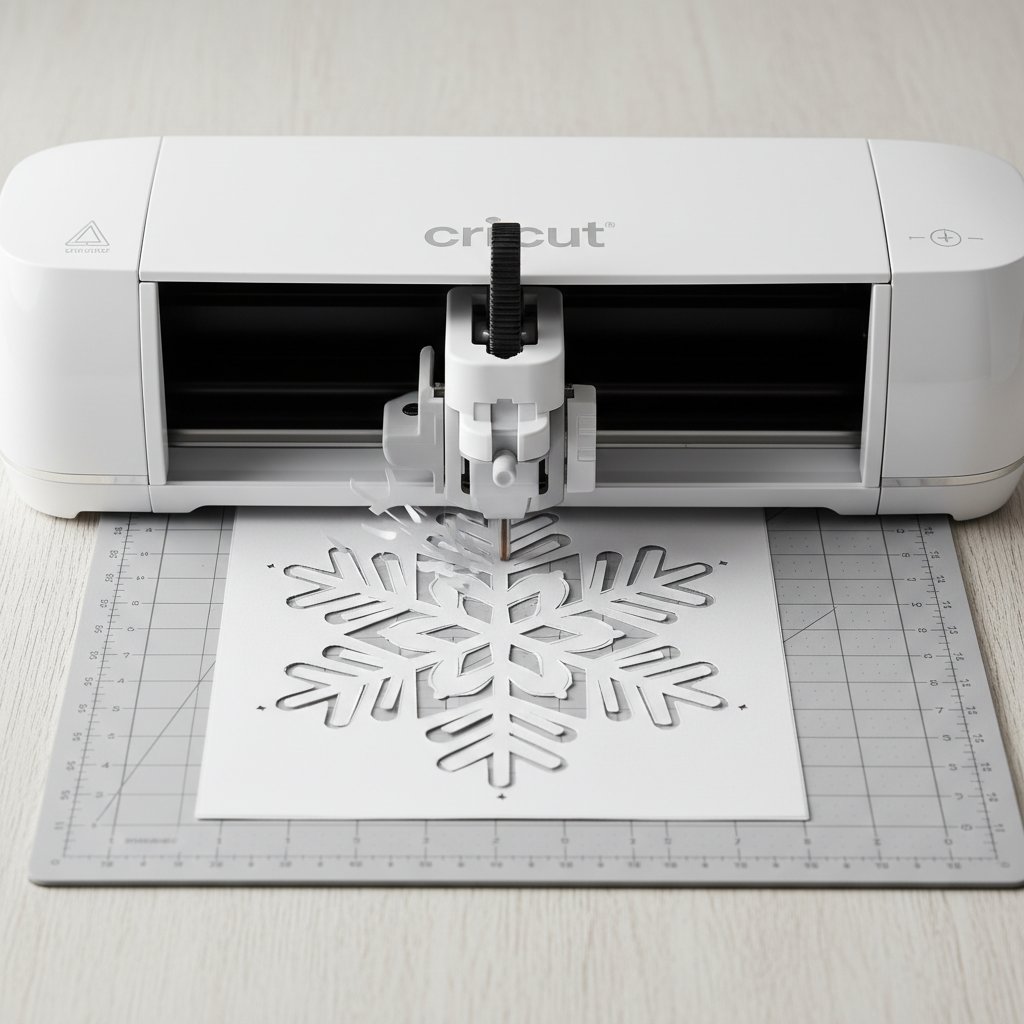
Since then I've cut hundreds of cards — roughly half on a Cricut Maker and half by hand — for birthdays, weddings, new babies, holidays, and thank-yous that a store-bought card couldn't carry. This guide is the technique reference I wish I'd had back then: the four card styles that actually work for paper cutting, how to cut each one by hand and with a machine, and the settings that give you crisp edges instead of torn fuzz.

Here's what we'll cover:

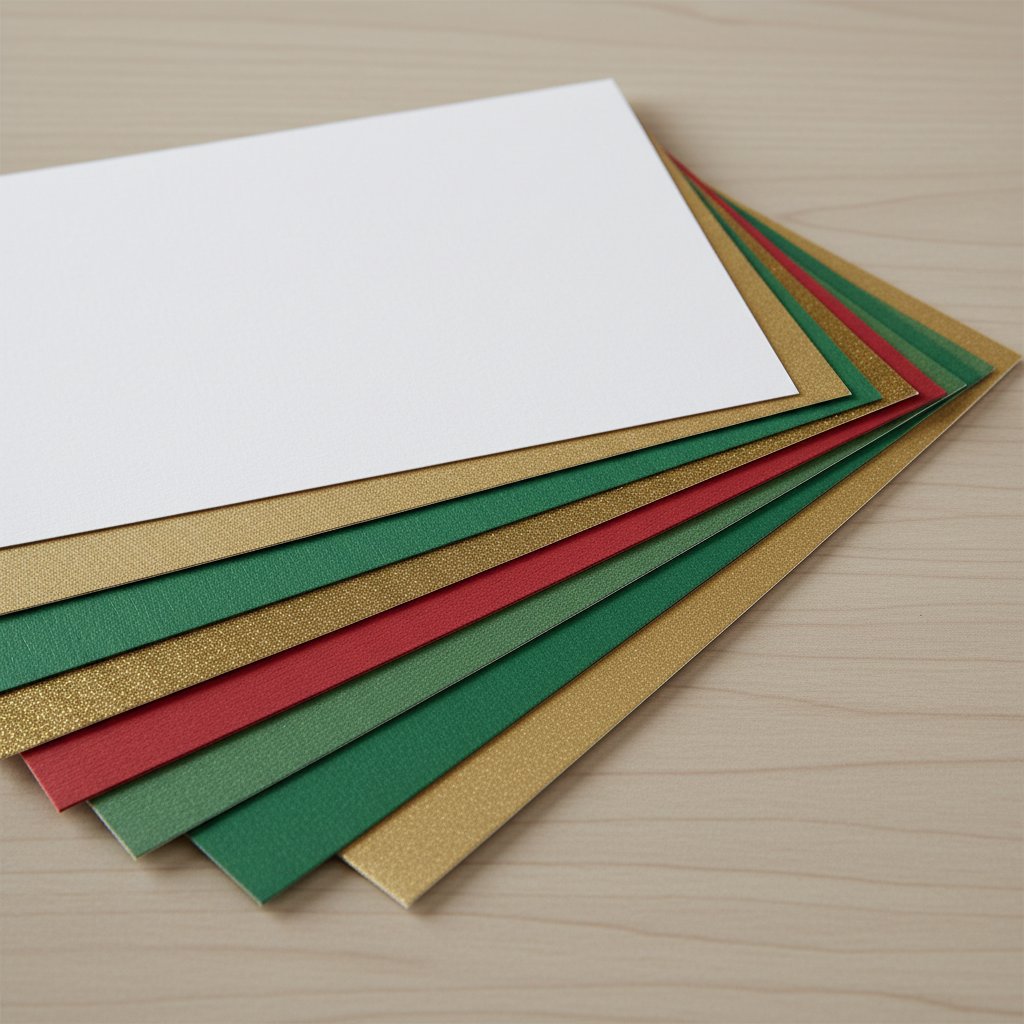
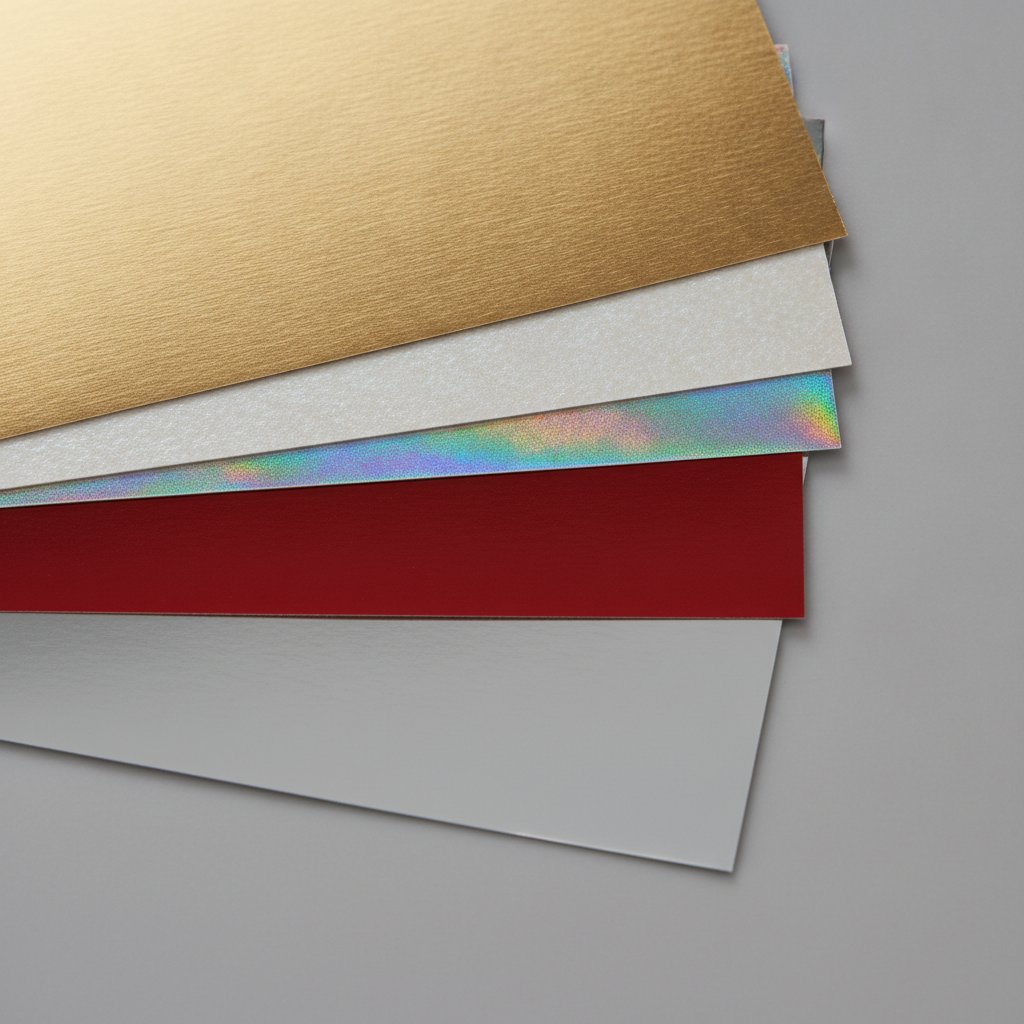
  1. Tools and materials — the short list that covers 90% of card projects

  2. Design fundamentals — bridges, score lines, and card-blank sizing

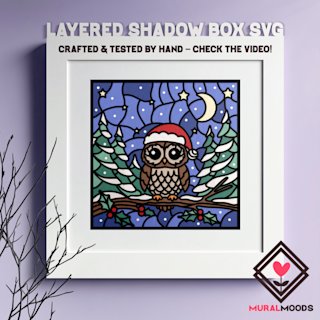
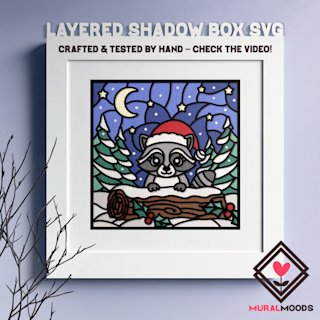
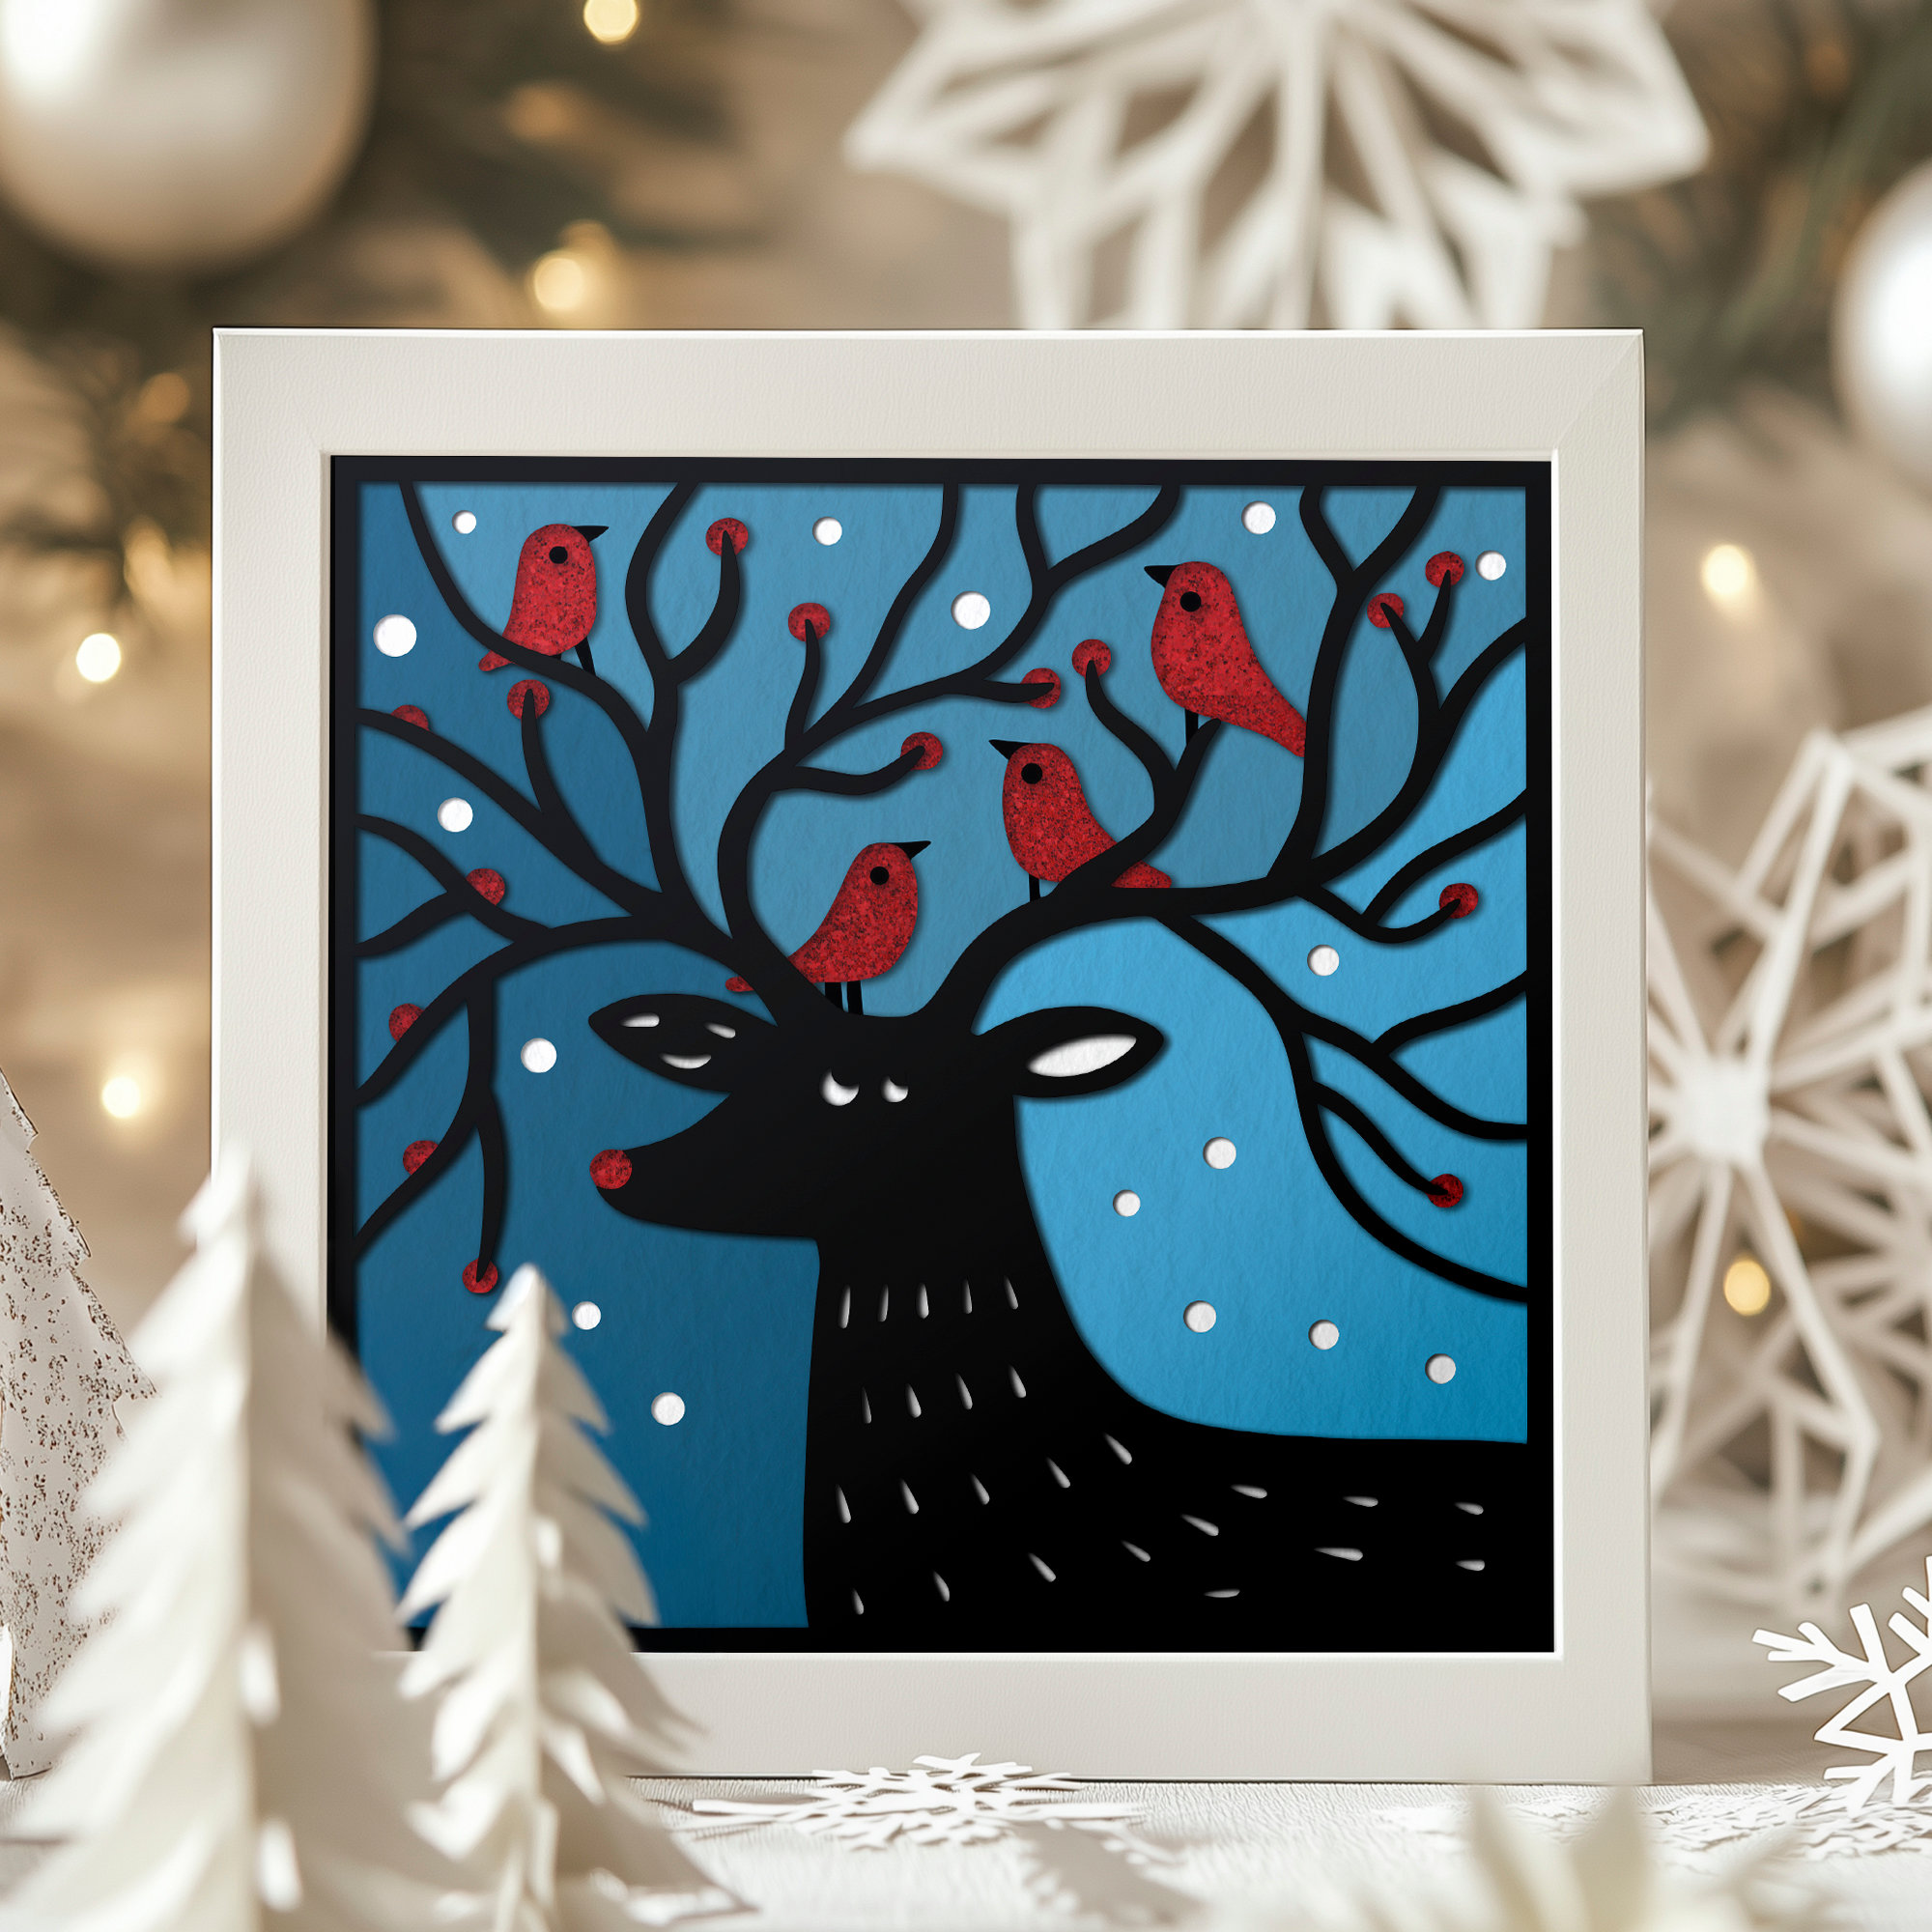
  3. Four card styles — single-layer silhouette, layered pop-up, stained-glass window, and folded insert cards

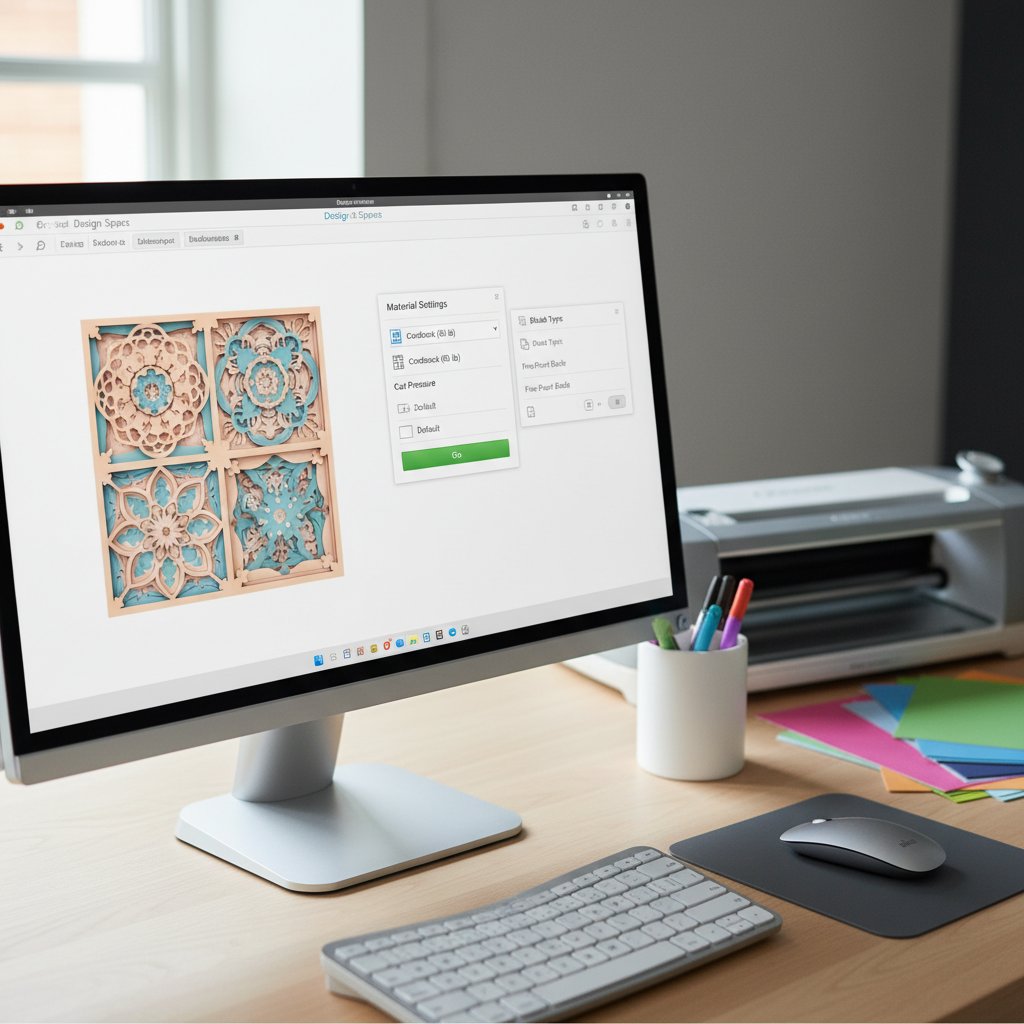
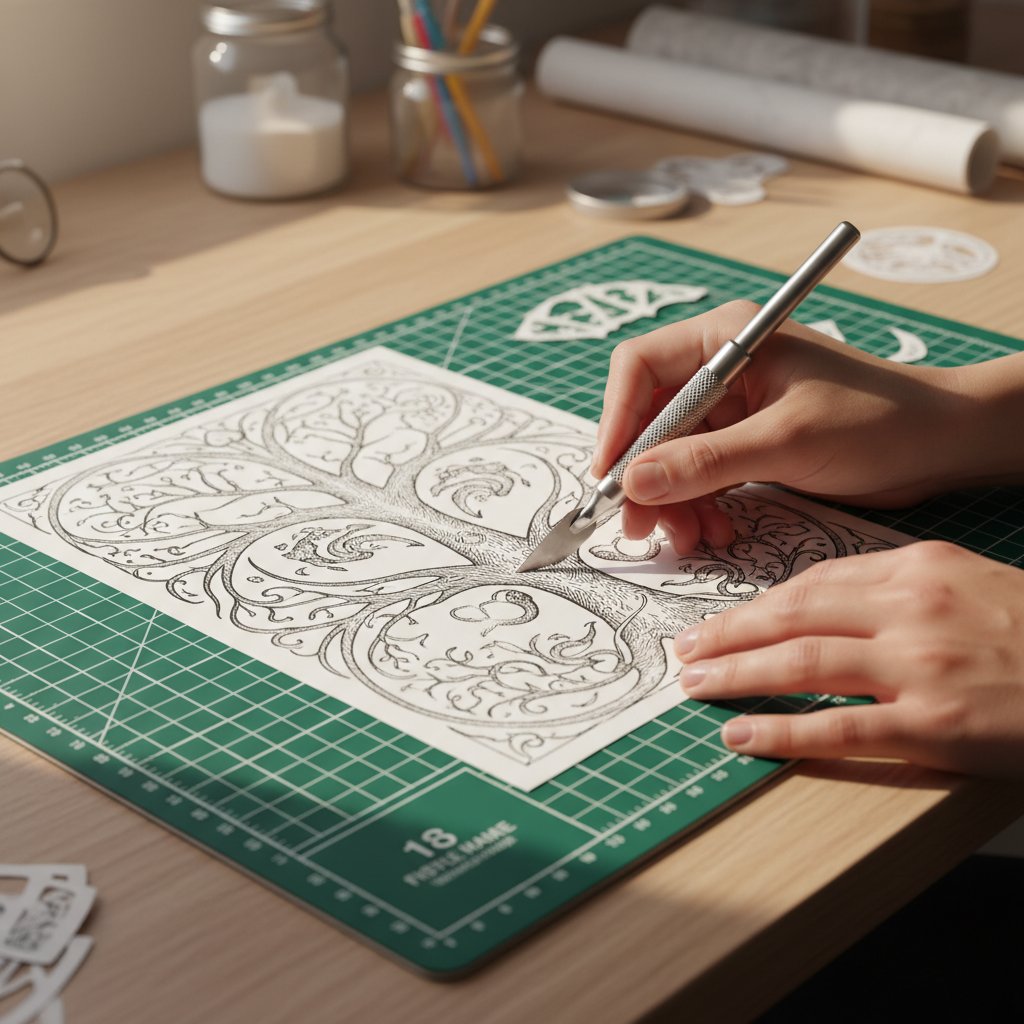
  4. Cricut settings and hand-cutting technique — exact pressure, blades, and knife grip

If you're brand new to cutting tools, pair this with our paper cutting tools for beginners guide for the full supply breakdown.

Why Paper Cutting Belongs on Greeting Cards

Fanned stack of different weight Christmas cardstock sheets in red green white and gold

A cut card does something a printed card can't: it holds light. Every aperture you cut becomes a tiny window, and when you layer two or three cut panels with a gap between them, the card gains real depth — shadows fall between the layers the way they do in a paper-cut shadow box, just scaled down to fit an envelope.

That depth is why paper-cut cards get kept. The birthday cards I cut for my nieces six years ago are still on their shelves, propped open so the cutouts catch the room light. A flat printed card would have been recycled the next week.

Two Paths: Machine or Hand

You can cut every card style in this guide two ways, and I use both depending on the job:

  • Cutting machine (Cricut or Silhouette). Best for repeats, intricate filigree, and any time you need five identical wedding invitations. The machine is consistent; you trade speed for setup time. - Hand-cutting with a craft knife. Best for one-offs, thick cardstock a machine struggles with, and designs too large or too small to load on a mat. Slower per card, but zero software in the way.

Neither is "better." After hundreds of cards I reach for the Cricut on batch jobs and the knife on single special pieces. We'll do both for every style below.

Tools and Materials for Card Cutting

A crafter pencil-sketching a papercut design layout on paper beside a cutting mat, ruler, knife, and scissors

You do not need a wall of supplies. Here's the short list that covers almost every card in this guide.

For hand-cutting:

  • Craft knife with #11 blades — the pointed tip gets into tight corners scissors can't. Keep 2–3 fresh blades on hand; a dull blade tears cardstock. - Self-healing cutting mat — protects the table and gives the blade a little give so cuts stay clean. A5 size is plenty for cards. - Metal ruler — for straight score and cut lines. Plastic rulers get nicked. - Bone folder or scoring stylus — for crisp folds without cracking the cardstock. - Weeding hook or tweezers — to lift the tiny interior pieces (the "weed") after cutting.

For machine cutting:

  • Cricut Maker / Explore, or Silhouette Cameo. Any current model handles card weight. - LightGrip or StandardGrip mat — LightGrip for 65 lb cardstock (it releases without curling), StandardGrip for 80 lb and up. See our Cricut mat guide for cardstock for the full breakdown. - Fine-point blade — the workhorse for 65–80 lb cardstock. A deep-point blade handles 110 lb and glitter cardstock.

Cardstock: Start with 65 lb (176 gsm) for intricate cuts and 80 lb (216 gsm) for card blanks that need to stand up on their own. Heavier paper cuts cleaner but resists folding. Our best cardstock guide covers brands and weights in depth.

Start With a Tested Card Design
Skip the design phase on your first card. These papercut SVG templates are tested for clean cuts and include layered "gift card" formats sized for greeting-card projects — load your mat and cut.

Design Fundamentals: Bridges, Folds, and Card Blanks

Before any style, three rules govern every paper-cut card. Break one and the card either falls apart or won't fold.

Rule 1 — Every Island Needs a Bridge

In a cut design, any shape fully surrounded by cut-away space becomes an "island." Islands fall out. Every island needs at least one bridge — a thin strip of uncut paper, 1–2 mm wide at card scale — connecting it to the surrounding paper. When you design or edit an SVG, check every interior shape for a bridge before you cut. Our papercut SVG guide walks through adding and fixing bridges in Inkscape and Illustrator.

Rule 2 — Score the Fold, Never Cut It

A card blank folds in half. That fold line is a score, not a cut. Score it lightly with a bone folder along a ruler, then fold toward the score. Cutting the fold turns your card into two loose panels. If you're cutting blanks on a Cricut, set the fold line as a Score Line object (Cricut) or a dashed cut (Silhouette), not a cut path.

Rule 3 — Size to the Blank and the Envelope

Standard card blanks and their envelope sizes:

| Card Size | Folded Dimensions | Envelope | |-----------|-------------------|----------| | A2 | 4.25 × 5.5 in | A2 (4.375 × 5.75 in) | | A6 | 4.5 × 6.5 in | A6 (4.75 × 6.5 in) | | A7 / 5×7 | 5 × 7 in | A7 (5.25 × 7.25 in) |

Cut your design 0.25 in smaller than the front panel so it sits inside a clean border. And check envelope thickness: a three-layer pop-up card may need a "non-machinable" surcharge to mail. More on that in the finishing section.

Card Style 1: The Single-Layer Silhouette Card

A fresh sharp craft knife making a clean precise cut through dark cardstock on an intricate floral papercut design

The simplest paper-cut card and the one I make most: one continuous cut design on the front of a folded blank. A floral spray, a skyline, a name, a single bird. Because there's only one layer, it cuts fast and mails flat — no thickness surcharge.

Hand-Cutting a Silhouette Card

  1. Print your design on the back of the card front (or tape a printed template face-down) so pencil marks don't show. 2. Start every cut by rotating the paper, not your wrist. The knife stays nearly vertical; the cardstock turns under it. 3. Cut tight interior details first, long outer edges last. A half-cut outer edge lets the cardstock flex and tear mid-detail. 4. Use two or three light passes instead of one heavy push. Heavy pressure is how I tore my first card — light passes let the blade track the line.

Cricut-Cutting a Silhouette Card

Import your SVG into Design Space, size it to the card front, and attach it to a Score Line for the fold. For 65 lb cardstock use the Fine-Point blade, "Medium Cardstock" setting, default pressure. Always run the small test cut in the corner first — if the weed doesn't lift cleanly, nudge pressure up by 10–15 before cutting the full design. Our Cricut cardstock settings guide has the full table.

Card Style 2: The Layered Pop-Up Card

Stack three to five cut layers with foam adhesive between them and you have a mini shadow box that opens like a card. This is the style that gets the most "how did you make that?" reactions, and it's the same technique as a full layered paper shadow box, just scaled to card size.

Planning the Layers

Cut a solid back layer (the "sky" or background), two or three middle layers with progressively more cutouts, and a detailed front layer. Use 2 mm foam tape between layers for visible depth. The trick I learned the hard way: cut every layer from the same size panel (a 4 × 5.25 in rectangle for an A2 card) so the edges line up automatically during assembly. If each layer is a different outline, alignment becomes a nightmare.

Cutting and Stacking

  • Hand: Cut each layer's interior details, then trim all panels to identical rectangles with a ruler and knife. Stack back-to-front, foam dots at the corners and one in the center. - Cricut: Cut all layers in one mat session by color. Group each layer, attach to its own rectangle outline, and let the machine cut panel-by-panel. - Mount the finished stack onto a folded blank with double-sided tape. The card stands open on its own to display the depth.

One caution: a five-layer card is thick. Test that it fits your envelope, and expect a non-machinable surcharge if you mail it. For wedding thank-yous I cut three layers max so they slide through standard postage.

Single-Layer SVGs That Make Stunning Card Fronts
A clean single-layer papercut is the perfect card front — one cut, one panel, mails flat. These tested SVGs have proper bridges built in, so nothing falls out mid-cut.

Card Style 3: The Stained-Glass Window Card

Cut a design full of apertures, then back it with colored vellum, tissue paper, or translucent acetate. Hold the card up to a window (or drop a tea-light behind it) and it glows like stained glass. This is the style our layered gift-card templates are built around, and it's a guaranteed crowd-pleaser for holidays and new-baby cards.

Building the Window

  1. Cut the front panel with all its apertures — same hand or Cricut technique as the silhouette card, just more holes. 2. Cut a back panel from vellum or colored tissue, 0.25 in larger than the front on all sides. 3. Tape the translucent layer behind the cut panel along the edges so the tape is hidden by the front design. 4. Fold the assembled panel onto a blank, or frame it as a freestanding luminary card.

Why This Style Loves the Machine

A stained-glass card can have dozens of small apertures, and that's exactly where hand-cutting gets tedious and tear-prone. On a Cricut, cut the front panel with a Fine-Point blade on StandardGrip mat, then switch to a kiss-cut or lighter setting for the fragile vellum backer so it doesn't shred.

Assorted sheets of metallic, pearl, holographic and foil cardstock fanned out showing reflective finishes

Glitter or metallic cardstock on the front turns the glow jewel-toned — see our metallic and pearl cardstock guide and glitter cardstock cutting guide for the settings those specialty papers need.

Card Style 4: The Folded Window / Insert Card

Cut a window (a circle, a heart, a shaped aperture) in the front of the card blank, then mount a separate papercut insert behind the window so the design is framed inside it. Open the card and the insert is revealed in full; closed, you see the design through the frame. This is the most "greeting-card" of the four styles and the best showcase for a single showpiece cut.

The Score-and-Fold Sequence

A Cricut machine precisely cutting an intricate Christmas snowflake from white cardstock
  1. Score first, then cut. Score the fold line, then cut the window aperture. Cutting before scoring can shift the panel and misalign the window to the fold. 2. Cut the window 0.5–1 in smaller than the front panel on every side so you have a clean frame border. 3. Cut your insert design on a separate panel sized to cover the window with a 0.25 in overlap all around. 4. Tape the insert to the inside back of the card so it shows through the window when closed. Foam tape gives it a subtle float.

Hand vs Machine Here

The window itself is a simple shape — cut it by hand with a knife in seconds, or let the machine do it. The insert is where the craft lives: hand-cut it for a one-of-a-kind piece, or cut a batch on the Cricut when you need matching cards for a group. Either way, the fold is the structural element, so take the time to score it cleanly with a bone folder.

3D Stained-Glass Gift Card Templates
These layered gift-card SVGs are built for the stained-glass style — cut the layers, back them with vellum, and the card glows. Tested cut paths and full assembly instructions included.

Cricut Settings for Cardstock Cards

Close-up of Cricut Design Space software interface showing the material settings panel for cardstock

These are the starting points I use for card-weight paper on a Cricut Maker with a Fine-Point blade. Every machine and blade condition varies, so always run the corner test cut first and adjust in 10–15 point increments.

| Cardstock | Blade | Cricut Material Setting | Multi-Cut | Mat | |-----------|-------|-------------------------|-----------|-----| | 65 lb (176 gsm) | Fine-Point | Medium Cardstock | 1× | LightGrip | | 80 lb (216 gsm) | Fine-Point | Heavy Cardstock | 1× | StandardGrip | | 110 lb (298 gsm) | Deep-Point | Tag Board / 110 lb | 2× | StandardGrip | | Glitter cardstock | Fine-Point | Glitter Cardstock | 2× | StandardGrip | | Metallic / foil | Deep-Point | Foil / +20 pressure | 2× | StandardGrip |

If you see fuzzy edges or incomplete cuts, the fix is almost always blade, not pressure: a fresh Fine-Point blade solves more cardstock problems than any pressure tweak. Our Cricut cardstock troubleshooting bible diagnoses every common failure.

Hand-Cutting Technique That Produces Clean Edges

Printed papercut shadow box template being cut by hand with a craft knife

Hand-cutting a card well comes down to four habits. I still practice them on scrap before every tricky card.

Hold the knife like a pen, nearly vertical. A low angle scoops the paper and tears it. Keep the blade close to 90° to the mat and let the tip do the work.

Rotate the paper, not your wrist. For curves, pin one end with a finger and spin the cardstock under the stationary blade. Your wrist can't draw a smooth circle; the rotating paper can.

Multiple light beats one heavy. Two or three light passes along the same line cut cleaner than one forced push, which is how paper fibers tear and leave that fuzzy white edge. This is the single biggest difference between clean hand-cut cards and ragged ones.

Cut toward yourself in short strokes. Long pulls wander off the line. Short 1–2 inch strokes toward your body give you control and let you stop instantly at a corner.

Replace the blade the moment you feel any drag. A #11 blade costs less than a ruined sheet of cardstock, and on a single special card a fresh blade is the cheapest insurance you'll buy.

Finishing: Weeding, Assembly, and Envelopes

Weeding hook tool lifting tiny scrap pieces from an intricate cardstock cut

Cutting is half the job. The finish is what makes a card look handmade-intentional rather than handmade-accidental.

Weed from the center out. Lift the smallest interior pieces first with a weeding hook or tweezers, then the medium shapes, then the large fields. Working center-out keeps the panel stable and prevents a partially-weeded piece from tearing a bridge as you pull.

Assemble with the right adhesive. Foam dots for layered depth, double-sided tape for flat panels, fine-tip glue for translucent vellum (tape shows through vellum; glue disappears). Keep glue to a minimum — wet glue warps cardstock. If you do warp a panel, our Cricut cardstock troubleshooting guide covers flattening techniques.

Match the envelope to the thickness. A flat silhouette card fits any A2 envelope at standard postage. A three-layer pop-up or stained-glass card is over the 0.25 in thickness limit and needs a "non-machinable surcharge" stamp to mail — or hand-deliver it. When I mail layered cards I mark the envelope "Hand Cancel" so the post office doesn't run it through the sorting rollers that crush depth.

Finished layered papercut gift cards displayed together as a set of handmade greeting cards

To keep cut cards looking new — especially light-colored papercut fronts that can yellow — see our guide on how to preserve paper art from fading.

A Full Set of Ready-to-Make Papercut Cards
Want a head start on holiday or occasion cards? This layered gift-card set ships as a cut-ready SVG bundle with multiple designs — cut the full set in one mat session and you've got a stack of handmade cards ready to send.
1.What weight of cardstock is best for paper-cut greeting cards?
65 lb (176 gsm) for intricate cut fronts because it cuts cleanly and releases from the mat without curling, and 80 lb (216 gsm) for card blanks that need to stand upright on their own. Go heavier (110 lb) only for layered pop-up cards that need rigidity — heavier paper resists folding and needs a deeper score.
2.Can I cut greeting cards by hand if I don't have a Cricut?
Yes. Every card style in this guide can be hand-cut with a craft knife, a self-healing mat, and a printed template. Hand-cutting is slower but needs no software and handles one-off designs and heavy cardstock a machine struggles with. Use a fresh #11 blade and multiple light passes.
3.How do I keep small cut-out pieces from falling out of my card?
Every interior shape (an "island") needs a bridge — a 1–2 mm strip of uncut paper connecting it to the surrounding card. When you design or edit an SVG, check each interior shape for a bridge before cutting. If a piece still falls out, reattach it from behind with a tiny dot of glue during finishing.
4.What Cricut setting should I use for a 65 lb cardstock card?
Start with the Fine-Point blade, the "Medium Cardstock" material setting, default pressure, one pass (Multi-Cut 1×), on a LightGrip mat. Always run the corner test cut first; if the weed doesn't lift cleanly, raise pressure by 10–15 points before cutting the full design.
5.How thick can a layered card be and still mail normally?
Standard letter mail in the US must be under 0.25 in (6 mm) thick and uniformly flat. Three or more foam-separated layers usually exceed that and need a non-machinable surcharge, or hand delivery. Mark the envelope "Hand Cancel" so the post office doesn't crush the depth in its sorting rollers.
6.Do I need to score cardstock before folding a card blank?
Yes. Scoring with a bone folder along a ruler creates a controlled fold line so the cardstock folds cleanly instead of cracking. Never cut the fold line — that splits the blank into two panels. On a Cricut, use a Score Line object or scoring stylus for the fold.
7.Can I turn your shadow box SVGs into greeting cards?
Yes. Most single-layer and small multi-layer papercut SVGs scale down to card size. Resize the design to fit within your card front (about 0.25 in smaller than the panel), check that bridges and fine details hold at the smaller scale, and run a test cut first. See our guide to resizing SVGs for any frame for the scaling steps.