Making vs Buying Shadow Box Nursery Decor
Crafting Your Own with a Cricut or Silhouette
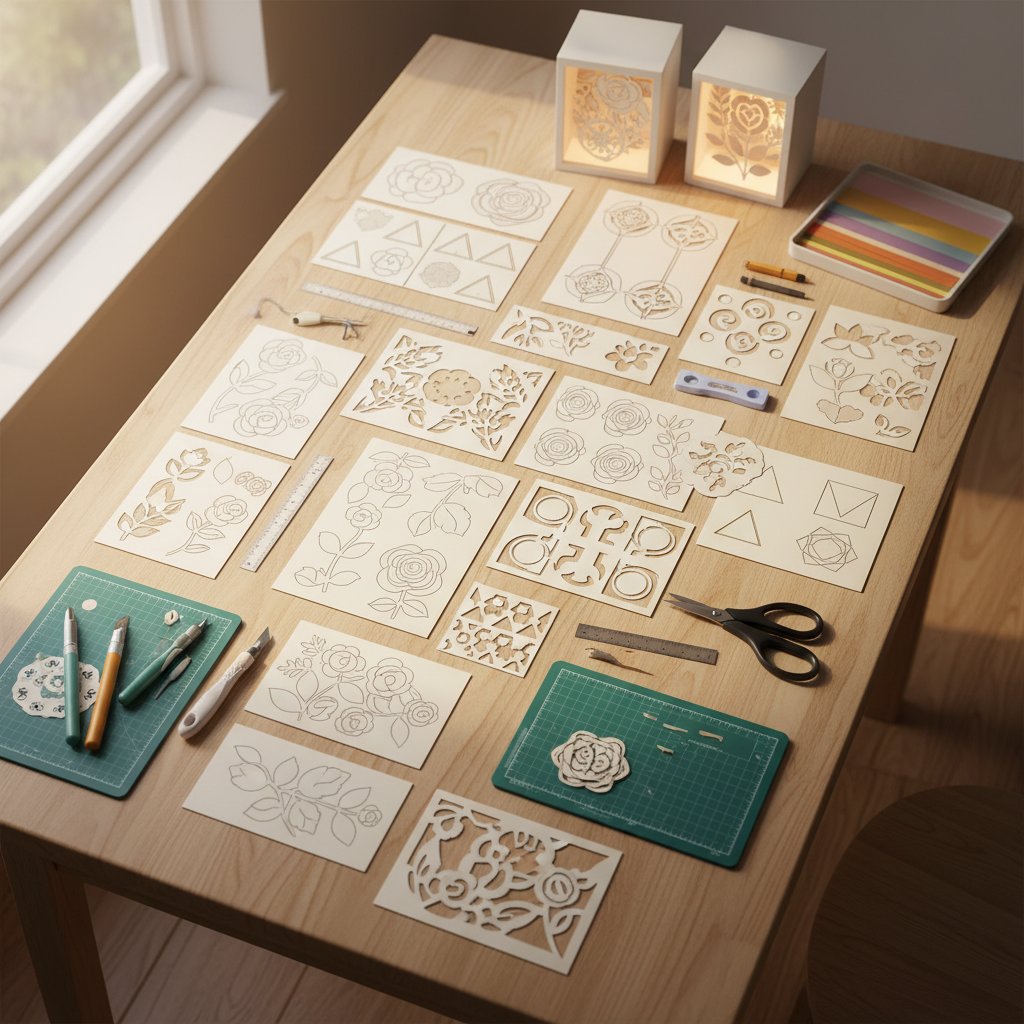
If you own a cutting machine, making your own shadow box nursery decor is a deeply rewarding project. Here's what you need:
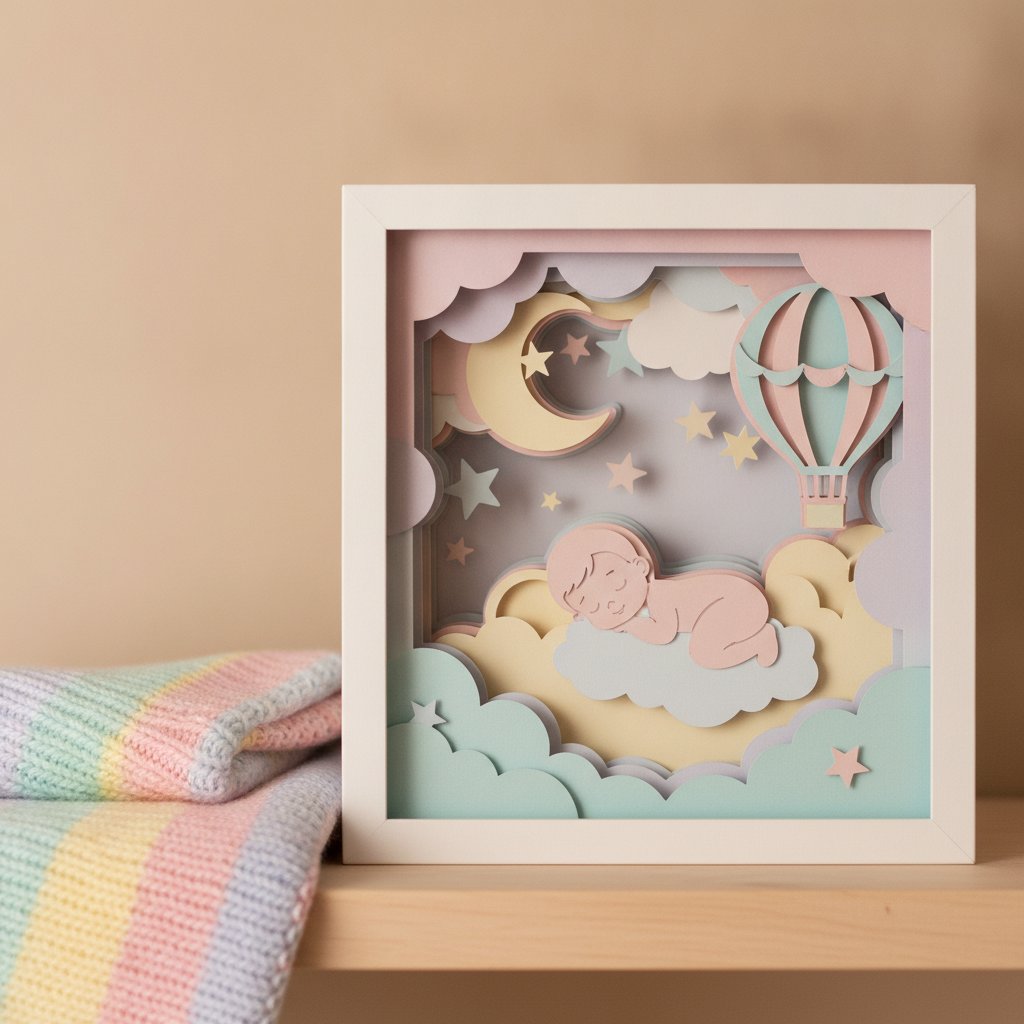
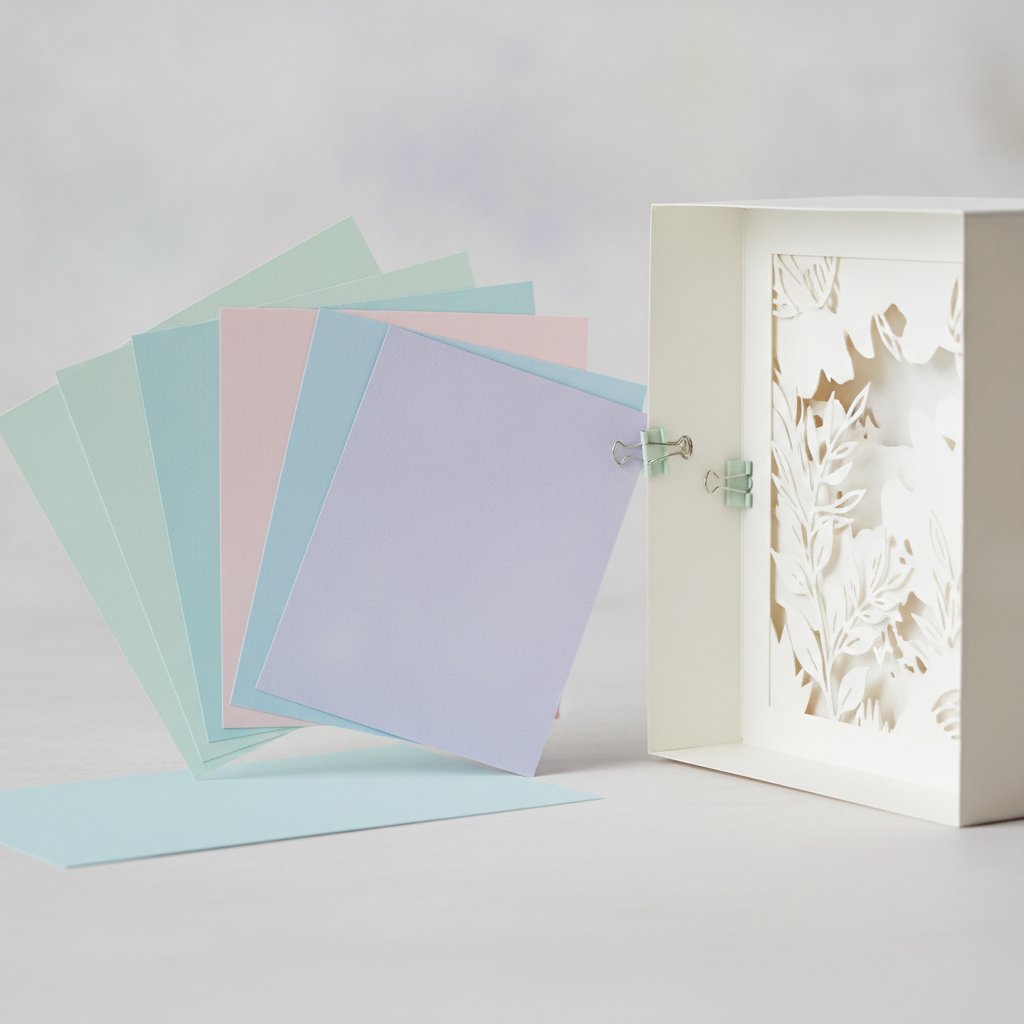
Materials. 65 lb cardstock in your nursery colors, a shadow box frame (8×8 or 8×10 inch), foam adhesive dots or strips, LED fairy lights, and a quality SVG template. For paper recommendations, our complete cardstock guide for shadow boxes helps you choose the right weight and finish.
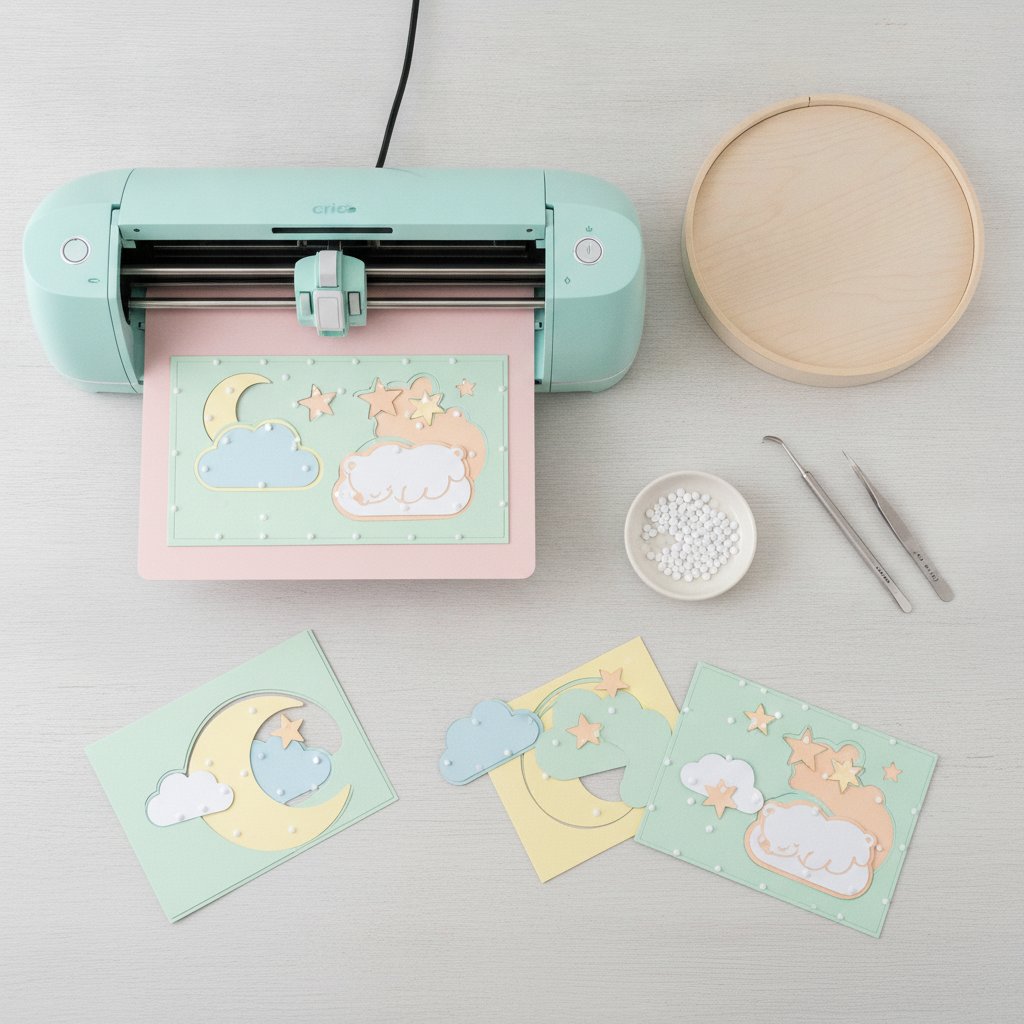
Time investment. A first shadow box takes 2-3 hours from start to finish — cutting layers, assembling with spacers, adding lights, and framing. Subsequent projects go faster as you gain confidence.
Customization. This is the biggest advantage of DIY. Choose any color palette. Resize the design to fit your frame. Add your baby's name with vinyl lettering on the glass. Create something that perfectly matches your nursery vision.
Tools needed. Beyond your Cricut or Silhouette, you'll need a weeding tool, scraper, craft tweezers for small layer placement, and double-sided tape for the LED lights. Our beginner-friendly shadow box project guide walks through the full process.
Buying Ready-Made Shadow Box Decor
Not everyone has a cutting machine or the time to craft. Ready-made options exist:
Pre-assembled light-up shadow boxes. Some Etsy sellers and craft shops offer fully assembled, pre-lit shadow boxes in nursery themes. Prices typically range from $40-120 depending on size, complexity, and whether they include LED lighting.
DIY kits with pre-cut layers. A middle-ground option: purchase a kit with pre-cut paper layers, a frame, and LED lights. You assemble it yourself (which takes about 30-60 minutes) but skip the cutting step. This is a great option if you want the personal satisfaction of assembly without needing a cutting machine.
Digital SVG templates. The most popular option for crafters — purchase a digital SVG file and cut the layers yourself. This gives you full control over colors and paper choices while saving you from designing the layers from scratch. Quality templates from shops like Mural Moods Art are test-cut and come with detailed assembly instructions.
Choosing the Right Frame for a Nursery Shadow Box
The frame you choose has a big impact on the final look and how well the shadow box functions as a nightlight.
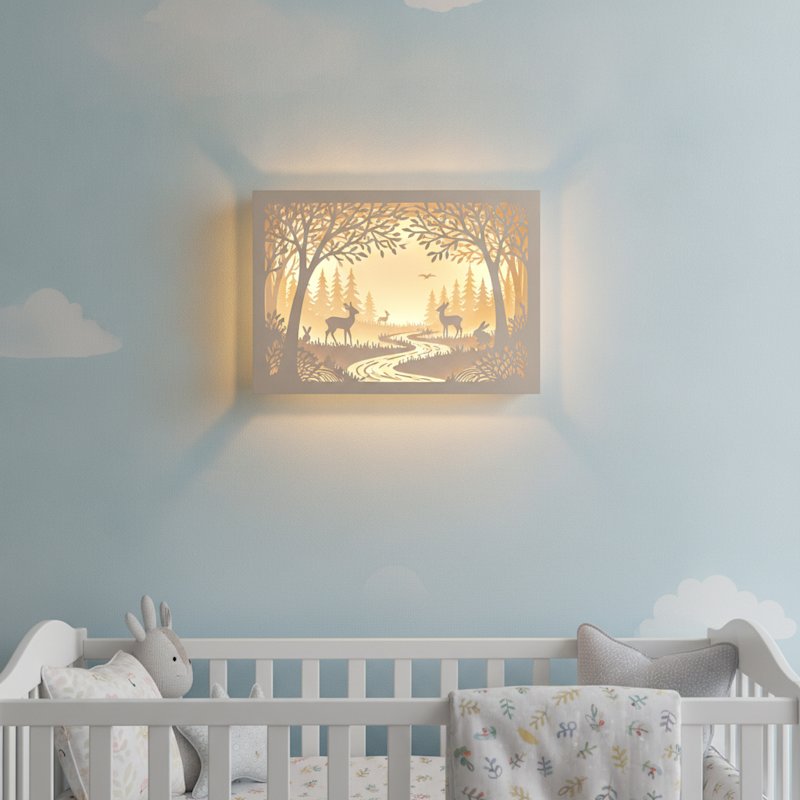
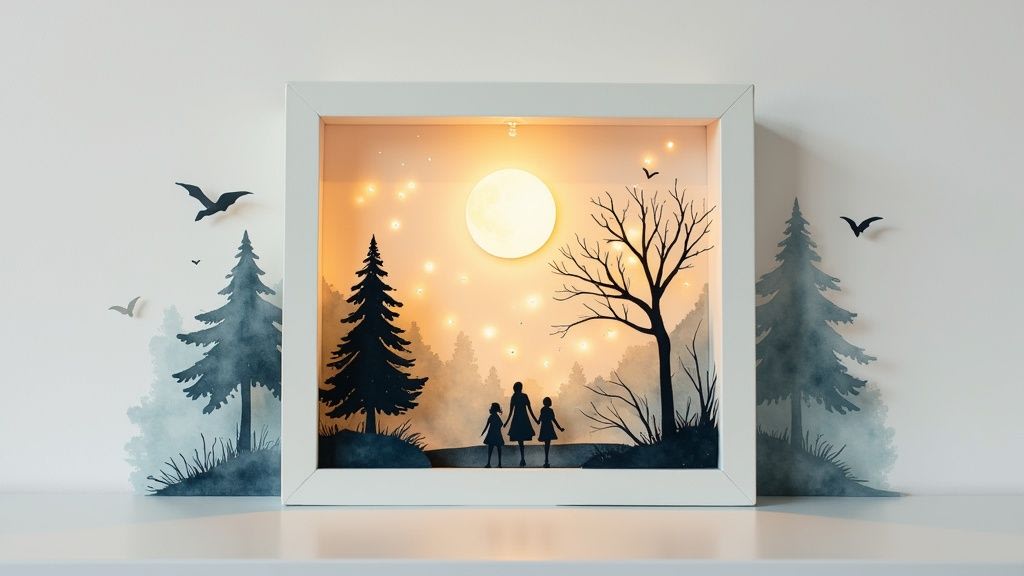
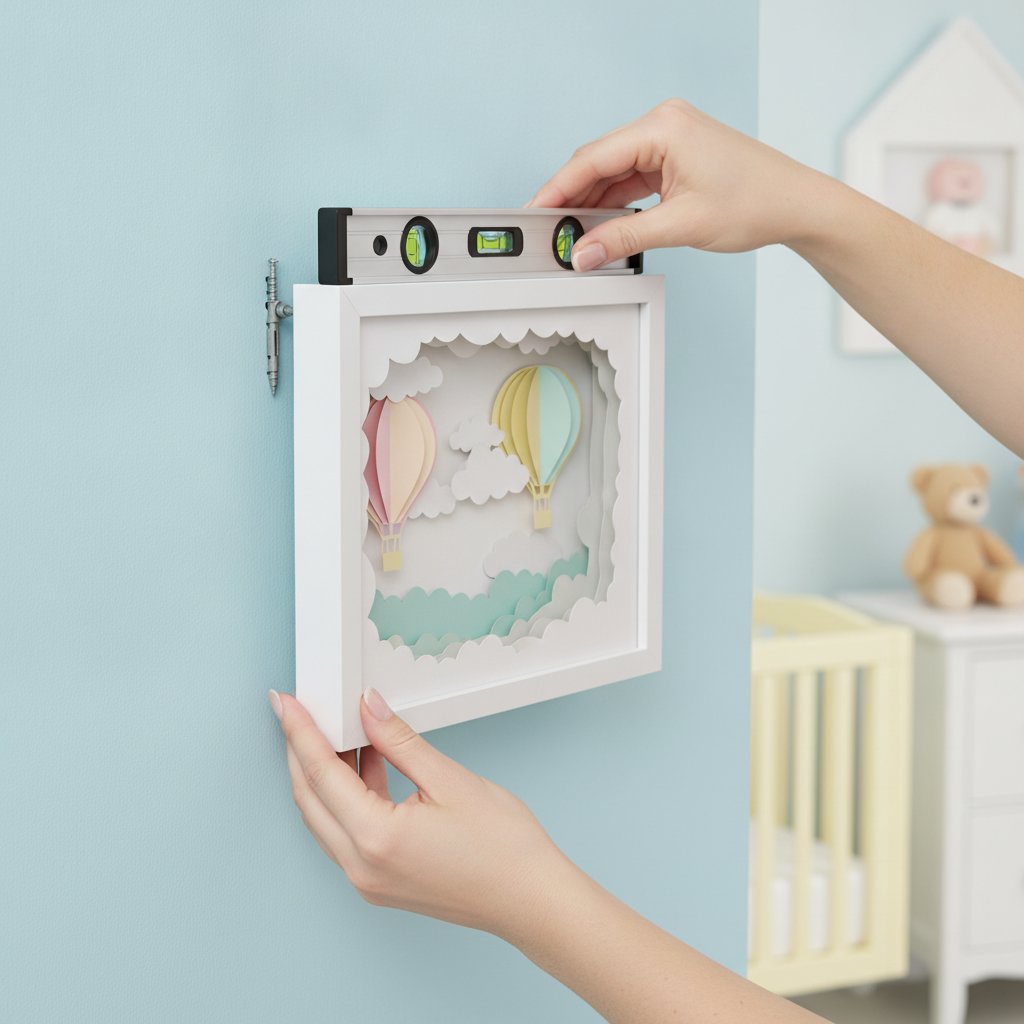
White frames are the most popular choice for nurseries. They blend seamlessly with light-colored walls and create a clean, modern look. White frames also reflect a small amount of the LED glow outward, amplifying the soft nightlight effect around the edges of the piece.
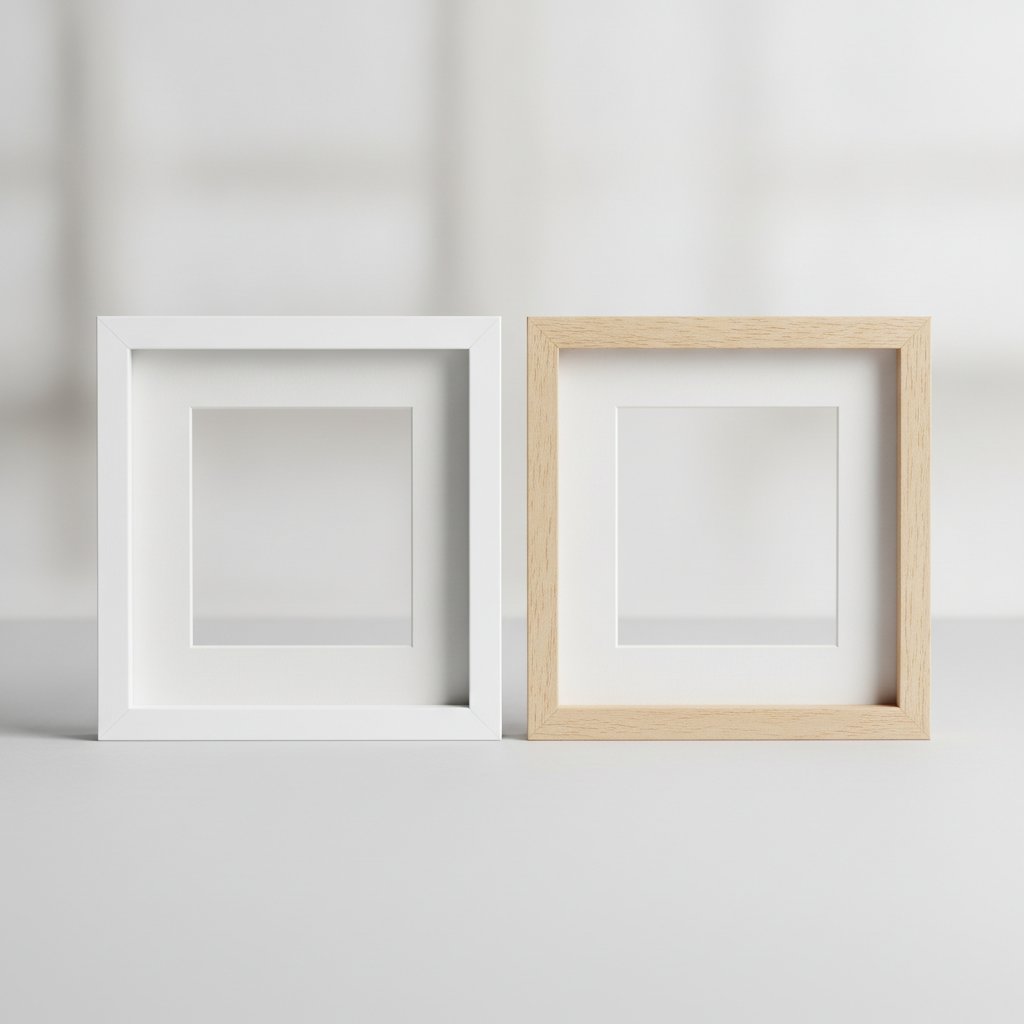
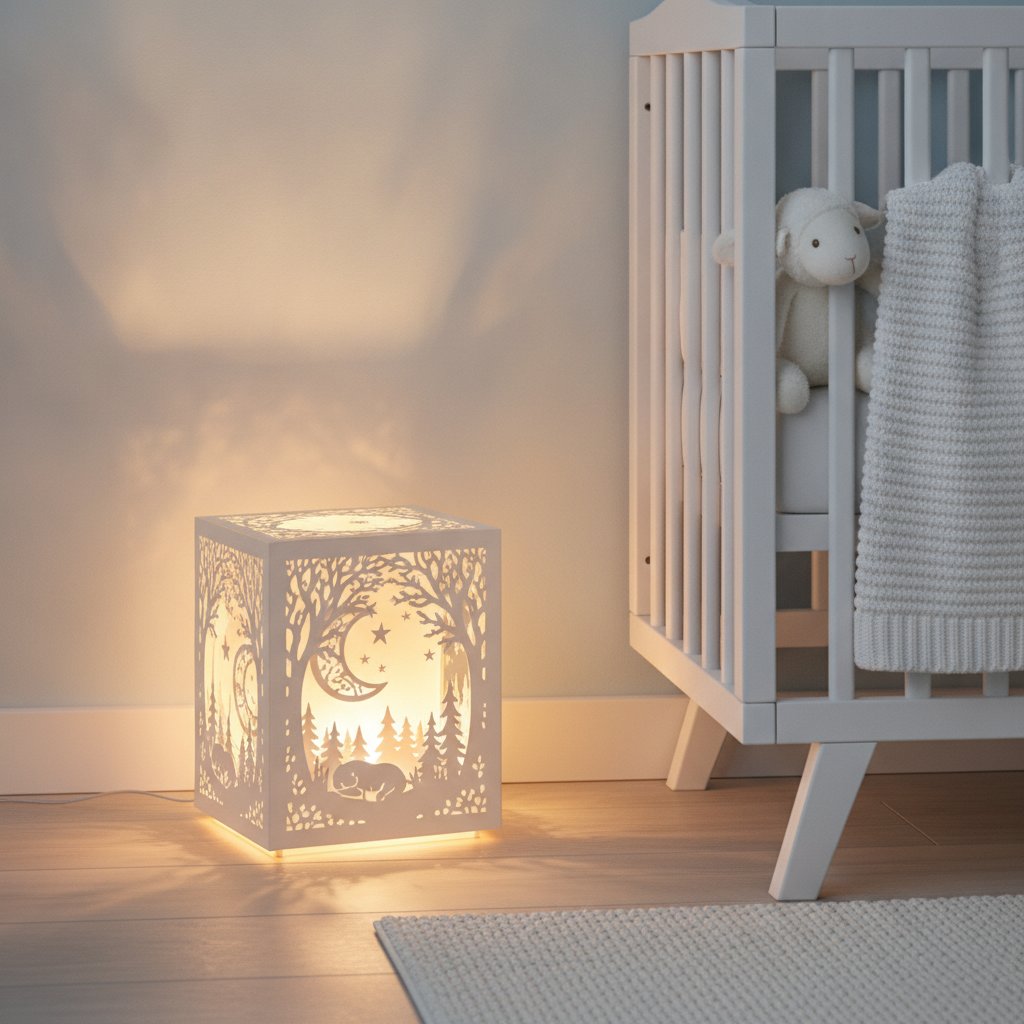
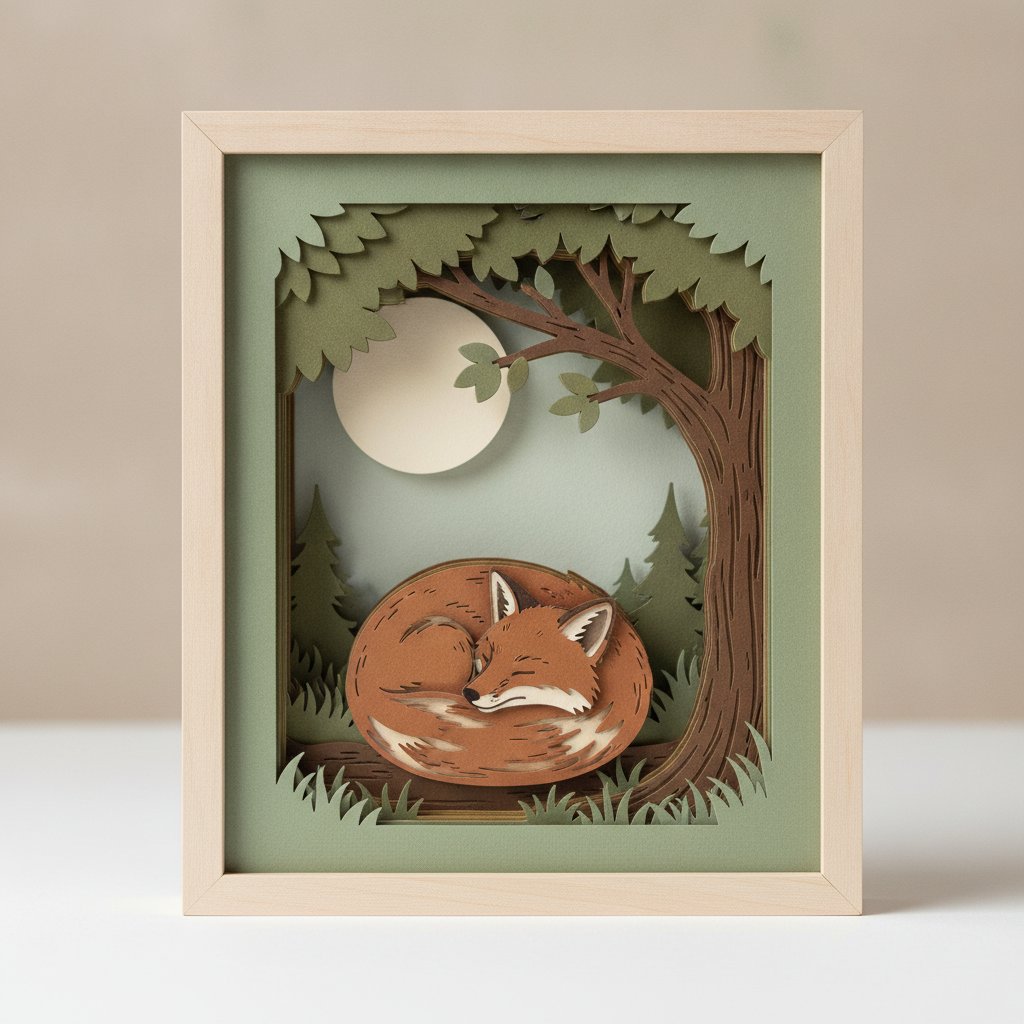
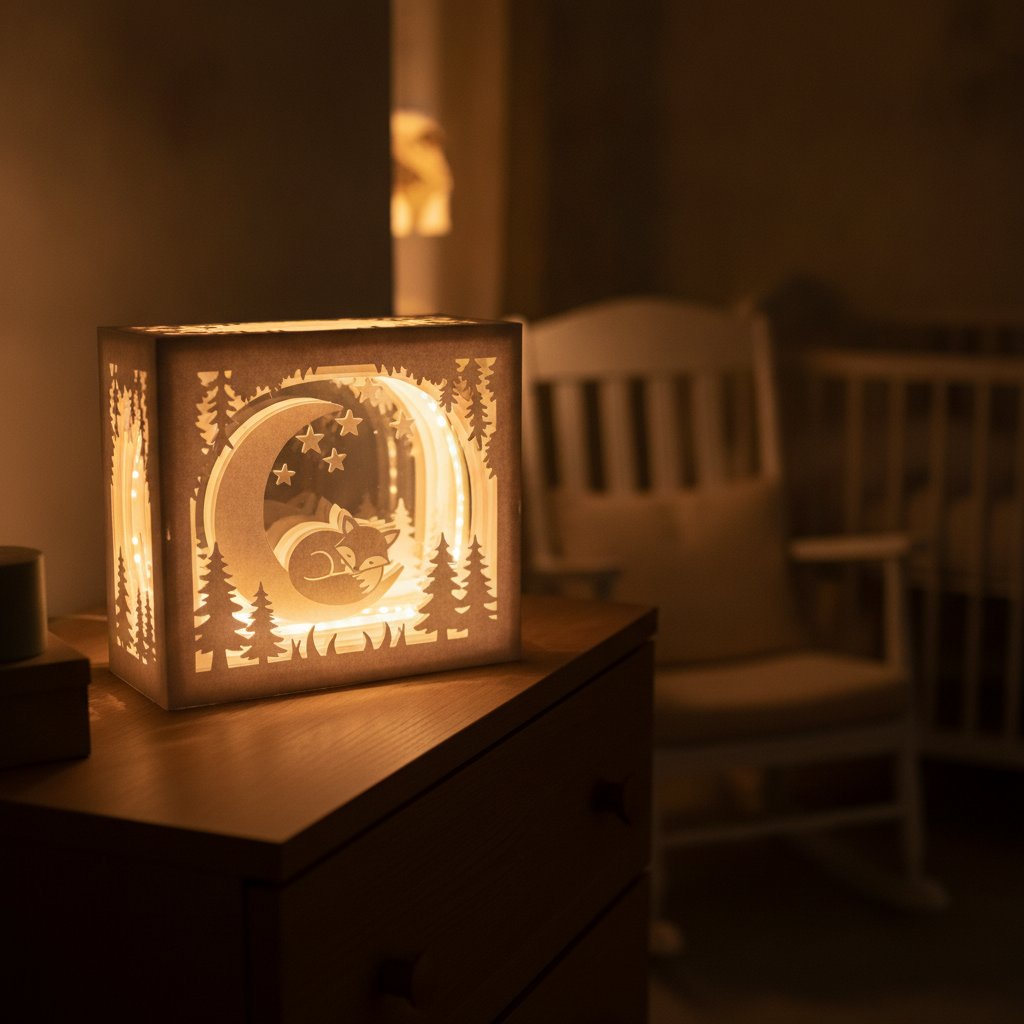
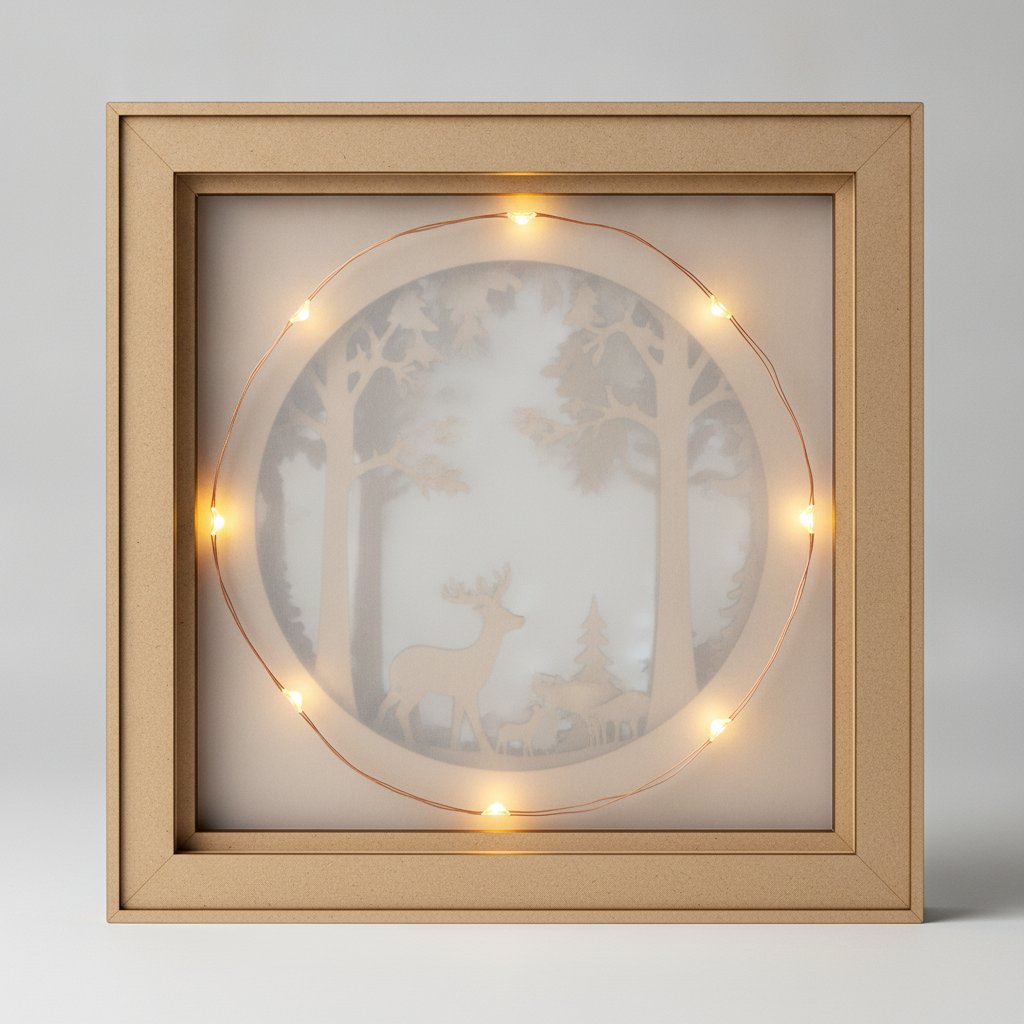
Natural wood frames bring warmth and a touch of nature to the nursery. Light woods like birch or maple complement both neutral and pastel color schemes. Wood frames pair especially well with woodland animal themes — the frame itself reinforces the natural motif.
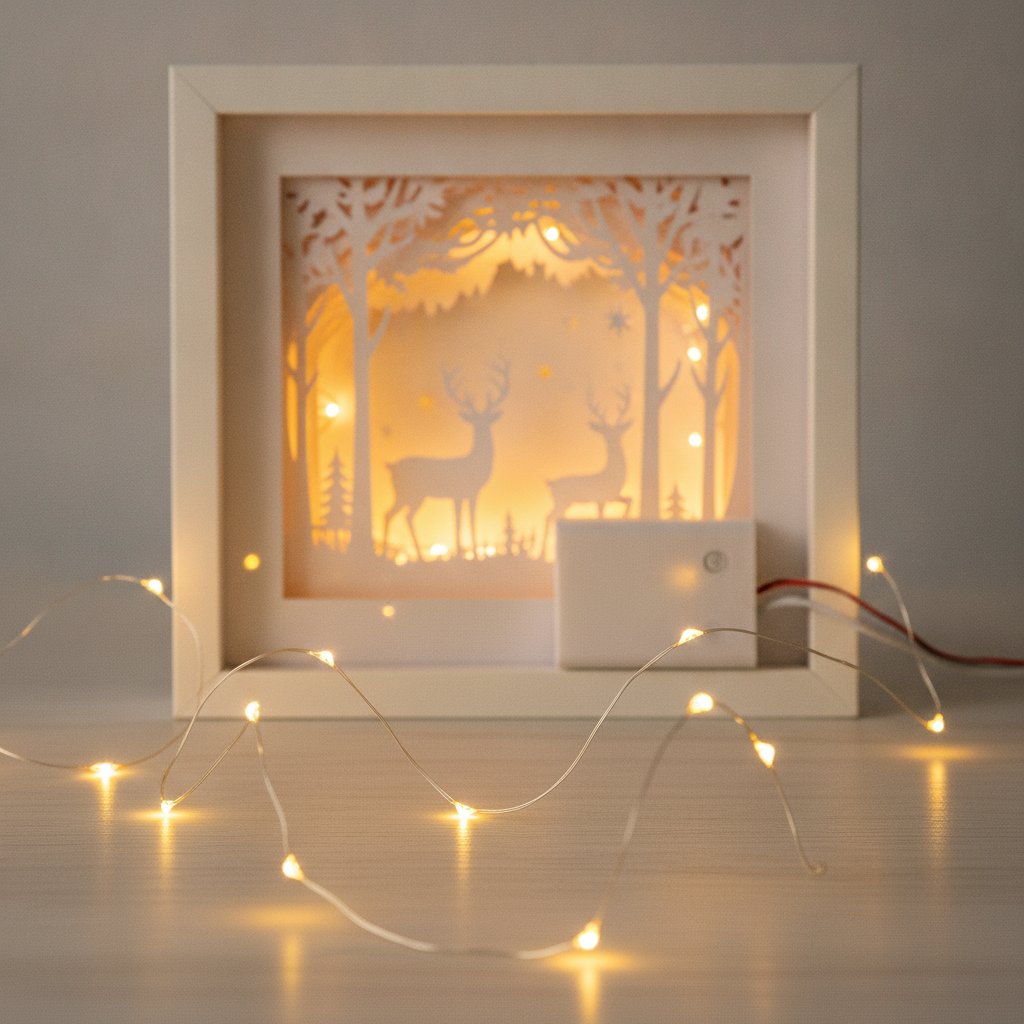
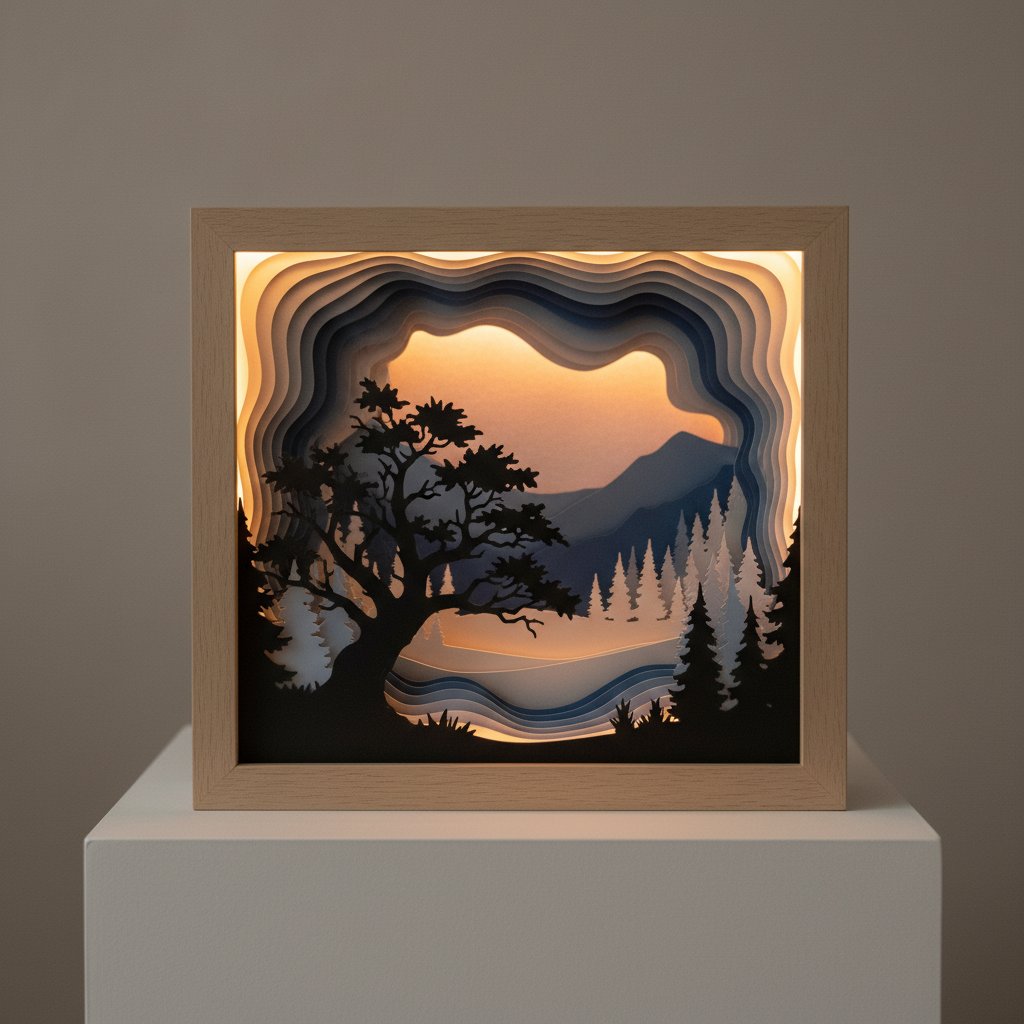
Depth is critical. For a nursery shadow box with LED lighting, choose a frame with at least 1.5 inches of interior depth. This gives you room for 6-8 paper layers, foam spacers between each layer, the LED light string, and the battery pack. Frames marketed specifically as "shadow box frames" typically have the right depth. Standard picture frames are too shallow.
Acrylic vs glass front. For a nursery, consider an acrylic (plexiglass) front instead of real glass. Acrylic is lighter, shatterproof, and safer if the frame ever falls. Many shadow box frames come with acrylic fronts. If yours has glass, you can have it replaced at a framing shop.