Articles16 min read

Shadow Box Frame Depth for Cricut Layered Paper Art

Stop guessing at frame depth. Use this Cricut-specific calculation guide — with a depth formula, layer-count reference chart, LED clearance rules, and skill-level picks — to buy the right shadow box frame the first time.

Deep layered paper-cut shadow box viewed at an angle showing paper layers receding into depth

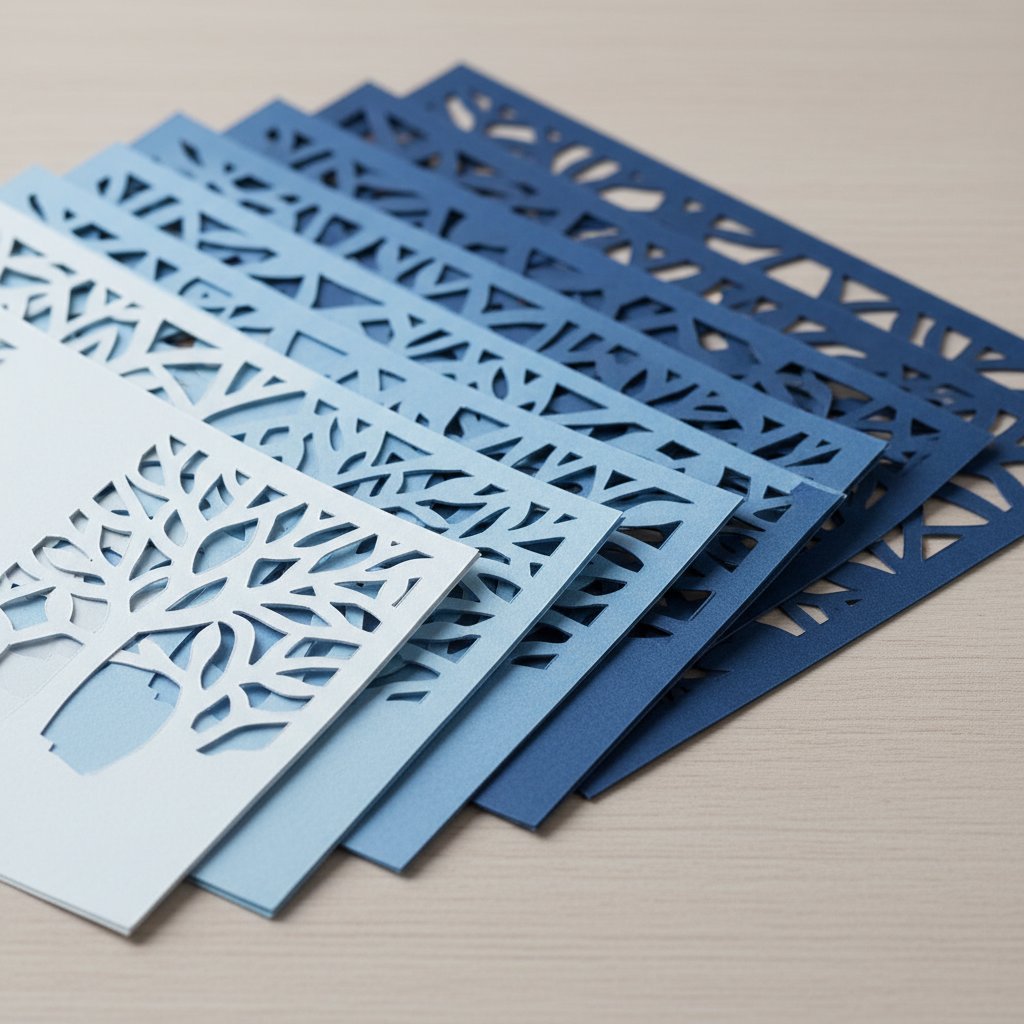
How to Choose Shadow Box Frame Depth for Cricut Layered Paper Art

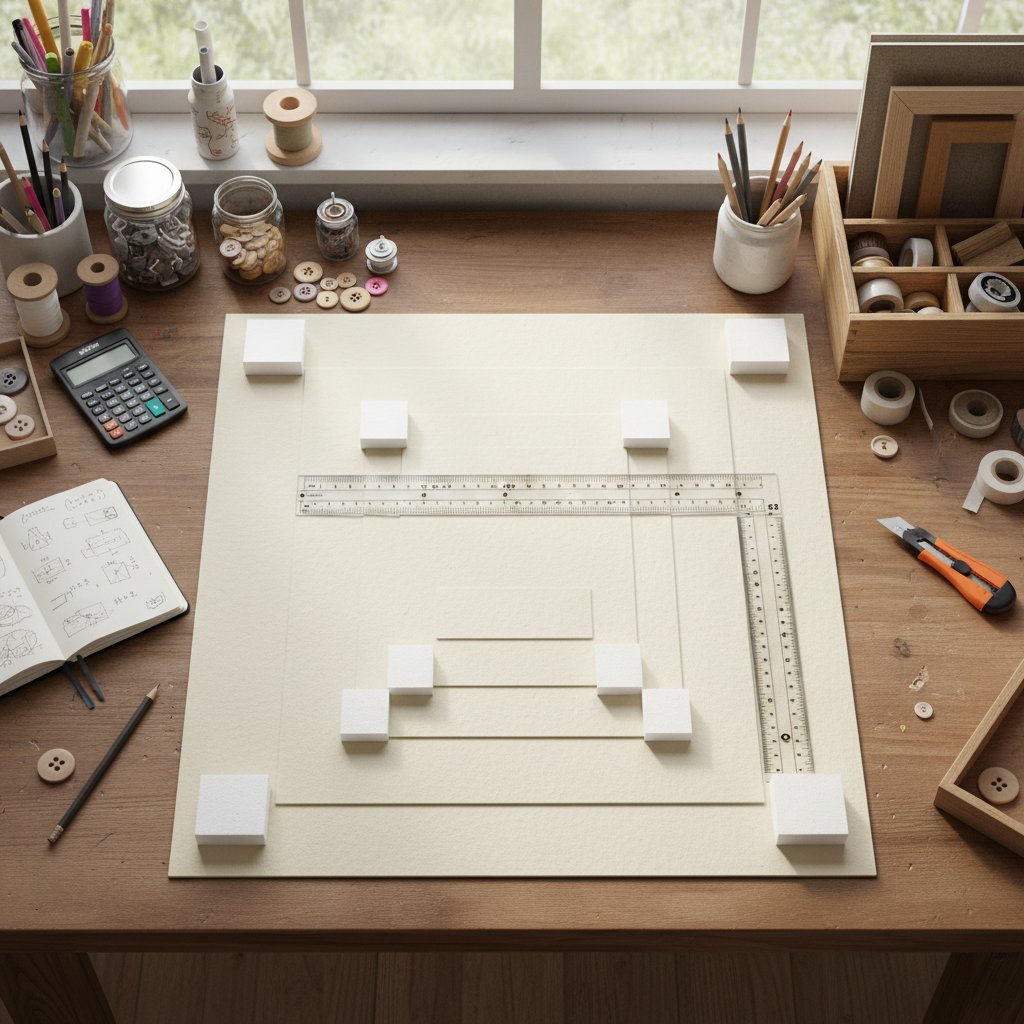
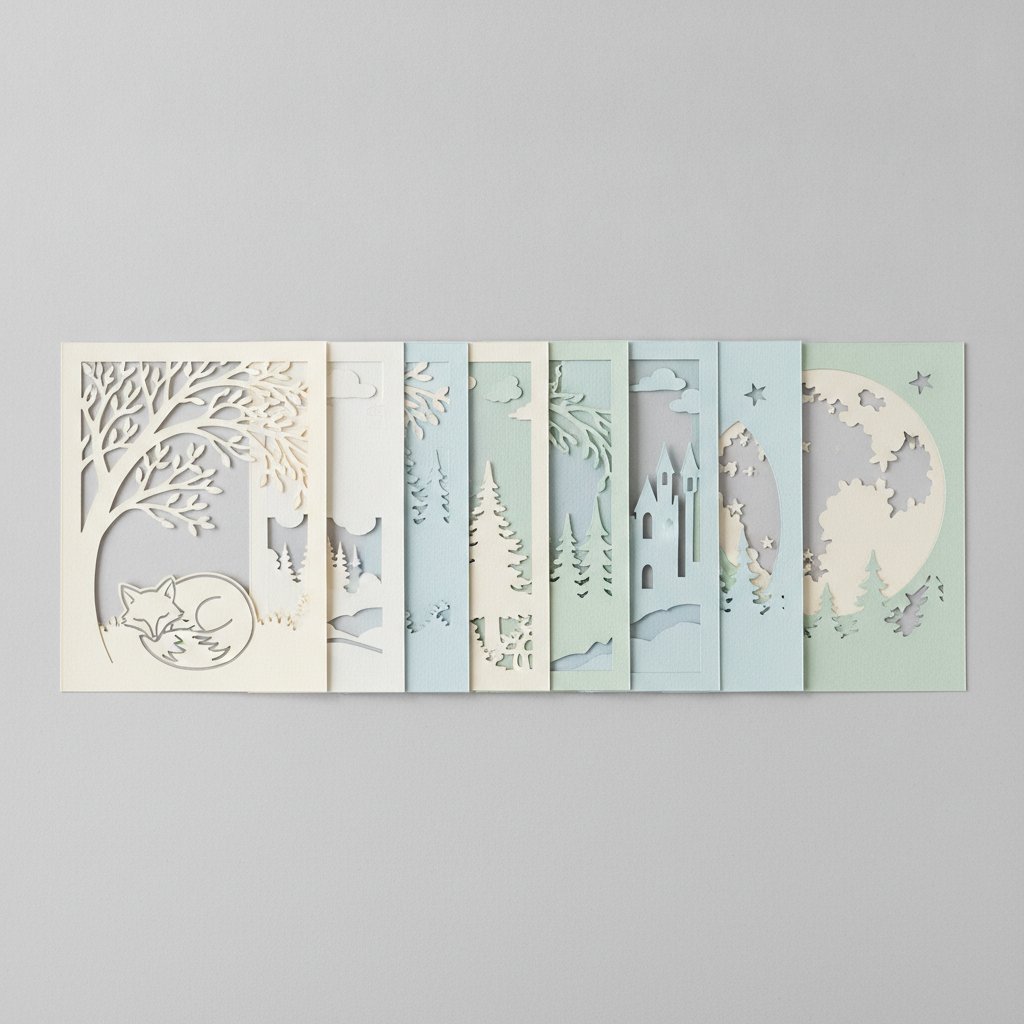
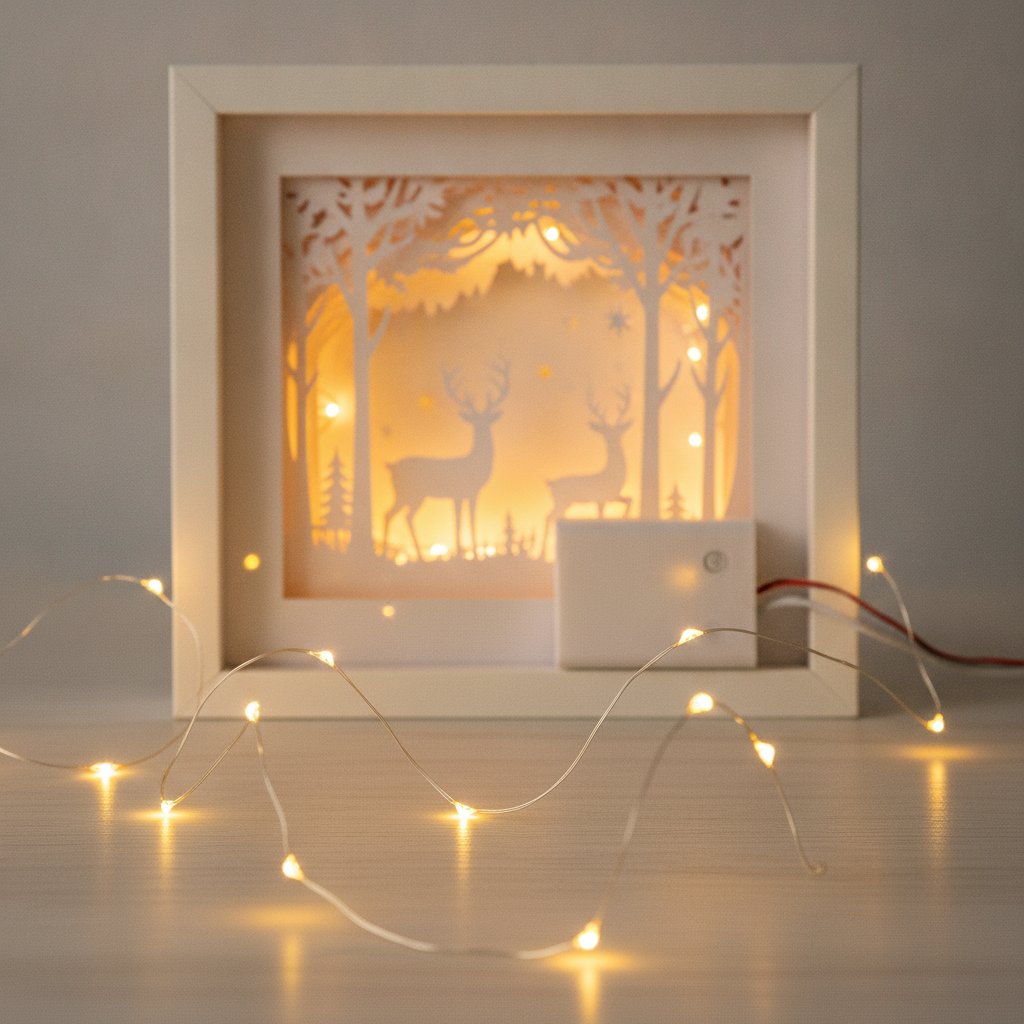
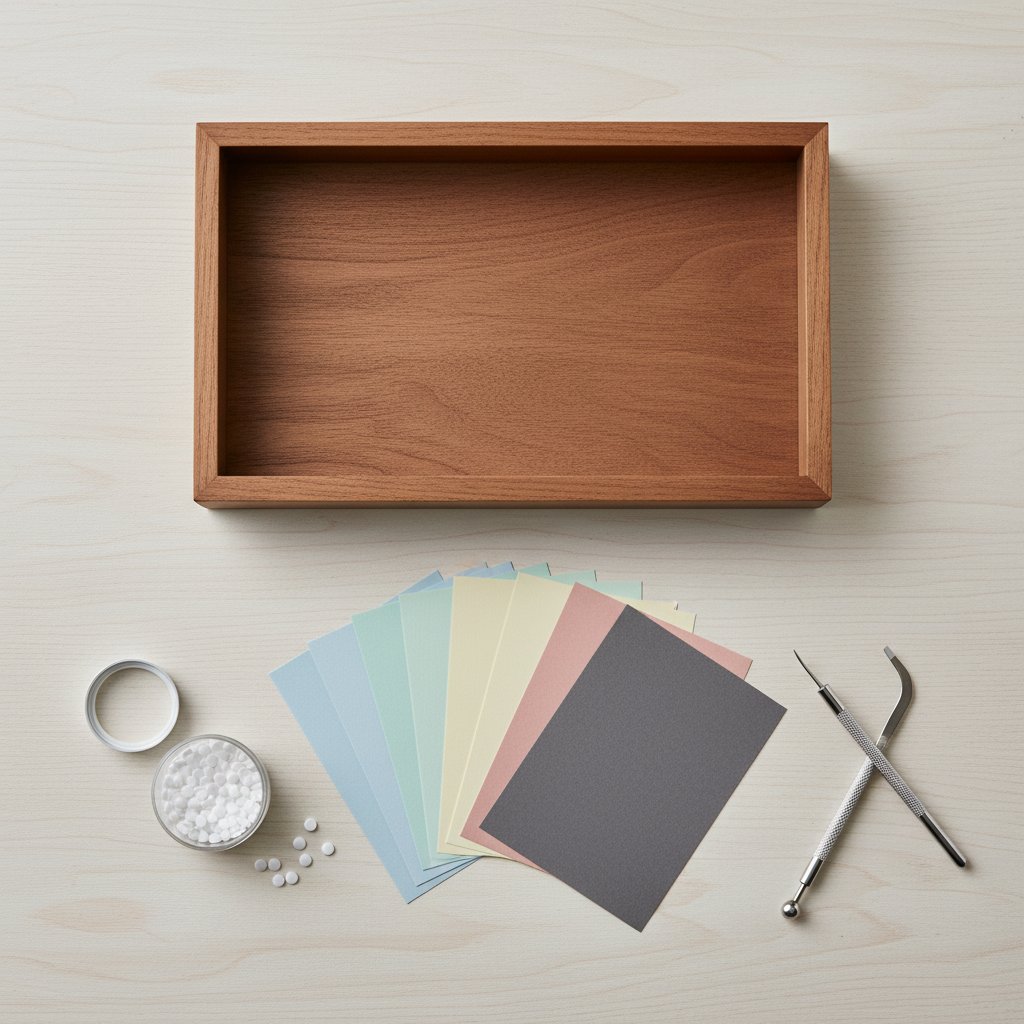
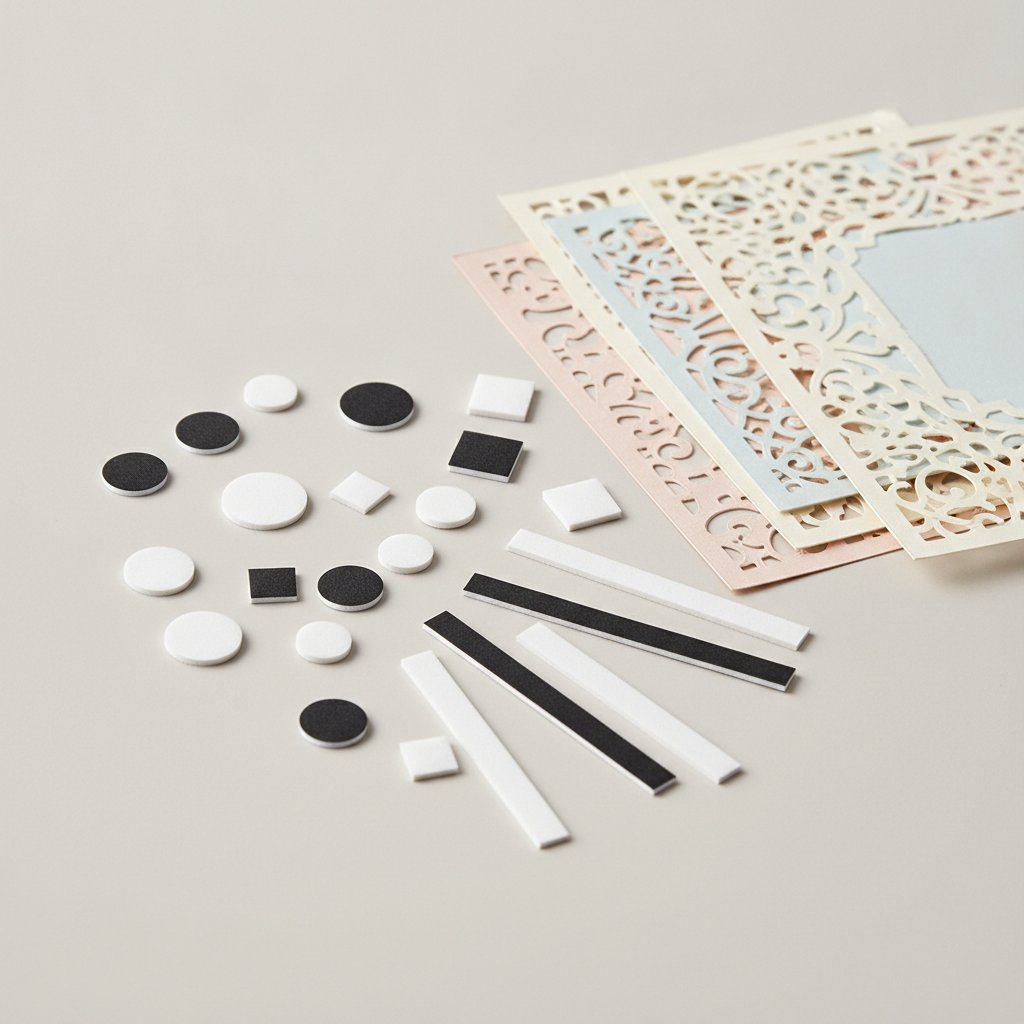
Buy the wrong shadow box depth and one of two things happens: your carefully cut layers get crushed flat against the glass, or you spend three times more than you needed to on a frame with empty air behind your art. Neither is the goal. The good news is that shadow box frame depth is one of the few things in Cricut paper crafting you can calculate exactly before you spend a dollar — layer count, cardstock weight, spacer thickness, and LED clearance all add up to a number you can shop against.

Layered paper cut shadow box nature scene with tree silhouettes showing dramatic depth through multiple layers

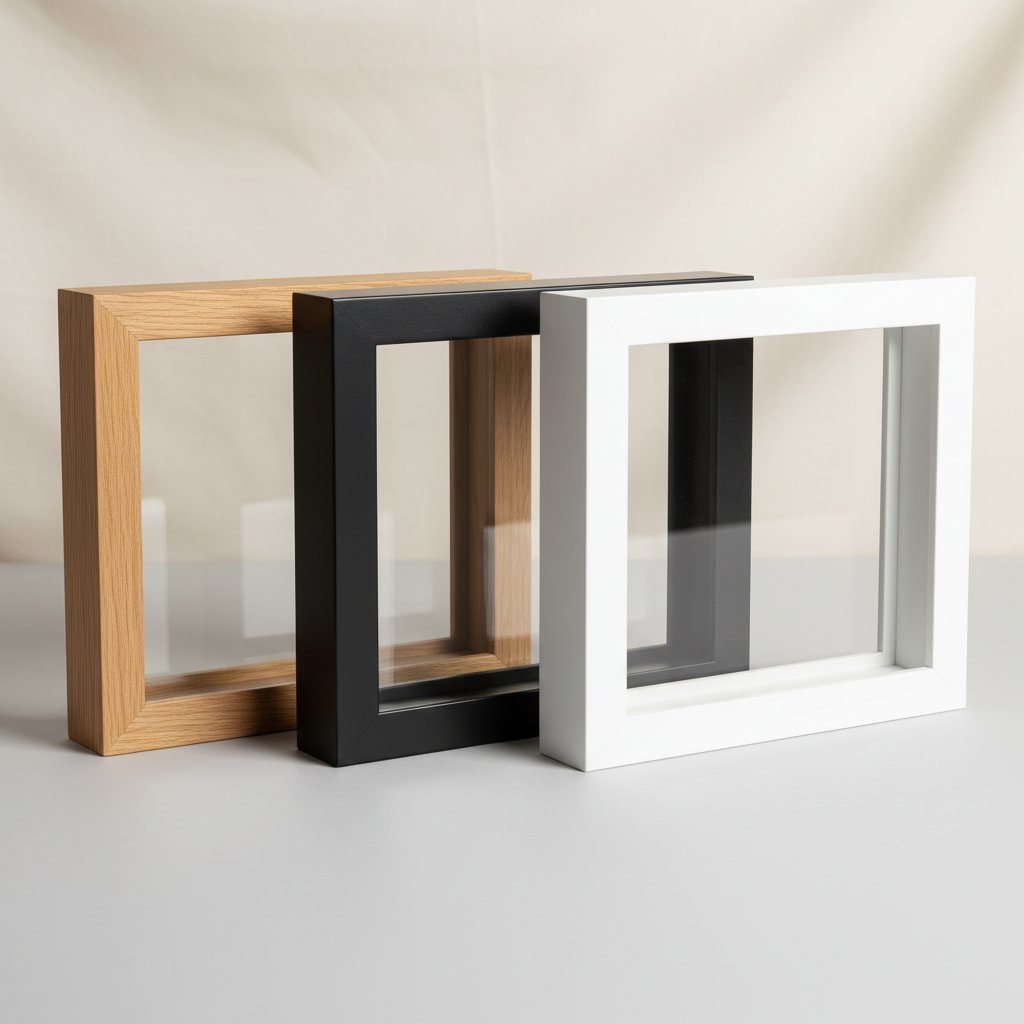
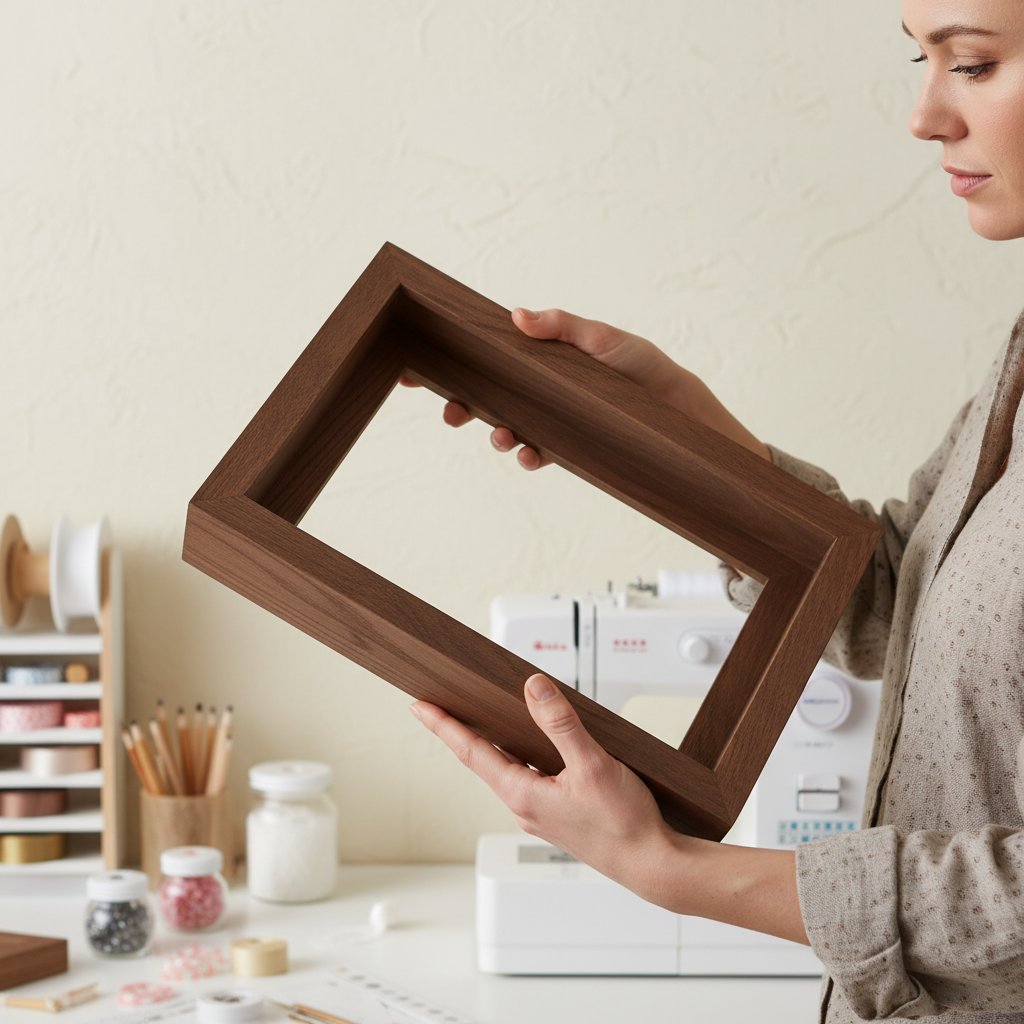
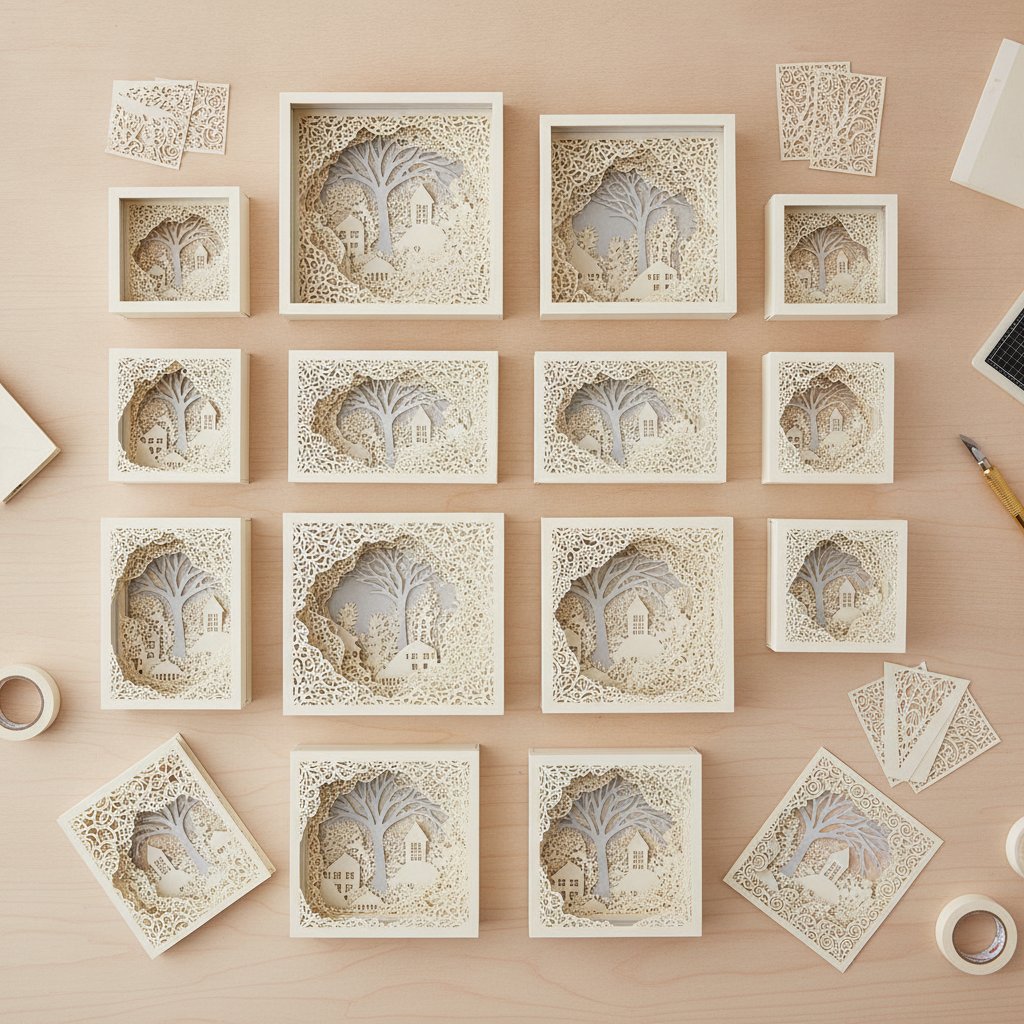
This guide is the depth-focused companion to our broader shadow box frame sizing guide. Where that article covers both footprint (8×8 vs 12×12) and depth together, this one goes deep on depth only — the dimension crafters consistently get wrong. You'll get a working formula, a reference chart by layer count, the standard depths actually available in stores, and the trade-offs that separate a frame that flatters your art from one that fights it.

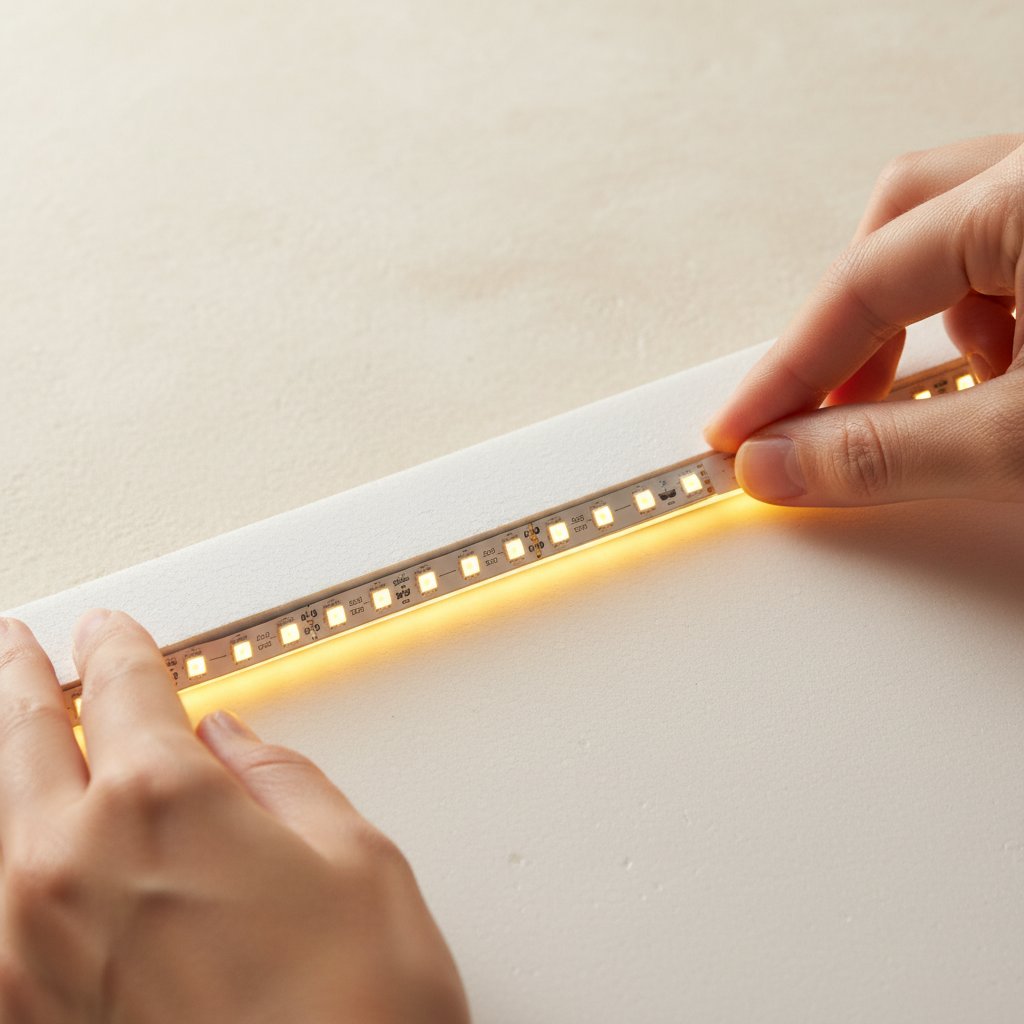
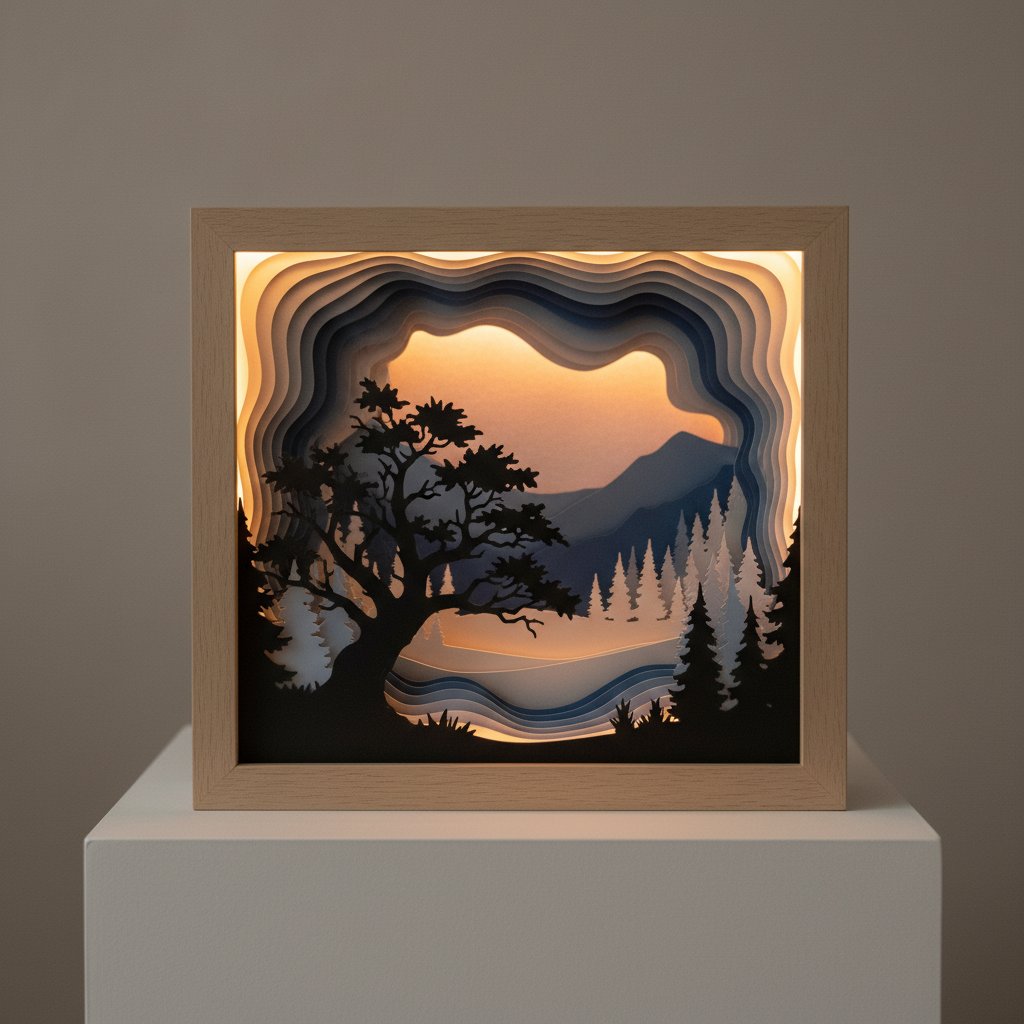
If you want the short version before you read on: for most Cricut layered paper art (5–8 layers of 65–80 lb cardstock with 2 mm foam tape), a 1.5″ to 2″ deep frame is the sweet spot. Add ½″–¾″ if you're backlighting. Everything below explains why — and how to adjust for your exact project.

Why Frame Depth Matters for Layered Paper Art

Depth is the entire point of a shadow box. A regular picture frame holds flat art; a shadow box frame holds dimensional art by leaving measurable space between the glass and the backing. That space is what lets each cardstock layer cast a shadow on the layer behind it — the effect that turns a stack of cut paper into something that looks carved and lit from within.

Shadow box where layered paper is compressed against the glass because the frame is too shallow

When the depth is wrong, the effect collapses in one of two directions:

  • Too shallow and your stack compresses against the glass. The deepest layers bow outward, fine cutouts get crushed flat, and the dimensional shadow disappears. You also risk the front layer touching the glass and sticking over time, especially in humidity.
  • Too deep and the layers float in the middle of the frame with a lot of dead space behind them. The shadow contrast weakens because the light has farther to travel, and the art looks small and lost inside the box.

There is also a practical failure mode worth naming: a frame that's too shallow will not accept your assembled stack at all. I've watched crafters finish a 7-layer build only to discover it physically will not fit, at which point the only options are cutting layers out (ruining the design) or buying a second, deeper frame. Calculating depth first is how you avoid that entirely. For a fuller treatment of what depth does to the finished look, our shadow box frame sizing guide walks through the visual mechanics in more detail.

The Frame Depth Formula: Calculate Minimum Depth for Your Project

Here is the working formula I use to size a frame before buying. It calculates the minimum inside depth (the rabbet depth — the recessed space between the glass and the back panel), not the outside moulding depth.

Minimum inside depth=(layers × cardstock thickness) + ((layers − 1) × spacer thickness) + LED clearance (0 if unlit, ~½″–¾″ if backlit) + safety margin (≈ ⅛″–¼″)
Paper layers, foam spacers, and measuring tools demonstrating shadow box depth calculation for layered paper cut

Real numbers from a measured build

I ran this against a 7-layer Rose shadow box I assembled last month using 65 lb (176 gsm) cardstock and 2 mm (≈0.08″) foam mounting tape, backlit with a warm-white LED strip:

  • Layers × cardstock: 7 × 0.004″ (65 lb cardstock ≈ 0.004″ per sheet)=0.03″
  • Spacer stack: (7 − 1) × 0.08″=0.48″
  • LED clearance: the LED strip sat ~0.5″ proud of the backing
  • Safety margin:0.2″ so the front layer never touches glass
  • Total minimum:1.21″

A 1″ frame crushed the stack against the glass (confirmed — it bowed the front petal layer outward). A 1.75″ frame gave clean clearance and the shadow contrast looked right. The formula predicted 1.21″ as the floor; the real-world sweet spot landed about ½″ above the floor, which matches the rule of thumb below.

Quick rule of thumb

If you don't want to measure cardstock thickness, use this shortcut that holds for 65–80 lb cardstock with 2 mm foam tape:

Minimum inside depth (inches) ≈ (layer count × 0.13) + 0.5 for LEDs + 0.2 safety.

For an 8-layer backlit piece that's (8 × 0.13) + 0.5 + 0.2=1.74″. Shop for 1.75″–2″ and you'll be safe. The cardstock weight guide covers how thickness changes by paper weight if you're using heavier stock.

Start with a template whose layer count fits a standard frame
These 5–7 layer Cricut shadow box templates are designed to sit comfortably inside the most common 1.5″–2″ deep frames. Pick one, run the formula above, and you can shop for your frame with confidence before you cut a single sheet.

Shadow Box Depth Reference Chart by Layer Count

This chart assumes 65–80 lb cardstock and 2 mm foam tape — the most common Cricut shadow box configuration. It gives you the recommended inside (rabbet) depth for unlit and backlit builds. "Sweet-spot frame" is the standard store depth that lands comfortably above the calculated minimum.

Fanned stack of six cut paper cardstock layers for a shadow box showing graduated depth
LayersCalc. min. (unlit)Calc. min. (backlit)Sweet-spot frame depthGood for
3–4~0.6″~1.1″1″–1.25″Simple silhouettes, beginner first projects
5–6~0.9″~1.4″1.5″Most florals, animals, standard papercut scenes
7–8~1.2″~1.7″1.75″–2″Detailed florals, premium multi-layer designs
9–10~1.5″~2.0″2″–2.25″Intricate gallery pieces, ten-layer premium art
11+~1.8″+~2.3″+2.5″+Exhibition pieces, diorama-style builds
An intricate premium papercut shadow box with ten finely detailed layers creating dramatic depth

How to read this table

  • The calc. min. columns are the floor from the formula — your stack will fit, but barely. Do not buy a frame at or below this number.
  • The sweet-spot column is roughly 0.3″–0.5″ above the floor, which gives you visible shadow contrast and room for the front layer to clear the glass.
  • If your design uses 3 mm foam tape instead of 2 mm, add roughly 0.04″ per spacer gap to the calculated minimum.
  • If you stack on foam adhesive squares (commonly ⅛″ / 0.125″ each), recalculate — those are thicker than 2 mm tape and push you up a frame size fast.

For layer-count context on real finished builds, the Cricut shadow box ideas gallery shows 3-layer through 10-layer projects side by side.

Standard Shadow Box Frame Depths: What's Actually Available

You can calculate a perfect 1.6″ depth all day — but stores sell frames in standard increments. Here are the depths you'll actually find at craft stores and online frame shops, and what each is good for.

Empty shadow box frames in natural wood, matte black and white finishes compared side by side
  • ¾″ (0.75″) — sold as "shallow box" or "float frame." Good for 2–3 layer pieces, vinyl-on-glass designs, and flat paper art. Too shallow for true layered papercut shadow boxes with foam spacers.
  • 1″ to 1.25″ — the most common "beginner shadow box." Fits 3–5 layer Cricut designs with 2 mm tape. This is where most first-timers land.
  • 1.5″ — the workhorse depth. Fits 5–7 layer builds comfortably and accommodates a thin LED strip. If you only own one depth, make it 1.5″.
  • 1.75″ to 2″ — premium tier for 7–9 layer designs and most backlit pieces. This is the depth I buy for florals I intend to light.
  • 2.25″ to 3″ — deep box frames for 10+ layer gallery pieces and diorama-style papercut art with physical objects.
  • 3″+ — display shadow boxes. Usually overkill for pure layered paper; better for memorabilia and mixed-media work.
Crafter holding up and inspecting an empty deep wooden shadow box frame before purchase

Two measurements stores confuse

When a listing says "1.5 inch deep shadow box," check whether that's the outside moulding depth or the inside (rabbet) depth. They are not the same. A 1.5″ outside depth frame often has only ~1.1″–1.25″ of usable inside depth once you account for the glass, backing board, and frame lip. The formula above targets inside depth — that's the number that has to fit your stack. Always shop to the inside depth, not the moulding.

Shallow vs Deep Frames: Trade-offs to Consider

Once you've calculated the minimum, you still get to choose how much margin to add. Going shallow vs going deep changes how the finished piece reads, how heavy it is, and where you can hang it.

Tall stack of layered paper-cut sheets too deep to fit a shallow shadow box frame beside it

Shallow frames (1″–1.5″)

  • Pros: Lighter on the wall, cheaper, easier to find in standard sizes, lower shipping cost if you sell your work. Shadow contrast is crisp because layers sit close to the glass.
  • Cons: Can't accommodate many layers or LED strips without recalculating. Less dramatic depth. Harder to retrofit if you miscalculated.
  • Best for: 3–6 layer designs, unlit pieces, gallery walls with many frames, beginner builds where you want a guaranteed fit.

Deep frames (2″ and up)

  • Pros: Dramatic dimensional read, room for LED backlighting, accommodates premium 8–10+ layer designs, leaves margin for error. Looks more "gallery."
  • Cons: Heavier, needs sturdier hanging hardware, costs more, shadows can soften if depth exceeds what the design needs. The art can look "lost" if the depth is way beyond the stack.
  • Best for: Backlit pieces, detailed florals, show pieces, any build where the formula says 1.7″+.
Papercut art float-mounted in a deep glassless shadow box frame on a wall

The depth-to-design match

A common mistake is assuming deeper is always better. It isn't. A 5-layer design in a 3″ deep frame looks sparse — the layers cluster near the front and the back of the box is empty. Match depth to the layer count in the reference chart, not to "the deepest frame I could find." A tightly matched shallow frame almost always looks more intentional than a loosely matched deep one.

Building a backlit piece? Match the template to a 1.75″–2″ frame
These floral and seasonal templates are engineered for 6–8 layers, which lands cleanly in the backlit sweet-spot depth. Add a warm-white LED strip and you get the stained-glass glow without recalculating your frame.

Choosing Depth Based on Your Skill Level

Your experience level should shape which depth you default to, because it shapes how many layers you'll realistically cut and assemble cleanly.

A simple assembled papercut shadow box made from four to six paper layers showing modest depth

Beginner (first 1–5 projects)

Default to a 1.25″–1.5″ frame and choose templates in the 4–6 layer range. Beginners underestimate alignment time; a shallower frame with fewer layers is forgiving, fast to assemble, and still looks dimensional. You also avoid the disappointment of buying a deep frame for a 4-layer design that ends up looking sparse. Start with our five easy beginner shadow box projects for templates sized to standard frames.

Intermediate (comfortable with 6–8 layers)

Standardize on 1.75″ frames. This is the depth that handles the widest range of 6–8 layer templates, leaves room for a thin LED strip, and looks intentional on most designs. If you only stock one depth in your craft room, make it 1.75″.

Several finished layered paper-cut shadow boxes of different themes lined up on a shelf

Work in 2″–2.5″+ depth and recalculate per project. At this tier you're often mixing cardstock weights, layering in vellum diffusion sheets, and routing custom LED channels, so the formula matters more than the chart.

The individual cut paper layers of a shadow box laid out in a row before assembly to review depth and detail

Advanced builders should also consider how to assemble layered shadow boxes with spacers and glue — spacer material choice shifts the depth math noticeably.

Special Depth Considerations for LED Lights and Backlighting

Backlighting is the single biggest reason crafters outgrow a 1.5″ frame. LED strips and fairy-light strings occupy real depth behind your stack, and that depth has to be added to your minimum before you buy.

Hands pressing a warm-white LED strip light around the inner perimeter of a shadow box frame backing board

How much depth LEDs actually add

  • LED strip on the backing board (perimeter loop): add ~½″ (0.5″) — the strip sits proud of the backing and the connector/wire junction adds height at one corner.
  • LED strip as a full back panel (dense backlight): add ~¾″ (0.75″) — denser strips and the diffuser gap eat more space.
  • Fairy lights / copper wire string: add ~⅜″–½″ — thinner than strips, but the battery pack needs to live somewhere (usually behind the backing board, which doesn't count against glass-to-stack depth but does affect overall frame depth).
  • No lighting: add 0″.
Battery-operated warm white LED fairy lights with a battery pack tucked behind a papercut shadow box frame

Two LED-specific gotchas

  1. The corner connector. Strip LED joins sit ~0.1″–0.15″ higher than the rest of the strip. If your calculated minimum lands within 0.15″ of the frame's inside depth, the connector will press into your back layer. Add safety margin or route the connector into a small notch in the backing.
  2. Heat and the front layer. Dense LED backlights warm the inside of the frame. If your front layer sits too close to the glass in a shallower-than-calculated frame, humidity + warmth can make cardstock bow and touch the glass. This is the single best argument for respecting the safety margin in the formula.

For the full LED installation walkthrough (including how to route wires without eating depth), see our guide on adding LED lights to a shadow box safely.

Measuring Frame Depth: What to Look for When Shopping

Listings lie, packaging rounds, and "depth" means different things to different manufacturers. Here's how to verify a frame's actual usable depth before you commit.

Measuring tape across shadow box frame interior demonstrating proper measurement technique for accurate sizing

The three-depth vocabulary

  • Outside moulding depth — the total depth of the frame from the wall to the front face. Useless for fitting art. This is the number most listings lead with.
  • Inside / rabbet depth — the recessed space between the back of the glass and the front of the backing board. This is the number you calculate against.
  • Usable stack depth — inside depth minus the glass thickness (⅛″) minus the backing board thickness (⅛″–¼″). This is what your cardstock stack actually gets. It's typically 0.25″–0.4″ less than the listed inside depth.

How to measure in store

  1. Open the frame (or ask). Lay a rigid ruler across the back of the frame opening.
  2. Measure from the back face of the glass to the front face of the backing board. That's inside depth.
  3. Subtract ~0.25″ for glass + backing. That's your usable stack depth.
  4. Compare usable stack depth to your formula result. Buy only if usable stack depth ≥ formula minimum + safety margin.
Overhead flat lay of shadow box supplies including a frame colored cardstock foam dots and craft tools

Shopping online

If you can't measure in person, filter listings on "inside depth" or "rabbet depth" specifically, and add 0.3″ of cushion to your formula minimum to absorb listing inaccuracy. Avoid listings that only state "depth" without specifying inside vs outside — those are the frames that surprise crafters. When a frame is described as "deep" without a number, assume 1″ and verify before buying.

Ready to fill a deeper frame? These intricate templates reward the depth
Premium 7–10 layer designs like these are built to take advantage of 1.75″–2.5″ frames and backlit LED clearance. If you've graduated past beginner depths, these are the templates that justify the deeper frame.

Matching Frame Depth to the Right SVG Template

MMA sells digital SVG templates, not frames — so the practical "product recommendation" question is: which template's layer count fits the frame depth you already own? Pairing the two correctly is what makes a frame look custom-made for the art.

Sets of cut cardstock shadow box layers in several different sizes arranged for various frame dimensions

If you already own a 1″–1.25″ frame

Shop for 4–5 layer templates. These fill a shallow frame edge-to-edge without crowding the glass. Simpler silhouettes — single animals, basic florals — read best at this depth.

If you own a 1.5″ frame (the most common)

Shop for 5–7 layer templates. This is the largest tier of our catalog and the safest match for the depth most crafters already have. Standard florals (rose, lily, hydrangea) and character pieces (cats, foxes, gnomes) land here.

Partially assembled layered paper-cut shadow box stack with the next layer being lowered onto foam spacers

If you own a 1.75″–2″ frame

Shop for 7–9 layer templates and consider backlighting. Premium holiday pieces (Christmas deer, cardinal, detailed nativity-style scenes) are designed for this depth and look best lit. The extra layers fill the deeper box so the art doesn't read as sparse.

If you own a 2.25″+ frame

Shop for 9+ layer gallery templates or plan a diorama-style build. At this depth you can mix cardstock weights and add vellum diffusion layers between cut layers for soft light gradient effects.

A note on cardstock: heavier stock (80 lb+) increases per-layer thickness and can push you up a frame tier. Cross-reference your paper with the cardstock weight guide before finalizing the match.

Common Frame Depth Mistakes to Avoid

Most depth failures cluster into a handful of repeat mistakes. Avoid these and your hit rate on first-try frame fits goes way up.

A dry-fit test stack of cut cardstock papercut layers separated by foam spacers being checked for depth

1. Shopping the outside depth, not the inside depth

The single most common mistake. A "2 inch deep shadow box" listing usually means 2″ of moulding, which translates to ~1.5″–1.7″ of usable inside depth. Always convert to inside depth before comparing to your formula result.

2. Forgetting the LED strip adds depth

Crafters calculate the unlit minimum, buy the frame, then add LEDs and the stack won't fit. If there's any chance you'll backlight, include LED clearance in the original calculation. It's cheaper to buy one slightly deeper frame than two frames.

3. Using foam squares when the formula assumed 2 mm tape

Foam adhesive squares are commonly ⅛″ (3.2 mm) thick — that's 60% thicker than 2 mm tape. On a 7-layer build that's an extra ~0.4″ of depth, enough to push you out of a 1.5″ frame. Recalculate with the actual spacer thickness.

4. Buying "the deepest frame available"

Depth is not a quality score. Over-deep frames make art look lost and weaken shadow contrast. Match the depth to the layer count chart, not to maximum available.

Assorted adhesive foam spacers — dots, squares and strips — beside freshly cut cardstock papercut layers

5. Skipping the dry-fit

Before gluing, dry-stack every layer with its spacers and slide the assembly into the frame. A dry-fit catches a miscalculation in five minutes; a glued assembly catches it after the damage is done. This is the single highest-leverage habit in shadow box crafting.

6. Trusting the chart without adjusting for heavy cardstock

The reference chart assumes 65–80 lb stock. If you're cutting 100 lb or glitter cardstock (which cuts thicker), add ~0.03″–0.05″ per layer. For the full troubleshooting path when a build goes wrong, our common beginner mistakes guide covers the depth-related failures in more detail.

1.What's the minimum frame depth for a 5-layer Cricut shadow box?
Using 65–80 lb cardstock and 2 mm foam tape, the calculated minimum inside depth for an unlit 5-layer build is about 0.9″, and about 1.4″ if backlit with an LED strip. In practice you should shop for a 1.5″ frame — the sweet-spot depth that gives clean shadow contrast and keeps the front layer off the glass. Never buy a frame at or below the calculated minimum.
2.Can I use a 1" deep shadow box for layered paper art?
Yes, but only for 3–5 layer designs with 2 mm foam tape and no backlighting. A 1″ inside-depth frame leaves roughly 0.7″–0.75″ of usable stack depth once you subtract glass and backing, which fits a simple 4-layer build comfortably but will crush anything 6 layers or deeper. For most Cricut layered paper art, 1.5″ is a safer default.
3.How do I measure the inside depth of a shadow box frame?
Open the frame and measure from the back face of the glass to the front face of the backing board — that's the inside (rabbet) depth. Subtract about 0.25″ for the glass and backing board thickness to get your usable stack depth. Always compare usable stack depth, not the outside moulding depth, to your calculated minimum.
4.What depth should a beginner choose for their first Cricut shadow box?
Start with a 1.25″–1.5″ frame and a 4–6 layer template. Shallower frames are forgiving, faster to assemble, and still look dimensional. Beginners often underestimate alignment time, so a frame that comfortably fits fewer layers will give you a clean first result without forcing you to recalculate or buy a second frame.
5.How much extra depth should I leave for LED lights?
Add about ½″ (0.5″) for a perimeter LED strip loop, about ¾″ (0.75″) for a dense full-back LED panel, and about ⅜″–½″ for fairy lights. Build this into your original depth calculation rather than adding lights after you buy the frame — the LED strip and its corner connector are the most common reason a calculated-minimum frame ends up too shallow.

Get the Depth Right and the Rest Follows

Shadow box frame depth is the one variable in Cricut layered paper art you can fully control before you spend money. Run the formula, check it against the layer-count chart, account for LED clearance if you're backlighting, and shop to inside depth — not the outside moulding number on the listing. Do that and the frame you buy will fit the first time, every time.

Deep shadow box with an ornate layered papercut floral border framing hand-lettered art

If you take one rule from this guide, make it this: calculate the minimum, then add 0.3″–0.5″ of cushion. That cushion is the difference between a frame that fits and a frame that flatters your art. For everything that sits around depth — footprint sizing, frame styles, hanging hardware — pair this with our broader shadow box frame sizing guide, and for project ideas that match each depth tier, browse the DIY shadow box ideas catalog.

Ready to put a depth to work? Pick a template from the Mural Moods Art shadow box collection, match its layer count to the chart above, and you'll know exactly which frame to buy before you cut a single sheet.