Articles9 min read

Cricut Flower Shadow Box Projects (Hydrangea, Lily, Rose & More)

Three complete project recipes with exact cardstock colours, Cricut settings, and assembly instructions — so you can pick a flower, load your mat, and start cutting today.

Simple floral silhouette shadow box with layered rose petals creating depth through backlighting

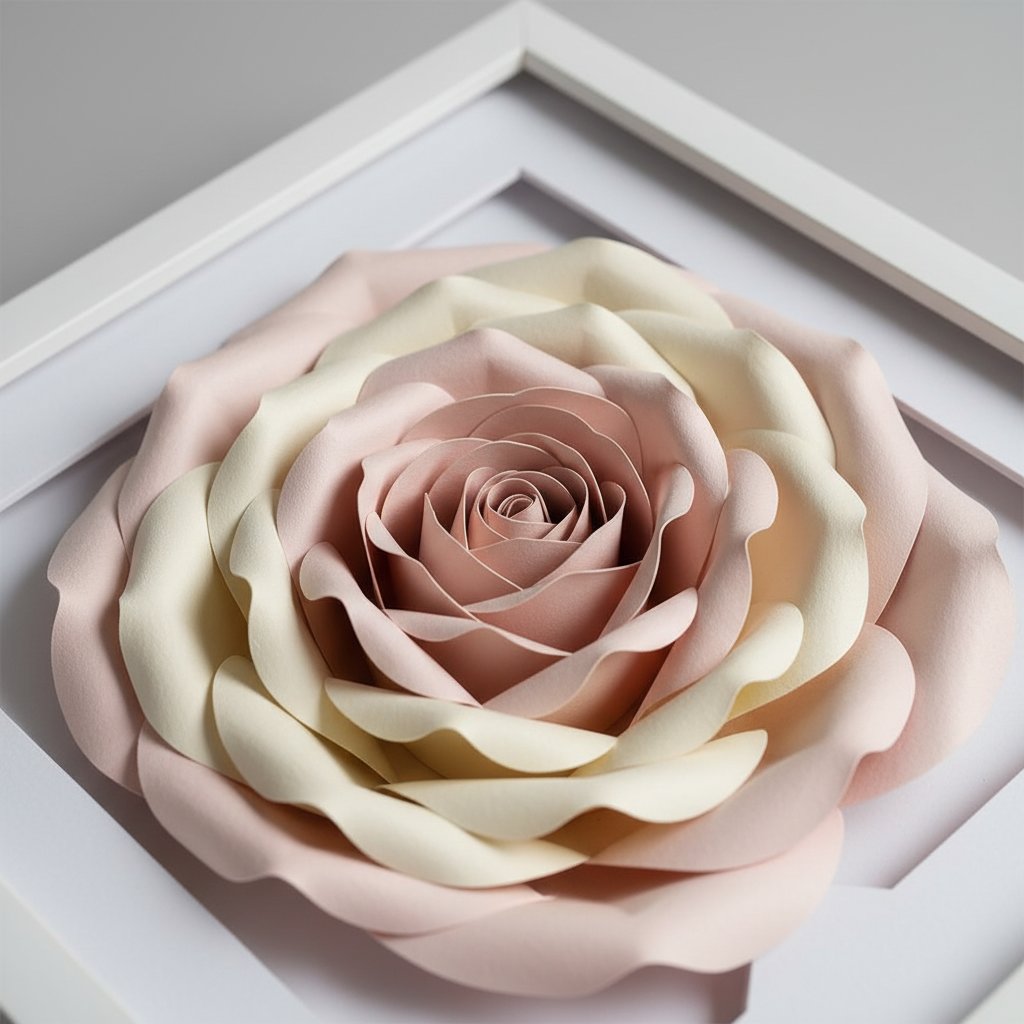
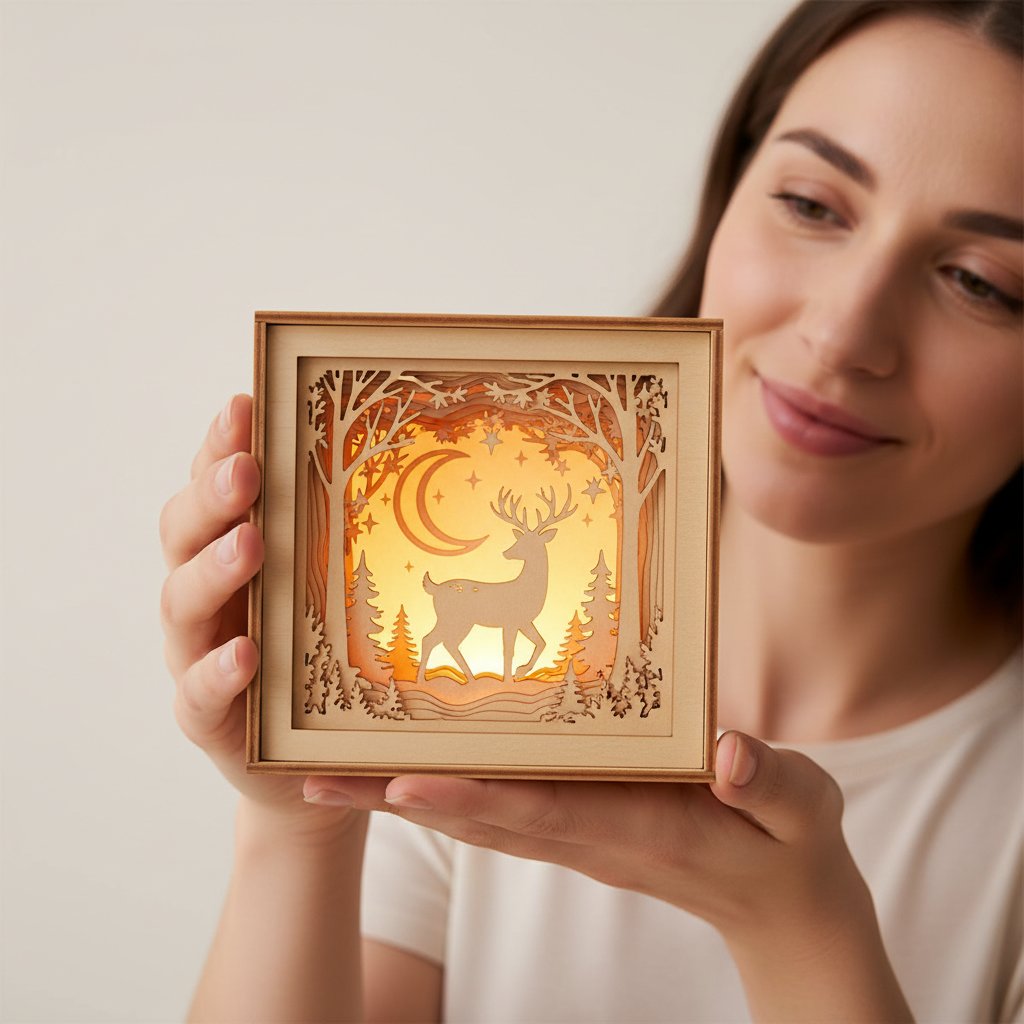
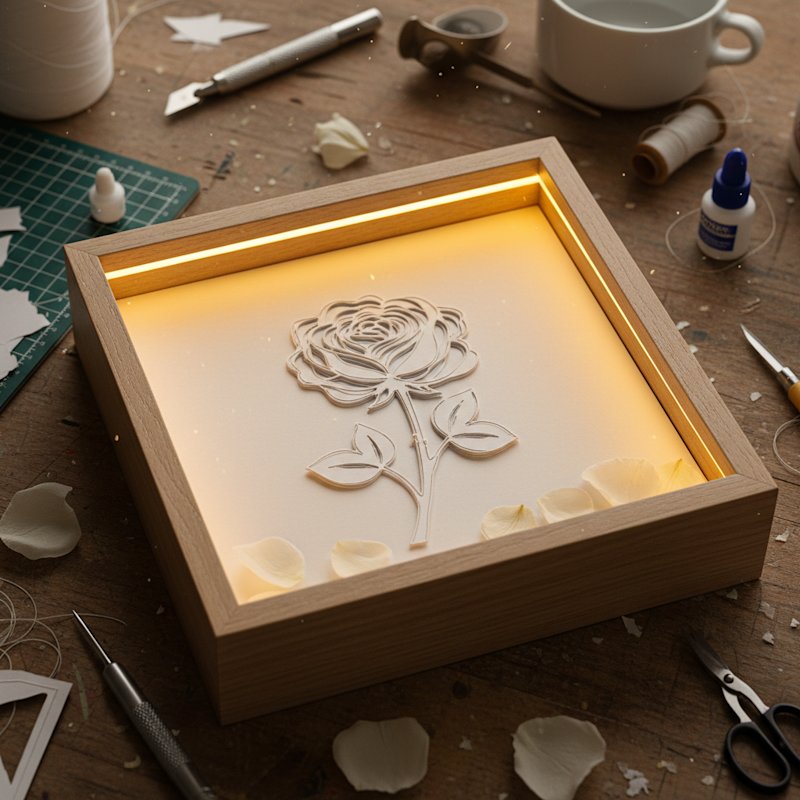
Flower shadow boxes are the most rewarding projects you can make with a Cricut. The organic curves of petals and leaves cut cleanly, the layered depth creates a stunning 3D effect, and the finished piece looks like real pressed-flower art — not something cut from sheets of paper.

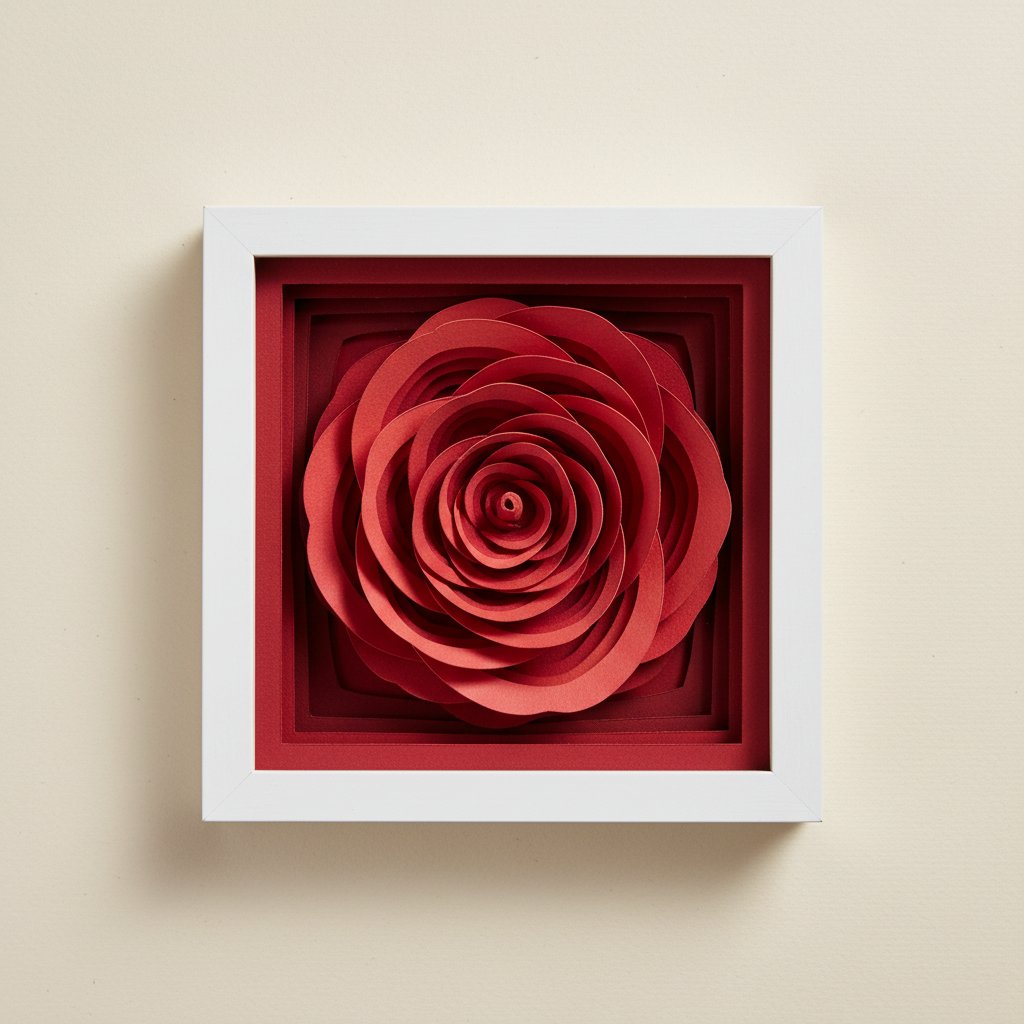
I've made dozens of floral shadow boxes on my Cricut Maker, and in this guide I'm sharing three complete project recipes: hydrangea, lily, and rose. Each one includes the exact cardstock colours I used, the Design Space settings that produced clean cuts, and my assembly tips learned from actually building these projects (including the mistakes I made so you can avoid them).

If you're looking for general flower shadow box inspiration (beyond Cricut-specific instructions), see our flower shadow box ideas guide. This article is focused on the machine-side: getting perfect cuts and assembling beautiful floral pieces.

Why Flowers Are the Best First Shadow Box Project

Fanned stack of colored cardstock sheets beside cut paper flower petals ready for layering

Flower designs are ideal for Cricut crafters because:

  1. Organic shapes cut cleanly. Petal curves and leaf edges are forgiving — slight imperfections look natural, not flawed. A geometric design with straight lines shows every tiny wobble; a flower hides it.

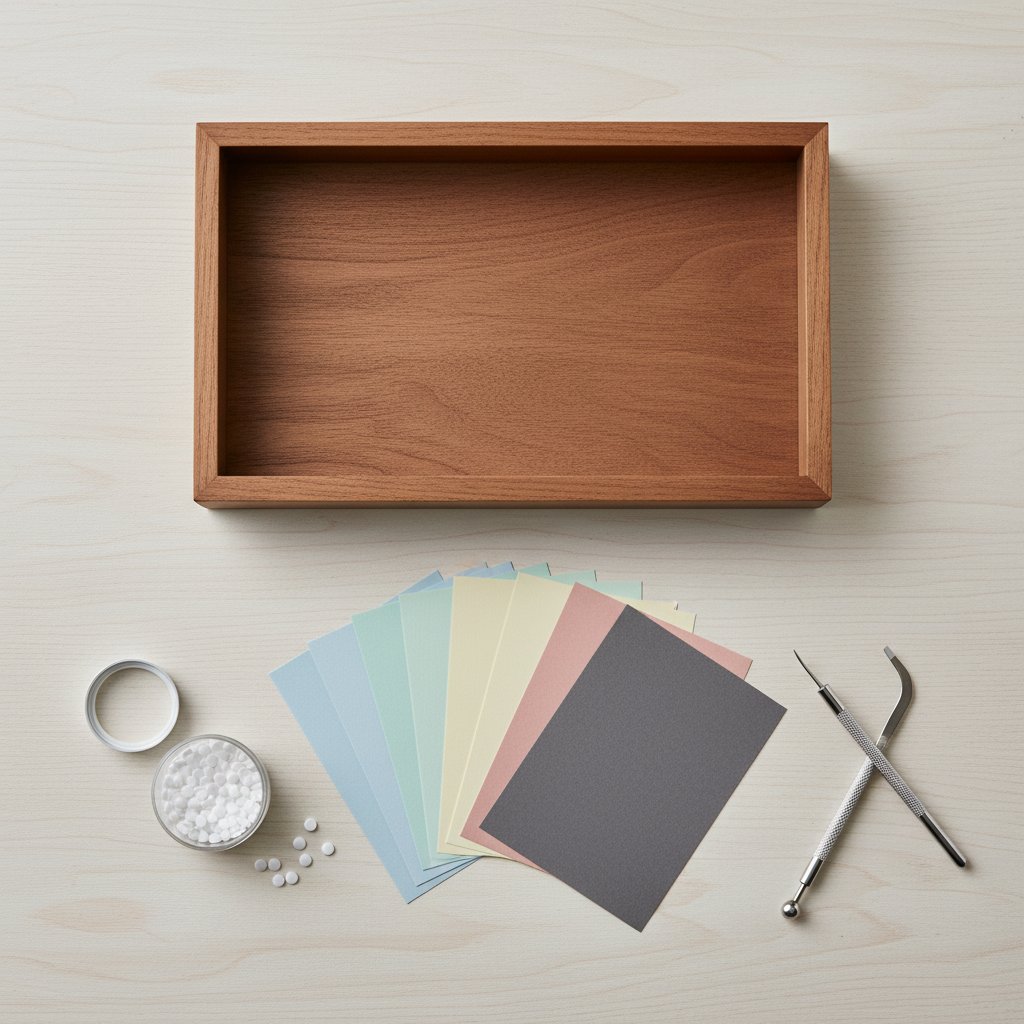
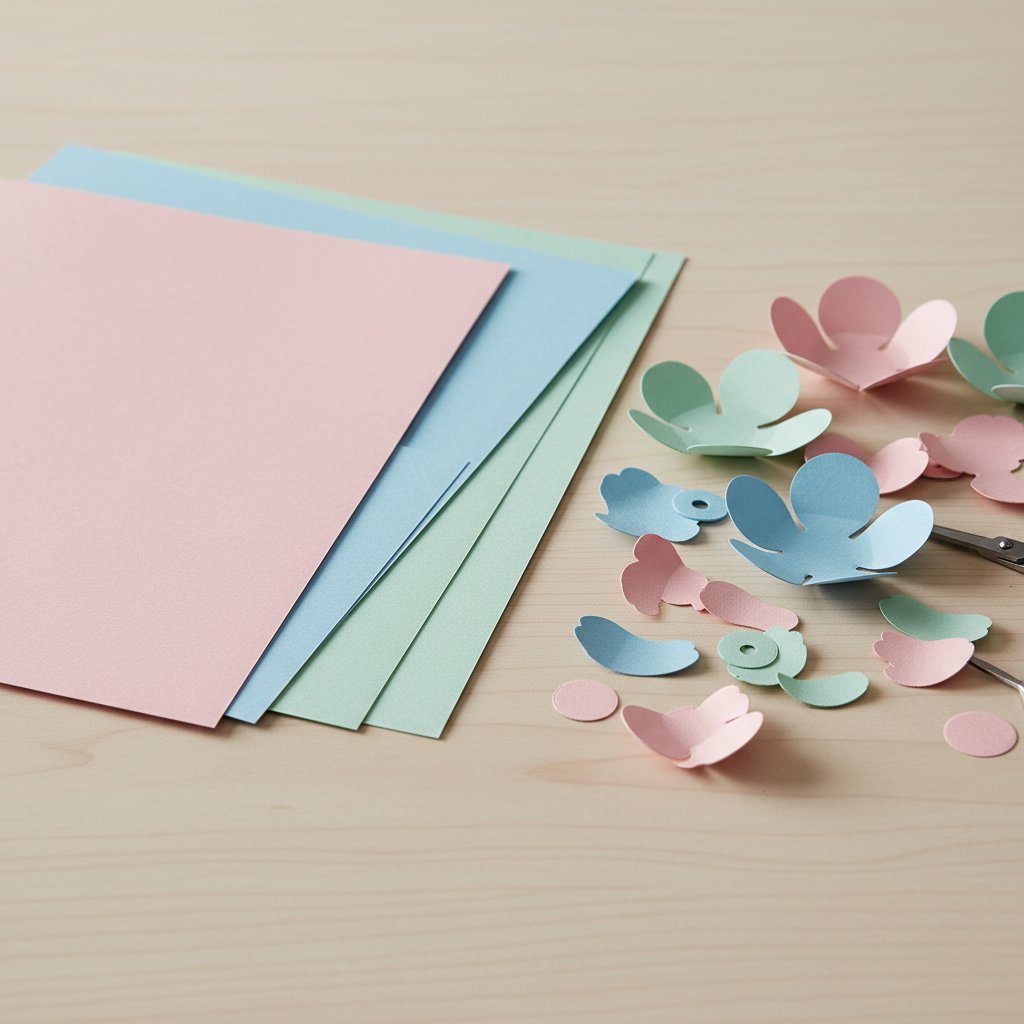
  2. Colour is your depth cue. Each layer naturally needs a different shade, which makes choosing cardstock intuitive. Darker greens in back, lighter petals in front — the colour gradient does the work for you.

  3. They're universally appealing. A rose shadow box works as home decor, a gift, a wedding piece, or a Mother's Day present. You'll never struggle to find someone who appreciates one.

The three flowers I've chosen — hydrangea, lily, and rose — represent beginner, intermediate, and intermediate difficulty levels. Start with whichever matches your experience.

Project 1: Hydrangea Shadow Box (Beginner)

Close-up of layered paper-cut flower shadow box showing depth between rose petal layers with soft shadows

The hydrangea is my #1 recommendation for a first floral shadow box. The design is made up of dozens of small circular petal clusters that build up into a full bloom across 5-6 layers. The shapes are bold and rounded — no fine bridges or tiny inner cuts that could tear during weeding.

Difficulty: Beginner

Layers: 5-6

Frame: 8×8 inch, 1.5 inch depth

Cardstock Colours

| Layer | Colour | Weight | Purpose | |-------|--------|--------|---------| | Background | Dark navy blue | 65 lb | Sky backdrop | | Layer 2 | Medium blue | 65 lb | Outer petal clusters | | Layer 3 | Lavender | 65 lb | Mid bloom detail | | Layer 4 | Light blue | 65 lb | Inner petal highlights | | Layer 5 | Pale green | 65 lb | Leaves and stem | | Foreground | White | 80 lb | Petal highlights (optional)

Cricut Design Space Settings

  • Material: Medium Cardstock – 80 lb (or custom: Pressure 320, Multi-Cut 1x) - Blade: Fine-point (German carbide, replace if you've cut 50+ mats) - Mat: StandardGrip (Purple) - Cut speed: Default — no need to slow down for these shapes

My tip: if you have the Cricut Maker, use the Pressure: More setting for 65 lb cardstock. It produces slightly cleaner edges on the circular petal shapes. For our full settings breakdown, see the Cricut cardstock settings guide.

Assembly Notes

The hydrangea is forgiving to assemble. Start with the navy background, then stack the blue and lavender layers with 2mm foam squares between each. The petal clusters naturally overlap, so precise alignment isn't critical — I found that eyeballing the position works better than trying to line up every tiny circle.

Don't add the leaf layer until the bloom layers are stacked and you're happy with the positioning. The leaves sit behind and around the bloom, and they're easier to place once you can see the full flower depth.

Hydrangea Shadow Box SVG — Test-Cut for Cricut
This hydrangea shadow box template has been precision-tested on Cricut machines. Pre-organised layers, clear colour-coded instructions, and guaranteed clean cuts at standard cardstock settings. Download and start cutting immediately.

Project 2: Lily Shadow Box (Intermediate)

Deep shadow box with an ornate layered papercut floral border framing hand-lettered art

Lilies have long, sweeping petals that create elegant silhouette layers. The design is more geometric than the hydrangea — the petal shapes are elongated and the stamen details in the foreground require careful cutting. But the payoff is a piece that looks like stained glass when backlit.

Difficulty: Intermediate

Layers: 6-8

Frame: 8×10 inch, 2 inch depth (lilies benefit from the extra height)

Cardstock Colours

| Layer | Colour | Weight | Purpose | |-------|--------|--------|---------| | Background | Dark teal or deep green | 65 lb | Rich backdrop | | Layer 2 | Medium green | 65 lb | Foliage silhouette | | Layer 3 | Light green | 65 lb | Leaf detail | | Layer 4 | Cream or pale pink | 65 lb | Outer petals | | Layer 5 | White | 65 lb | Inner petals | | Foreground | White | 80 lb | Stamen and detail (finest cuts) |

Cricut Design Space Settings

  • Material: Medium Cardstock – 80 lb for the foreground layer; 65 lb for all others - Blade: Fine-point — must be sharp. The stamen pieces are thin and a dull blade will tear them. - Mat: StandardGrip. Use a fresh sticky mat for the foreground layer — the tiny stamen pieces can shift on a worn mat. - Multi-Cut: 2x for the foreground layer only (the stamen detail benefits from a second pass)

My tip: cut the foreground stamen layer on 80 lb cardstock with Multi-Cut 2x. The heavier paper holds the fine detail better and the second pass catches any spots the blade didn't fully cut on the first pass. If you're struggling with torn cuts, see our troubleshooting bible.

Assembly Notes

The lily's elongated petals mean alignment matters more than with the hydrangea. The key alignment point is the centre of the flower — all petal layers radiate from a single centre point, so if you get that lined up, the rest falls into place naturally.

I use a pinhole through the centre of each layer (made before assembly) as a registration mark. Line up all the pinholes and the design self-aligns. This trick saved me from three lily shadow boxes that were slightly off-centre before I started using it.

Lily Shadow Box SVG — Stained Glass Effect
The lily shadow box template produces a stunning stained-glass effect when backlit. Tested on Cricut Explore and Maker. Includes 7 layers with pre-grouped cutting order and colour recommendations. Perfect as a statement wall piece.

Project 3: Rose Shadow Box (Intermediate)

Single layered paper-cut red rose silhouette shadow box in a square frame

Roses are the most dramatic floral shadow box you can make. The tightly curled petals create incredible depth when stacked — each layer reveals more of the bloom, building from the outer petals through to the centre. A well-made rose shadow box genuinely looks like a real rose preserved in paper.

Difficulty: Intermediate

Layers: 7-9

Frame: 8×8 inch, 1.5-2 inch depth

Cardstock Colours

Classic Red Rose Palette:

| Layer | Colour | Weight | Purpose | |-------|--------|--------|---------| | Background | Black or dark grey | 65 lb | Dramatic contrast | | Layer 2 | Dark green | 65 lb | Outer leaves | | Layer 3 | Deep crimson | 65 lb | Outer petals | | Layer 4 | Dark red | 65 lb | Mid petals | | Layer 5 | Medium red | 65 lb | Inner petals | | Layer 6 | Bright red | 65 lb | Inner petals | | Foreground | Light red / scarlet | 80 lb | Centre bloom detail |

Elegant White Rose Palette: For a wedding or minimalist look, use the same layer structure with cream, off-white, and pearl white tones. Add a gold or sage green background layer for contrast. See our wedding flower shadow box guide for more wedding-themed ideas.

Cricut Design Space Settings

  • Material: Medium Cardstock – 80 lb for the outer petal layers (they need to hold curved shapes); 65 lb for background and leaf layers - Blade: Fine-point. Fresh blade essential — the petal edges have delicate curves that a dull blade will crush rather than cut. - Mat: StandardGrip. The petal pieces are larger than lily stamen, so mat stickiness is less critical, but a clean mat still produces better cuts. - Multi-Cut: 1x for most layers; 2x for the foreground detail layer

My tip: the outer petal layers have the most visible curves. Cut these on the smooth side of your cardstock facing up, and make sure the mat is clean so the paper doesn't shift mid-cut. Even a 1mm shift on a curved petal creates a visible notch. Our cardstock guide covers which brands have the smoothest surfaces.

Assembly Notes

The rose is the most demanding of the three projects to assemble, because the petal layers need to be centred precisely. Each layer reveals the one beneath it, so offset layers look obviously wrong.

Work from the outside in: background → leaves → outer petals → inner petals → centre. Use 2mm foam squares between layers for a natural depth, or 3mm if your frame has room. The deeper the spacing, the more dramatic the 3D rose effect.

For a stunning finish, add warm LED lights behind the rose. The backlighting shines through the petal cutouts and makes the rose glow from within. Our LED safety guide covers the exact placement.

Rose Shadow Box SVG — Our Most Gifted Design
The rose shadow box template is our most gifted floral design. Layered for dramatic 3D depth, precision-tested for Cricut, and available in sizes for 6×6 to 10×10 frames. Perfect for anniversaries, Valentine's Day, or elegant home decor.

Cricut-Specific Tips for All Flower Projects

Overhead flat lay of shadow box supplies including a frame colored cardstock foam dots and craft tools

These tips apply to any floral shadow box you cut on a Cricut:

Blade Choice

Use the fine-point blade for all flower shadow boxes. The deep-cut blade is overkill for 65-80 lb cardstock and can actually tear the delicate petal edges. Our blade comparison guide has the full breakdown.

Mat Management

Flower designs use more mat space than you'd expect because the petal shapes don't tessellate efficiently. Plan for 1-2 mats per layer. Use a well-maintained mat — if the cardstock shifts during cutting, the curved petal edges will show it.

Cardstock Selection

For flower shadow boxes, solid-core cardstock is essential. White-core cardstock shows white edges when cut, which looks wrong on petal layers — petals should have colour all the way through. I use American Crafts or Bazzill Basics for the best results. Our cardstock guide has brand recommendations.

Adding LED Backlighting

All three flower projects in this guide look spectacular with LED lights. The light shines through the petal cutouts and creates a warm, glowing effect that transforms the piece from "nice papercraft" into "is that really paper?"

Use warm white fairy lights (copper wire, battery operated), placed between the background layer and the second layer. The full LED lighting guide covers wiring, battery placement, and safety.

Framing Your Flower Shadow Box

Floral designs look best in white or natural wood frames — the simplicity lets the paper art speak for itself. Black frames work too, especially for the red rose. See our frame sizing guide for depth recommendations per layer count.

What to Make Next

Crafter holding and admiring a finished glowing layered papercut shadow box in warm light

Once you've completed one of these flower projects, here are natural next steps:

  • Try a different flower — the assembly process is similar but the visual result is completely different. A hydrangea and a rose side by side make a beautiful pair. - Add lights — if you skipped LED backlighting, go back and add it. The transformation is worth the effort. - Make a gift set — pair a flower shadow box with a wedding anniversary piece or a Mother's Day tribute for a meaningful handmade gift. - Try our full project catalogue — browse 25+ Cricut shadow box ideas for animal, seasonal, and architectural designs. - Troubleshoot cuts — if your petals aren't cutting cleanly, our Cricut cardstock troubleshooting guide diagnoses every common issue with photos.
1.What is the easiest flower shadow box to make with a Cricut?
The hydrangea is the easiest floral shadow box for Cricut beginners. It has 5-6 layers with bold, rounded petal shapes that cut cleanly and are forgiving to assemble. The circular petal clusters don't require precise alignment — slight variations look natural.
2.Can I cut flower shadow box SVGs on a Cricut Explore?
Yes. All three flower projects in this guide work on the Cricut Explore Air 2 and Explore 3, not just the Maker. Use the fine-point blade and the Medium Cardstock setting. No special tools or blades are required.
3.How much cardstock do I need for a flower shadow box?
For a single flower shadow box with 6-8 layers, you'll need 6-8 sheets of 12×12 inch cardstock (one per layer). Buy 2-3 extra sheets in each colour to allow for test cuts and mistakes. A single 12×12 pad of 24 sheets is usually enough for 2-3 complete projects.
4.What frame depth do flower shadow boxes need?
For a 5-6 layer hydrangea, a 1.5 inch deep frame is sufficient. For the 7-9 layer rose, use a 2 inch deep frame. The more layers and the thicker your foam spacers, the deeper the frame you need. See our [frame guide](/articles/choosing-frame-size-depth-for-paper-cut-shadow-boxes/) for a complete sizing chart.
5.Do I need to resize the SVG for my frame?
Most shadow box SVGs are designed for standard 8×8 inch frames. If your frame is a different size, you'll need to resize in Cricut Design Space. Our [SVG resize guide](/articles/size-and-resize-paper-cut-shadow-box-svgs-for-any-frame/) walks you through the process step by step.