Articles17 min read

Best Paper for Cricut Paper Cutting: The Complete Materials Guide

The right paper — not your blade settings — decides whether a Cricut cut comes out crisp or torn. This guide covers the materials science behind choosing the best paper for Cricut paper cutting: weight (GSM vs pounds), grain direction, finishes, multi-layer stacking depth math, and how to stop intricate cuts from tearing.

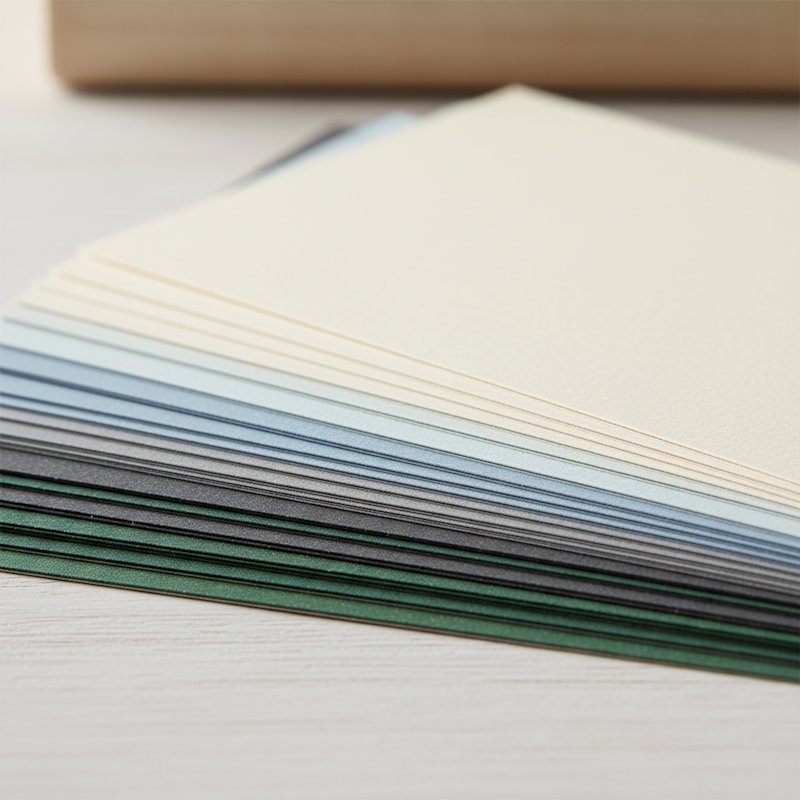
Fanned stack of cardstock sheets in graduated weights and colors showing varying thickness

Best Paper for Cricut Paper Cutting: The Complete Materials Guide

Here's the truth most "best paper" articles skip: your Cricut settings matter far less than the paper you feed into the machine. The best paper for Cricut paper cutting is the single biggest predictor of whether your cuts come out razor-crisp or frustratingly torn — and almost every crafter blames their blade first.

I learned this the hard way on a 7-layer forest shadow box. Three layers cut beautifully on 65 lb (176 gsm) cardstock; the front filigree layer kept shredding on the same settings. Same machine, same blade, same cut file — different paper. The culprit was a 65 lb sheet I'd grabbed from a discount bin that was cut against its grain direction and weighed closer to 55 lb in reality. Once I swapped to a consistent 65 lb cover-weight sheet aligned with the grain, every layer cut clean. That project taught me that paper selection — weight, finish, grain, and brand consistency — is the real craft behind dimensional paper art.

This guide is the materials-first companion to our existing cardstock resources. For the full taxonomy of cardstock types (smooth, textured, glitter, foil, vellum, kraft), read our Cricut cardstock types guide, and for shadow-box-specific cardstock strategy see our best cardstock for paper cut shadow boxes. Here we focus on what those guides don't: how to choose paper — decoding weight labels, reading grain direction, planning multi-layer stacking depth, and diagnosing tears.

By the end, you'll know exactly which weight, finish, and brand to buy for your next Cricut paper cutting project — and why.
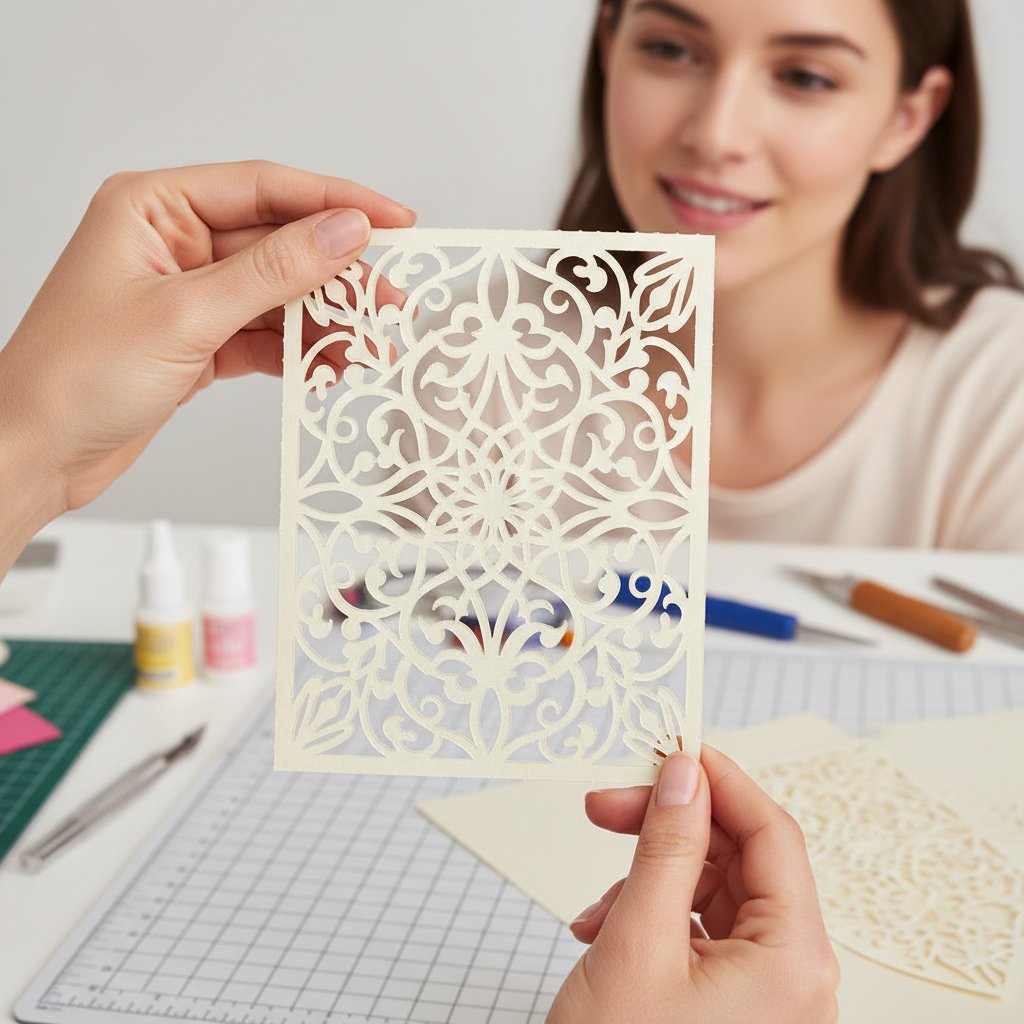
Crafter holding up a flawlessly clean-cut intricate cardstock design with crisp edges

Weight First: Decoding GSM vs Pounds

Paper weight is the single most important variable in Cricut paper cutting — and the most confusing, because the same sheet wears different numbers depending on who labelled it. Get this right and half your cutting problems disappear.

Why two systems exist

GSM (grams per square metre) measures the actual mass of one square metre of paper. It's universal and consistent — 216 gsm means the same thing whether the paper was made in Germany, China, or your local craft store. Pounds (lb), the US system, measures the weight of 500 sheets at a reference size that changes depending on paper category. Cover stock uses a 20×26 inch basis; text weight uses 25×38 inch basis; bond uses 17×22 inch basis. The result: "80 lb" means something different for cover stock than for text paper, and you cannot compare them directly.

Rule of thumb: trust GSM. When a brand only lists pounds, assume cardstock is cover weight and convert using the table below.

Cardstock weight conversion (cover weight)

lb (cover)GSMHow it feelsBest Cricut use
60 lb162 gsmLight, flexiblePractice cuts, simple shapes
65 lb176 gsmStandard cardstockIntricate front layers, fine detail
80 lb216 gsmMedium, sturdyMid layers, all-purpose cutting
90–100 lb243–271 gsmThick, premiumBacking layers, wall art
110 lb297 gsmNear-chipboardStructural bases only

The Goldilocks zone for Cricut paper cutting

80–100 lb (216–271 gsm) is the sweet spot for most Cricut paper cutting. It's heavy enough to hold its shape in dimensional pieces, light enough that a fine-point blade cuts cleanly in a single pass, and thick enough to block light where you need it. Go lighter (65 lb / 176 gsm) for the most intricate front layers where fine detail matters more than structure. Go heavier (100–110 lb) for backing and structural layers that never need to be intricate.

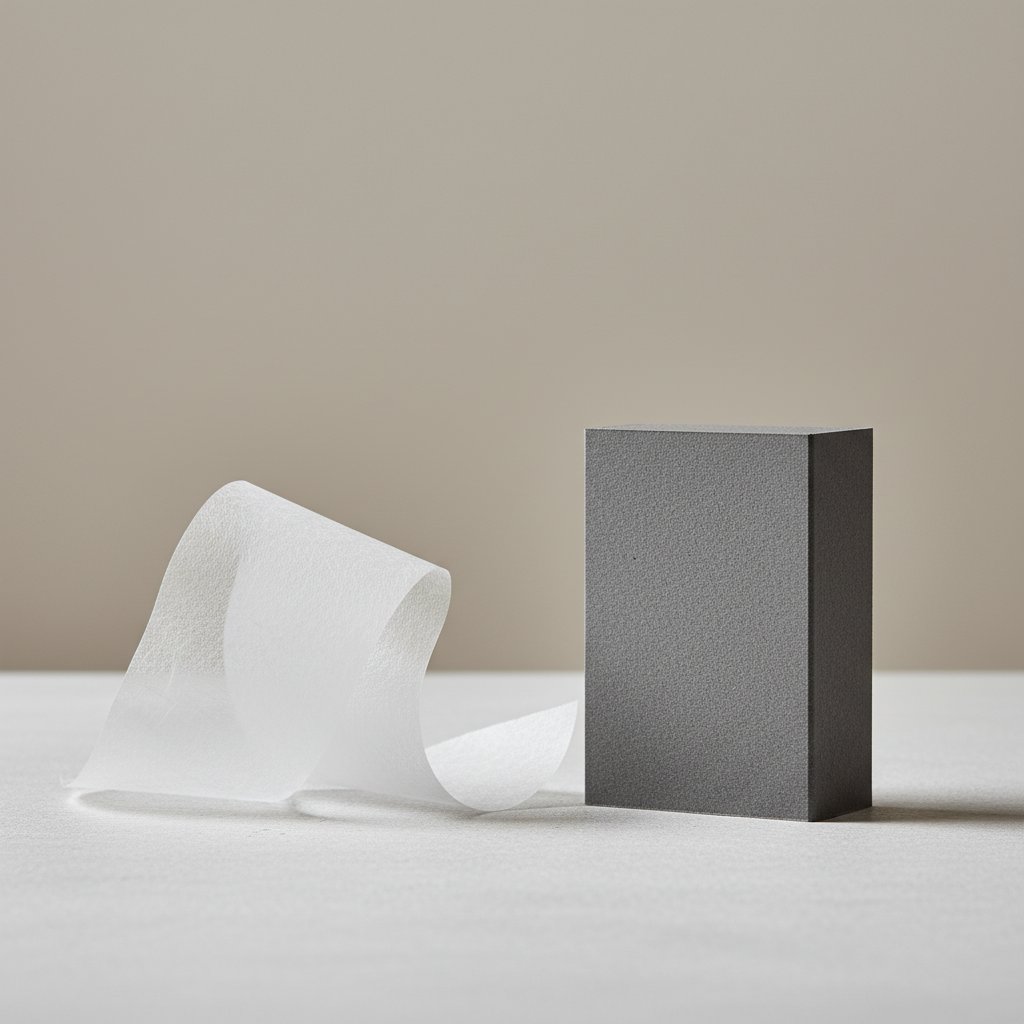
Flimsy thin paper drooping beside sturdy heavy cardstock holding its shape, comparing paper weights

Too light (under 60 lb / 160 gsm): tears on intricate cuts, sags between spacers, lets light bleed through, curls in humidity. Too heavy (over 110 lb / 297 gsm): the blade struggles, edges turn fibrous, and you'll exhaust a StandardGrip mat fast.

For cut settings matched to each weight, pair this with our Cricut cardstock settings mastery guide.

Practice Your Paper Choice on These Tested Designs
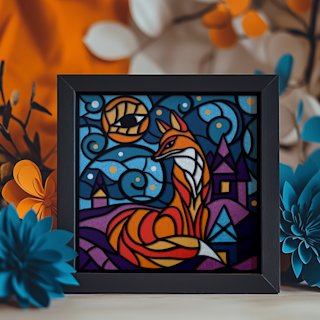
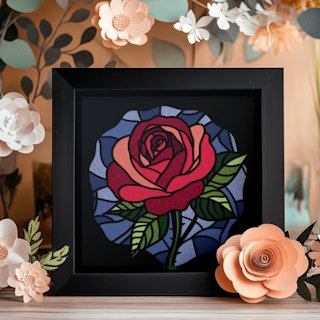
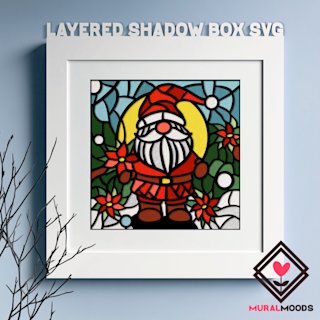
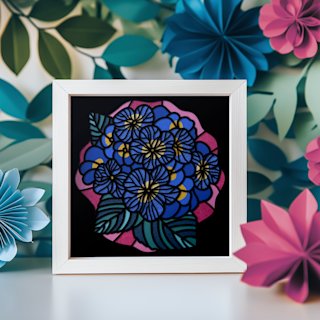
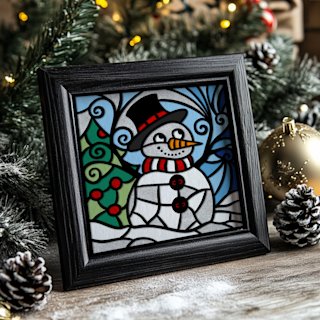
Each of these templates pairs an intricate 65 lb front layer with sturdy 80 lb backers — the exact weight split this guide recommends. Cut one and you'll immediately feel the difference the right paper makes.

Finishes: Matte, Glossy, Metallic, and Glitter

Finish affects both how your paper cuts and how the finished piece looks. Here's the quick decision framework — for the deep dive on each finish type, see the cardstock types guide.

Matte is the default for dimensional paper art. No glare means true colours and clean shadow play between layers — essential for shadow boxes and multi-layer wall art where depth is the whole point. It also cuts the cleanest because there's no coating to clog the blade.

Glossy adds sparkle and richness but shows fingerprints and can reflect light unevenly under glass. Reserve it for single-layer display pieces, not stacked layers.

Metallic and foil cardstock bounces light beautifully and reads as luxury — perfect for a single accent layer in celestial, holiday, or wedding designs. The catch: the foil coating dulls blades faster and can tear unevenly at the cut line. Use a deep-point blade and accept slightly higher blade wear.

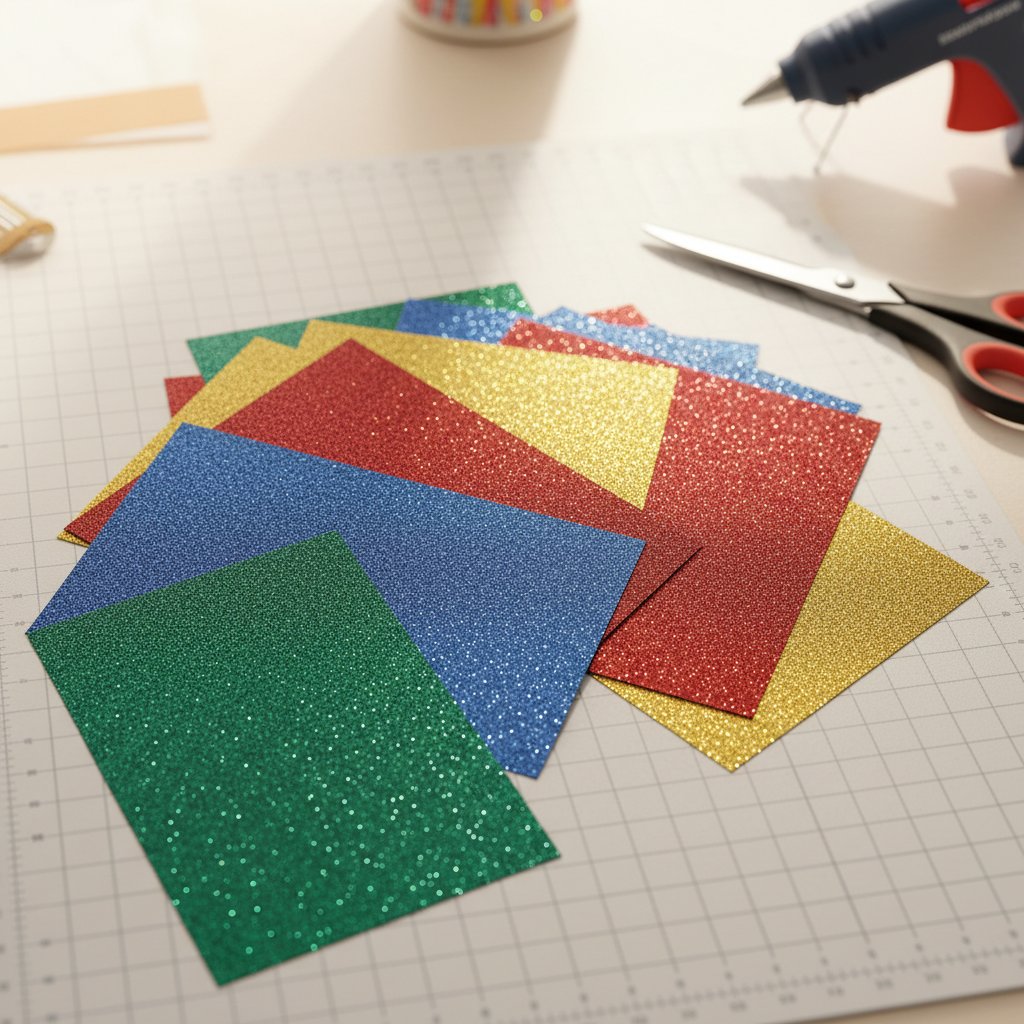
Glitter is the hardest finish to cut. The abrasive coating eats blades and sheds into your mat. The reliable approach: cut your shape in plain matte cardstock, then apply glitter as a finish (glitter glue, loose glitter, or a separate pre-cut glitter accent applied last). If you must cut glitter cardstock directly, dedicate an older blade to it and use a StrongGrip mat — see our glitter cardstock cutting secrets for the exact settings.

Fanned stack of jewel-tone glitter cardstock sheets catching the light

Textured (linen, canvas, felt) adds tactile richness on background layers but catches the blade on raised fibres during intricate cuts. Keep texture for large, simple shapes and stick to smooth stock for filigree.

Paper Grain Direction: The Secret to Tear-Free Intricate Cuts

This is the topic almost no Cricut guide covers — and it's the difference between a flawless filigree cut and a shredded one. Paper has a grain, a direction in which the fibres naturally align during manufacturing. Cutting with the grain produces cleaner edges; cutting against it produces tear-out, fuzz, and incomplete cuts on tight curves.

Why grain matters for paper cutting

Machine-made paper is pulped, spread on a moving wire mesh, and dried under tension. That process aligns most fibres in one direction — the machine direction, which becomes the paper's grain. When your blade travels parallel to those fibres, it slices cleanly between them. When it travels perpendicular, it has to sever fibres crosswise, and on a tight curve the blade drags fibres along, leaving ragged edges and lifted tufts.

On a bold geometric shape you'll never notice. On a 2 mm-wide filigree branch or a delicate petal edge, grain direction is the difference between success and starting over.

How to find the grain direction

You don't need special equipment — two quick tests work on any sheet:

  • The bend test. Gently bend the sheet in half one way, then the other (don't crease). The direction that resists more and springs back is across the grain; the direction that folds easily and stays put is with the grain.
  • The moisture test. Dampen a fingertip and touch one corner. Paper curls with the grain running along the curl's axis.

Some manufacturers mark the grain on the packaging or pad spine (a small arrow or the word "grain"). When in doubt, assume the grain runs parallel to the long edge of standard letter/A4 pads — but always test.

How to align grain with your cut

Once you know the grain, orient your paper on the mat so that your design's most delicate elements run with the grain. For a shadow box front layer full of thin branches, rotate the SVG (or the paper on the mat) so those branches point along the grain rather than across it. For a symmetrical mandala, grain matters less because cuts run in every direction — but consistency across all layers still helps.

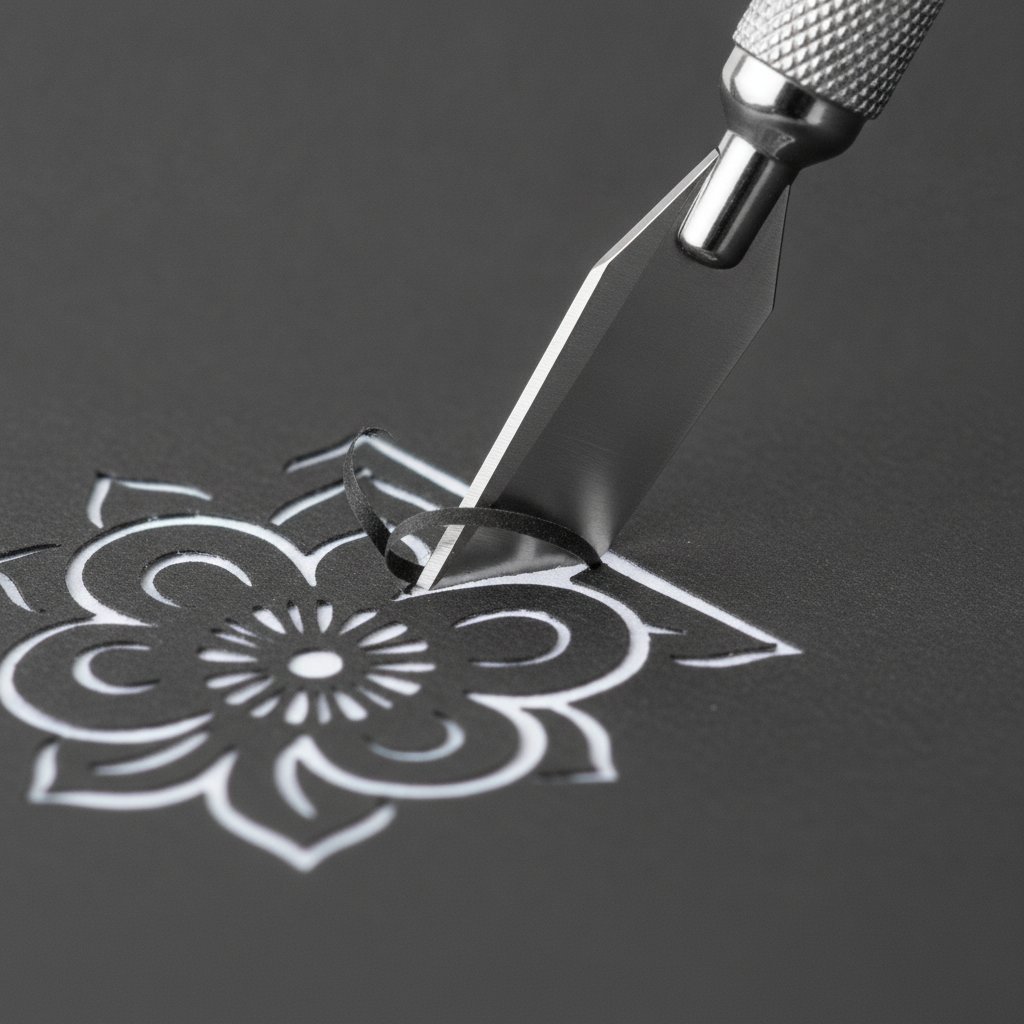
A fresh sharp craft knife making a clean precise cut through dark cardstock on an intricate floral papercut design

Grain consistency across layers

For multi-layer projects, cut every layer with the grain running the same direction. Mixing grain directions between layers causes uneven stacking, slight warping, and visible registration offsets. Buy your cardstock for a single project from the same pad or batch — grain and weight stay consistent, and your layers stack true.

Seasonal Designs That Test Every Weight and Finish
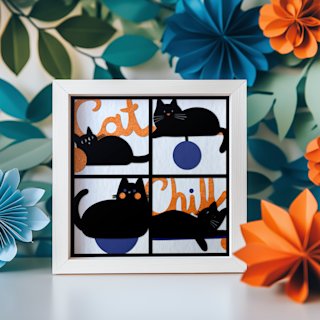
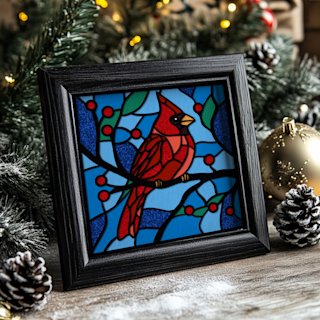
These projects combine 65 lb matte detail layers with a metallic or glitter accent — exactly the mixed-weight, mixed-finish scenario where grain direction and brand consistency make or break the cut.

Best Paper by Project Type

Different Cricut paper cutting projects ask different things of their paper. Use this matrix as your buying cheat sheet.

Project typeWeightFinishGrain priority
Multi-layer shadow box (4–8 layers)65–80 lb (176–216 gsm)MatteConsistent across all layers
Intricate single-layer cut65–80 lb (176–216 gsm)MatteCritical — align detail with grain
Greeting cards & folded projects80–100 lb (216–271 gsm)AnyAlign grain with the fold for a clean crease
Dimensional wall art (display)100–110 lb (271–297 gsm)Matte or metallicLess critical for large shapes
Glitter accent piece65–80 lb base + glitter topMatte + glitterMatch grain on both layers

Multi-layer shadow boxes need layers that stack flat and block light predictably — 65–80 lb matte is the workhorse, with darker shades in front and lighter shades behind. For the full stacking strategy, our best cardstock for shadow boxes guide goes deep on opacity and colour.

Greeting cards are the one case where grain direction has a structural rule: score and fold with the grain. A fold across the grain cracks and splits at the crease; a fold along the grain bends cleanly and holds. This single tip eliminates most "why does my cardstock crack when I fold it?" frustration.

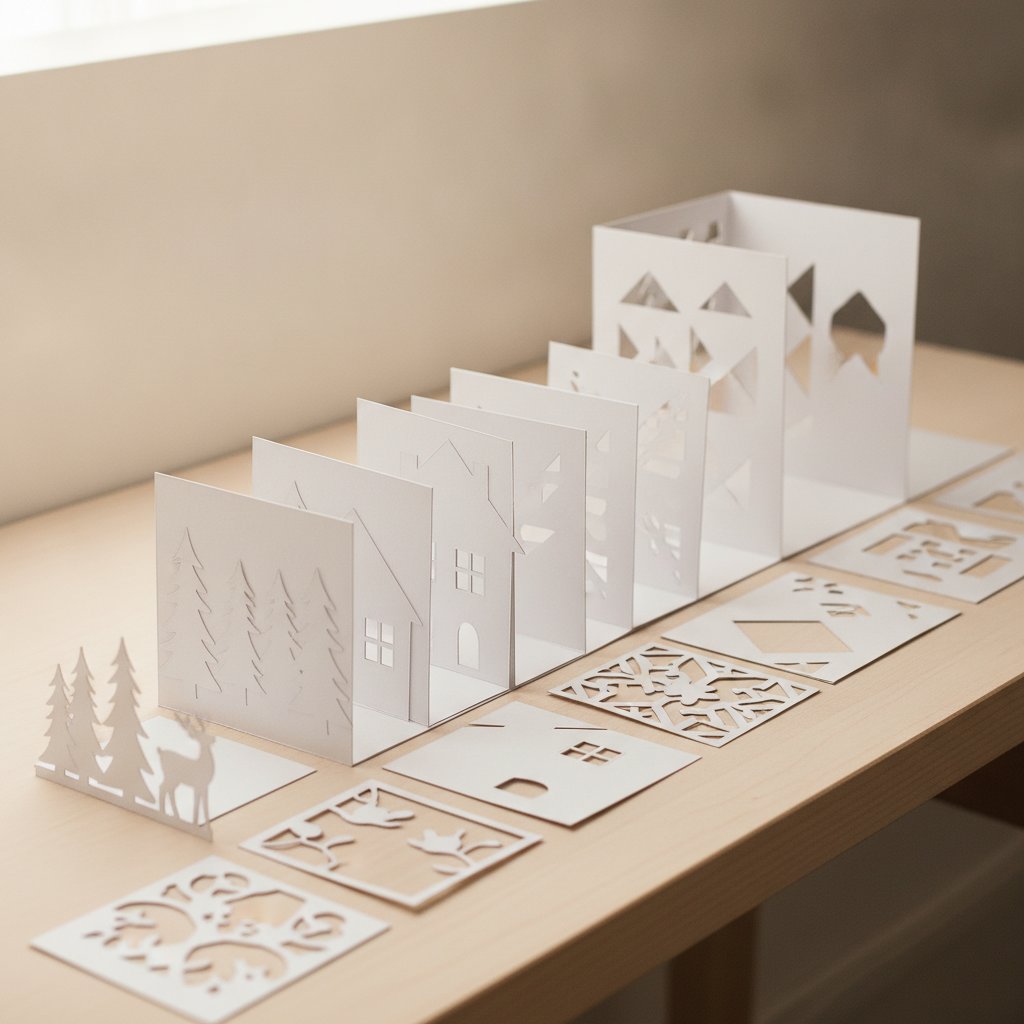
Neatly cut white cardstock shadow box layers organized in sequence across a workspace ready for assembly

Dimensional wall art that hangs without a deep frame needs stiffer paper (100–110 lb) so layers don't droop over years on the wall. Trade-off: heavier paper is harder to cut intricately, so choose designs with bolder shapes for heavy-weight display pieces.

Multi-Layer Stacking: The Depth Math No One Teaches You

If you build dimensional paper art, you need to plan depth before you cut. Cut eight layers first and discover they're too deep for your frame, and you've wasted a afternoon and a pad of cardstock. Here's the arithmetic that prevents that.

The core formula

Total stack depth=(number of layers × paper thickness) + (number of spacers × spacer thickness)

A sheet of 80 lb (216 gsm) cover cardstock is roughly 0.008–0.010 inches thick (about 0.2 mm). Eight layers of 80 lb with no spacers therefore stacks to roughly 0.06–0.08 inches — barely any depth at all. The depth in a shadow box doesn't come from the paper; it comes from the spacers between layers.

Foam mounting tape and adhesive foam squares typically add 0.06–0.125 inches per spacer (1.5–3 mm). So a realistic 8-layer shadow box with 0.125 inch spacers reaches:

(8 × 0.009) + (7 × 0.125)=0.07 + 0.875=~0.95 inches of total depth

Match the math to your frame

Standard shadow box frames offer 0.875 to 1.75 inches of usable depth. Deep display boxes reach 2.5–3 inches. Before cutting, measure your frame's interior depth and work backwards:

  1. Subtract ~0.25 inch for the backboard and front glass clearance.
  2. Divide the remaining depth by your spacer thickness to find how many spacers fit.
  3. That gives your maximum layer count.
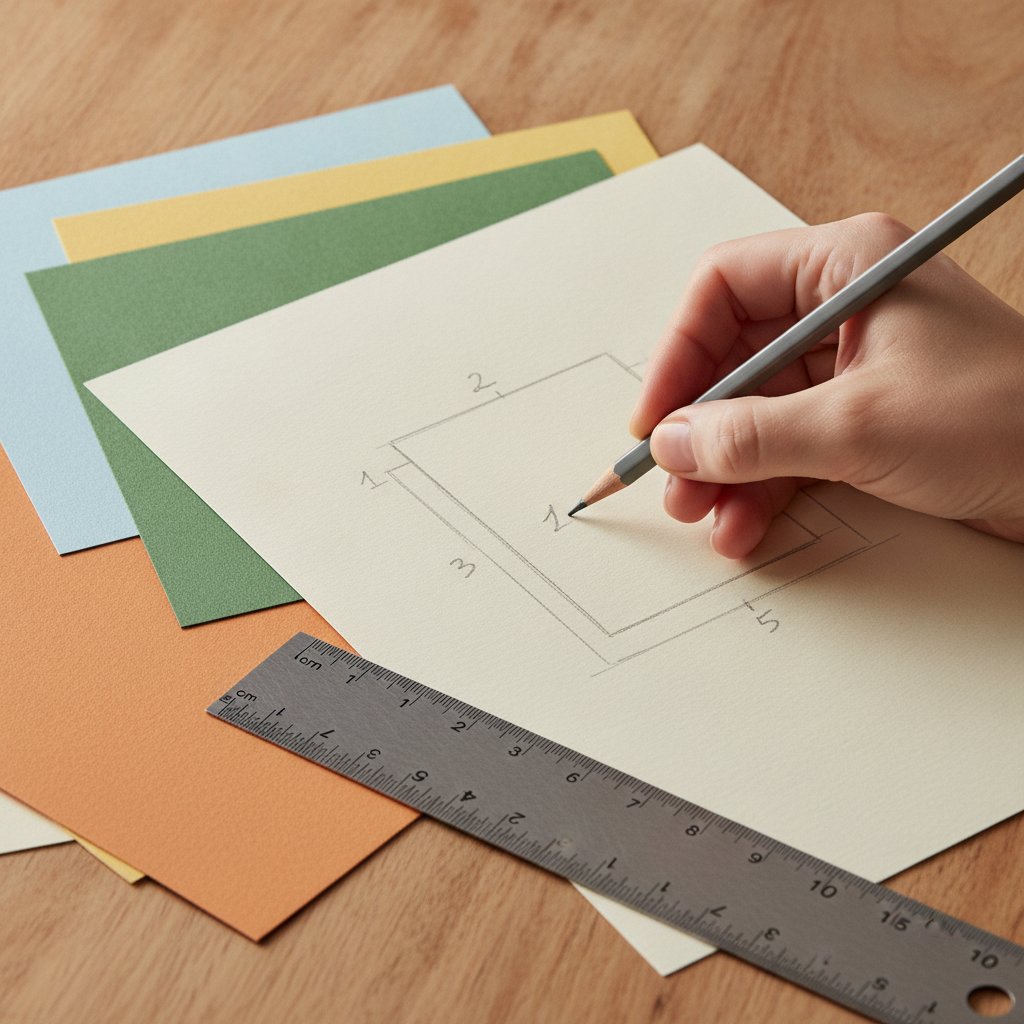
A hand sketching a numbered layer-stack layout plan with a pencil beside sheets of cardstock and a ruler

If your planned layer count exceeds what the frame holds, you have two levers: cut fewer layers (merge similar shades) or use thinner spacers. Stacking too deep is the most common reason a finished piece won't fit its frame.

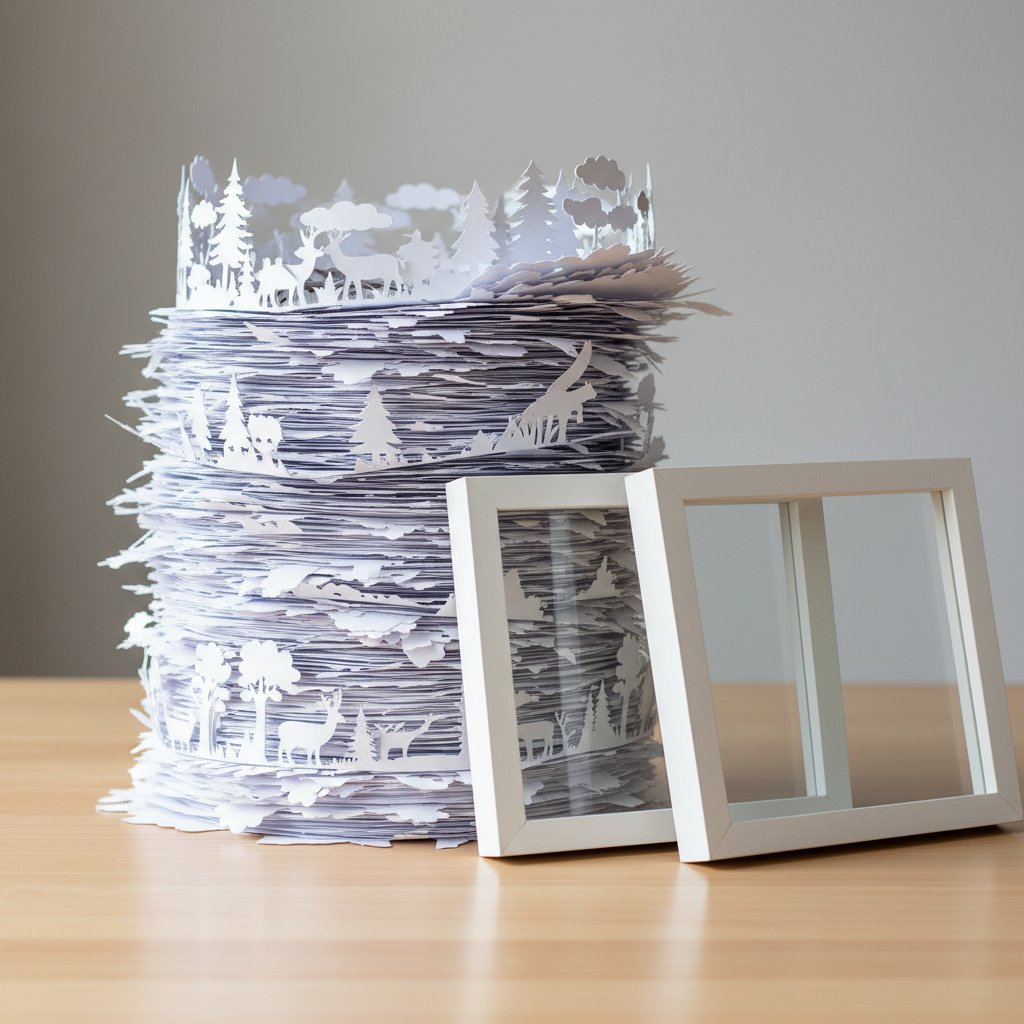
Tall stack of layered paper-cut sheets too deep to fit a shallow shadow box frame beside it

For the full spacer, glue, and alignment walkthrough, see our layered shadow box assembly guide and our frame depth chooser.

Templates Proven Across the Full Weight Range
From 65 lb intricate tops to 110 lb structural bases, these designs have been cut and assembled across the entire cardstock range discussed above — reliable results no matter which weight you stock.

Top Brand Recommendations for Cricut Paper Cutting

Brands matter because consistency matters — a reliable brand delivers the same weight and grain pad after pad, so your settings and stacking math stay valid. These four cover every budget and use case.

Best overall: American Crafts / Cricut Smart Cardstock

80 lb (216 gsm), smooth matte. Consistent weight, tight grain, wide colour range, and clean single-pass cuts on a fine-point blade at default cardstock settings. This is the safest all-round choice for multi-layer projects and the brand I keep stocked for client pieces. Cricut's own Smart Cardstock is engineered for Cricut machines (and matless cutting on Maker 3 / Explore 3), making it the most beginner-friendly option.

Best for intricate cuts: Bazzill Basics

80 lb (216 gsm), smooth and textured options. Bazzill's tight grain structure and high opacity make it the favourite for fine filigree and delicate detail. It resists tear-out better than budget brands on the tightest curves. Slightly harder to find in stores — worth ordering online for detail-heavy projects.

Best budget: Recollections (Michaels)

65–80 lb (176–216 gsm), smooth and textured. Strong value, especially during Michaels' frequent sales. The 65 lb smooth cuts reliably for practice and simpler designs. Watch batch consistency on the budget lines — weigh-check a new pad before committing it to a multi-layer piece.

Best for consistent cutting: Neenah Creative Collection

65 lb (176 gsm), smooth. Dependable, competitively priced, and feeds through cutting machines without issues. Reliable opacity for shadow box use. A great workhorse when you need a single trusted stock for an entire collection of pieces.

Whatever you buy, test one sheet before cutting a full project. Cut a small intricate corner and inspect the edge — 30 seconds that saves a whole pad.

Stop the Tears: Troubleshooting Intricate Cuts

Tearing is the number-one frustration in Cricut paper cutting, and it almost always traces back to one of four causes. Diagnose in this order.

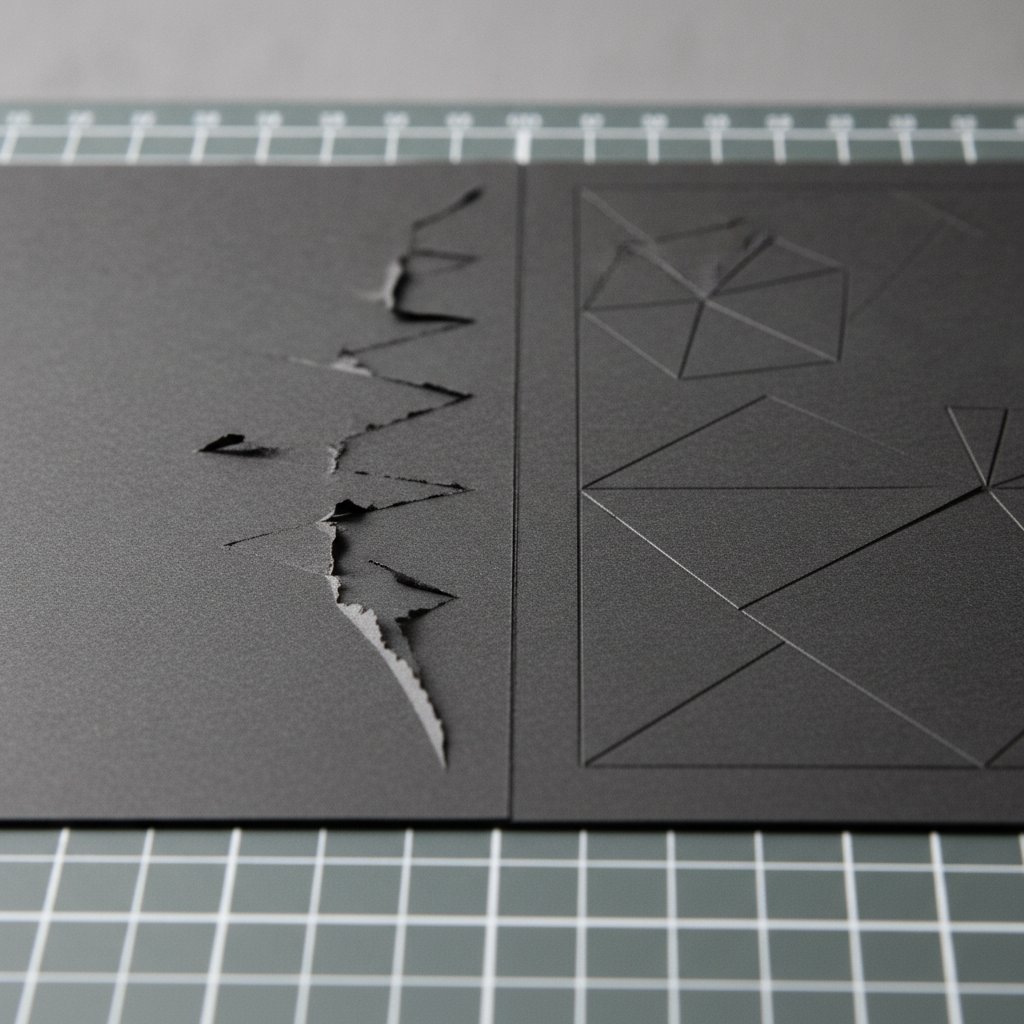
Close-up comparison of torn ragged paper edges versus clean precise cuts on dark cardstock on a cutting mat

1. Paper too light or inconsistent

If a "65 lb" sheet is actually closer to 55 lb — common with discount and off-brand stock — intricate cuts shred. Fix: step up to a verified 65–80 lb cover weight from a consistent brand, and weigh-check unfamiliar pads. The torn edge will look thin and wispy, not chunky.

2. Cutting against the grain

Tears concentrated on tight curves and fine points, with fibres lifting in one direction, usually mean you're cutting across the grain. Fix: reorient the paper on the mat (or rotate the SVG) so delicate elements run with the grain. See the grain direction section above.

3. Pressure too high or blade dull

Counter-intuitive but true: too much pressure tears thin cardstock rather than cutting it cleanly, because the blade crushes before it slices. If you've cranked pressure up to force a cut through, dial it back to the default cardstock setting and replace a dull blade first. A sharp fine-point blade at default settings outperforms a dull blade at max pressure every time. For the full diagnosis flowchart, see our cardstock troubleshooting bible and our best Cricut blade for cardstock comparison.

4. Mat and material mismatch

Paper lifting off the mat mid-cut causes the blade to drag and tear. Heavy or textured cardstock needs a StandardGrip (green) or StrongGrip (purple) mat; light cardstock (under 65 lb) releases more cleanly from a LightGrip (blue) mat. A mat that's lost its tack is as bad as one that's too sticky. Match your mat to your weight using our Cricut mat guide for cardstock.

Paper Storage and Display Longevity

Good cardstock is an investment, and dimensional paper art is meant to be displayed for years. A few storage and display habits protect both.

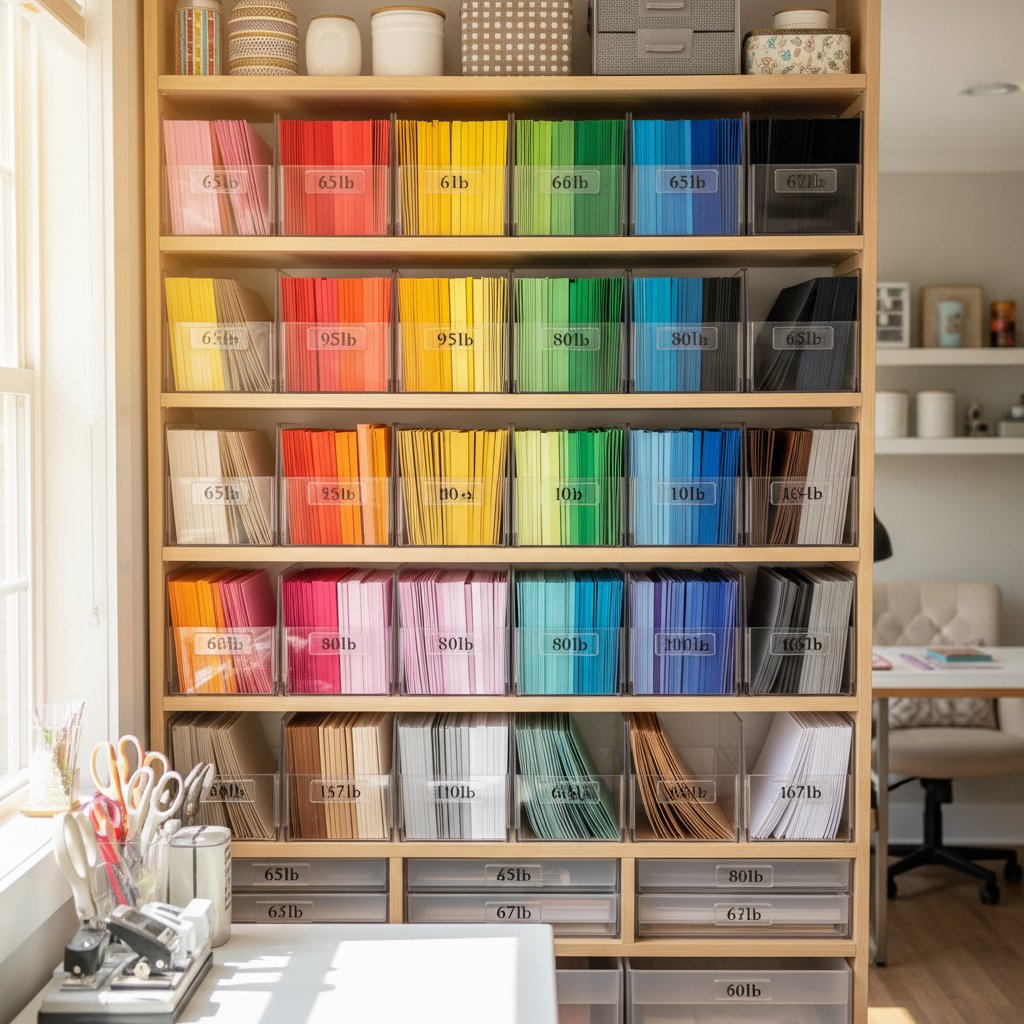
Store flat, weighted, and dry. Keep cardstock flat under light weight (a book or board on top of the pad) to prevent curling. Ideal conditions are 40–50% relative humidity and 65–75°F. Avoid basements, bathrooms, and exterior walls where humidity swings. Warped cardstock cuts unevenly and stacks with gaps — see our paper storage solutions guide for a full system.

Organized cardstock storage showing rainbow-ordered filing system with labeled dividers by weight

Choose acid-free for pieces that last. Non-acid-free cardstock yellows and grows brittle over 2–5 years. Acid-free (archival) stock stays true for 10+ years. For gifts, commissions, or anything you'll display long-term, always buy acid-free and note it for the recipient.

Protect finished display pieces. Seal frames against dust and moisture, use UV-filtering glass or acrylic to prevent fading, and keep paper art out of direct sun and humid rooms. With acid-free cardstock and UV-protected display, a quality shadow box or dimensional piece holds its colour and shape for a decade or more.

Matching Paper to Your SVG Templates

The fastest way to pick paper is to work backwards from the template. Here's how to match paper to the designs in our shadow box SVG catalog:

  • High-detail filigree fronts (fine branches, delicate petals, lace patterns) → 65 lb (176 gsm) smooth matte, grain aligned with the longest detail runs. Bazzill or American Crafts.
  • Solid silhouette and mid layers → 80 lb (216 gsm) smooth matte in your scene's mid-tones. Cricut Smart Cardstock or Neenah.
  • Backing and structural layers → 100–110 lb (271–297 gsm) for rigidity, or a doubled 80 lb layer for frames that need to stay flat.
  • Accent layers (stars, water, holiday sparkle) → a single metallic or glitter layer, cut with a deep-point blade on a StrongGrip mat.

Before you cut a full multi-layer piece, plan it: list each layer, its weight, its colour, and the spacer thickness between it and the next layer. That plan is what turns a pile of cardstock into a finished dimensional piece that fits its frame on the first try. For the end-to-end build from SVG to assembled frame, follow our how to make layered paper cut shadow boxes walkthrough.

Frequently Asked Questions

What is the best paper weight for Cricut paper cutting?

80–100 lb (216–271 gsm) cover weight is the Goldilocks zone for most Cricut paper cutting — heavy enough to hold its shape in dimensional pieces, light enough for clean single-pass cuts. Drop to 65 lb (176 gsm) for the most intricate front layers.

Can I use regular printer paper for Cricut paper cutting?

No. Printer paper (20–24 lb / 75–90 gsm) is far too light. It tears on intricate cuts, won't hold dimension in shadow boxes, and lets light bleed through. Use cardstock instead.

What's the difference between GSM and pounds for cardstock?

GSM (grams per square metre) is universal and consistent. Pounds (lb) is a US system whose reference size changes by paper category, so "80 lb" means different things for cover, text, and bond stock. For cardstock, assume "lb" refers to cover weight and trust GSM for any comparison.

Why does my paper tear on intricate Cricut cuts?

Usually one of four causes: paper too light or inconsistent, cutting against the grain, pressure too high with a dull blade, or a mat that doesn't match the paper weight. Step up to verified 65–80 lb cardstock, align detail with the grain, use a sharp fine-point blade at default pressure, and match your mat grip to the weight.

Does paper grain direction really matter for Cricut cutting?

Yes — especially on fine detail. Cutting with the grain slices cleanly between fibres; cutting across it severs fibres crosswise, causing tear-out and fuzz on tight curves. Find the grain with a bend test and align your most delicate elements along it.

How many cardstock layers fit in a shadow box?

It depends on your spacers, not just the paper. Paper itself contributes little depth (8 layers of 80 lb ≈ 0.07 inches); foam spacers add 0.06–0.125 inches each. Calculate total depth=(layers × paper thickness) + (spacers × spacer thickness), then match it to your frame's interior depth (typically 0.875–1.75 inches for standard shadow boxes).

Can I mix different paper weights in one Cricut project?

Yes, and you often should — lighter 65 lb for intricate tops, heavier 80–110 lb for backers. Keep grain direction consistent across all layers and stay within your frame's total depth budget. Using one consistent brand and pad per project prevents weight and grain drift between layers.

How should I store cardstock to prevent warping?

Store flat under light weight, away from humidity and direct sunlight, at 40–50% relative humidity and 65–75°F. Use acid-free sleeves for premium stock. Avoid leaning sheets against walls or storing in damp rooms, which cause the curl and waves that ruin precise cuts.

Choose the Right Paper, and the Cuts Take Care of Themselves

The best paper for Cricut paper cutting comes down to four decisions: pick a verified 80–100 lb (216–271 gsm) cover weight (65 lb for intricate tops), choose a matte finish for dimensional work, align your detail with the grain, and buy a consistent brand so your settings and stacking math stay valid across every layer.

The takeaways worth pinning to your craft wall:

  • Trust GSM over pounds — it's the only universal weight number.
  • Grain direction is the secret to tear-free intricate cuts.
  • Stacking depth is spacer math, not paper math — plan it before you cut.
  • Tears trace back to weight, grain, blade, or mat — diagnose in that order.
  • Buy acid-free and display behind UV glass for art that lasts a decade.

Now pair the right paper with the right design. Browse our shadow box SVG templates — each one is built to work with the weight, finish, and grain recommendations in this guide. Pick a design, gather your cardstock, and your next Cricut paper cutting project will cut cleaner than the last.