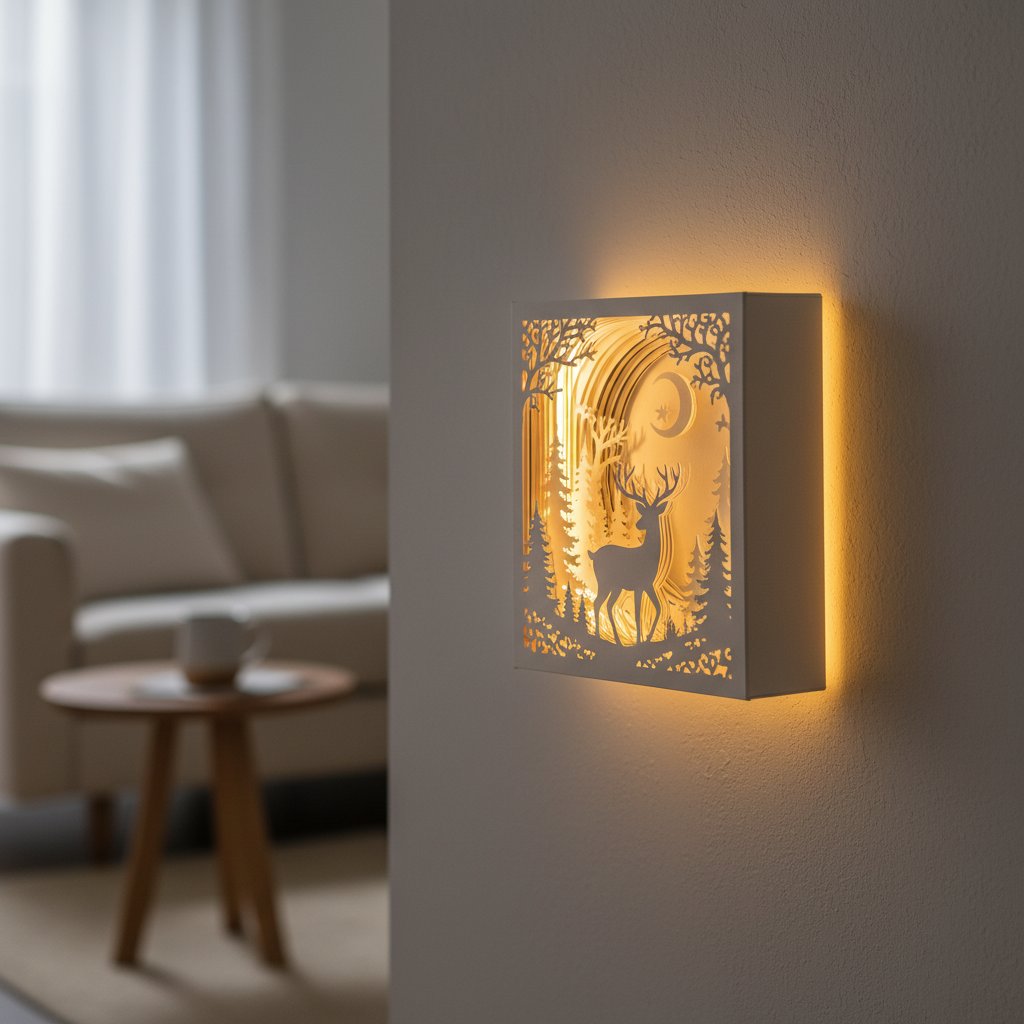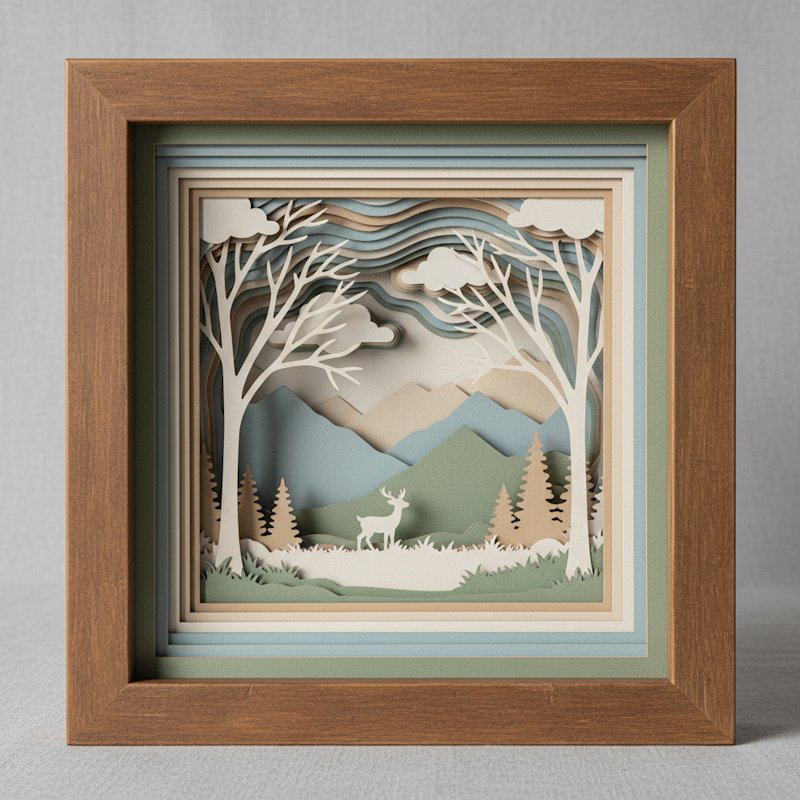
Cricut Shadow Box SVG: The Complete Workflow From Download to 3D Assembly
A cricut shadow box svg is the single file that turns a flat sheet of cardstock into a glowing, three-dimensional scene. But most crafters hit the same wall: the download works, and then nothing lines up. Layers import as one blob, the resize distorts the depth illusion, the blade tears intricate edges, and the finished stack sits flat instead of popping.
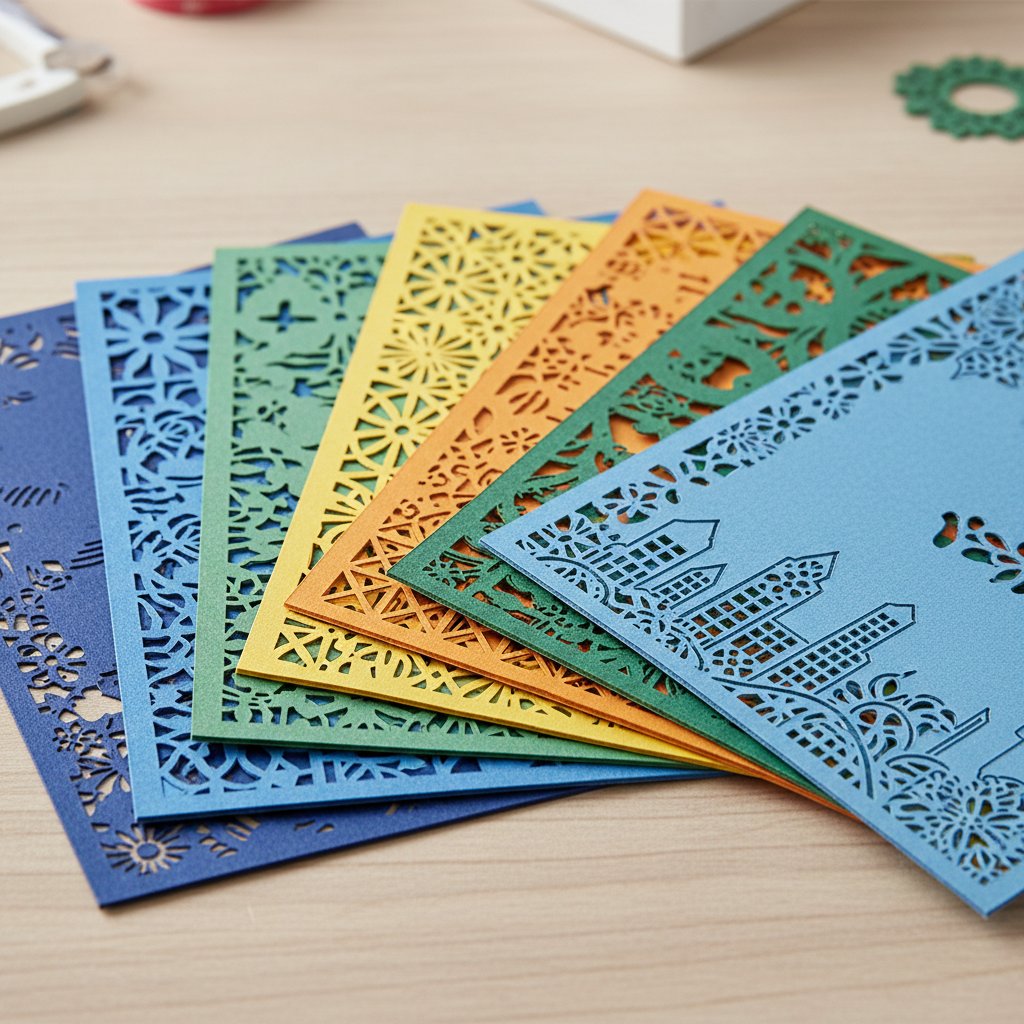
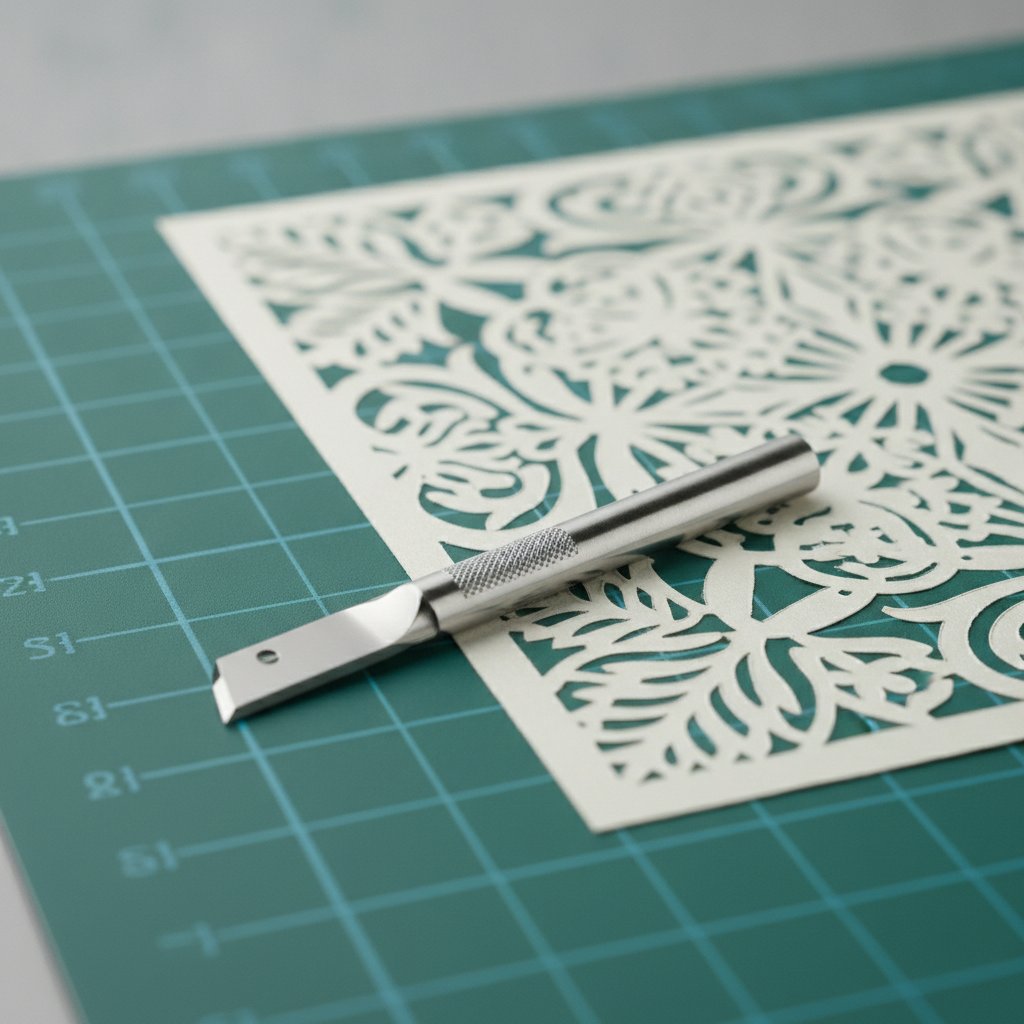
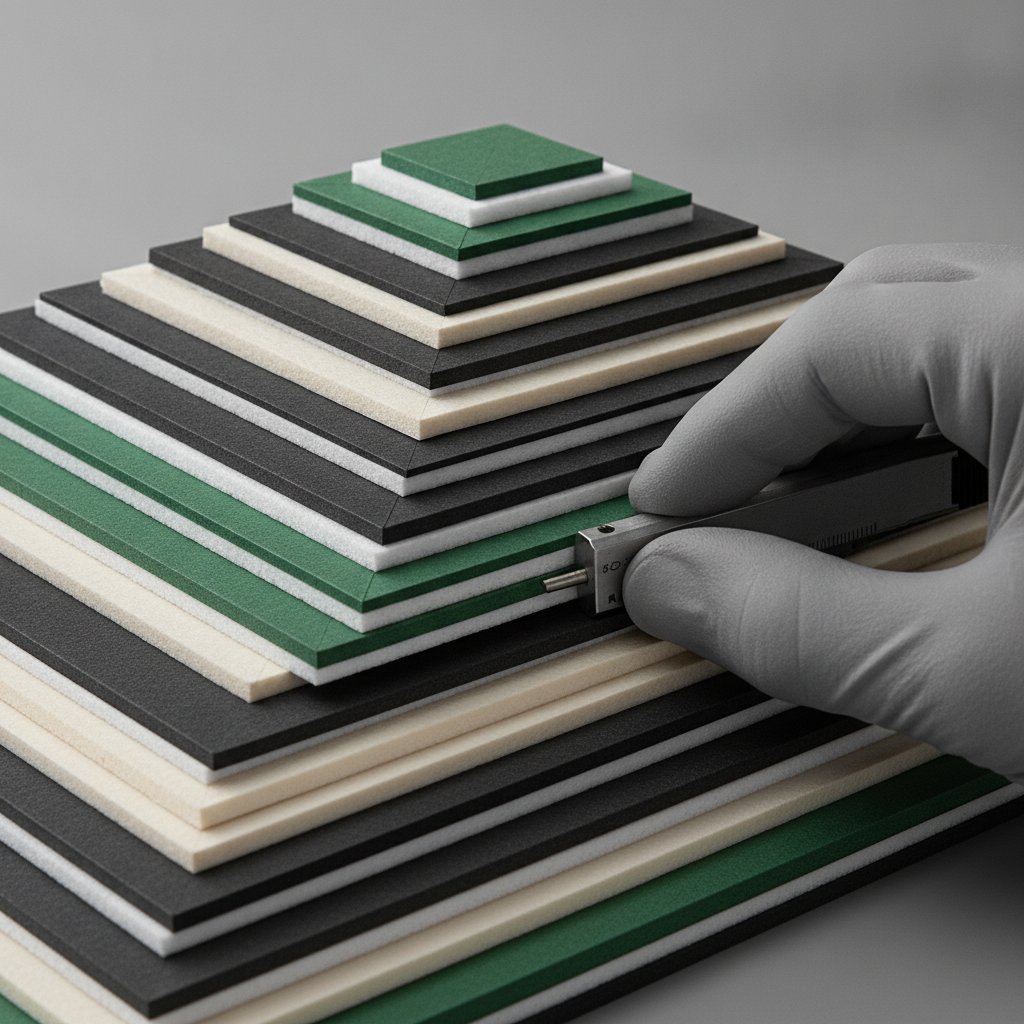
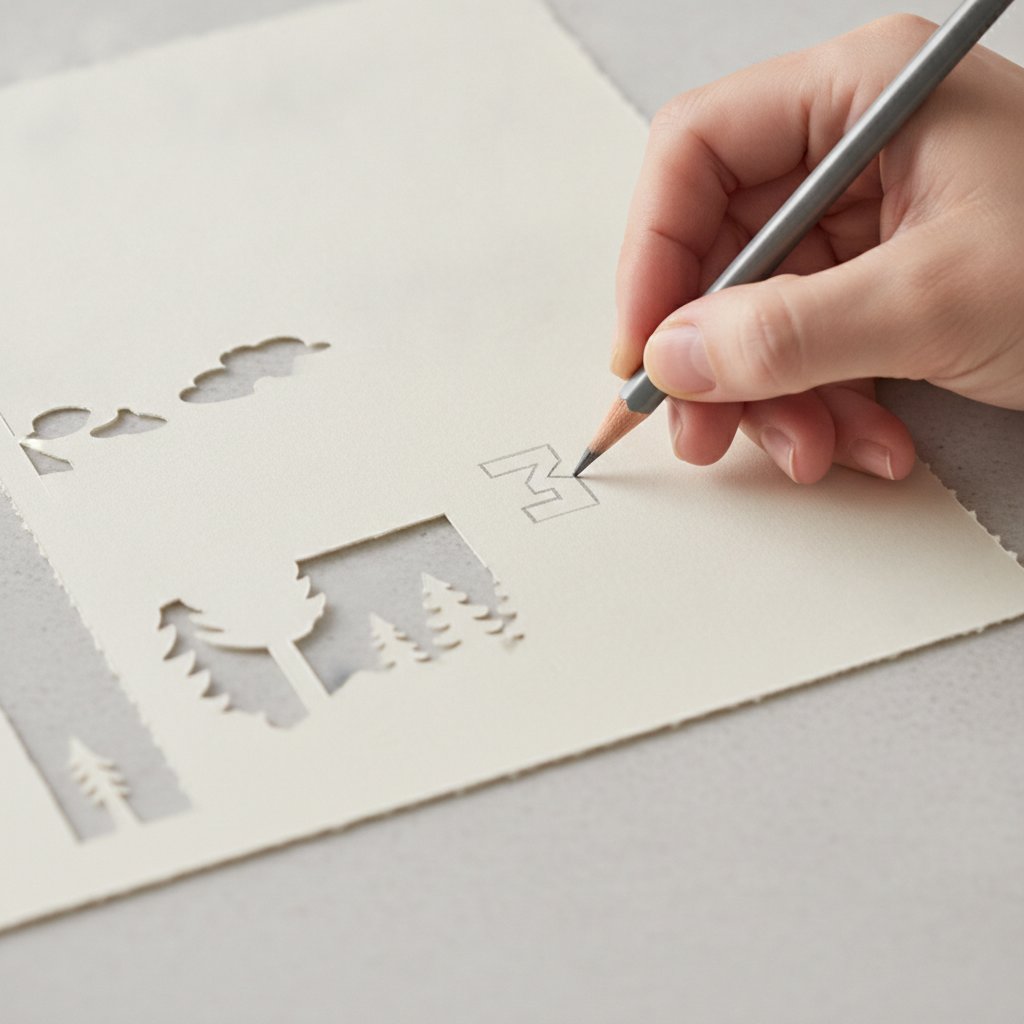
I learned this the hard way on a 7-layer botanical build I cut for an 8×8 inch frame. Layer 3 tore on the first pass because I left the default pressure on, and I had to re-cut it before the whole thing would stack evenly. Once I locked in the right workflow — ungroup, resize all layers together with the lock closed, test-cut one layer first, then build back-to-front on 3 mm foam tape — the piece hit 21 mm of measured depth and lit up exactly the way the preview promised. This guide walks through every step that got me there.

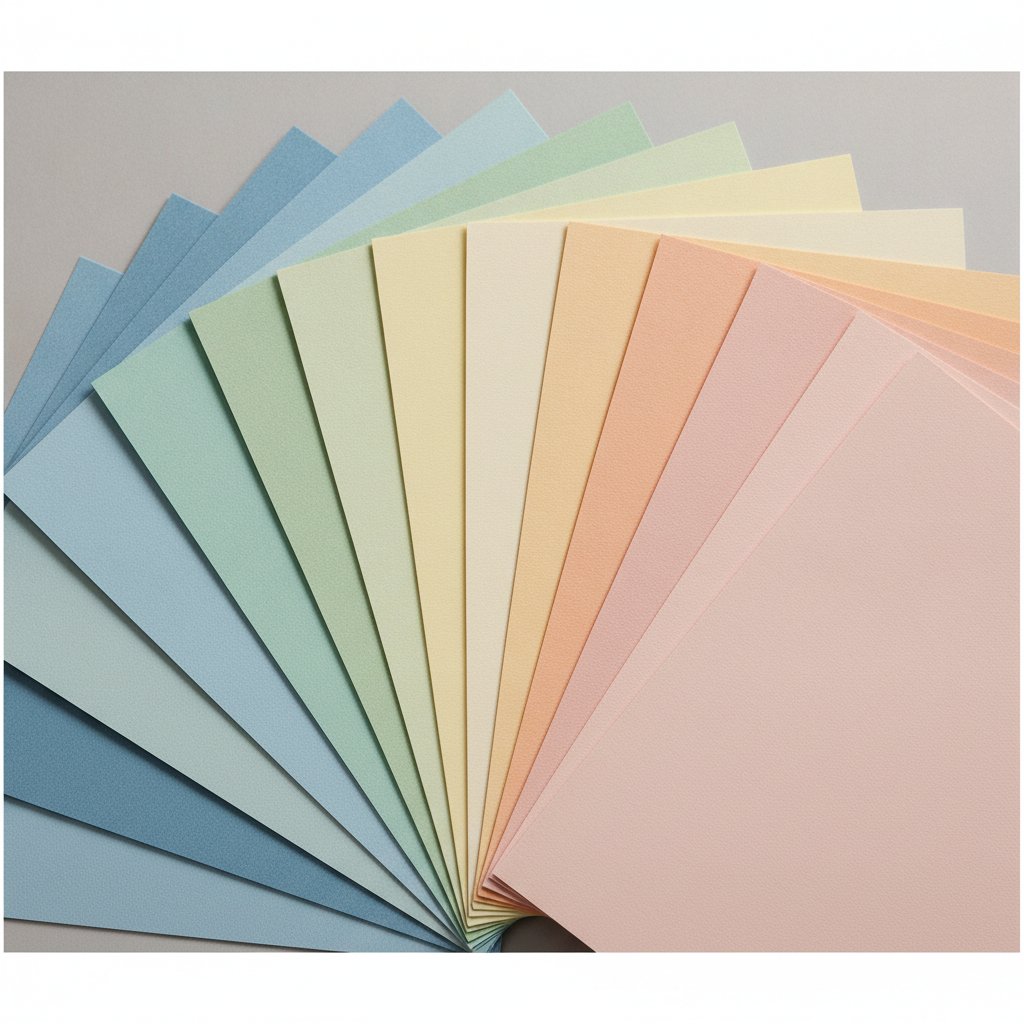
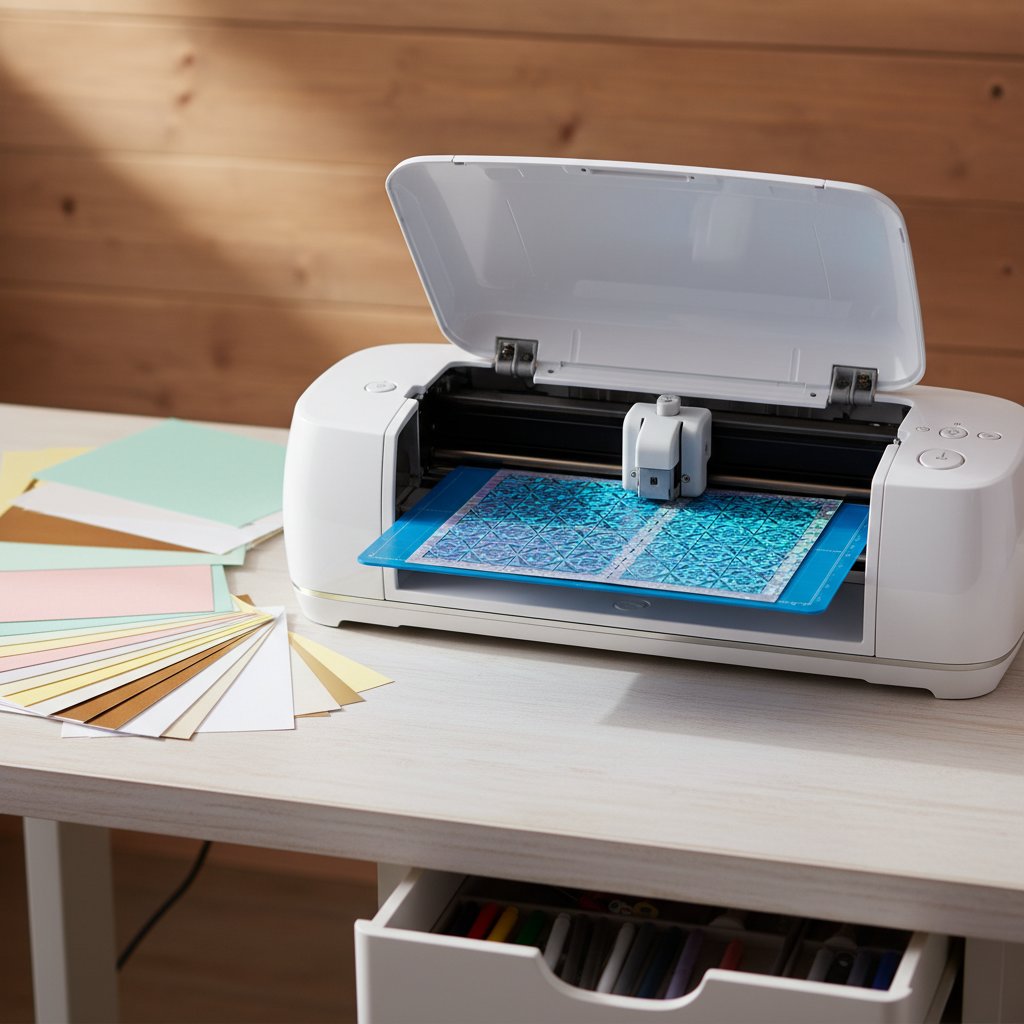
We'll cover what makes a shadow box svg different from a single-layer cut, where to find good files, how to prep multi-layer designs in Cricut Design Space, which materials and settings cut cleanly, and how to assemble the stack for real depth. If you want to skip straight to sourcing files, start with our roundup of free shadow box svg templates for Cricut and Silhouette.