Articles12 min read

Paper Cut Files for Silhouette: Where to Find Them, Which Format, and How to Cut Them Clean

A paper cut file is not just "an SVG." For Silhouette paper crafters the real questions are which format opens cleanly in your edition of Silhouette Studio, where to source files that won't tear on cardstock, and whether the license lets you sell the finished piece. This guide answers all three from our own studio bench.

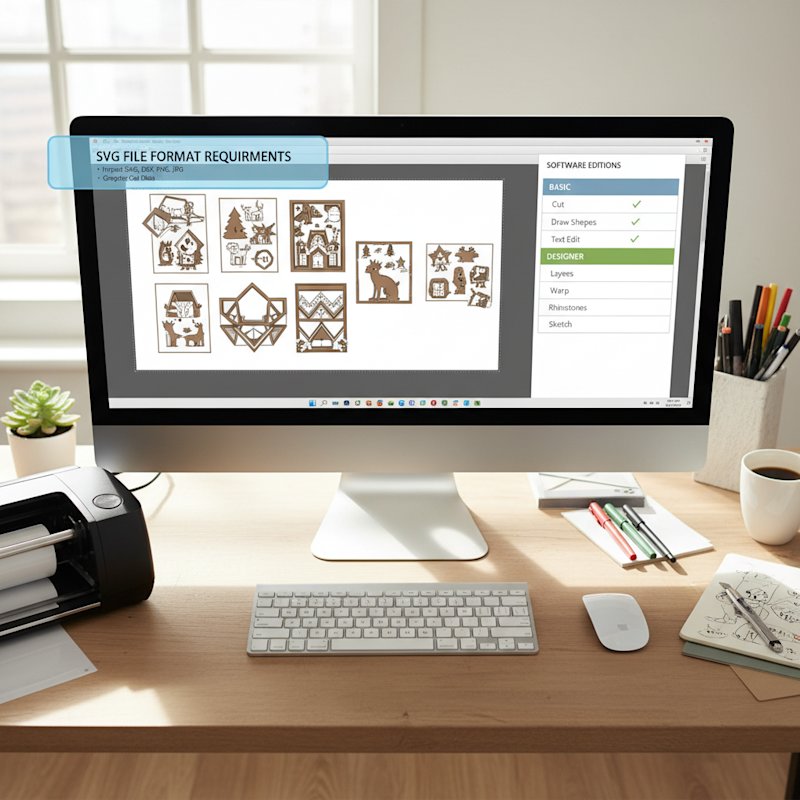
Silhouette Studio Designer Edition displaying SVG file format requirements and shadow box templates

Paper Cut Files for Silhouette: Where to Find Them, Which Format, and How to Cut Them Clean

Most "free cut files for Silhouette" lists treat every file as interchangeable — grab an SVG, hit cut, done. That advice falls apart the moment you put a blade to cardstock. A file built for vinyl weeding or print-then-cut stickers is a very different animal from one built to be cut clean in layered cardstock, and the difference shows up as torn edges, lost layers, and licensing trouble if you ever sell the work.
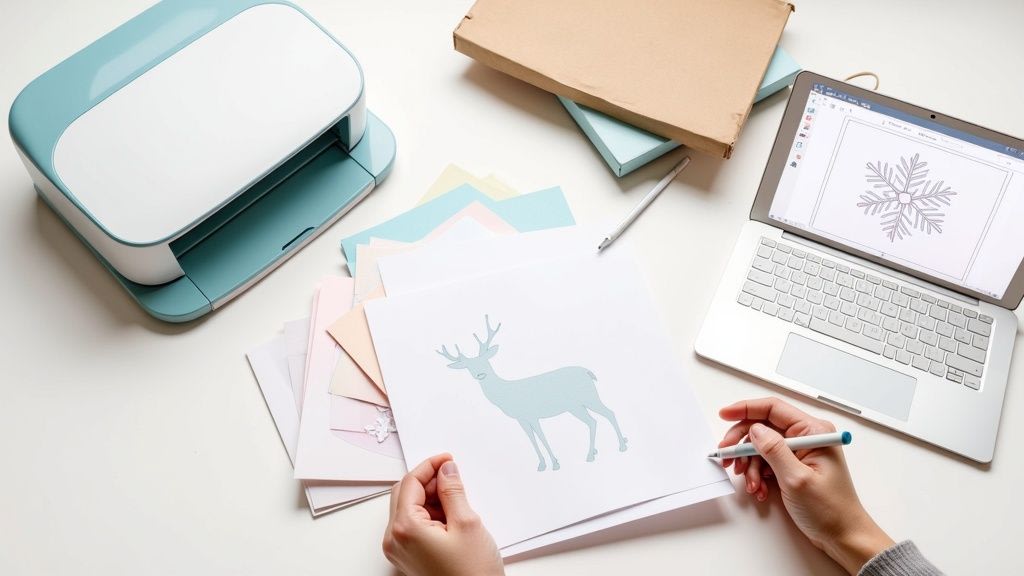
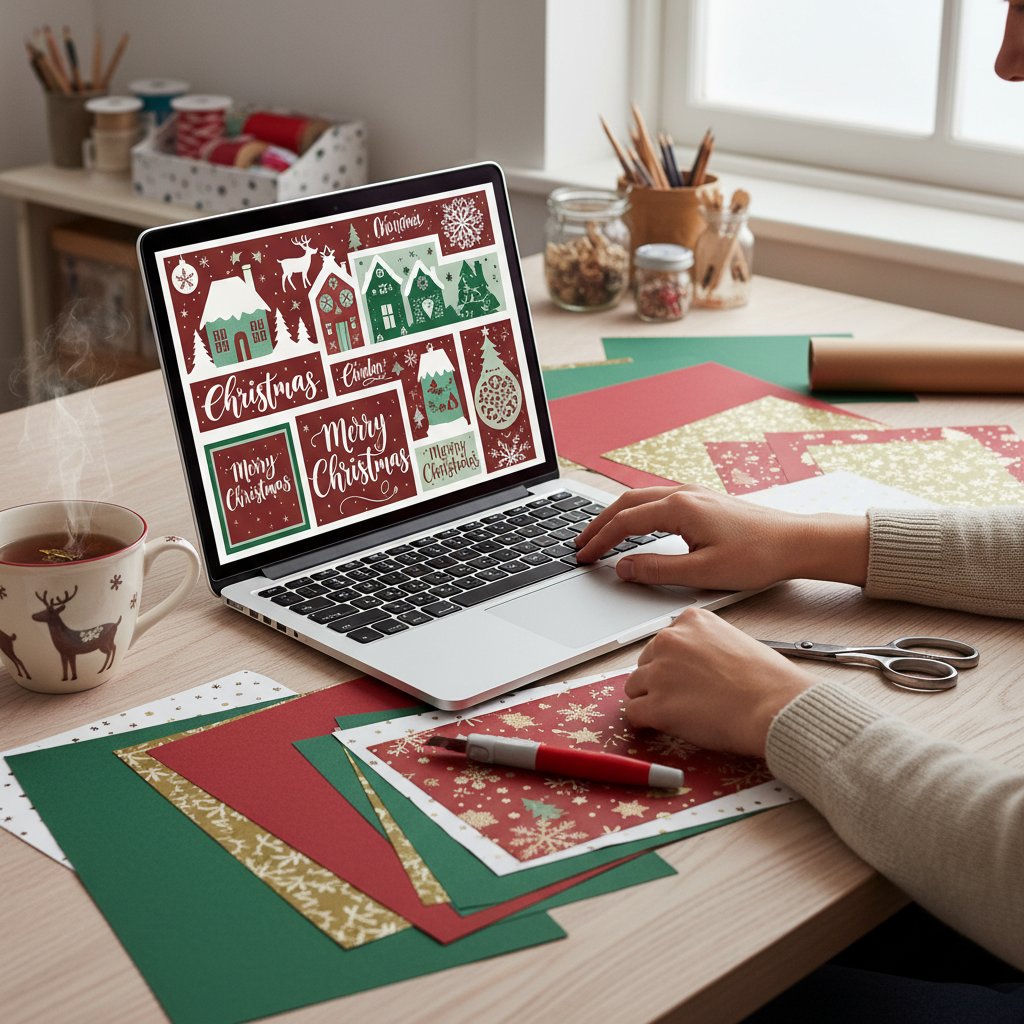
A crafter designing a paper cut file on a laptop with a cutting machine and cut cardstock samples nearby

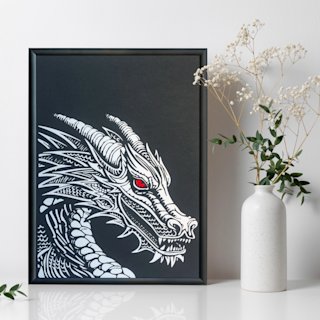
This guide is the one we wish existed when our studio moved from Cricut to a Silhouette Cameo for paper work. We build and cut paper cut files every week — single-layer wall art like our Dragon papercut, layered scenes, and shadow boxes — so every recommendation below comes from files we have actually imported, prepared, and cut on cardstock. You'll learn what a paper cut file really is, how SVG vs DXF vs STUDIO3 differ for paper, where to source files safely, how commercial-use licensing works, and the Silhouette Studio prep steps that decide whether your cardstock cuts clean or tears.

If you are brand new to layered paper art generally, our beginner's guide to making paper cut art covers the fundamentals. This article stays focused on the Silhouette file-sourcing question.
What "Paper Cut File" Means for a Silhouette

A paper cut file is a vector file built so a blade can cut cardstock — usually in multiple separated layers that you stack with foam spacers to build depth. That sounds obvious, but it is the root of every problem in this guide, because most files labelled "cut file" online are not built for paper at all.

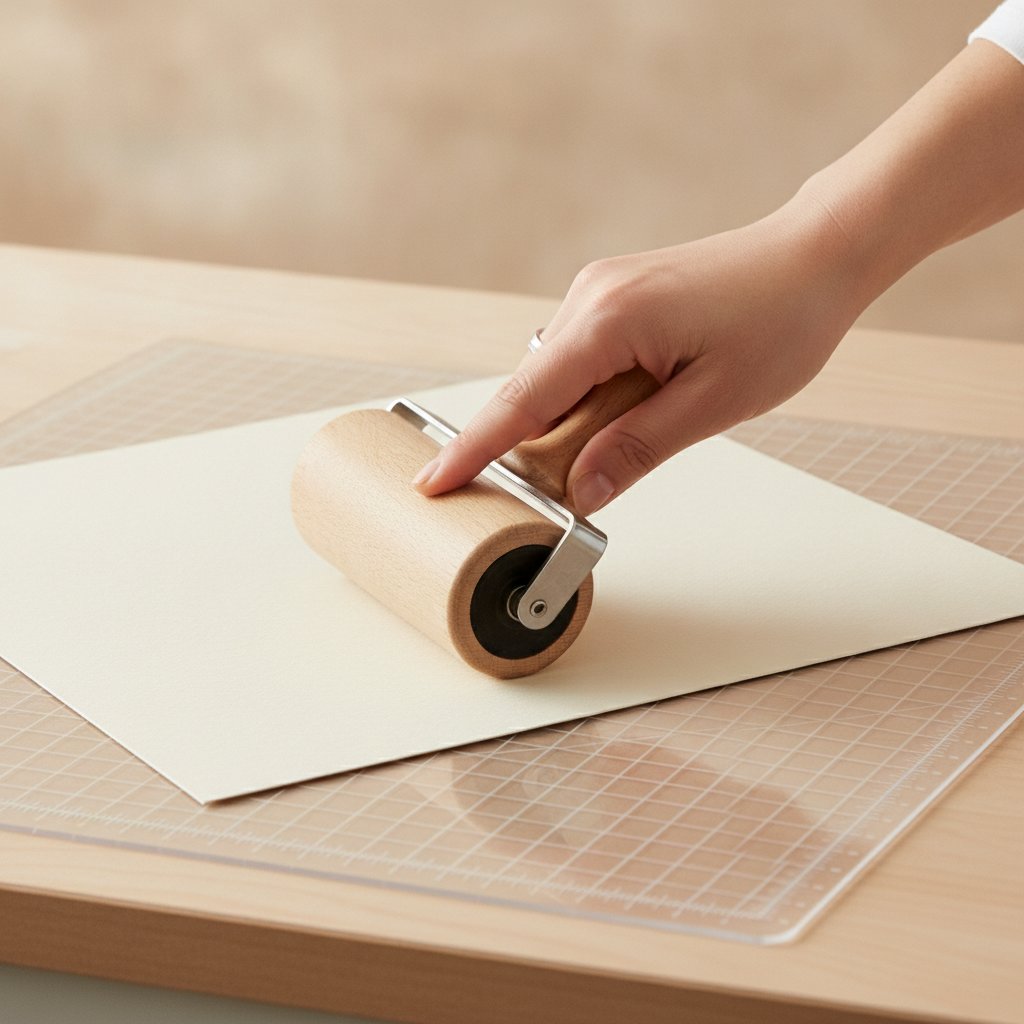
A hand smoothing a sheet of cardstock onto a cutting machine mat with a brayer roller

Paper cut vs vinyl vs sticker files

Vinyl and sticker "cut files" are tuned for a single material and a single outline. Paper art is different in three ways that matter at the machine:

  • Multi-layer, not single outline. A layered paper scene needs each colour or depth layer as its own cut path on its own sheet. A flat vinyl decal is one path.
  • Negative space is the art. Paper cut art relies on what the blade removes. Files designed for print-then-cut (stickers) assume the colour is printed first — they cut fine detail that tears in raw cardstock.
  • Offsets are blade-tuned. Vinyl files use tiny offsets that work for soft vinyl but produce micro-bridges that shred 65 lb cardstock.

Why generic marketplaces underserve paper crafters

When we first sourced files from general SVG marketplaces, roughly one in three tore on the first cardstock cut — micro-details thinner than the blade kerf, no layer separation, or single merged paths where we needed four. The vetting checklist later in this guide exists because "it's an SVG" tells you nothing about whether it will survive cardstock.

If you want the short version of what a good paper cut file looks like, our broader papercut SVG guide covers design from template to custom; here we stay on sourcing and cutting for Silhouette specifically.

SVG vs DXF vs STUDIO3 — Which Format for Paper Cutting on a Silhouette

This is the single most confusing part of sourcing files for a Silhouette, because the answer depends on which edition of Silhouette Studio you own, and the stakes are higher for layered paper than for any other craft.

A laptop screen showing an abstract paper-craft shape outlined entirely with thin red cut lines on a dark canvas

SVG — the best format for layered paper, if you have Designer Edition

SVG preserves layer names, groups, and stacking order. For multi-layer paper art — where Layer 1 is the front of a shadow box and Layer 8 is the back, each a different colour — that structure is the difference between a 5-minute prep and a 40-minute re-labelling session. The catch: the free Basic edition of Silhouette Studio cannot open SVG. You need Designer Edition (or Designer+ / Business).

DXF — the free-edition fallback that costs you layer names

DXF opens in the free Basic Silhouette Studio, which is why most paper-cut designers ship a DXF alongside the SVG. The trade-off: DXF drops layer names and grouping. Every layer imports as an unnamed path. For a single-layer wall-art cut that's fine. For an 8-layer shadow box it means re-organising every layer by hand before you can cut.

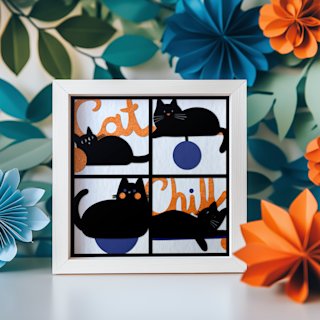
We hit this exact problem building our Chill Cats shadow box from a DXF on a Basic-edition laptop: the file opened, but all eight layers imported unnamed and stacked, and it took 40 minutes to separate and relabel them. With the SVG on Designer Edition the same file opened with named layers in seconds.

STUDIO3 — native, preserves everything, usually only from the Silhouette Design Store

.studio3 is Silhouette's native format. It preserves layers, cut settings, and mat placement exactly. You mostly encounter it from the Silhouette Design Store or from independent designers who sell .studio3 directly. If a paper cut file is offered as STUDIO3, grab it — it is the lowest-friction path to a clean cut.

The decision rule

  • Free Basic edition → DXF (accept the manual re-layering for multi-layer paper).
  • Designer Edition or higher → SVG (preferred for layered paper; preserves names/groups).
  • STUDIO3 when available → take it; zero prep loss.

For the full Silhouette Studio import walkthrough — trace vs open, compound paths, cut-line verification — see our dedicated multi-layer SVG import guide for Silhouette Studio.

Ready-to-cut paper cut SVGs for your Silhouette
These single-layer and layered papercut templates are shipped as SVG (Designer Edition) with DXF fallback for Basic edition — tested for clean cardstock cuts.

Where to Source Paper Cut Files for Silhouette

Sourcing splits into three buckets — free, paid one-off, and subscription — and the right bucket depends on how often you cut and whether you ever sell the finished piece.

A crafter browsing papercut designs on a laptop with cardstock samples on the desk

Free sources

  • Silhouette School Blog — a large curated gallery of free designs; a good starting point, but vet each file for layer separation and license before cutting on cardstock.
  • Design Bundles free tier — rotating free SVG/DXF bundles; check that a DXF is included if you are on Basic edition.
  • Pinterest-curated maker blogs — useful for discovery, but follow back to the original designer's license page before downloading.

Free files are almost always personal-use only (see the licensing section). They are perfect for practice and gifts, risky for anything you sell.

  • Etsy — filter specifically for "commercial use SVG" if you intend to sell. Read the license tier, not just the listing title.
  • Printable Cuttable Creatables and independent maker shops — usually well-organised, with paper-friendly cut paths and stated licenses.
  • A simple single-layer SVG makes the best test file for checking your Silhouette Studio import and cut settings before buying paid designs — our paper cutting for beginners guide walks through a first test cut.

Subscription

  • Silhouette Design Store — native .studio3 files, zero prep loss; cost-per-file makes sense if you cut several designs a month.
  • Hip Kit Club and similar — closest to editorial guidance ("SVG vs DXF", "how to use our files in Silhouette Studio") but product-marketing scoped.

The vetting checklist we run on every source

Whatever the bucket, we run the same five checks before a file reaches our cardstock:

  1. Clean paths — reasonable node count, no jagged micro-segments.
  2. Layer separation — each colour/depth on its own cut path, not merged.
  3. License clarity — commercial-use stated explicitly if we will sell the piece.
  4. Cardstock reviews — other makers reporting clean cuts on 65 lb+ cardstock.
  5. A test cut — one small corner on scrap before committing a full 12×12 sheet.

For free shadow-box-scoped files specifically, our free shadow box SVG templates list rounds up the ones that pass these checks.

Licensing — Can You Sell the Paper Art You Make from a File?

This is the question every paper crafter eventually asks, and the SERP answer is usually a vague "check the license." Here is the specific version for paper art.

Personal-use vs commercial-use

Most free files are personal-use only: you may cut them for yourself and for gifts, but you may not sell the finished piece. "Commercial use" is a separate, usually paid, license that grants the right to sell physical goods made from the file.

Commercial-use is tiered — read which tier

"Commercial use" is not one thing. Common tiers:

  • Limited units (e.g. up to 100 finished pieces) — fine for most small makers.
  • Unlimited physical units — what you want if you sell at scale.
  • Credit-required — you may sell but must credit the designer in the listing.

Selling the finished paper art vs reselling the file

These are very different licenses. A commercial-use license almost always covers selling the physical paper art you make, not reselling or redistributing the digital file. Redistributing the file is piracy regardless of the tier.

When the license is not stated

Assume personal-use only. If you want to sell and the license is unclear, email the designer — most will clarify or sell you a commercial tier for a few dollars. Do not infer commercial rights from silence.

Our studio's rule

At Mural Moods Art, only cut files carrying an explicit commercial-use license go into products we sell. Files of unknown origin stay on the personal-practice bench. It is the only way to keep the shop clean, and it is the rule we recommend to every maker who asks.

Importing and Preparing a Paper Cut File in Silhouette Studio

Once you have a file, the prep steps in Silhouette Studio decide whether the cut is clean. The workflow differs enough from Cricut Design Space that it deserves its own pass.

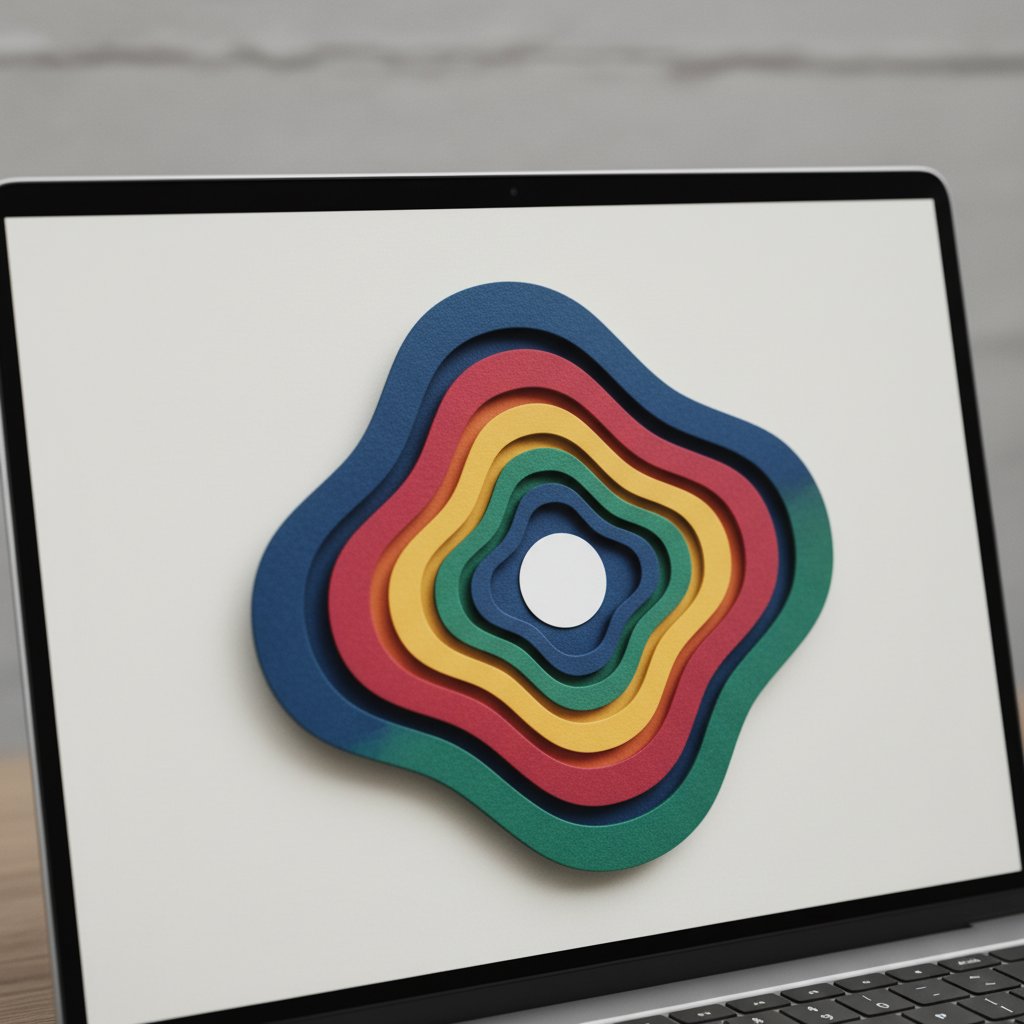
A laptop screen showing nested concentric paper-craft layer shapes in different colours stacked to suggest depth

Open vs Merge for multi-layer files

File > Open brings the whole design onto the canvas as one grouped object. For multi-layer files, File > Merge lets you bring layers in one at a time, which is useful when you want to cut only some layers or assign each to a different mat.

Restoring layer names lost in DXF

If you imported a DXF, every layer arrives unnamed. Relabel them as you separate: right-click the layer, choose the object-name field, and type Layer 1 - Front, Layer 2, and so on. It is tedious, but it is the only way to stay sane on a 7+ layer piece.

Resizing without distortion

Select every layer together before scaling. Never resize layers individually — they will no longer align on assembly. Keep the aspect-ratio lock engaged and scale width and height together so the whole stack stays proportional. (Our complete cardstock and frame guide covers sizing for standard frame depths.)

Cut settings for cardstock

Cardstock weight maps directly to blade and force. For 65 lb cardstock we run a fine-point blade, the Cut action (not Cut Edge — paper needs the full inside-and-outside cut), and a test cut first. Cross-tool cut settings live in our cardstock cut-settings mastery guide; the Silhouette-specific values to start from are a blade depth of 3–4 and a force around 22–28, then adjust by test cut.

Kerf, offset, and cut order

For tight paper fits — interlocking card pieces or shadow-box layers that must nest — the blade's kerf (the tiny width of material it removes) matters. If your file has parts designed to slot together, account for kerf or they will be loose. Set cut order so the outer frame cuts last (or first, per your weeding preference) and map each layer's colour to the cardstock sheet you will load.

Quality Signals — How to Spot a Paper Cut File That Will Actually Cut Clean

After tearing enough cardstock, you start reading files before you cut them. These are the signals we check.

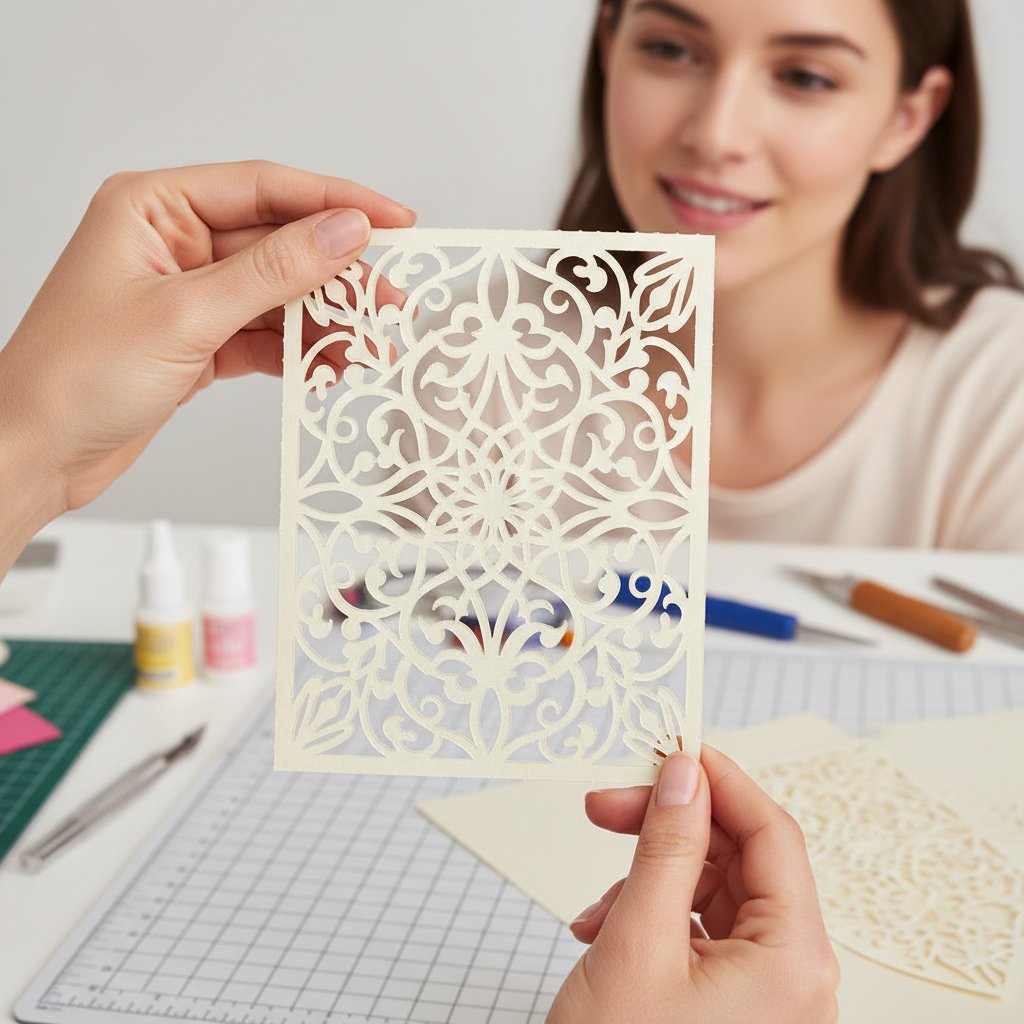
A crafter holding up a flawlessly clean-cut intricate cardstock design with crisp edges
  • Node count. Too many nodes on a curve produce jagged tears on cardstock. Smooth, economical paths cut clean.
  • No micro-details thinner than your blade kerf. Sub-2 mm features (tiny interior bridges, hairline tendrils) tear out. A good paper-cut file avoids them or widens them.
  • Proper layer separation. Each colour/depth on its own cut path, not overlapping welded shapes. If you cannot select Layer 3 without also grabbing Layer 4, the file is not paper-ready.
  • Bleed and margin. Paper shifts on the mat; designs placed tight to the sheet edge cut off-centre. A small margin around the design absorbs mat drift.
  • Test cut first. Cut one small corner on scrap cardstock before committing a full 12×12 sheet. A 3-minute test saves a lot of ruined cardstock.

What a bad file looks like

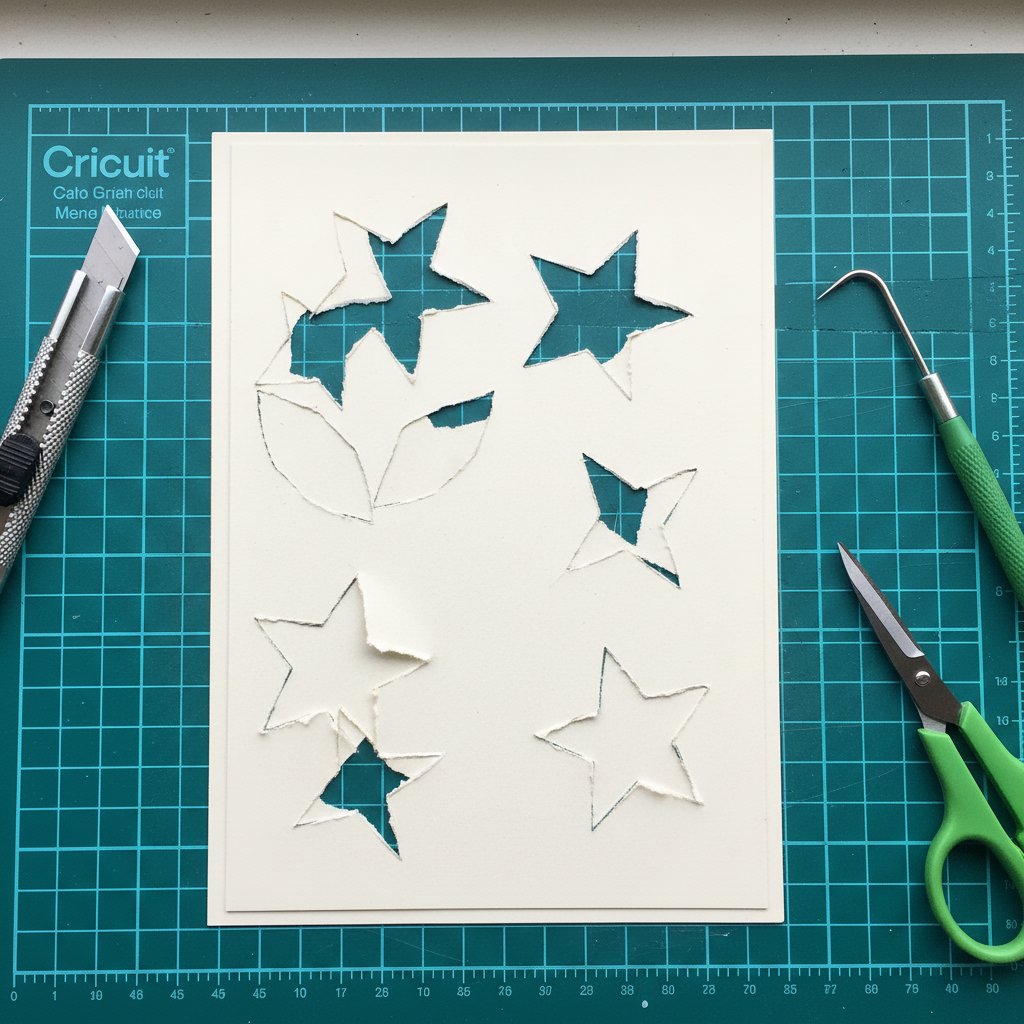
Close-up of paper cutting mistakes on cardstock showing torn edges and incomplete cuts

Torn fibres, incomplete cuts, and lifted edges on the test corner usually mean one of three things: the file is vinyl-tuned (offsets too small for paper), the design has sub-kerf micro-details, or your cut settings are off for that cardstock weight. Fix the file or the settings before the full cut — never push through a bad test.

Paper Cut vs Print-Then-Cut — Don't Confuse Them in Silhouette Studio

Silhouette Studio supports both, and conflating them is a common beginner mistake that ruins paper art.

  • Paper cut=blade only, on a single material (cardstock), no printing. The colour comes from the cardstock sheet, the art comes from the negative space the blade removes. This is the mode for layered shadow boxes, paper-cut wall art, and cards.
  • Print-then-cut=you print the design with registration marks, then the blade cuts around the printed shape. It is for stickers, labels, and printed accents — not for pure paper-cut art.

Why paper-cut art should avoid print-then-cut

Print-then-cut introduces ink, which fades; pure paper art values the cut itself, with the colour and depth coming from stacked cardstock and light. A layered shadow box printed and cut would look flat and would lose the negative-space effect that makes the form work.

When a hybrid is legitimate

A printed accent on an otherwise cut piece — a small printed photo layer behind a cut silhouette, for example — is a legitimate hybrid. The key is that the cut does the structural work and the print is a deliberate accent, not the whole design.

1.Do I need Silhouette Designer Edition to use paper cut files?
No. DXF files open in the free Basic edition of Silhouette Studio, but you lose layer names and grouping — so multi-layer paper art requires manual re-labelling. SVG, which is preferred for layered paper because it preserves layers, requires Designer Edition or higher. STUDIO3 also opens in Basic edition but is mostly available only from the Silhouette Design Store.
2.What is the best file format for layered paper cut art on a Silhouette?
SVG if you have Designer Edition, because it preserves layer names, groups, and stacking order. STUDIO3 if available from the designer, because it preserves everything including cut settings. DXF is the free Basic-edition fallback, but expect to re-organise layers by hand on any multi-layer design.
3.Can I sell paper art I make from a free cut file?
Usually no. Most free files are personal-use only. To sell the finished paper art you need an explicit commercial-use license, which is often a separate paid tier from the designer. When the license is not stated, assume personal-use only and email the designer before selling.
4.Why does my paper cut file tear on cardstock?
Usually one of three causes: micro-details thinner than your blade kerf (sub-2 mm features tear out), too many vector nodes producing jagged cuts, or a file designed for vinyl rather than paper. Always run a test cut on a small corner first and adjust blade depth and force for your specific cardstock weight.
5.Where can I get free paper cut files for Silhouette that are safe for paper crafting?
Silhouette School Blog and the Design Bundles free tier are reasonable starting points, but vet each file for layer separation, clean node paths, and a clear license before cutting on cardstock. For a file already vetted for paper, try the free paper cut SVG on our site as a benchmark for how a paper-ready file should import and cut.
6.Is print-then-cut the same as a paper cut file?
No. A paper cut file uses the blade only on cardstock — colour and depth come from the stacked paper. Print-then-cut prints registration marks and the design, then cuts around it, and is meant for stickers and labels. Paper-cut art should avoid print-then-cut because ink fades and the printed approach loses the negative-space cut that defines the form.
7.What is the difference between selling the paper art and reselling the file?
Selling the finished physical paper art you made is covered by a commercial-use license. Reselling or redistributing the digital file itself is almost never allowed, even with a commercial-use license, and is piracy regardless of the tier. Commercial-use licenses cover physical goods made from the file, not the file.

Conclusion

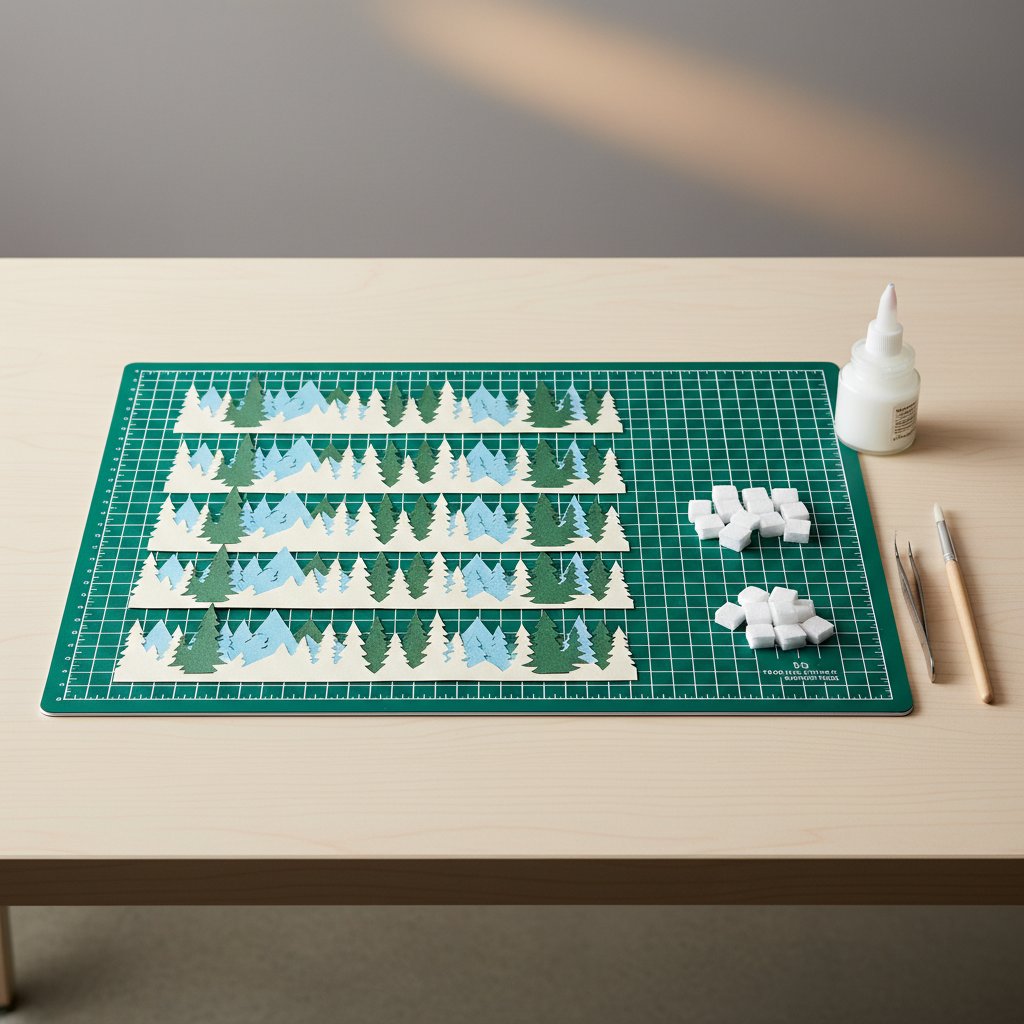
A tidy organized craft assembly workspace with cutting mat, paper-cut layers, foam spacers, glue and tools

"Paper cut files for Silhouette" is really four questions in one: what a paper cut file is (a multi-layer vector built for a blade on cardstock, not a vinyl decal), which format to use (SVG on Designer Edition, DXF with manual re-layering on Basic, STUDIO3 when you can get it), where to source them (free for practice, paid one-off for specific designs, subscription for volume), and whether you can sell the result (only with an explicit commercial-use license).

Get those four right and the Silhouette Studio prep becomes the easy part: open or merge, restore layer names if DXF, resize all layers together, set cut order and cardstock force, test cut a corner, then cut the full sheet. The vetting checklist — clean paths, layer separation, clear license, cardstock reviews, one test cut — is what separates files that cut clean from files that tear.

Start with a known-good benchmark file, run it through your exact edition of Silhouette Studio, and use it to calibrate your cut settings before you source anything else. Once your benchmark cuts clean, every file that passes the checklist will cut clean too — and you will spend your time on the art, not on re-cutting ruined cardstock.