Articles13 min read

Paper Cutting SVG Files

A buyer's guide to paper cutting SVG files for Cricut and Silhouette — how to tell a quality file from a frustrating one before you buy, preview it in Design Space, and test-cut it so you never waste cardstock on a bad download again. Built around the layered floral SVG that wasted an afternoon of mine, and the four checks I run on every file since.

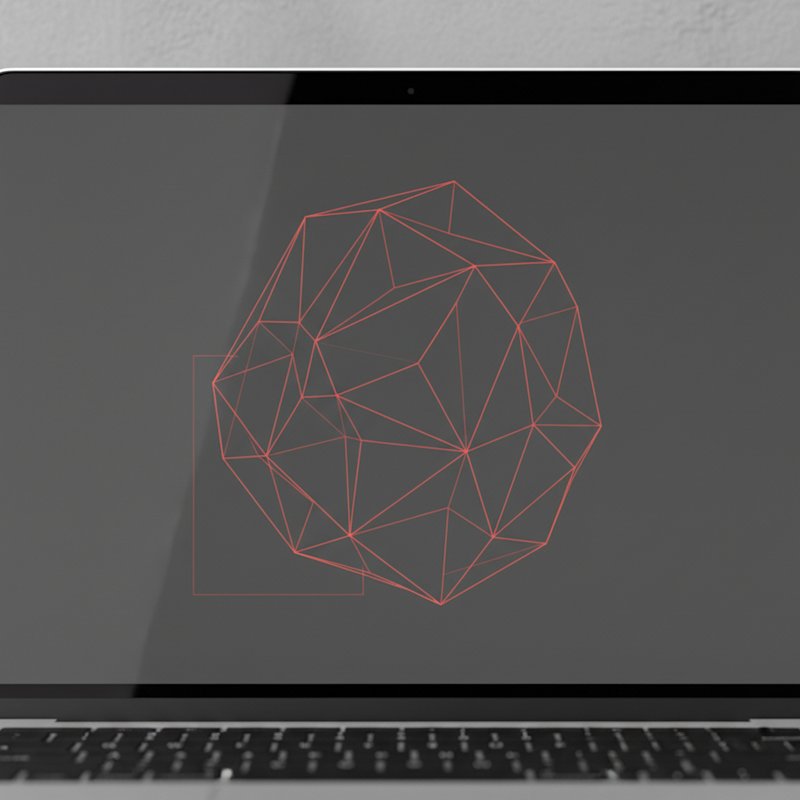
A laptop screen showing an abstract paper-craft shape outlined entirely with thin red cut lines on a dark canvas

The first paid paper cutting SVG file I ever bought was a five-layer floral mandala. It cost three dollars, the preview thumbnail looked intricate and clean, and the listing promised "Cricut-ready." Forty minutes into the cut my Cricut was scoring the backing paper instead of the cardstock, two of the five layers were identical duplicates stacked on top of each other, and the registration marks the design relied on didn't exist. I wasted four sheets of cardstock and an afternoon before I understood that the failure wasn't my machine — it was the file. Nobody had taught me how to evaluate paper cutting SVG files before I paid for one.

This guide is the one I wish I'd had in that checkout. It's not a list of files to buy; it's the framework for telling a quality file from a frustrating one, no matter where you find it. You'll learn what actually makes a paper cutting SVG file good (and it isn't the thumbnail), how the file formats differ, how to preview a file in Cricut Design Space the moment you download it, and the single test-cut that prevents cardstock waste. Every check here is one I run on every file before I commit a fresh sheet of cardstock to it.
Crafter browsing Christmas papercut designs on a laptop with holiday cardstock samples

If you're brand new to cutting machines rather than to buying files, pair this with our Cricut paper cutting for beginners walkthrough first. This article assumes you can already make a basic cut; it picks up at the moment you start spending money on files and need to know which ones will actually behave on your machine.
What a Paper Cutting SVG File Actually Is

A paper cutting SVG file is a vector design built specifically for a cutting machine. The key word is vector: instead of storing a picture as a grid of pixels like a photo, an SVG stores the cut path itself — the exact lines the blade will follow. That's why a well-made SVG scales from a three-inch greeting-card accent to a twelve-inch shadow box without losing sharpness, and why your Cricut can read each path as a separate instruction rather than guessing at edges the way it would with a JPEG.

For MMA's kind of work — dimensional wall art, shadow boxes, layered papercut pieces — the files that matter are multi-layer SVGs. Each layer is a separate group of paths cut on its own sheet of cardstock, then stacked with foam spacers to build depth. A good multi-layer file tells you exactly how many layers it contains, sizes them to a known frame footprint, and includes the small alignment marks (registration marks) that let you stack them squarely. A bad multi-layer file is the one I bought: it looks complete in the thumbnail but breaks down the moment the blade meets paper.

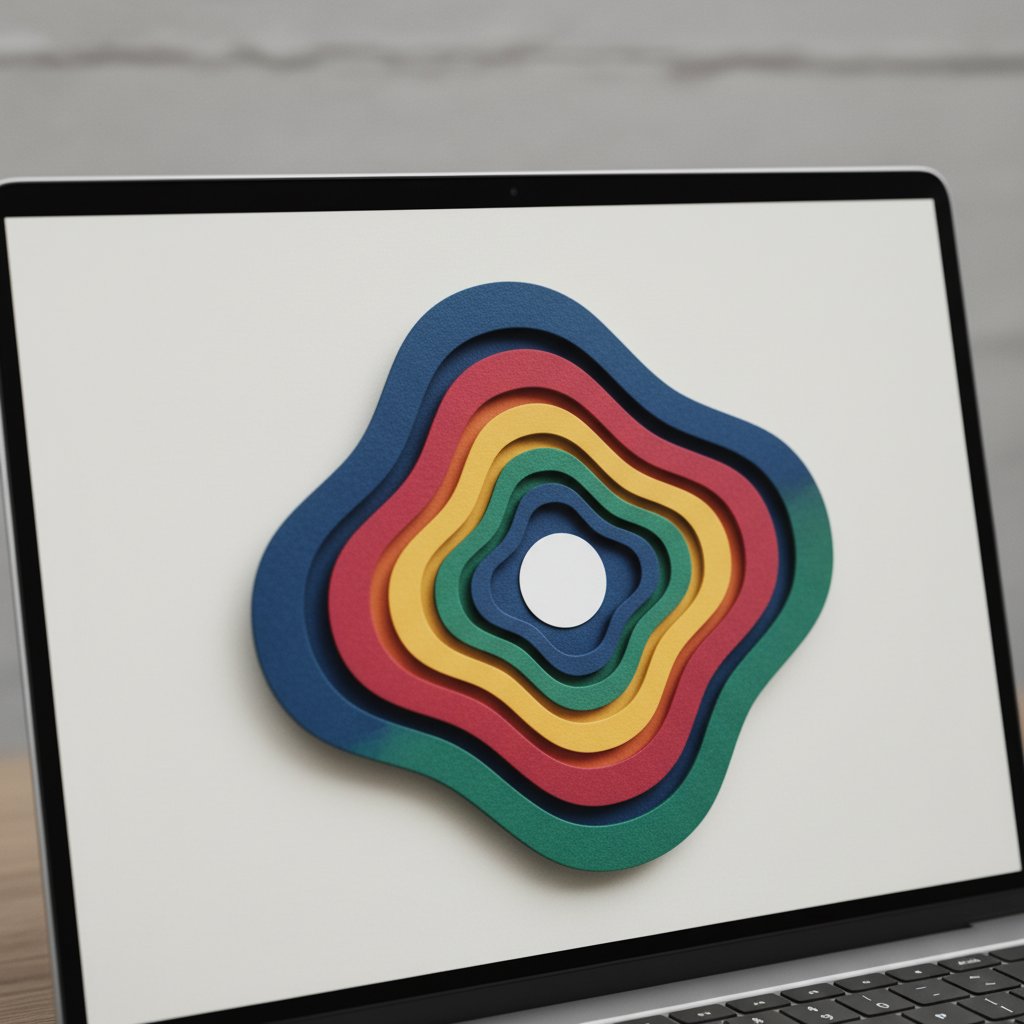
A laptop screen showing nested concentric paper-craft layer shapes in different colors stacked to suggest depth

The difference between those two outcomes is not luck and it's not the machine. It's a set of file-quality traits you can check in about ninety seconds, either before you buy (when the seller shows the layers panel) or the instant after you download. That evaluation framework is what the rest of this guide teaches.

Start With Files Engineered in Clean, Numbered Layers
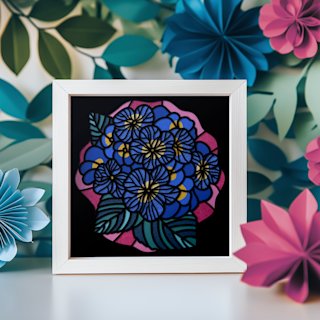
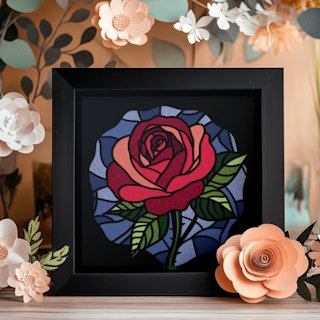
The fastest way to learn what a well-built multi-layer SVG looks like is to cut one that was designed by someone who builds them for a living. The Rose and Hydrangea shadow box SVGs are exactly that — each layer is a separate, named path group with consistent layer count and frame-sized footprints, so when you load them into Design Space you can see clean layer separation the way it should look. Cut one of these first and every quality red flag in a bad file becomes obvious by contrast.

What Makes a Paper Cutting SVG File "Good"

After the floral-mandala fiasco I started keeping a checklist of every trait that separated the files that cut cleanly from the ones that didn't. Five traits matter more than the rest, and you can assess all five from the Design Space layers panel the moment a file is uploaded.

1. Layer count matches the project

A shadow box SVG should carry five to eight layers — enough for real depth, not so many that alignment becomes impossible. A greeting-card SVG needs two to four layers with a score line for the fold. A file billed as a "shadow box" with only two layers will look flat; a "greeting card" with nine layers will fight you at assembly. Match the layer count to the project the file claims to be.

2. Clean path joins, no stray nodes

Every cut path is made of points (nodes) connected by line or curve segments. A clean file has the minimum nodes needed to describe each curve — smooth arcs drawn with a few well-placed nodes. A sloppy file has curves built from dozens of tiny straight segments, or stray nodes floating off the design that the blade will dutifully travel to and cut. You can see this in Design Space: jagged curves under zoom, or tiny floating shapes in the layers panel, are the giveaway.

3. Each layer is a single group, not duplicates

The duplicate-layer trap is the one that got me. Some files ship with two copies of a layer stacked perfectly on top of each other, so the machine cuts every line twice. That doubles cutting time, scores the backing paper, and tears delicate cardstock. In the layers panel, expand every layer and confirm each is one object, not two identical paths occupying the same coordinates.

4. Registration marks for multi-layer alignment

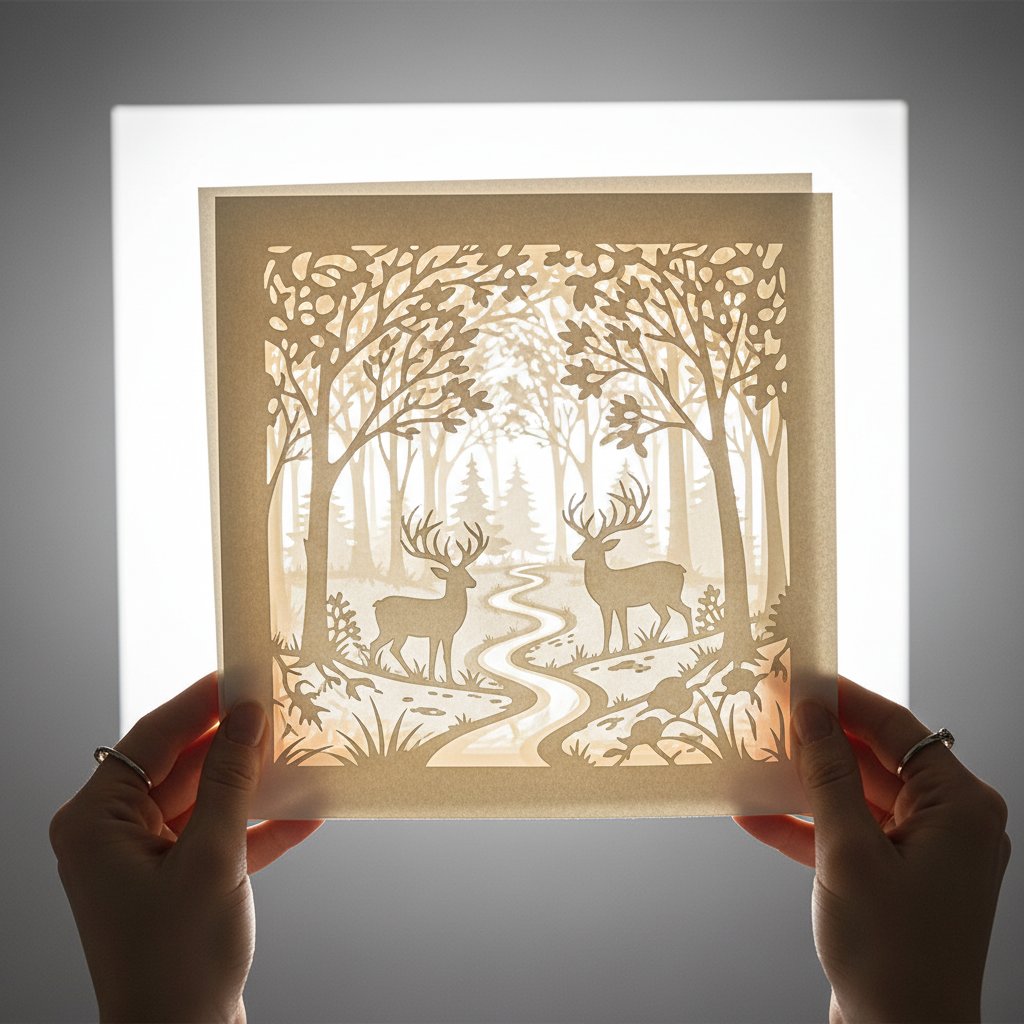
Assembled layered paper-cut design held up against a bright light to check layer alignment through the cutouts

For any file with more than one layer, look for small identical marks (usually tiny squares or crosses in the corners) that appear on every layer. These are registration marks: you stack the layers by aligning the marks, then hide them behind the frame's mat. Without them, aligning a seven-layer shadow box by eye is guesswork. Our how to size and resize shadow box SVGs guide covers the matching concern — making sure every layer scales together so those marks stay aligned at any frame size.

5. A sane minimum cut size

Every design has a smallest feature — the thinnest vine, the narrowest gap inside a letter. If that feature is thinner than about 0.5mm, no blade will reproduce it cleanly; the cardstock tears or bridges. A quality file states a minimum recommended cut size (often 8×8 inches for shadow boxes) because the designer tested it. A file with no stated minimum, cut at greeting- card scale, is where most "my Cricut ruined it" reviews come from.

File Formats: SVG, DXF, and PNG — What You Actually Need

Most paper cutting SVG downloads arrive as a folder containing several formats, and a lot of beginners open the wrong one. The format you load determines whether the machine cuts, prints, or errors out.

SVG is the one you want. It's the vector format Cricut Design Space and Silhouette Studio (Designer Edition and up) read natively. Each path stays a true cut line, layers stay separated, and the design scales without losing detail. If a listing offers only one format, SVG is the one that matters.

DXF is an older CAD-based vector format. Silhouette Studio reads it on the free Basic edition (where SVG needs the paid Designer Edition), which is the only reason it still ships. If you're on Cricut, ignore DXF entirely; Design Space's DXF support is limited and SVG is always cleaner.

PNG and JPG are bitmap image formats — flat pictures made of pixels. They are reference previews of the finished project, not cut files. If the only "cut file" in your download is a PNG, you bought a picture, not a cutting design: Design Space will try to trace its edges and the result will be a messy, doubled cut path. This is the single most common beginner trap on marketplaces.

The quick rule: SVG to cut, PNG to preview, DXF only if you're on Silhouette Basic. When a listing shows the included formats, that line alone tells you whether the seller understands cutting machines.

How to Preview a File the Moment You Download It

You don't have to cut a file to find out if it's good. Cricut Design Space lets you inspect every quality trait from the checklist above in under two minutes, for free, before a single sheet of cardstock is touched.

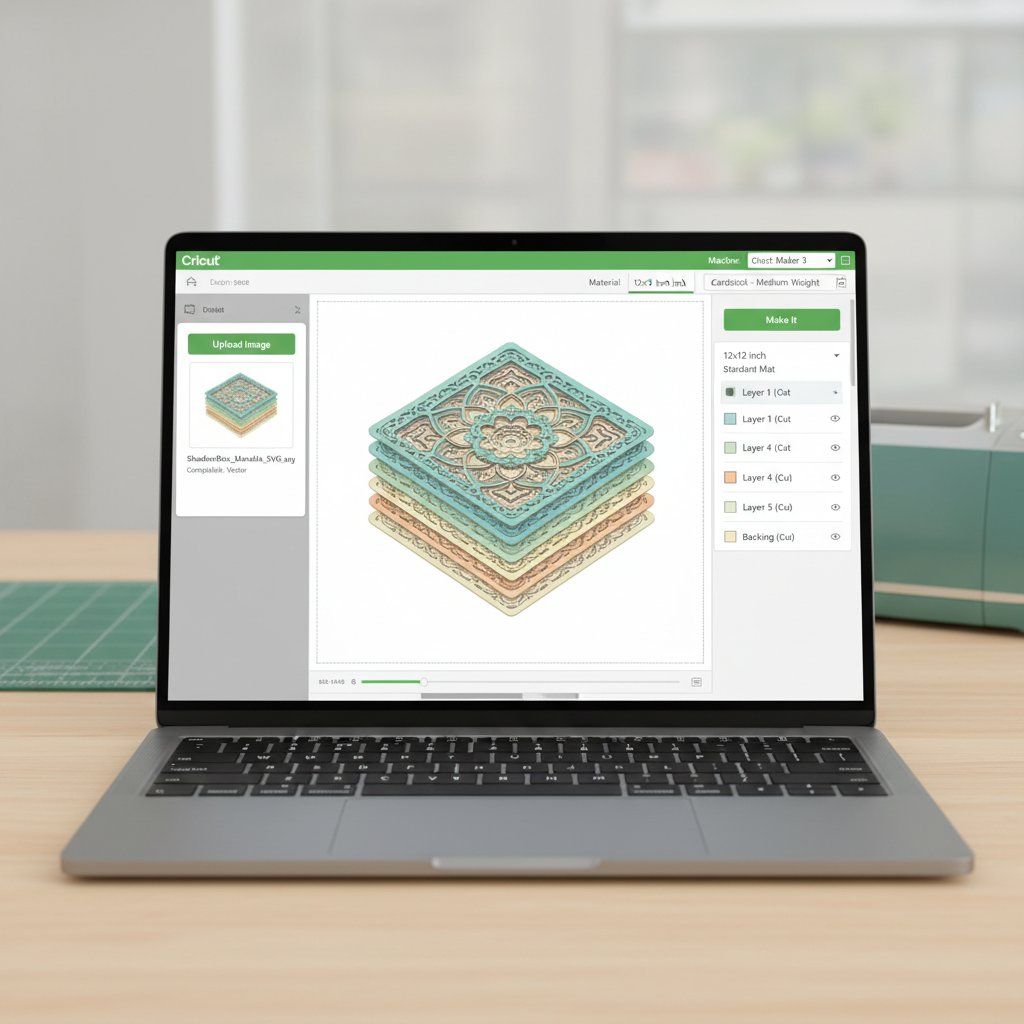
Cricut Design Space interface showing shadow box template being imported and prepared for cutting

Step 1 — Upload and insert. In Design Space, open Upload, drag in the SVG, and add it to your canvas. The instant it lands, select it and check the size readout — if a "12 inch shadow box" imports at three inches wide, the file's canvas was set wrong and every layer will need manual resizing before it's usable.

Step 2 — Ungroup and count layers. Right-click and Ungroup until nothing further separates, then open the Layers panel on the right. Count the top-level entries. That count is your true layer number — not the number in the listing title. This is the step that would have saved my afternoon: the mandala listed as "5 layers" actually had two duplicates and a stray background shape.

Step 3 — Zoom in on the curves and corners. Zoom to 400% on the most intricate part of the design. Clean files show smooth curves and crisp corners; messy files show stair-stepped curves, doubled lines, or tiny floating fragments. If you see a hairline gap where two paths nearly meet, the blade will bridge or tear there.

Step 4 — Check for hidden registration marks. Toggle each layer's visibility off and on. Look for small identical marks in the corners that repeat across layers. Present and aligned? Multi-layer stacking will be straightforward. Missing entirely on a file sold as layered? You will be aligning by eye. The full import-to-cut workflow (including the Attach step that locks layers in place) is covered in our import multi-layer shadow box SVG in Design Space walkthrough — run that after this preview once you've decided the file is worth cutting.

Practice Layer Alignment on Moderate-Complexity Files
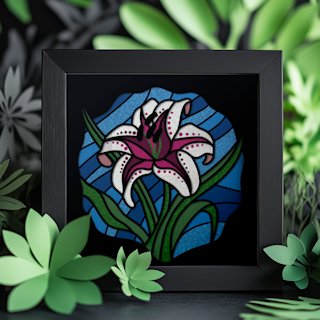
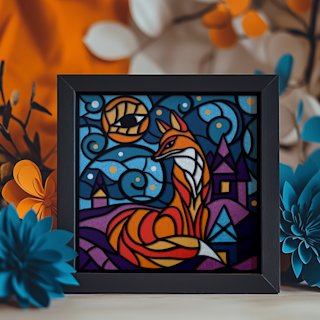
Don't learn registration-mark alignment on a nine-layer build. The Lily flower shadow box is a cleaner single-bloom design with a moderate layer count, and the Magical Fox is a character scene whose clearly separated color layers make alignment obvious — if the layers are off, you see it instantly. Both are the right complexity to confirm your preview and test-cut workflow before you take on an intricate mandala.

The Test-Cut Strategy: Never Commit a Full Sheet First

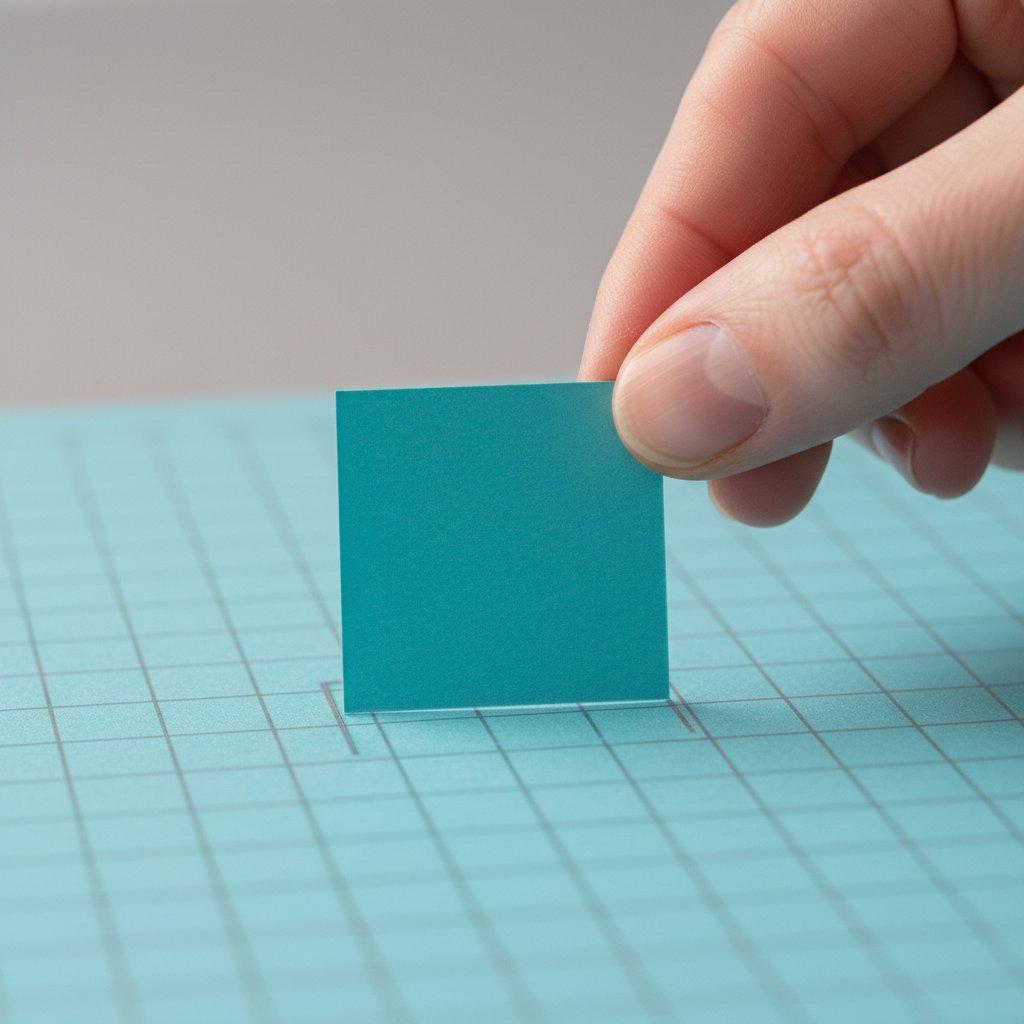
Once a file passes the preview, there's one more gate before the full project: the test cut. Cut a single layer — ideally the most intricate one — on a scrap of the same cardstock you'll use for the real piece, at the final size and settings. This catches the problems the preview can't: a blade pressure that's perfect for one paper weight but tears another, or a feature that's simply too fine for the material.

A test-cut square of cardstock being peeled from a Cricut cutting mat showing clean edges

Set up the test exactly as the real cut: the right mat grip for the cardstock (see our Cricut cardstock troubleshooting bible for the full pressure-and-blade diagnosis flow), the Fine-Point blade, and the single layer selected in Design Space. Hit Make It on just that layer.

Read the result before you read anything else into it. Clean edges, no tearing, every gap cut through — your settings and the file are good; proceed to the full project. Tearing at curves or corners — the pressure is too high or the smallest features are too fine; try a LightGrip mat and a single cut pass, or enlarge the design. Bridging across gaps — the pressure is too low or the blade is dull; bump pressure or change the blade before blaming the file. Scoring on the backing paper — almost always a duplicate layer or a multi-cut turned on; go back to the layers panel and fix it.

The test cut costs you one scrap and two minutes. Skipping it is what turns a borderline file into four ruined sheets and a ruined evening — which is precisely what happened to me with the mandala.

Matching the File Type to the Project

Quality paper cutting SVG files are built for a specific project type, and the traits that make a file good change with the project. Evaluating a shadow-box file against greeting-card criteria (or vice versa) leads to wrong conclusions.

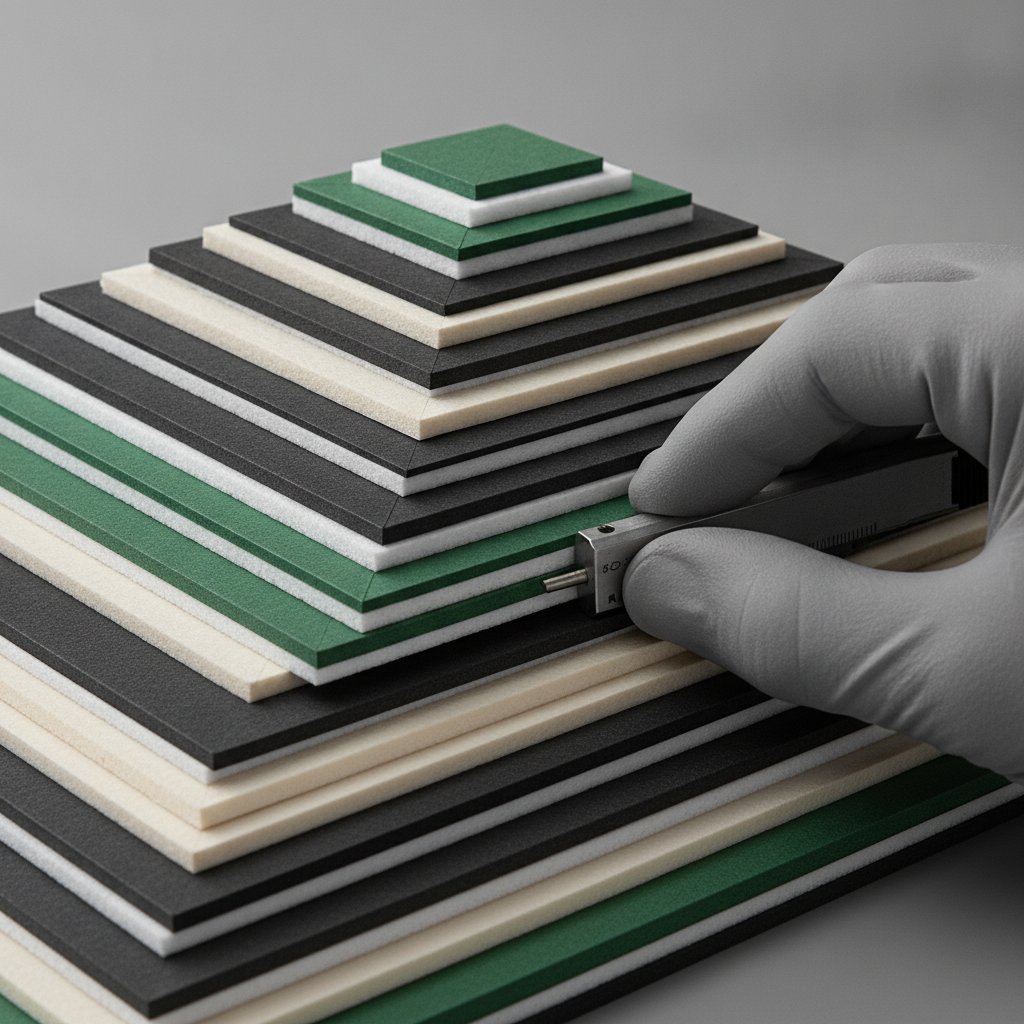
Shadow box SVGs (5–8 layers). Built for deep frames, these need rigorous layer separation, registration marks on every layer, and a footprint sized to a standard frame (usually 8×8 or 12×12 inches). The test is alignment: hold the dry-stacked layers up to a light and confirm the design reads correctly through the cutouts.

A dry-fit test stack of cut cardstock papercut layers separated by foam spacers being checked for depth

Greeting card SVGs (2–4 layers). These need a score line for the fold, simpler cut paths that survive being mailed, and a finished footprint that fits an envelope. Duplicate-layer checks matter most here — a card front cut twice is the most common failure. Our paper cutting greeting cards and stationery guide goes deeper on card-specific file traits.

Layered wall art SVGs (3–6 layers). Larger in scale and depth-focused, these live between shadow boxes and flat decals. Look for bold continuous shapes that read clearly at wall distance — the same principle behind the pieces in our papercut Cricut cut file wall art guide.

Whatever the type, the same five-trait checklist from earlier applies — layer count, clean paths, no duplicates, registration marks, sane minimum size. The project type just tells you what "correct" looks like for each trait.

See Clean Path Design in Single-Subject Files
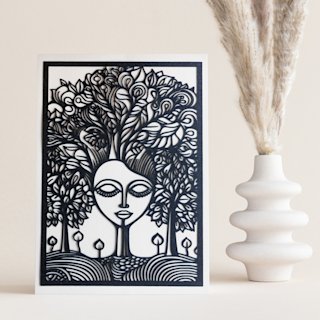
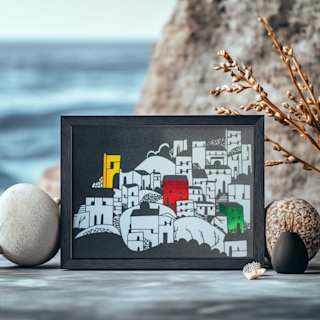
Path quality is easiest to judge on a single-subject file where every line is visible. The Mind Tree papercut SVG is a clean, continuous-line design — zoom in and you'll see smooth curves built from well-placed nodes, the signature of a file that will cut without tearing. The Seaside Houses template shows the same quality in geometric, architectural lines where precision is everything. Cut one of these and a bad file's jagged, over-noded paths become instantly recognizable.

Red Flags: How to Spot a Bad Paper Cutting SVG File

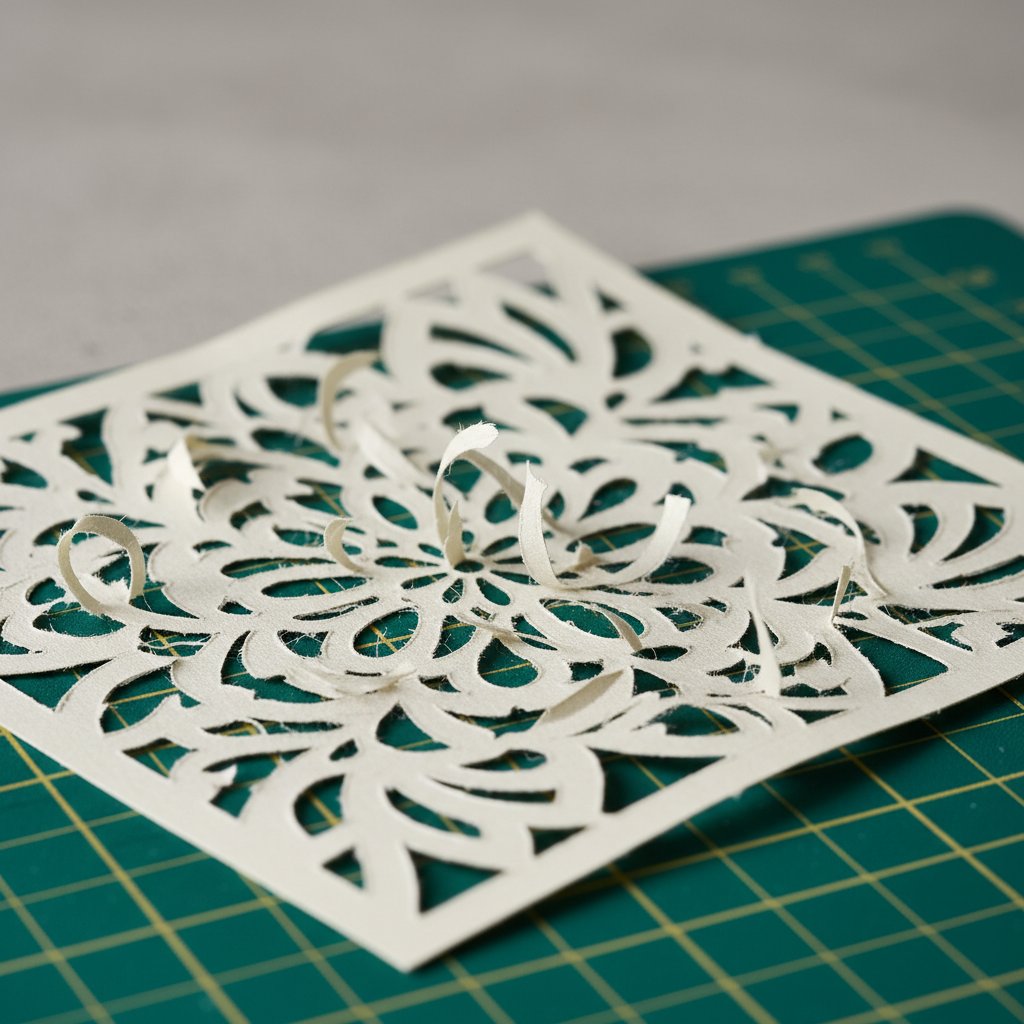
Torn and ragged poorly-cut cardstock design with incomplete cuts and lifted fibers on a cutting mat

After evaluating a few hundred files, these are the red flags that almost always mean a bad cut is coming. Spot any one of them in the preview and you've saved yourself the cardstock.

  • The listing has no layers-panel screenshot. Sellers who build clean files show the
    layers panel — it's their best evidence. A listing with only a finished-photo thumbnail and
    no layer view is hiding something, usually a flat trace rather than a true multi-layer
    build.
  • Design Space throws a "duplicate" or "open path" warning on upload. These warnings are
    literal. A duplicate path means a double cut; an open path means a line that doesn't close,
    which the blade will trace and leave ragged. Resolve them in the layers panel before cutting.
  • Curves are visibly stair-stepped at 400% zoom. That's a raster trace sold as a vector —
    someone auto-traced a JPEG instead of drawing the paths. The blade follows every tiny step
    and the edge comes out furry.
  • No stated machine compatibility or minimum size. A file with no guidance on which
    machines it suits or how small it can go is a file the designer never tested. Tested files
    tell you.
  • The "shadow box" has fewer than four layers, or the "single-layer decal" has three. When
    the file's structure contradicts its title, the listing was written for search, not for the
    machine. Read the layer count, not the title.
  • A nine-layer file with no registration marks. Multi-layer alignment by eye past about
    four layers is luck, not craft. No marks, no clean stack.

When Free Paper Cutting SVG Files Are Worth It (And When They Aren't)

Free files aren't inherently worse than paid ones, but they're where the quality variance is widest, because there's no commercial pressure on the seller to test them. The rule that's held up for me: use free files to learn, use paid files for projects that matter.

A free single-layer shape — a heart, a leaf, a simple word — is a great, low-risk way to practice the cut-weed-transfer flow or to test a new blade setting. If the file is mediocre, you've lost nothing. Our free paper cut SVG download and free shadow box SVG templates round-ups collect tested free sources so you're not grabbing unvetted files off search.

Where free files break down is complexity. A free nine-layer shadow box is the highest-risk file on the internet: it's the format most likely to have duplicate layers, missing registration marks, and traces sold as vectors, because the work of building it cleanly is exactly the work a free uploader is most likely to skip. For a wedding gift, a piece you'll sell, or anything you'd be upset to ruin, a paid file from a designer who stakes their reputation on it is the cheaper choice in cardstock and time, even at three to five dollars.

The evaluation framework in this guide works on both — run the same five-trait checklist on a free file as on a paid one. The difference is just your expectation of how often a free file will pass.

Anchor Your Next Build on Files That Pass Every Check
When you want to skip the evaluation and just cut, reach for the files that already pass every check in this guide. The Rose shadow box SVG is the romantic, gift-ready build I send people to for a first multi-layer project, and the Magical Fox is the character scene that proves clean layer separation the moment you preview it. Both come as instant-download SVGs with named layers and registration marks — cut one tonight and the bar for every file you buy afterward is set.
1.What is the best file format for paper cutting on a Cricut?
SVG is the best and only format you need for paper cutting on a Cricut. It's a true vector format, so Cricut Design Space reads each path as a clean cut line, layers stay separated, and the design scales without losing sharpness. DXF is an older format mainly useful on Silhouette Studio's free Basic edition (which can't open SVG without the paid Designer Edition). PNG and JPG are flat images meant for preview only — if the only file in a download is a PNG, you bought a picture, not a cut file, and Design Space will produce a messy traced cut.
2.How do I know if a paper cutting SVG file is good quality before I buy it?
Look for a seller screenshot of the layers panel (the strongest signal a file was built cleanly), a stated layer count that matches the project type (5–8 layers for a shadow box, 2–4 for a greeting card), and a stated minimum cut size. After download, upload the SVG to Cricut Design Space, ungroup it, and check the Layers panel for duplicate paths, stray nodes, and registration marks on every layer. Zoom to 400% on the curves — clean files show smooth arcs, while auto-traced files show stair-stepped edges.
3.How many layers should a good shadow box SVG have?
A well-designed shadow box SVG typically has five to eight layers. That range gives enough depth to read as three-dimensional inside a deep frame without making alignment so complex that it becomes unreliable. Fewer than four layers tends to look flat; more than eight makes registration demanding and increases the chance of a misaligned stack. Whatever the count, every layer should carry matching registration marks so you can align them squarely during assembly.
4.Why did my Cricut cut the same line twice on a downloaded SVG?
Almost always because the file contains a duplicate layer — two identical paths stacked perfectly on top of each other, so the machine cuts every line twice. This doubles cut time, scores the backing paper, and can tear delicate cardstock. In Cricut Design Space, ungroup the design, open the Layers panel, and expand each layer to confirm each is a single object. If you find overlapping identical paths, delete one copy before cutting. This is one of the most common defects in poorly built paid and free files alike.
5.Should I test-cut a new SVG before the full project?
Always. Cut a single layer — preferably the most intricate one — on a scrap of the same cardstock, at the final size and with the real settings, before committing a full sheet. Read the result: clean edges mean proceed, tearing at curves means reduce pressure or use a LightGrip mat, bridging across gaps means increase pressure or change a dull blade, and scoring on the backing paper usually means a duplicate layer. A test cut costs one scrap and two minutes and prevents the wasted-cardstock outcome that bad files otherwise cause.
6.Can I use paper cutting SVG files from Etsy with my Cricut?
Yes, as long as the download includes an SVG file. Most Etsy paper cutting listings ship a folder with SVG, DXF, and PNG inside — load the SVG into Cricut Design Space via Upload and ignore the others. The format matters more than the marketplace: a clean SVG from any source cuts well, and a traced JPEG sold as an SVG from any source cuts badly. Run the same quality checks (layers panel, duplicate paths, registration marks, zoom test) regardless of where you bought the file.
7.What does it mean if a paper cutting file only has a PNG and no SVG?
It means you bought a flat image, not a true cutting file. PNG is a bitmap format made of pixels; it has no cut paths, so Cricut Design Space has to auto-trace the image's edges to create them. That trace is almost always messy — doubled lines, stair-stepped curves, and missing interior cutouts — and the resulting cut looks ragged. For paper cutting you need a vector SVG (or DXF on Silhouette Basic). If a listing offers only PNG, treat it as a reference image, not a cut file, and look for one that ships a real SVG instead.
8.Are free paper cutting SVG files safe to use on a Cricut?
Free files are safe for simple, low-risk practice — a single-layer shape or a basic word is a fine way to test a blade or practice weeding. They become risky at high complexity: free multi-layer shadow boxes are the most likely files to carry duplicate layers, missing registration marks, and auto-traced paths, because the careful build work is exactly what free uploaders skip. For gifts, sale items, or anything you'd be upset to ruin, a few dollars for a tested paid file is cheaper than the cardstock a bad free file wastes. Run the same quality checklist on free files as on paid ones before cutting.