Most papercut SVG content online treats the file like the finish line: download it, upload it,
cut it, done. For wall art, the file is only the starting line. What separates a flat cut-out
from a piece you'd actually hang is everything that happens between the SVG and the wall — the
layers you stack, the paper you feed, and the depth you build.
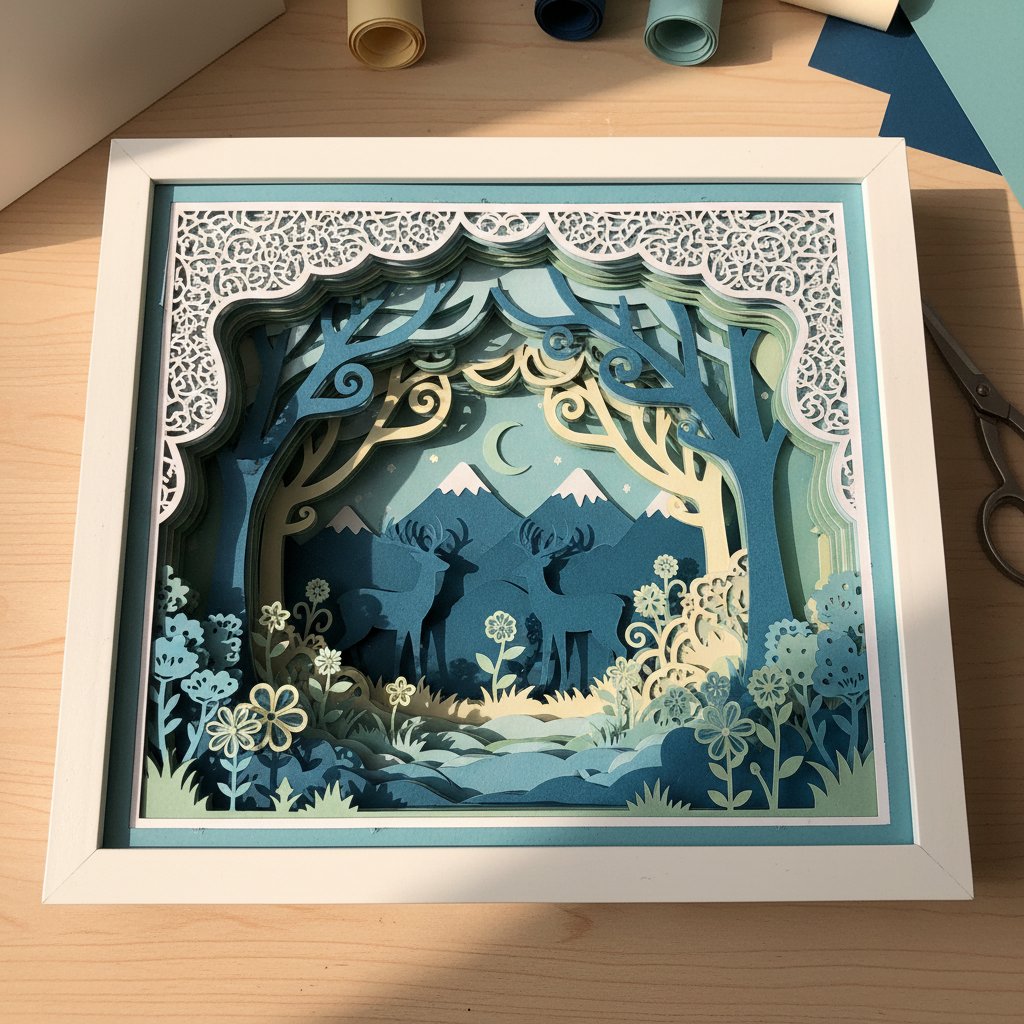
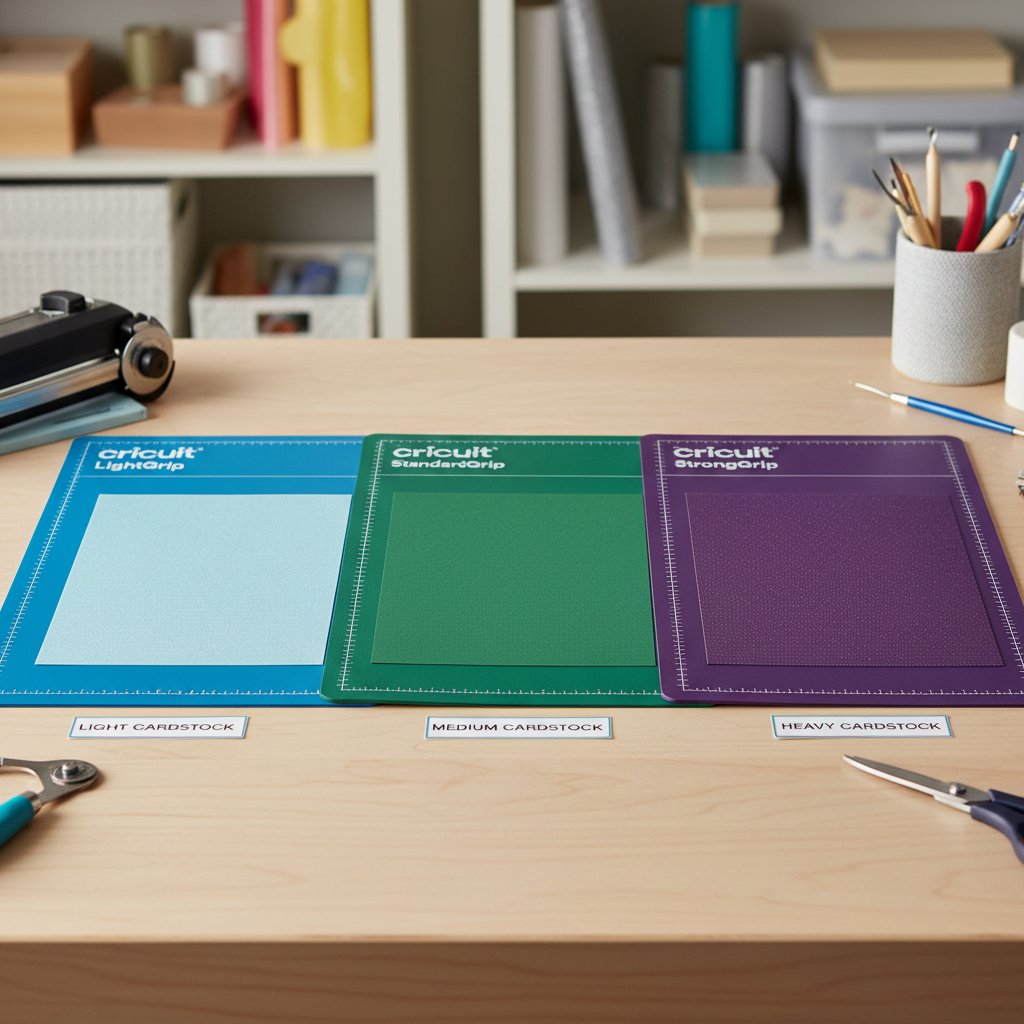
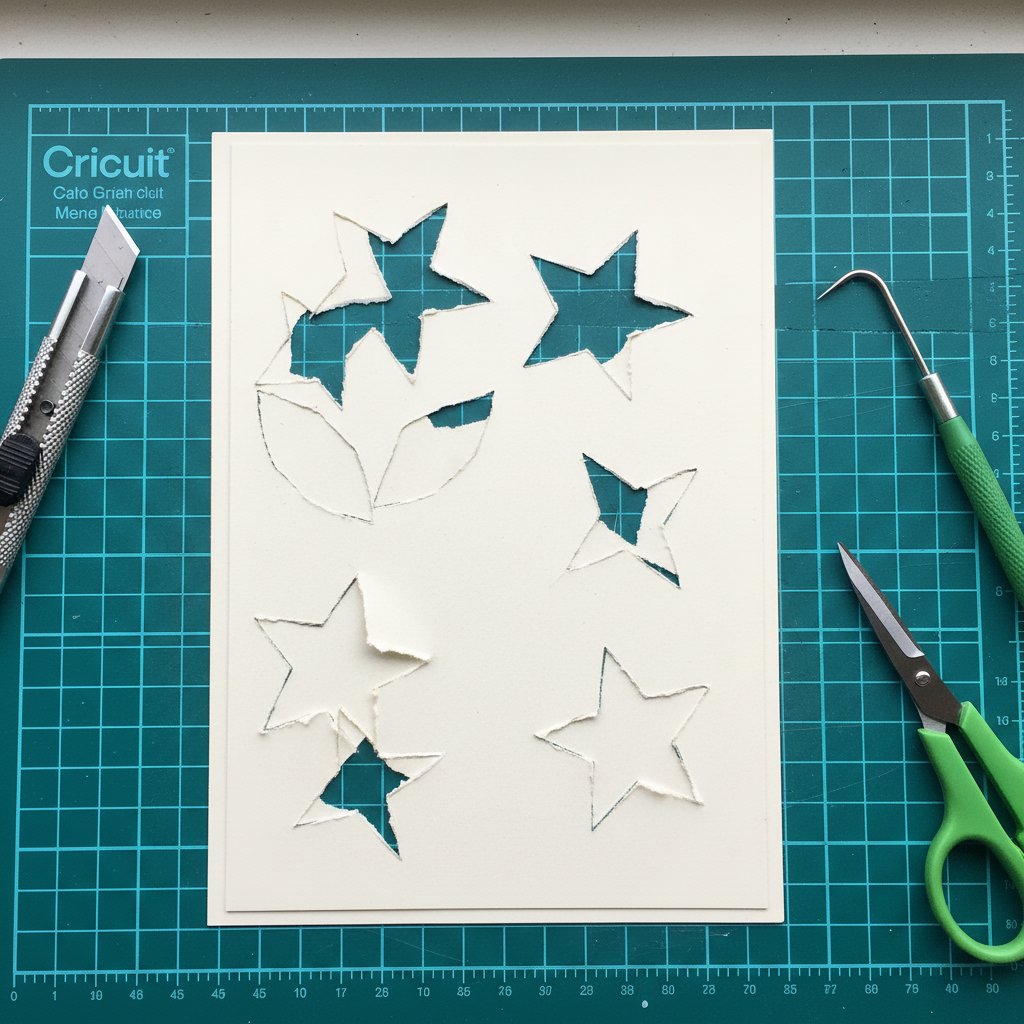
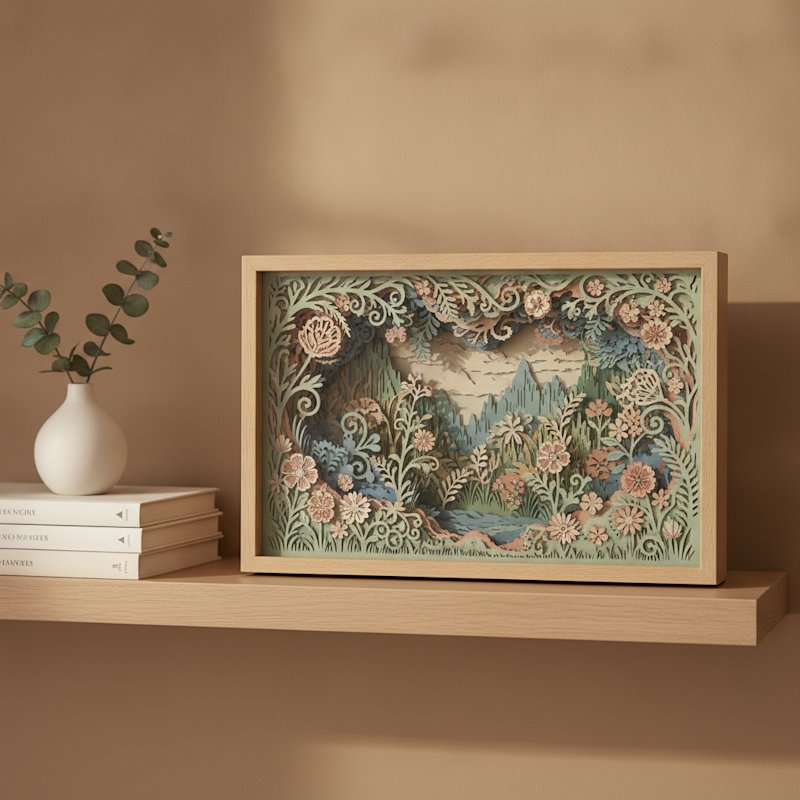
I learned this the hard way on a 9-layer botanical piece I cut at 12×16 inches on my Cricut
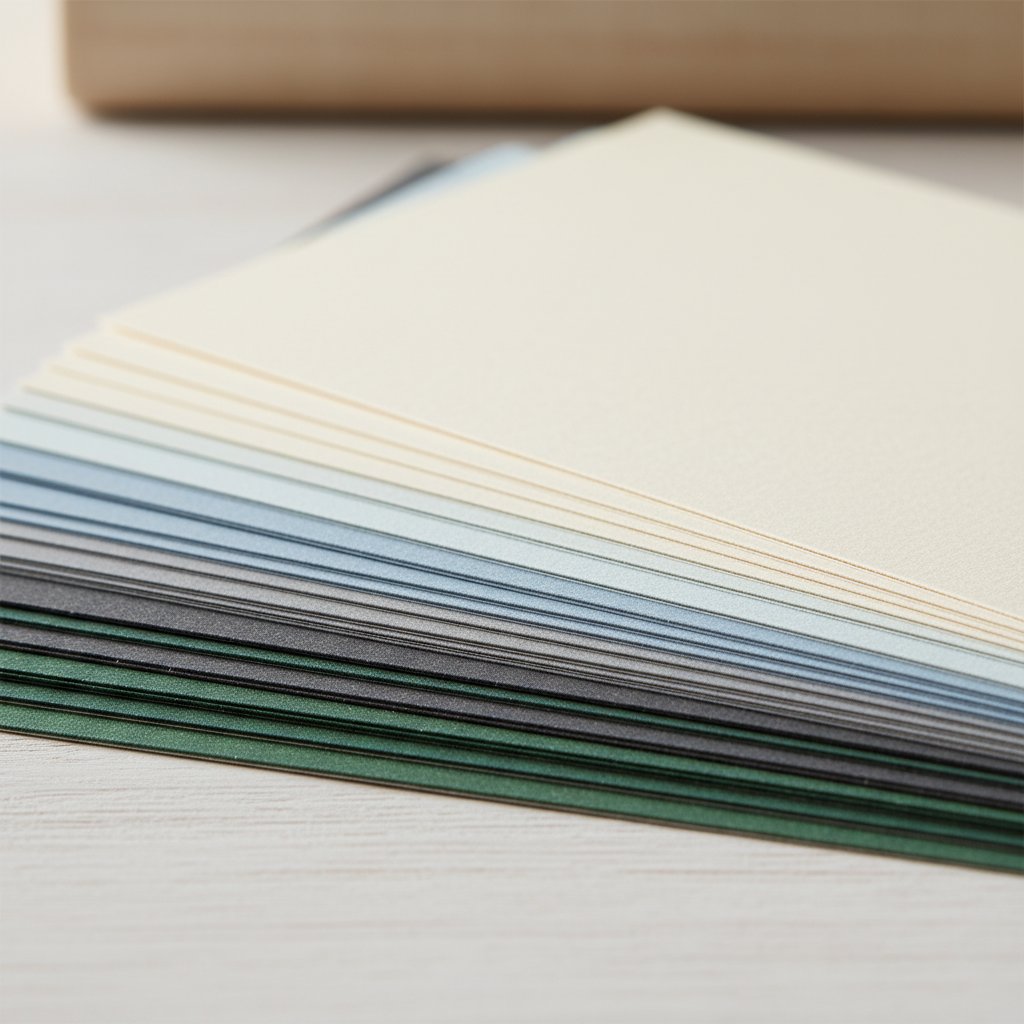
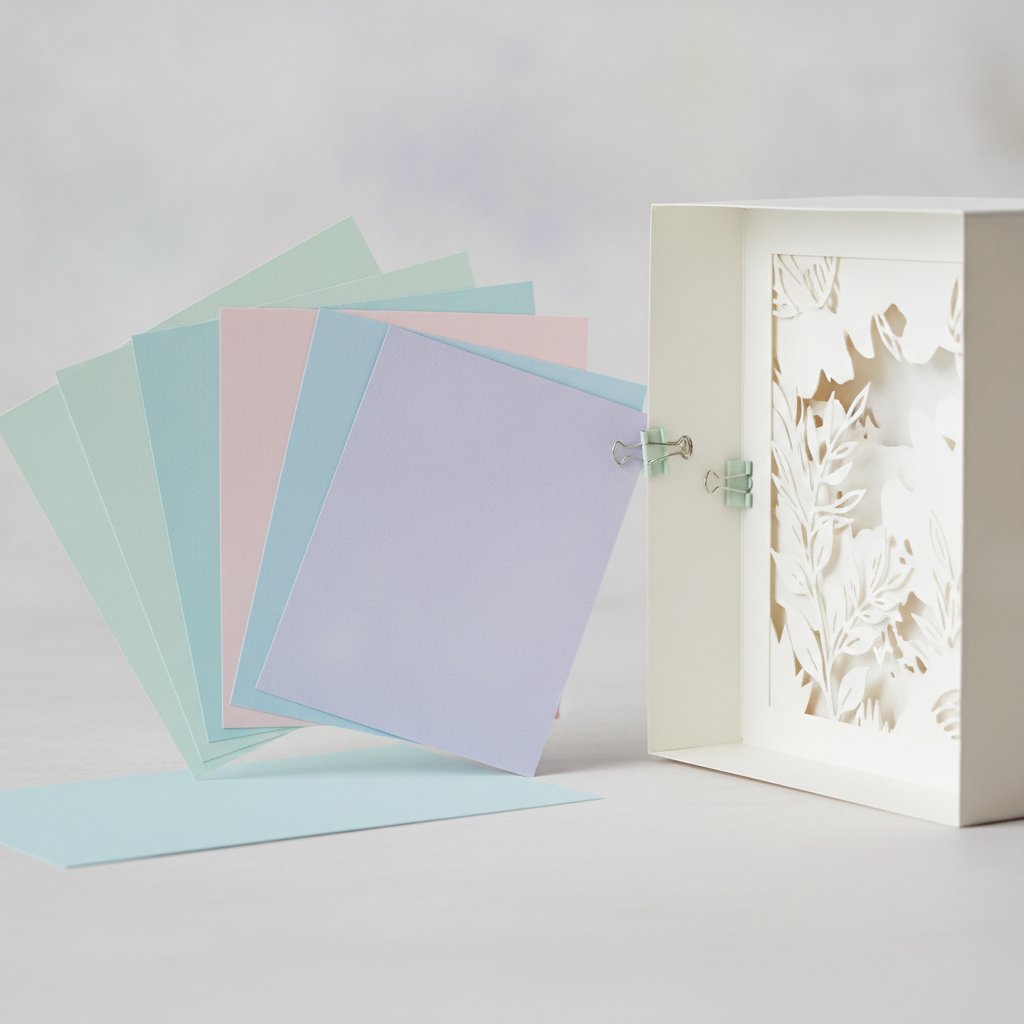
Maker. Same SVG, two attempts. The first used flat 80 lb cardstock glued directly to a backing
board — it looked like a coloured photocopy and went straight into a drawer. The second used a
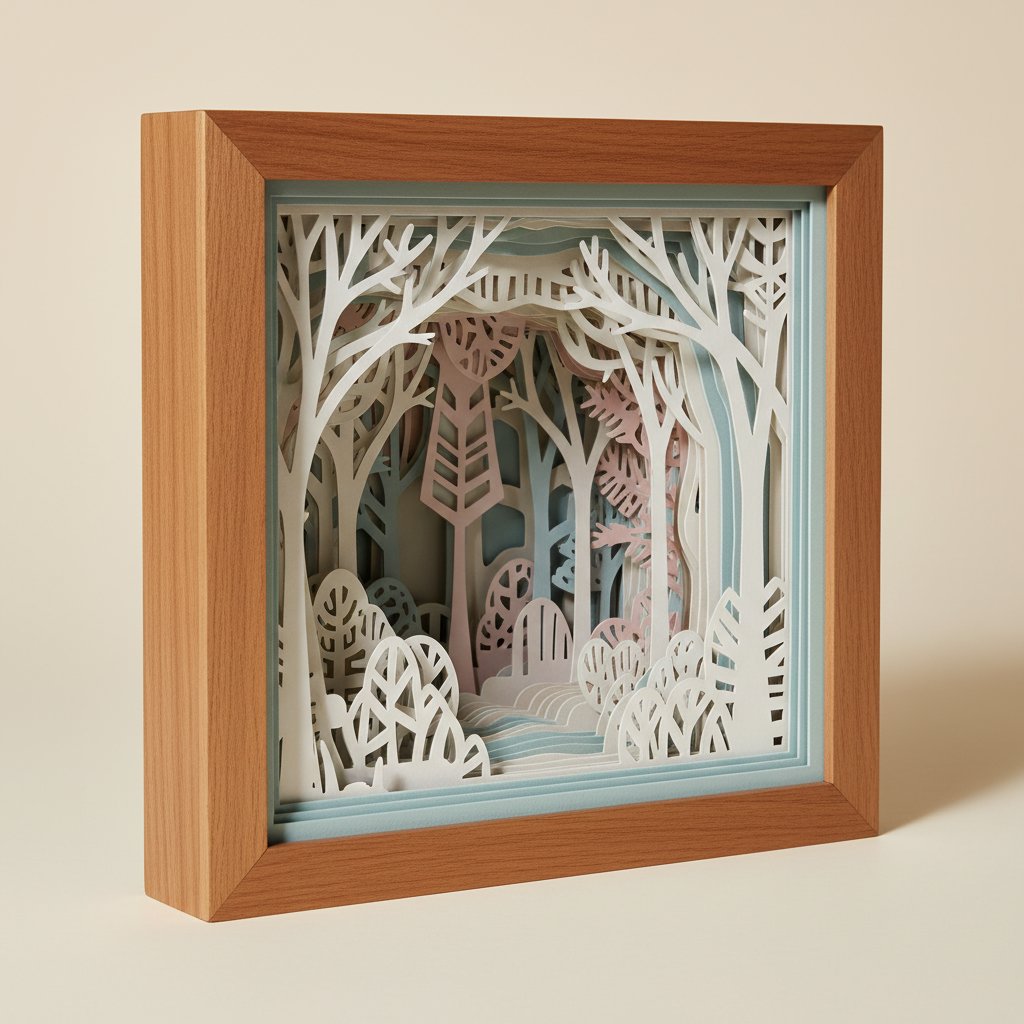
vellum back layer behind the foliage, 3 mm foam spacers between every layer, and a warm LED
strip at the base. The shadows did the rest. It now hangs lit in my hallway and is the first
thing visitors ask about. Same cut file. Completely different result.
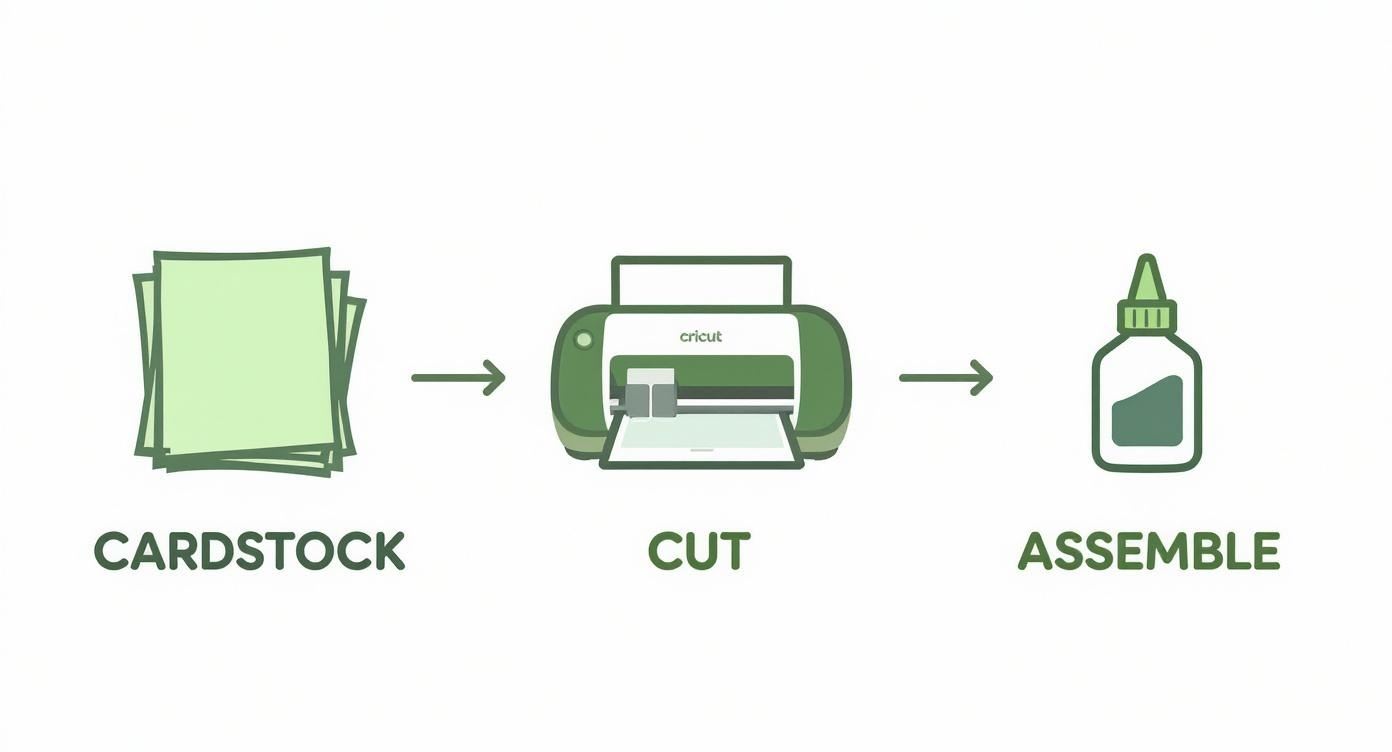
That gap — between a working SVG and a finished wall piece — is what this guide is about. We
focus on the artistic choices competitors skip: how a cut-file SVG translates into layered
depth, how paper changes the light, and how to assemble for real dimension rather than a
paper sandwich — from file choice through sizing, paper, cutting, and assembly.
If you want to design or edit your own SVGs (tracing, bridges, node cleanup in Inkscape),
that's a separate skill — our companion papercut SVG design
guide goes deep on it. This
article starts from a file and takes you all the way to a finished, hung piece. Brand-new to
the machine? Start with Cricut paper cutting for
beginners first.