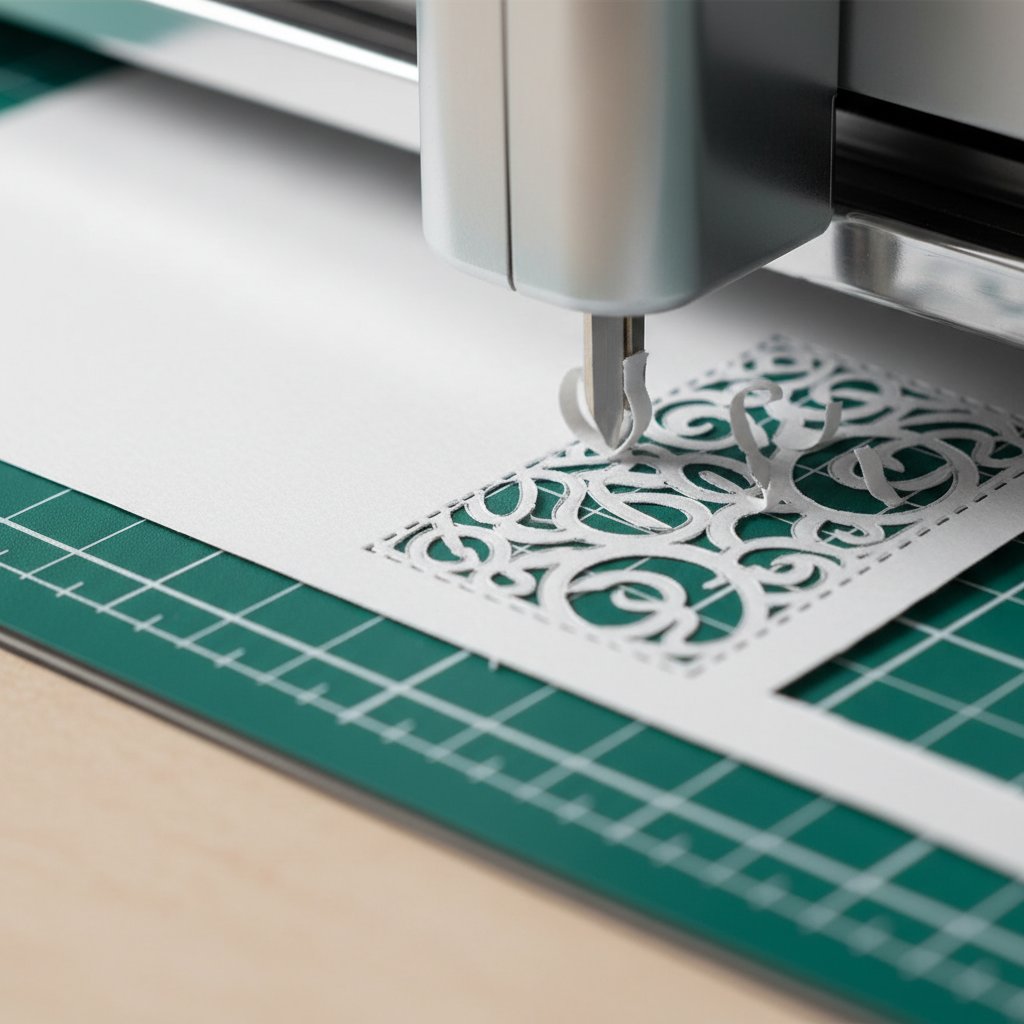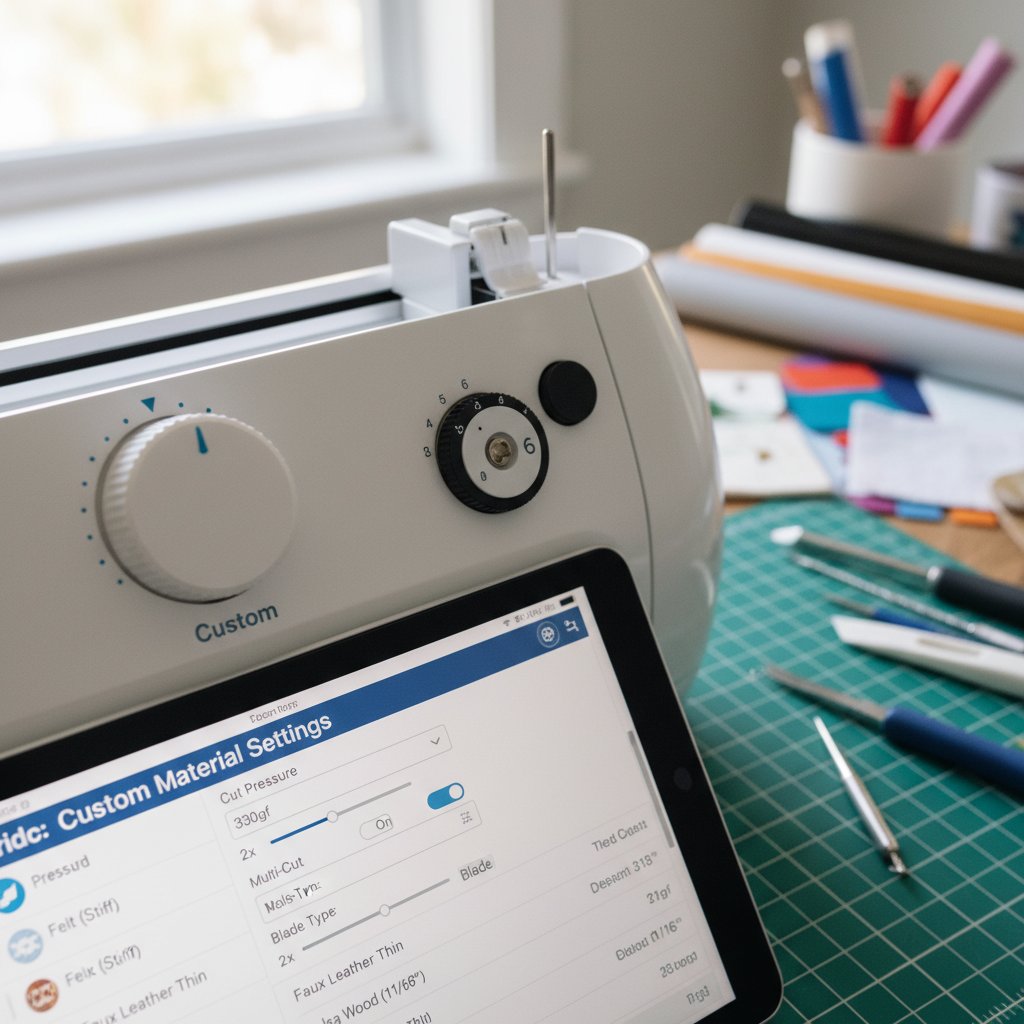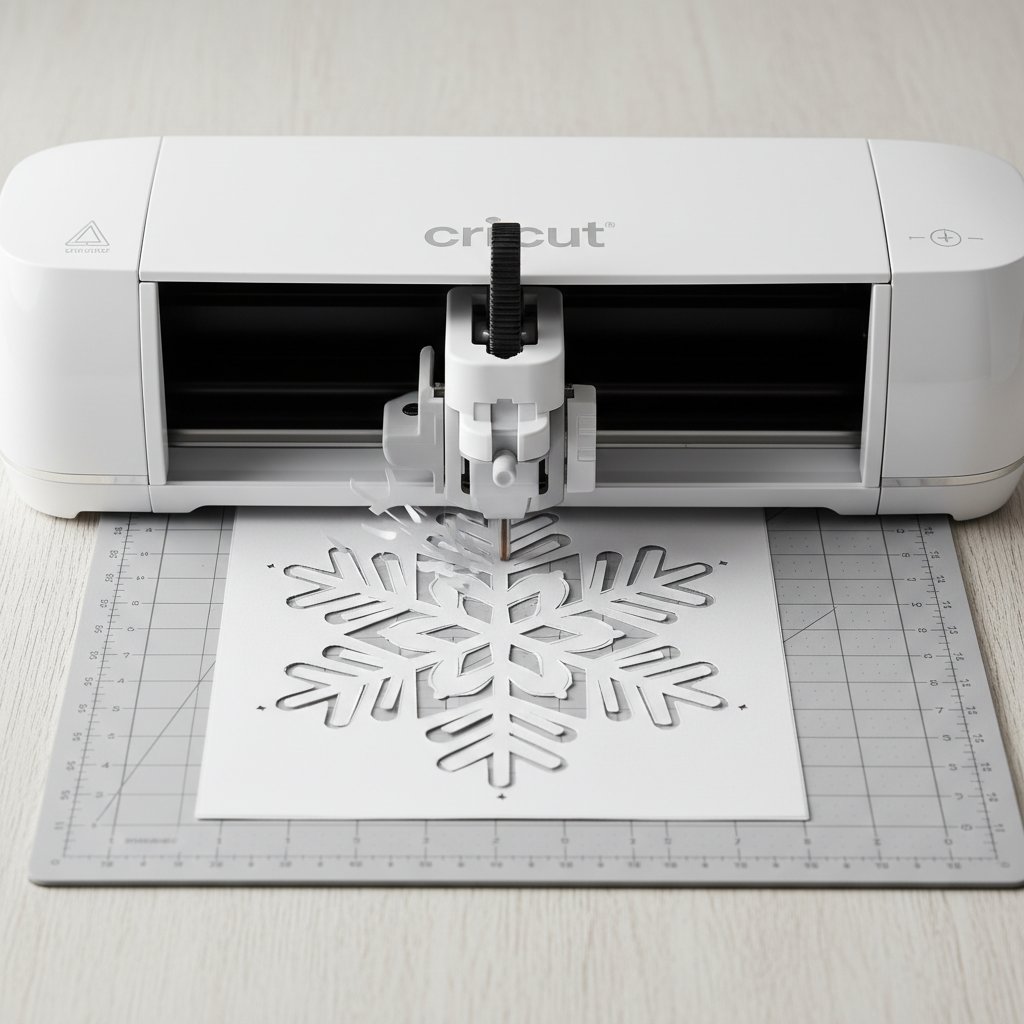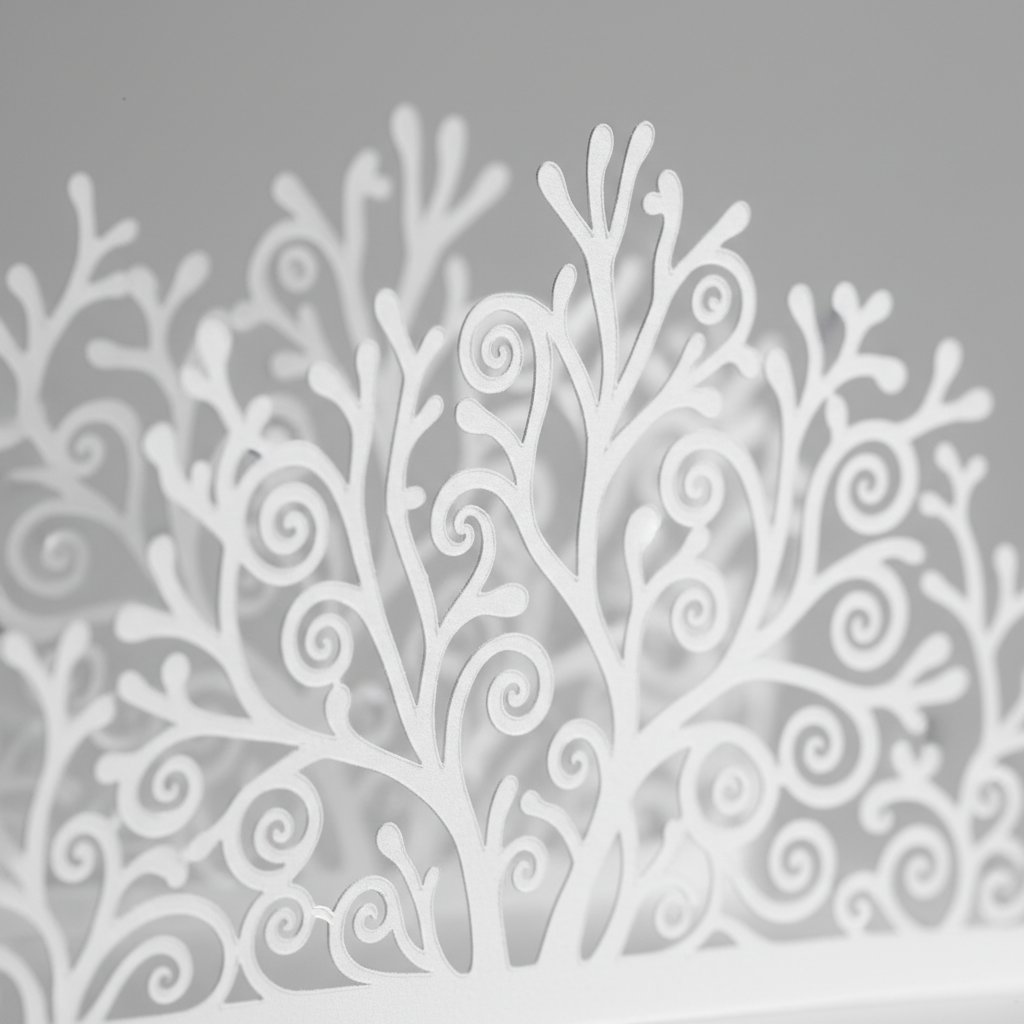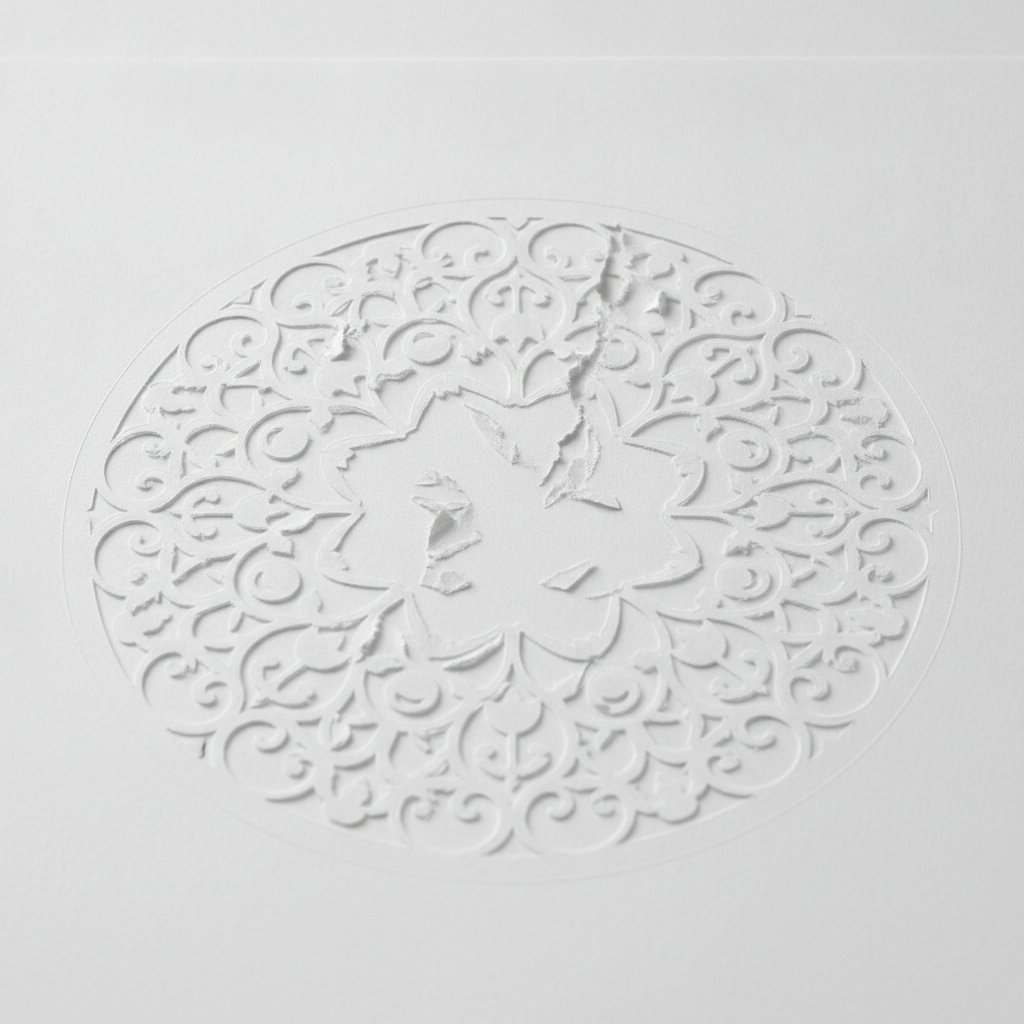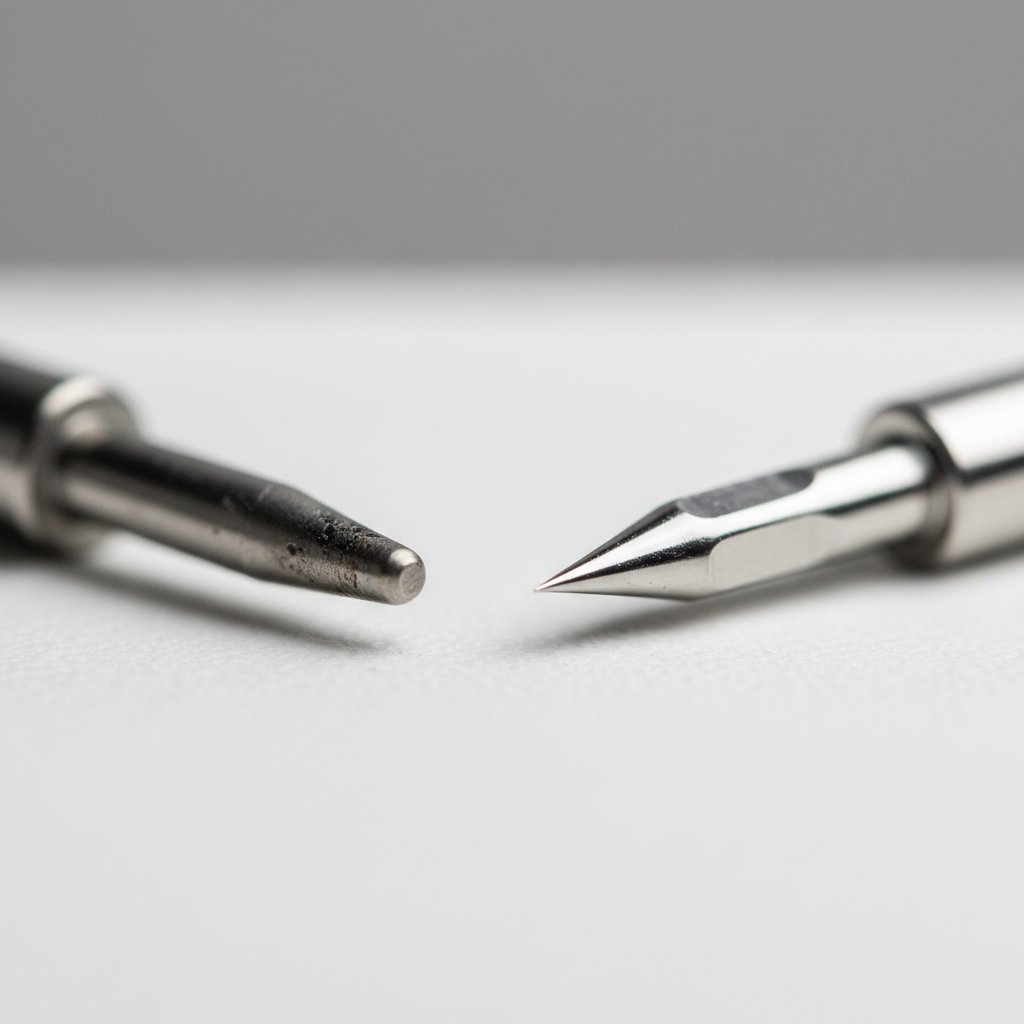
The first intricate papercut I ran on a Cricut looked perfect on screen — a delicate tree with hundreds of thin branch lines — and came off the mat in three torn pieces. The blade was sharp, the cardstock was right, the settings were correct. The design was the problem: I had drawn branches thinner than the blade could cut without severing them, and I had no idea that was a thing until the cut failed. That failure is what pushed me to learn paper cutting as a set of techniques rather than a single "hit Make It" event.
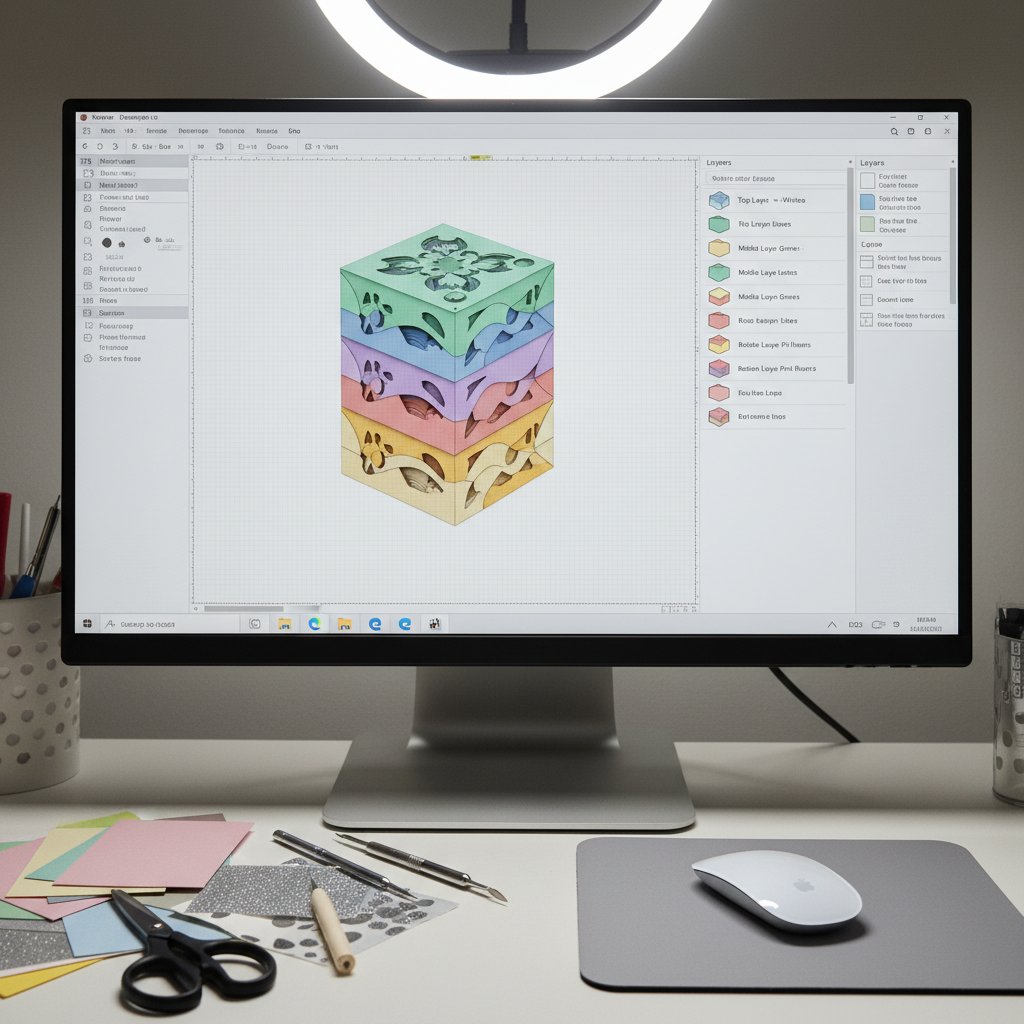
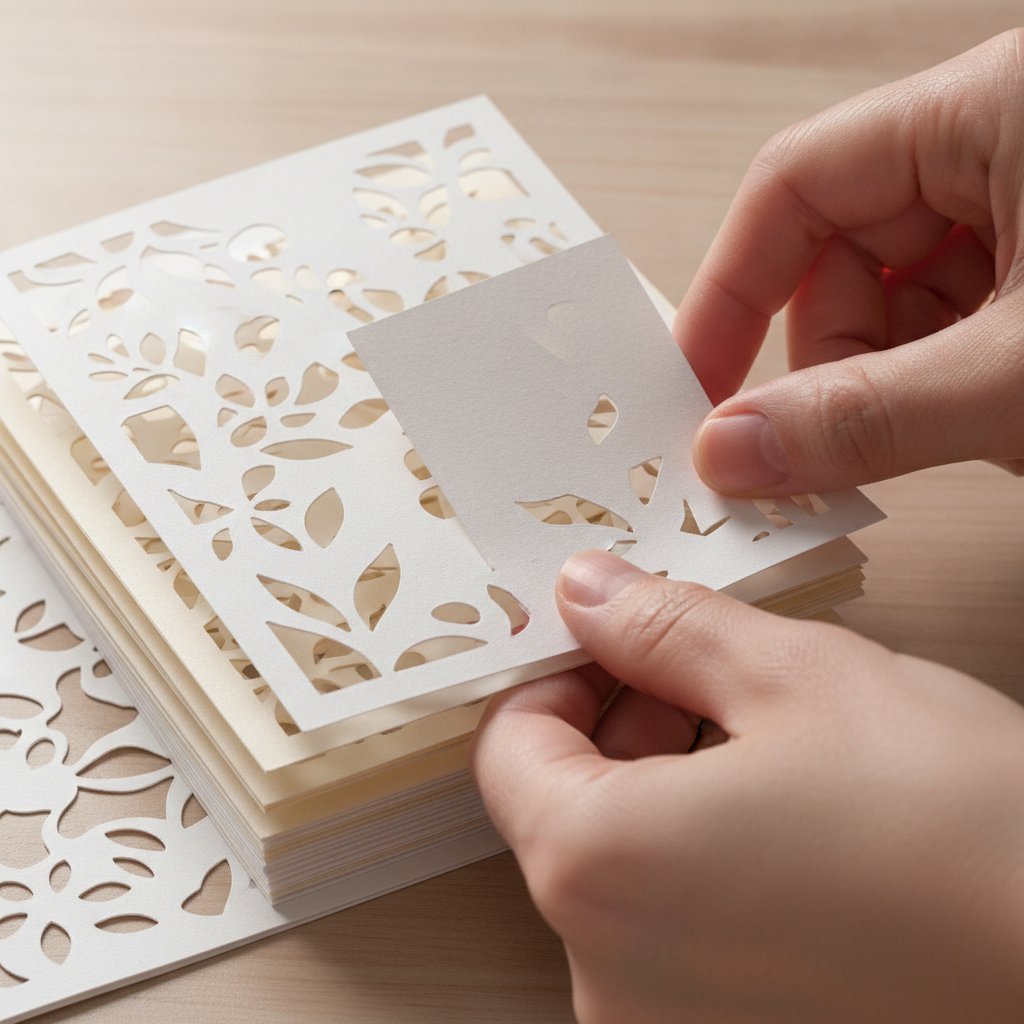
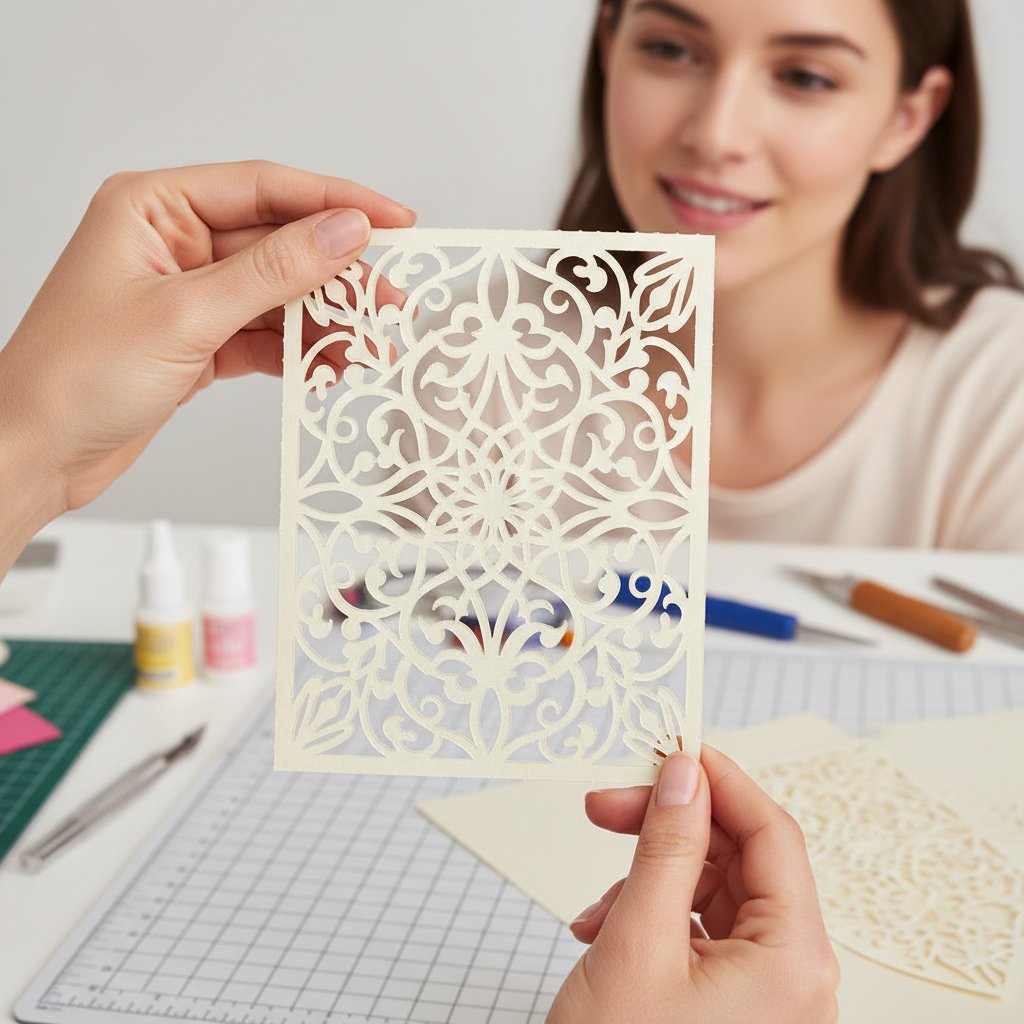
Paper cutting techniques for beginners with Cricut is the craft of choosing the right cut method for each shape — when to let the machine do everything, when to add scoring for folds, when to stack multiple layers for depth, and most of all how to design (or pick) artwork the blade can actually reproduce. Most beginner guides stop at "load paper, pick Cardstock, press go." That gets you one clean silhouette. This guide goes further: it treats paper cutting as a progression of five techniques — basic cutting, design fundamentals, intricate cutting, scoring, and multilayer stacking — and shows you exactly when and why to use each one.
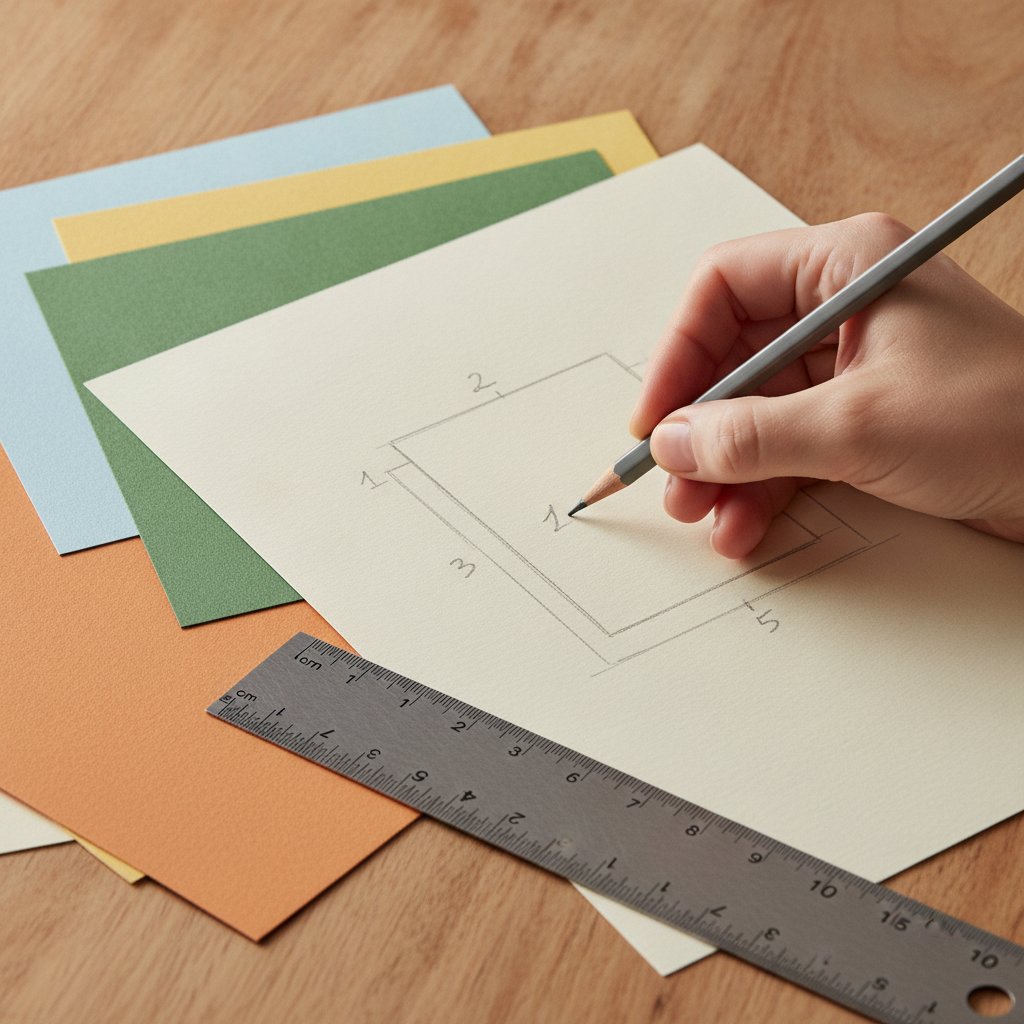
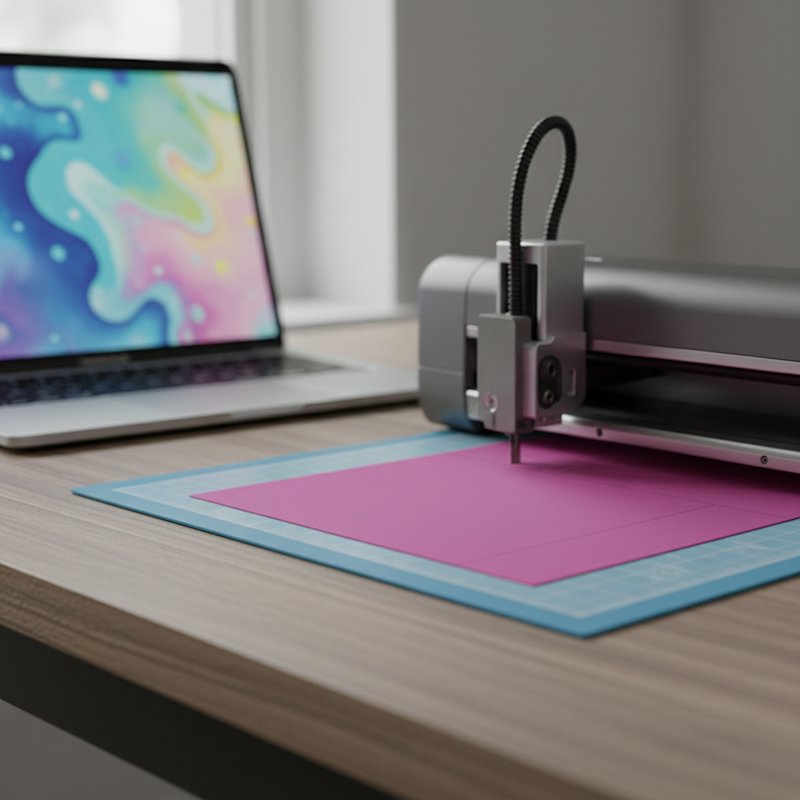
If you have not yet unboxed your machine or run your first cut, pair this guide with our Cricut paper cutting for beginners setup walkthrough — that one covers machine setup, first test cut, and mat basics. This article assumes you can already cut a single clean silhouette and want to add technique. By the end you will be able to design cut-friendly artwork, dial in settings for any paper, fold with the scoring stylus, and stack a multilayer piece with real depth.