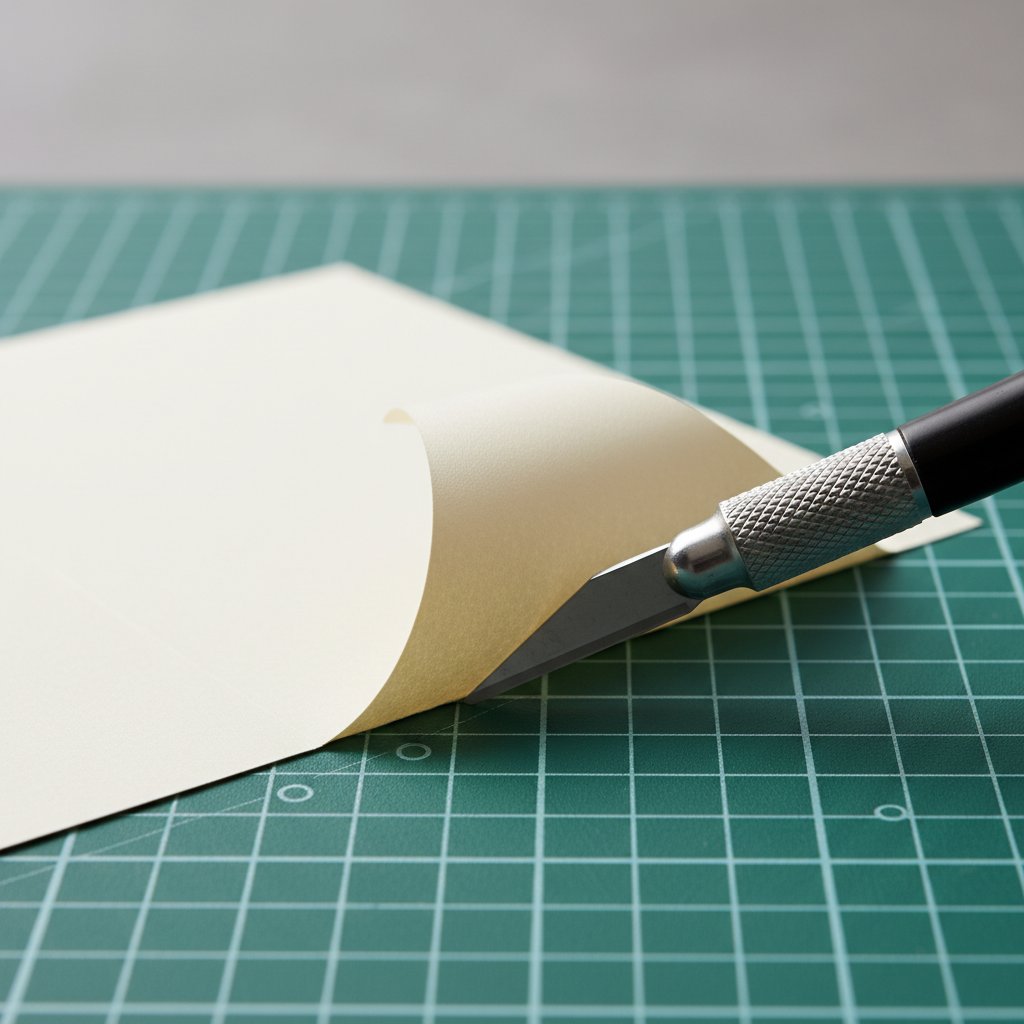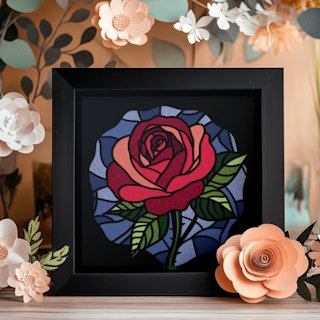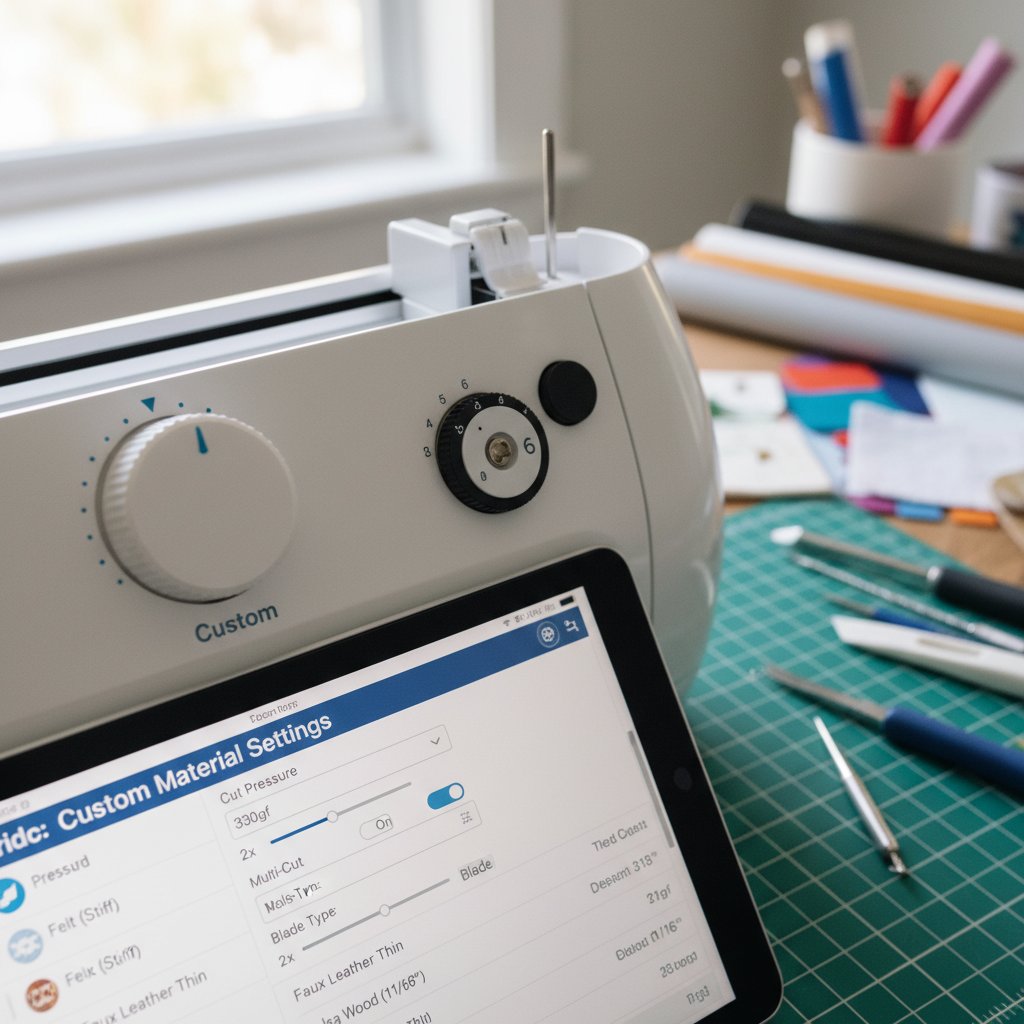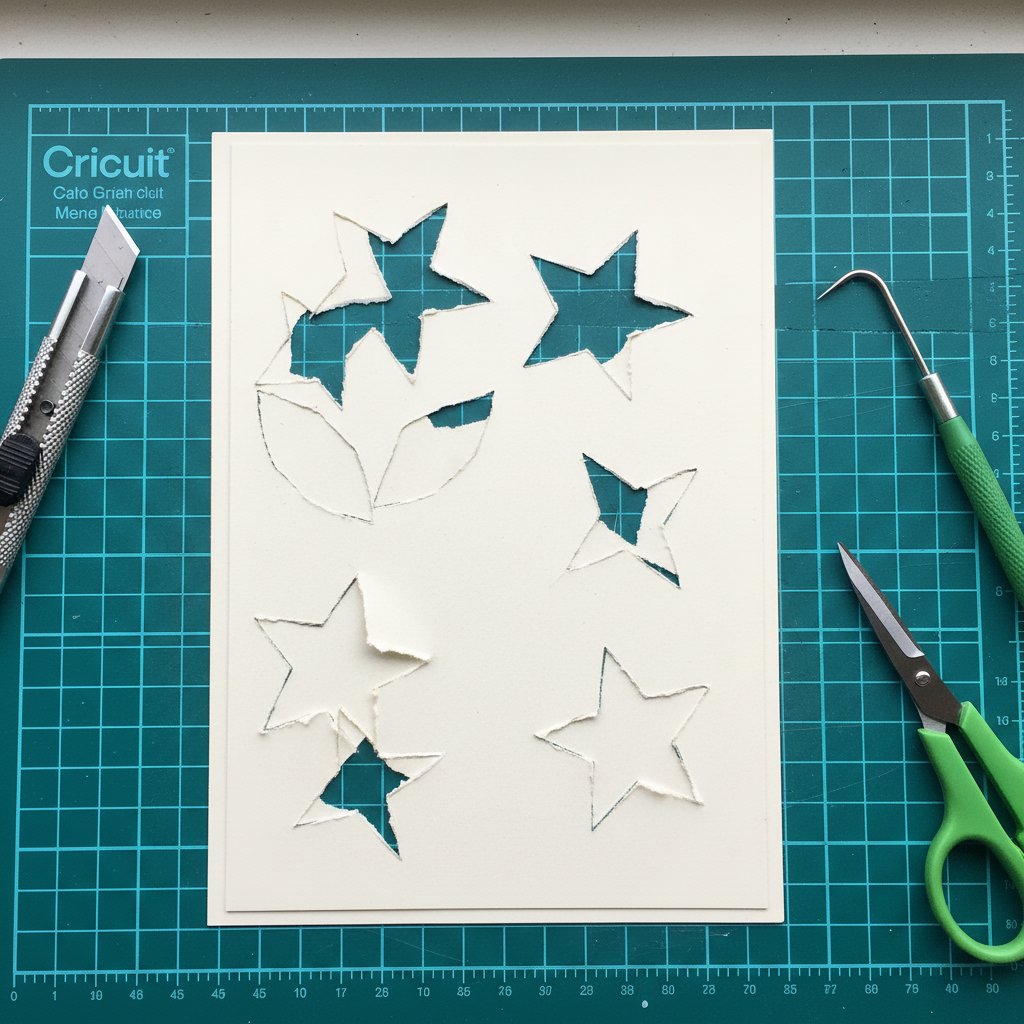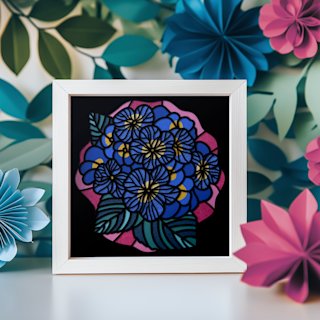
The first ten-layer shadow box I tried to batch-produce was a hydrangea design I'd planned to sell at a holiday market. I cut all ten layers back-to-back on the same setting — "Cardstock for Intricate Cuts," default pressure, default speed — because the background layer had looked fine on the test cut. By layer five, the front detail layers were tearing at every stamen bridge, two layers lifted off the mat mid-cut and shifted 3 mm, and the whole stack was visibly uneven under a lamp. I scrapped the build, swapped the blade, and re-cut only the three foreground layers on lower speed and one notch higher pressure. That second attempt assembled in 20 minutes and sold first. The difference was not the design. It was the cutting technique.
That build taught me the rule this article is built around: for a shadow box, the cut is roughly 80% of the result. Assembly cannot rescue a torn detail layer or a silhouette that shifted on the mat. And the technique that works for a single-layer papercut does not scale to a ten-layer depth piece, because every layer serves a different job — backgrounds need speed, foregrounds need precision, vellum needs a totally different pass strategy. If you search "cricut paper cutting techniques for shadow boxes" today, the results are either general Cricut-beginner tutorials that never mention depth, or assembly guides that assume your cuts already came out clean. Nothing bridges the two.
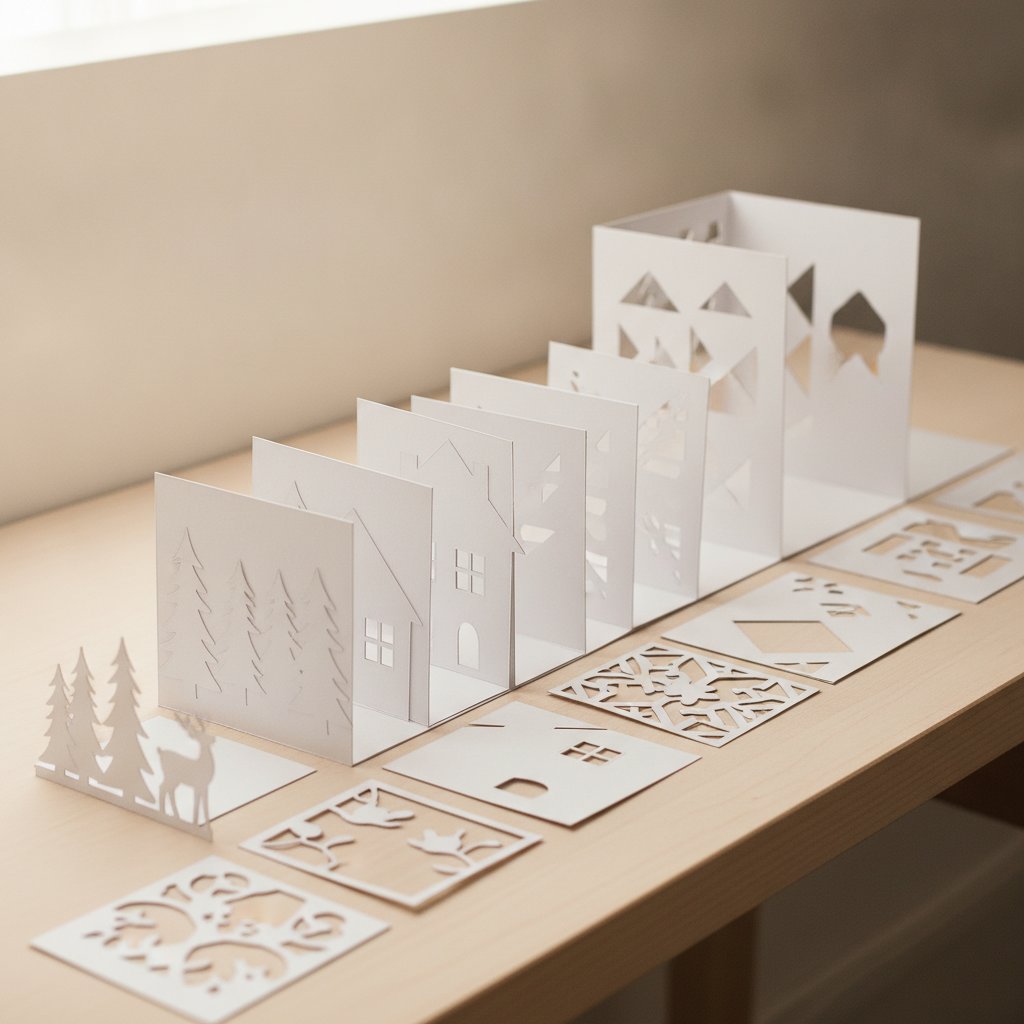
So this is the guide I wanted at that hydrangea table. It covers why shadow boxes need different cutting techniques than single-layer work, the layer-specific Cricut settings (background vs detail vs vellum), cut order and batching, cardstock prep, blade and mat choice, troubleshooting the failures that ruin depth, and advanced methods for fragile detail. If you have never cut paper on a Cricut at all, start with our Cricut paper cutting for beginners guide first — this article assumes you can already produce a clean single-layer cut and want to scale it into multi-layer depth work.