Search "paper flower wall art" and almost every top result is the same thing: a giant backdrop
flower hot-glued to a nursery or wedding wall. Useful, but temporary. What's missing from the
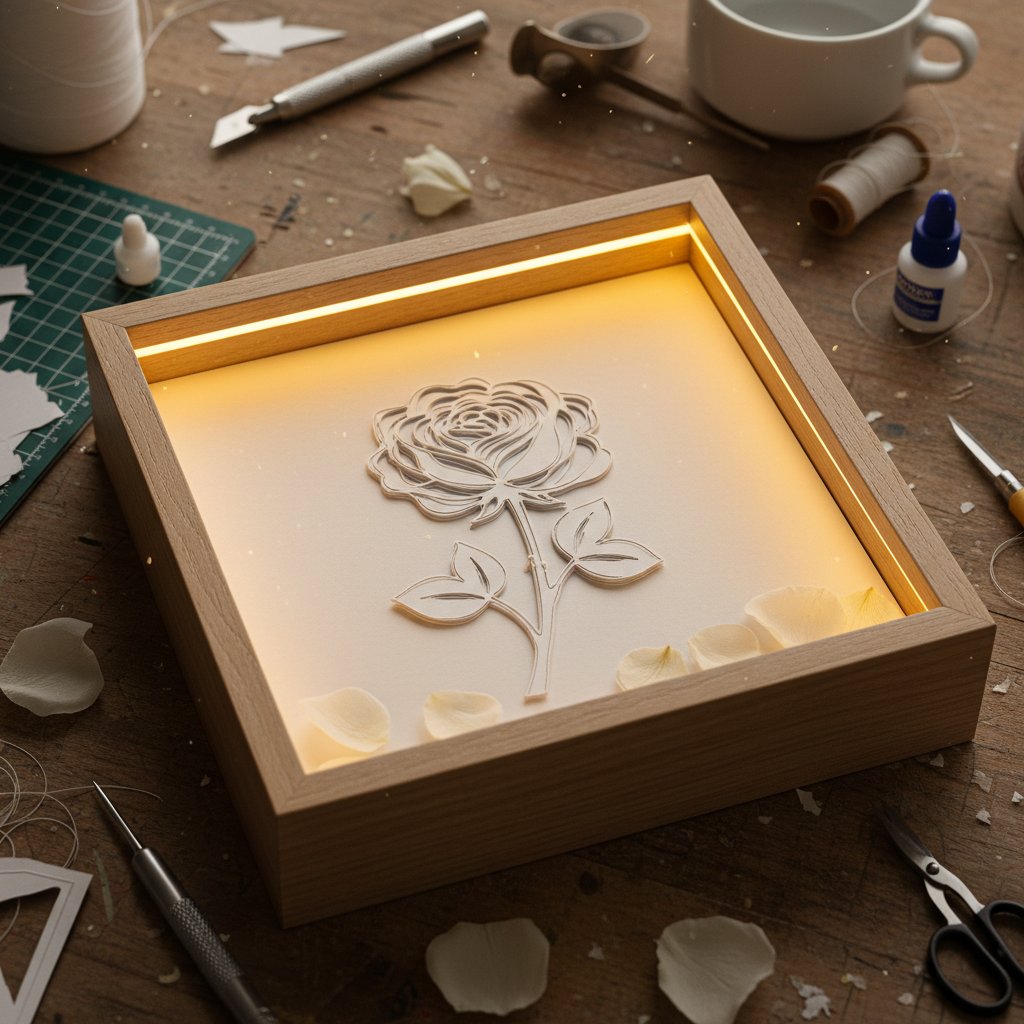
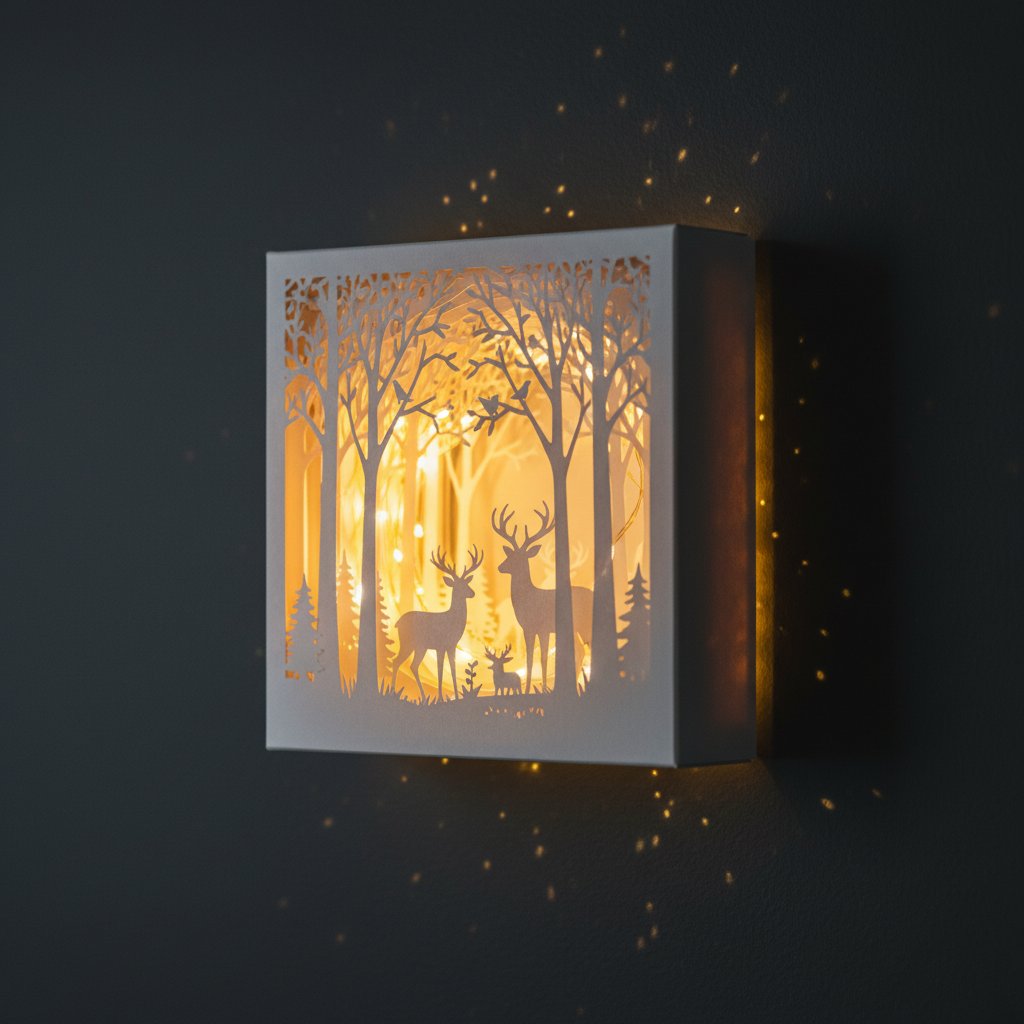
SERP is the version you actually want to live with long-term — a flower built with paper-cutting
technique, given real depth, and framed so it becomes permanent botanical art rather than
party decor that gets taken down on Monday.
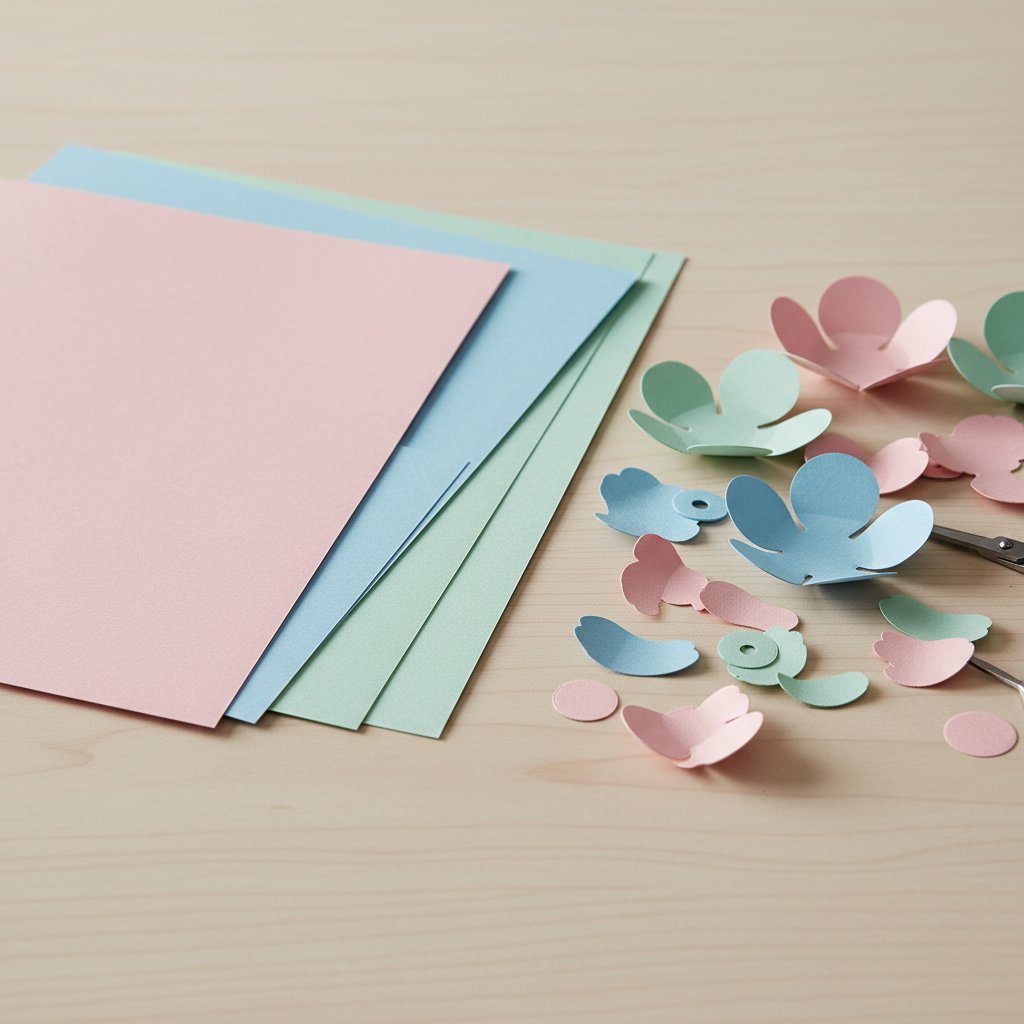
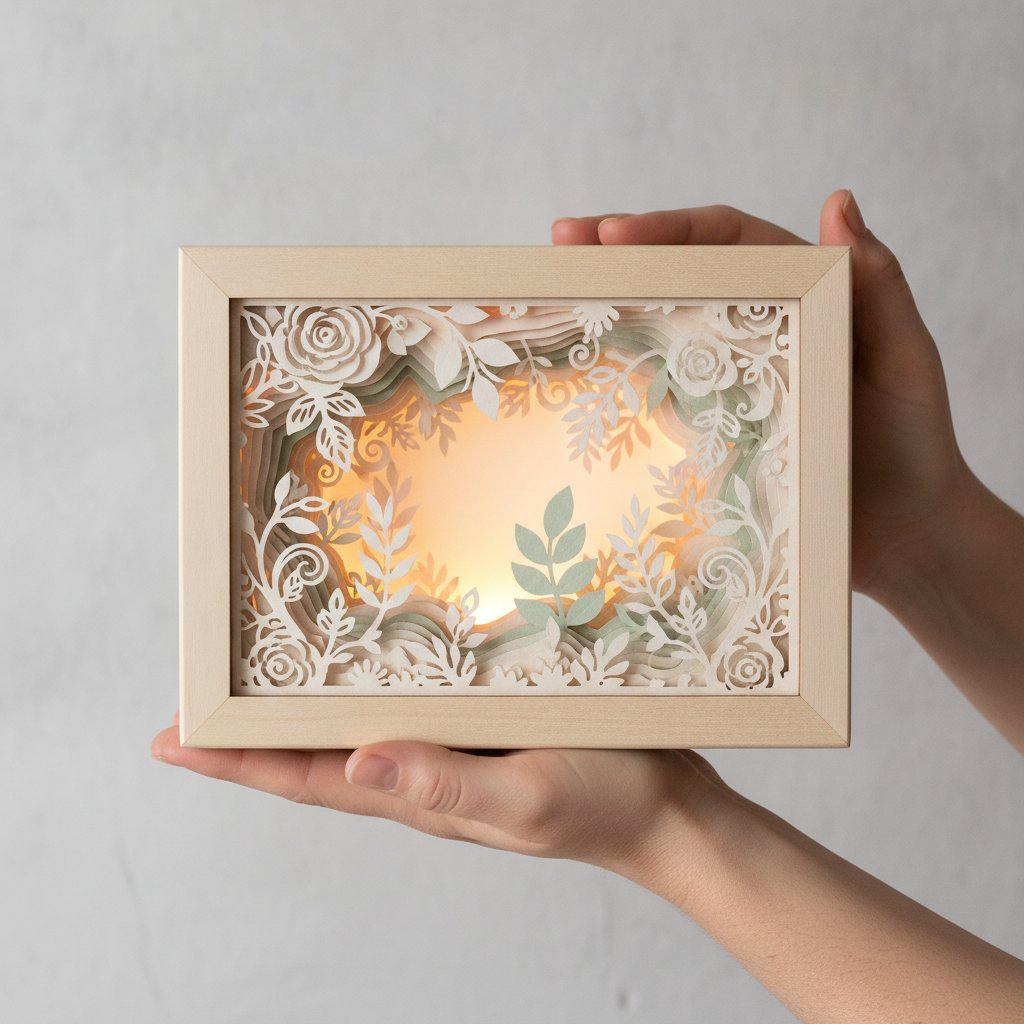
That gap is what this guide closes. We start from cut petals (hand-cut or Cricut/Silhouette) and
take you all the way to a finished, framed piece you'd hang in a living room — covering the
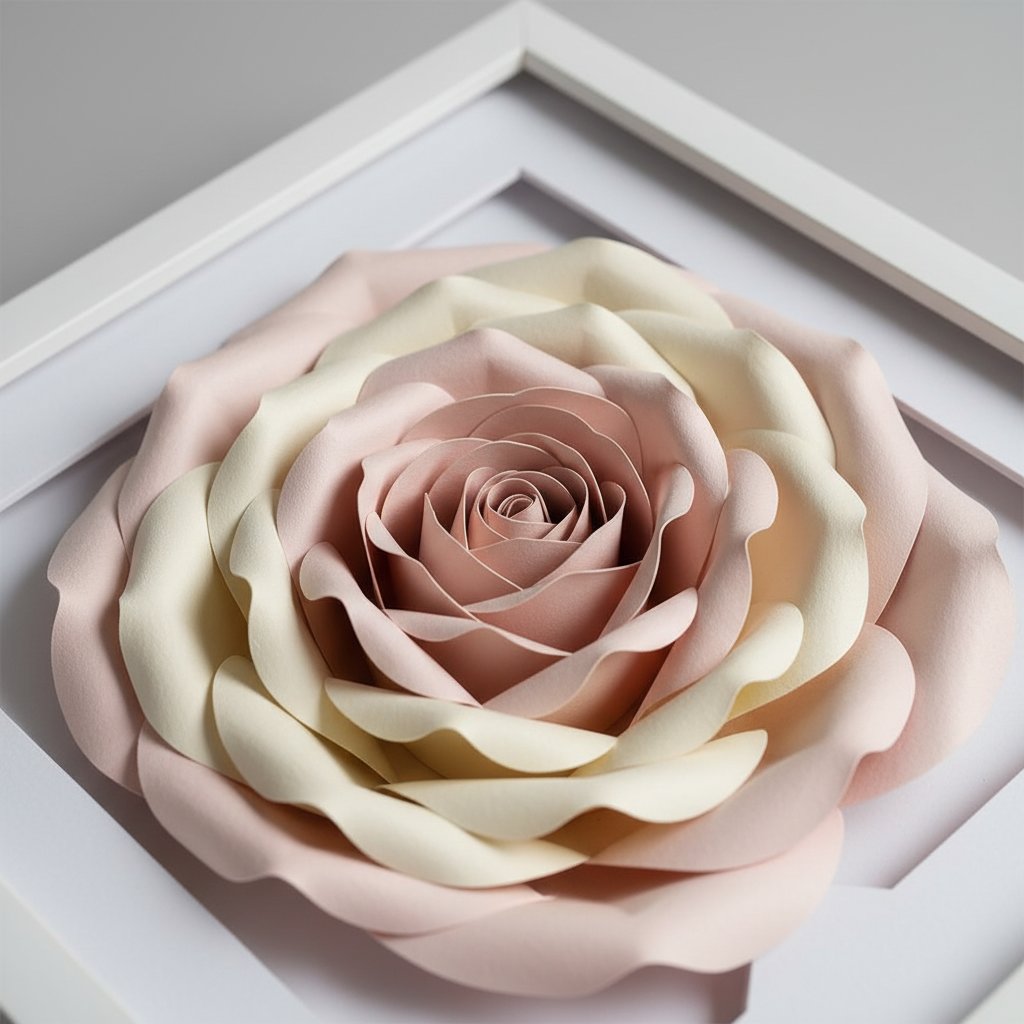
techniques competitors skip: how petal shape changes the flower's character, how to build depth
that survives being behind glass, and how to choose a frame that protects delicate paper instead
of crushing it.
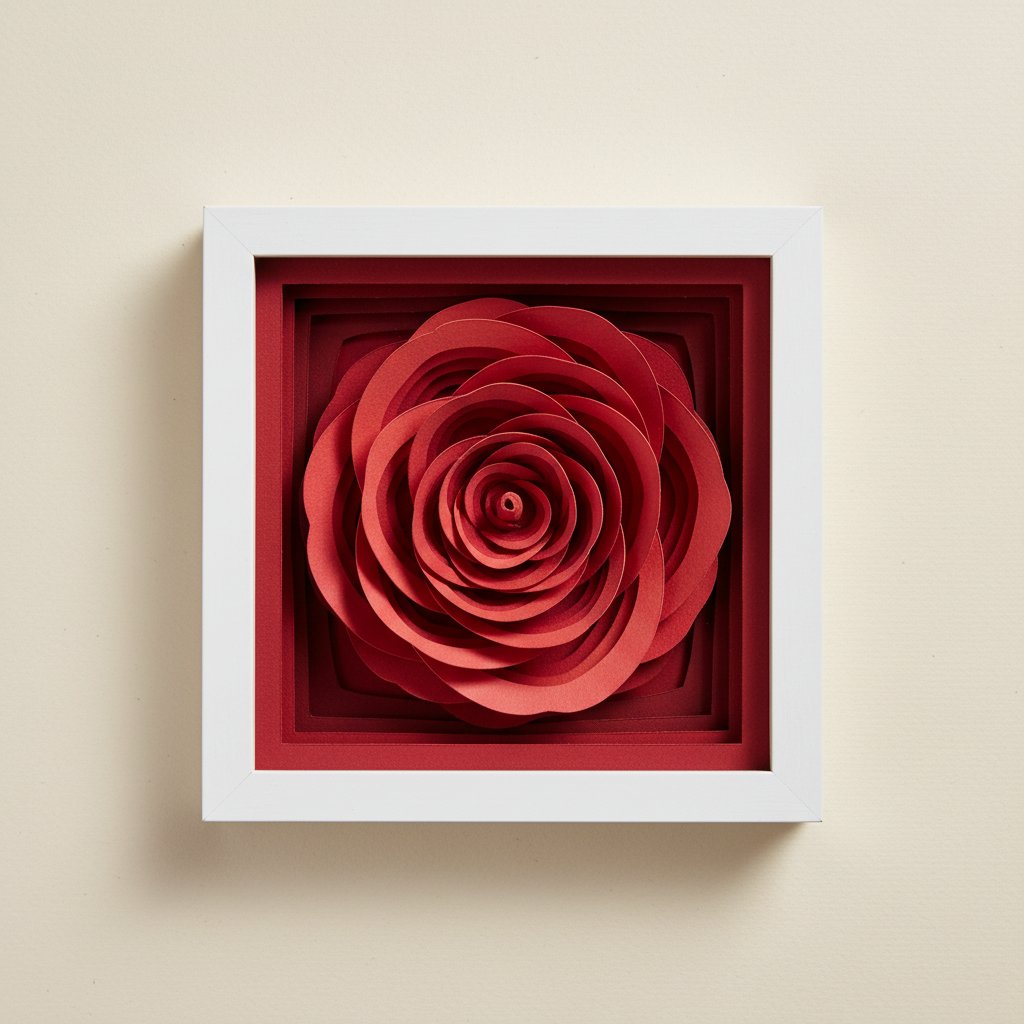
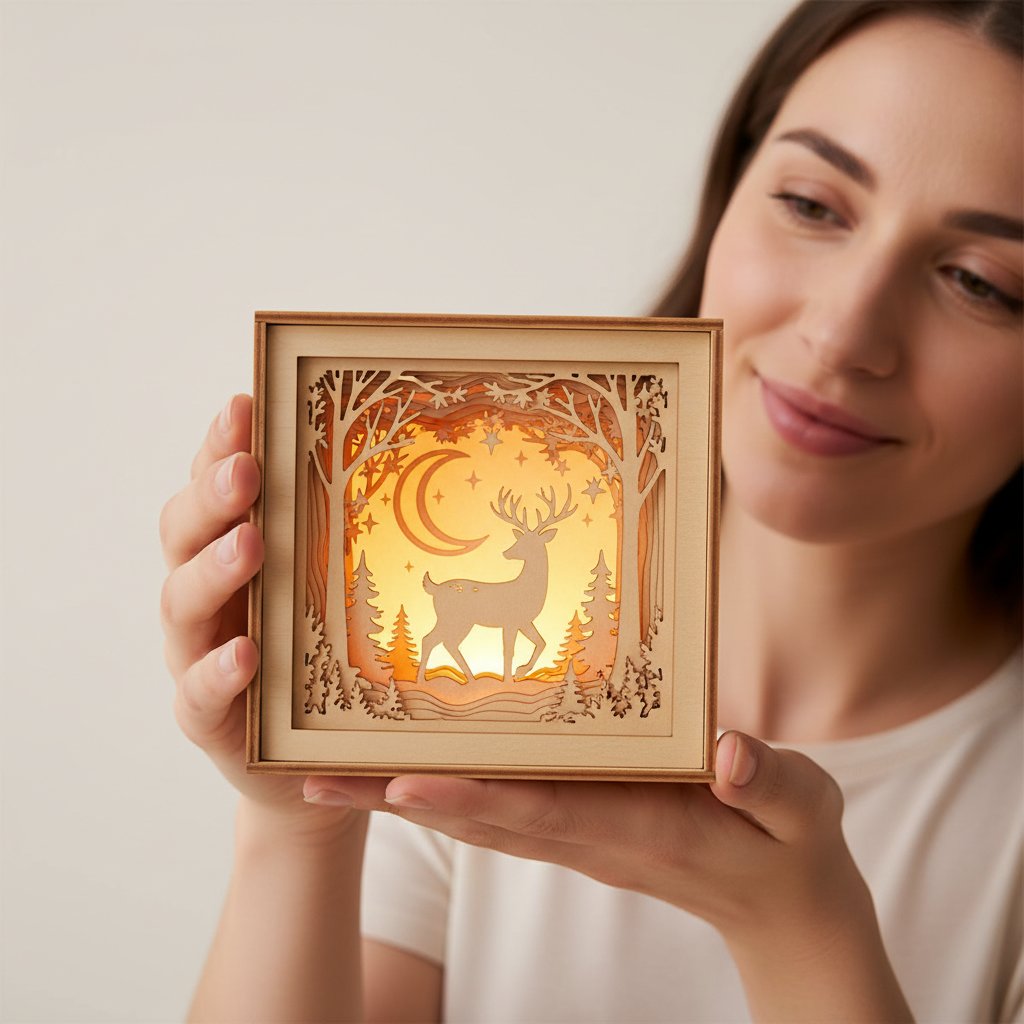
I spent six weekends on this before the result was worth framing. The first version — flat petals
glued straight to card — looked like a coloured photocopy and went into a drawer. The version that
now hangs in my hallway used curled petals, a vellum back layer, 3 mm foam spacers, and a 30 mm
deep shadow box. Same flower. Completely different object. This article is the short version of
that six-weekend learning curve.
New to the cutting machine side of this? Start with our Cricut paper cutting for
beginners guide first, then come back here for
the floral-specific technique. Looking specifically at bedroom projects? Our paper flower wall
art for bedroom guide covers colour schemes and
renter-friendly mounting.