Articles15 min read

Cricut Vinyl Projects for Beginners

A wall-art-first guide to Cricut vinyl for beginners — from the removable-vs-permanent decision and a clean first single-layer decal to multi-layer wall pieces and the vinyl-plus-paper combinations that turn a downloaded SVG into framed home decor. Built around the first vinyl projects I actually made, including the wall decal that peeled off in five days so yours won't.

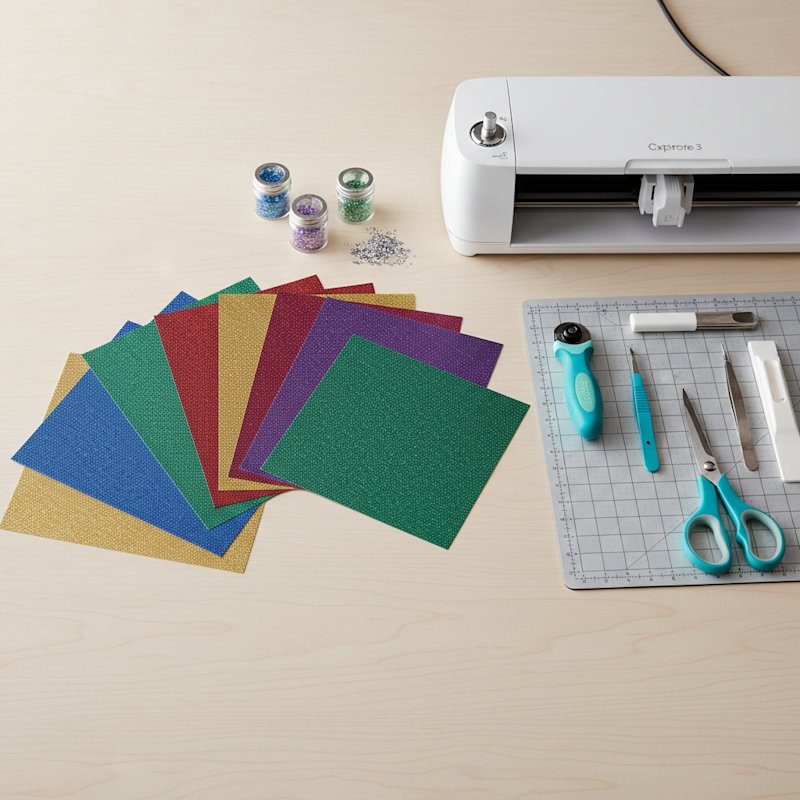
Flat-lay of jewel-tone glitter cardstock sheets fanned beside a Cricut machine and crafting tools on a wood desk

The first Cricut vinyl project I ever made was a twelve-inch script quote for the wall above my desk. I picked permanent vinyl because "permanent" sounded like it would look professional, skipped cleaning the wall because it looked clean enough, applied the decal dry with a credit card instead of transfer tape, and watched a corner lift on day three. By day five the whole word had curled into a sad ribbon on the floor. The Cricut had cut the vinyl perfectly. The failure was entirely in the three steps nobody warns you about: choosing the wrong vinyl for the surface, skipping surface prep, and transferring the design badly.

This guide to Cricut vinyl projects for beginners is the one I wish I'd had before that decal. It covers vinyl specifically for wall art and home decor — the application where MMA's audience lives — not the broader world of T-shirts and tumblers. You'll learn how to choose between removable and permanent vinyl, which mat and blade to load, how to weed and transfer a design without tearing it, how to build up to multi-layer wall pieces, and how to combine vinyl with paper cutting for the dimensional framed art that sells on Etsy. Every section is built around a project I actually ran, with the measurements and the mistakes.
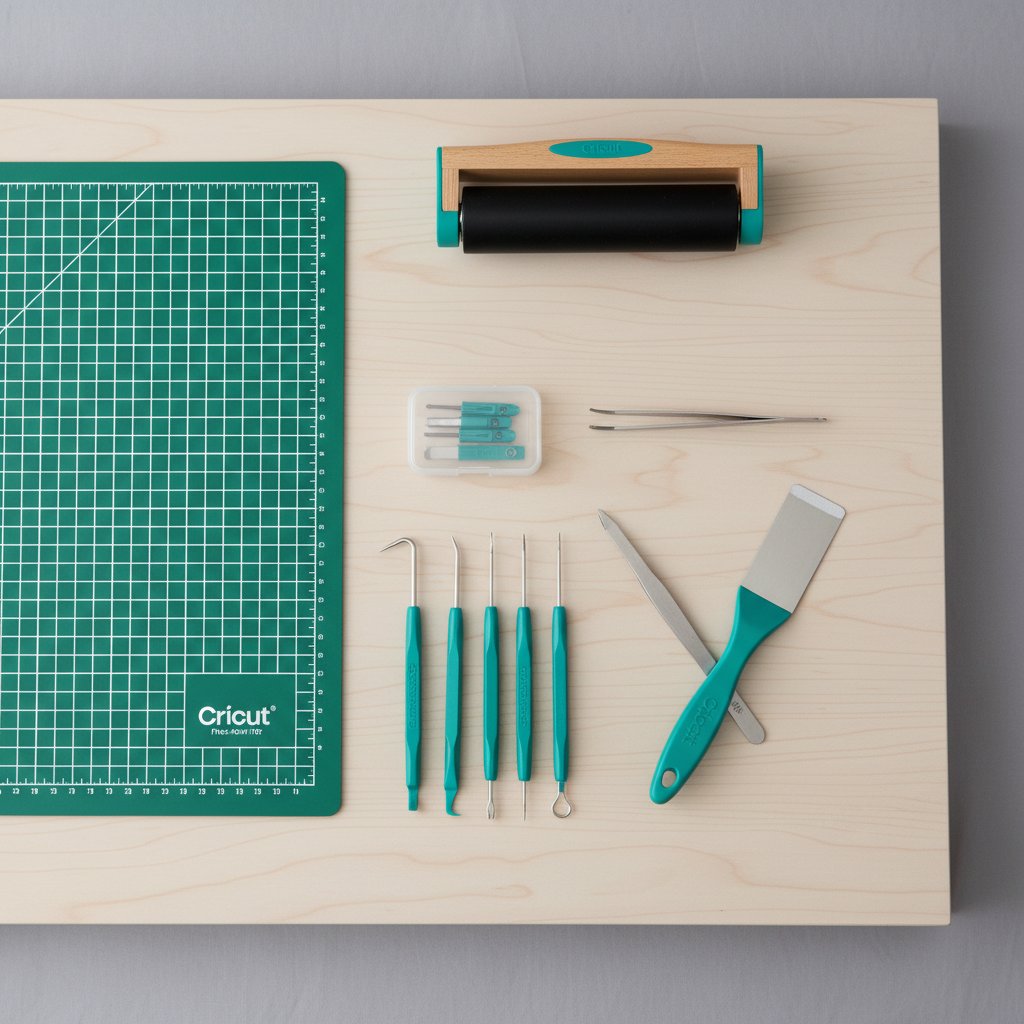
Flat-lay of Cricut crafting accessories including cutting mat, blades, weeding tools, brayer and tweezers

If you're new to the machine itself — which blade, which mat grip, which material setting — pair this with our Cricut paper cutting for beginners walkthrough, which covers hardware and material basics. This article picks up at the vinyl aisle: what to buy, how to cut it, and how to get it onto the wall so it stays.
Why Vinyl Is the Best First Cricut Medium

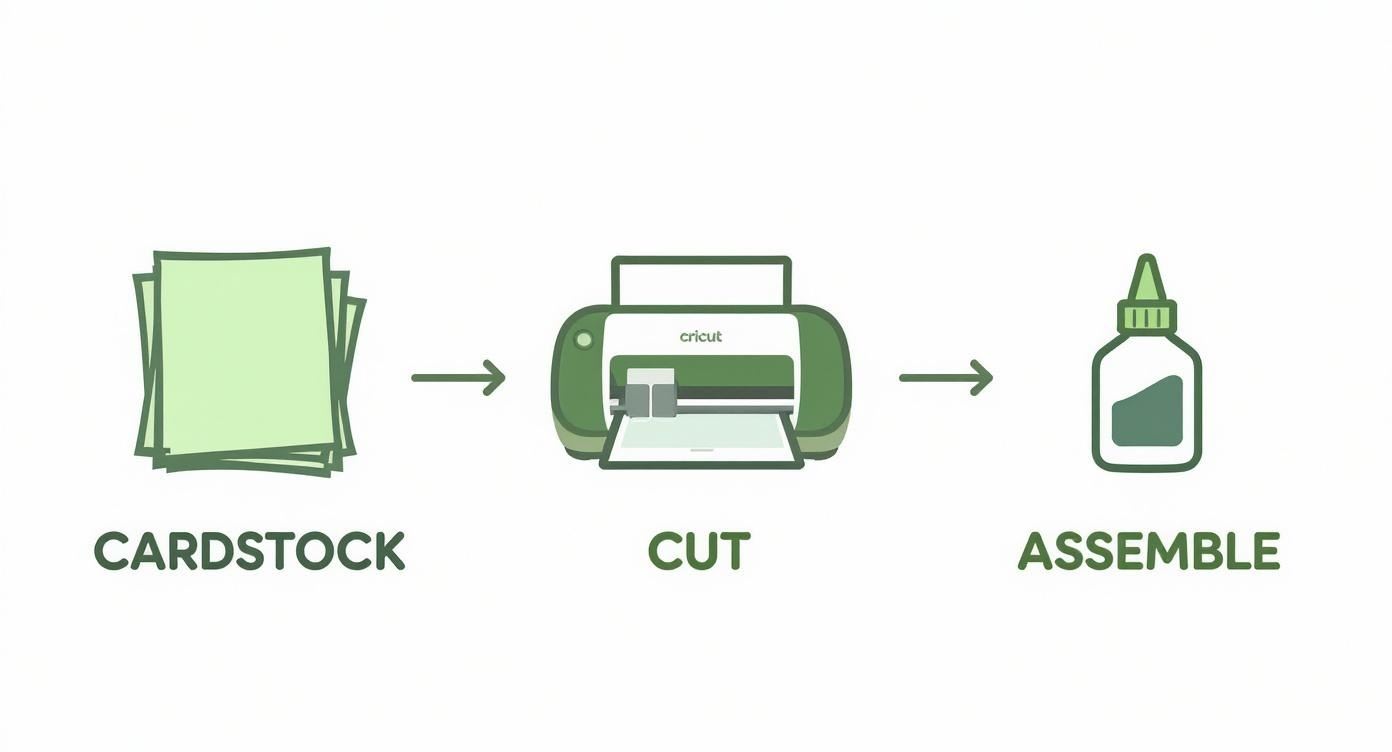
Of everything a Cricut can cut, vinyl gives the fastest path from blank wall to finished room. A first project can be designed, cut, weeded, transferred, and on the wall in under an hour, and a single 12 × 12 inch sheet costs less than a coffee. That combination — quick win, low cost, immediate usable result — is exactly what builds the confidence to attempt bigger builds later.

Three-step Cricut crafting process showing material being cut with a Cricut machine then assembled into a finished piece

Four things make vinyl forgiving for a beginner. First, removable vinyl repositions: if you lay it down crooked, you can lift and retry without ruining the piece. Second, cuts are cheap to redo: a weeded design that tears goes in the bin and you cut another, out only a quarter-sheet of material. Third, vinyl teaches the machine: blade pressure, mat grip, and the Make It flow are the same skills you'll use on cardstock and paper later. Fourth, the results are genuinely useful home decor — a wall quote, a child's name above a bed, a seasonal decal — which is the payoff that keeps a hobby alive. The crossover with MMA's core craft matters here too: once vinyl feels easy, you can combine it with paper cutting for the layered, dimensional wall pieces in our DIY paper wall art and home decor guide.

Essential Tools and Materials for Vinyl Beginners

Before the first cut, four things need to be on the desk. Getting these right up front is the difference between a decal that lasts three years and one that peels in a week.

1. The right vinyl: removable vs. permanent

This is the decision that sank my first decal. Removable vinyl (Cricut calls it just "Removable"; 3M's version is the 600-series) has a lighter adhesive that holds to a wall but releases cleanly for up to two years and repositions while you apply it. Use it for walls, rented apartments, seasonal decor, and anything a beginner is likely to misplace on the first try. Permanent vinyl (Cricut "Permanent"; 3M 700-series) has a stronger adhesive rated for outdoor use and washing; use it for mugs, tumblers, outdoor signs, and wall decals you never want to move. For wall art as a beginner, start with removable. You can always re-cut a favourite design in permanent once your application technique is reliable.

2. The right mat

Comparison of Cricut mat grip levels for cardstock and vinyl

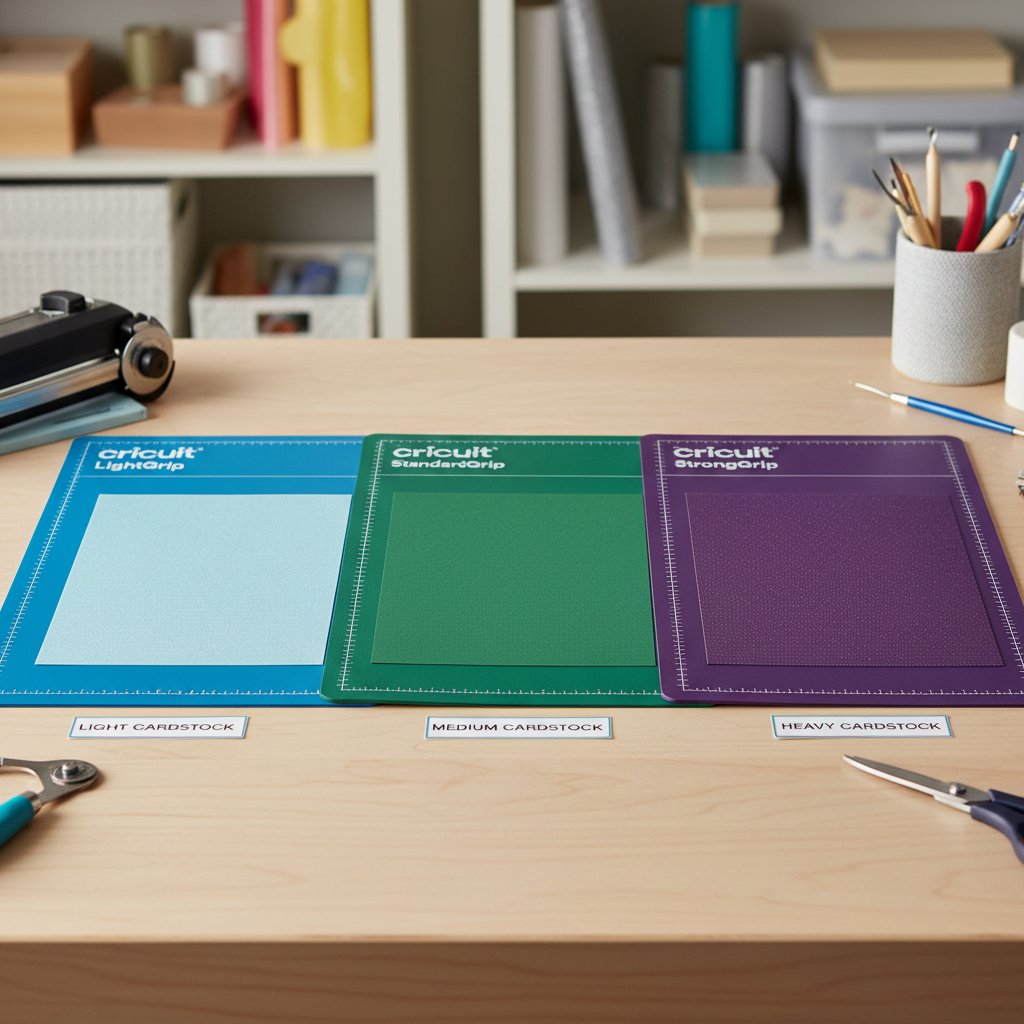
A StandardGrip mat (green) is the default for vinyl on a sheet. It holds the vinyl flat for a clean cut but releases it without stretching. For delicate or intricate vinyl designs, a LightGrip mat (blue) prevents tearing when you peel the cut away. Avoid StrongGrip (purple) for vinyl — it's for thick materials and can distort thin vinyl on removal. Our Cricut mat guide breaks down every grip level by material if you want the full table.

3. Transfer tape

Transfer tape is the sticky carrier sheet that lifts a weeded vinyl design off its backing and carries it to the wall in one piece. Standard transfer tape (clear, with a grid) handles most beginner projects. StrongGrip transfer tape (often green, opaque) is for intricate designs with small pieces that won't lift otherwise — but it can over-adhere to delicate vinyl, so peel it back slowly. Without transfer tape, vinyl projects are nearly impossible to apply cleanly.

4. Weeding tools and a scraper

A weeding hook or picker lifts the negative space (the vinyl you don't want) off the backing. A scraper or old credit card burnishes the transfer tape onto the vinyl and squeezes air out during application. A brayer (roller) is optional but useful for smoothing large decals. These three plus a pair of fine tweezers are the complete vinyl toolkit.

Learn the Full Vinyl Flow on a Bold Single-Layer Cut
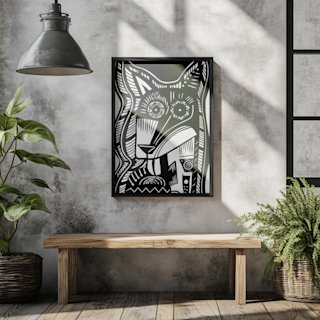
Don't practice transfer tape on an intricate twelve-layer build. The Crazy Dog papercut SVG is a bold single-layer silhouette with continuous curves — one color, one cut, one transfer. It's the fastest way to confirm your cut settings, weeding, and application work before you commit to a multi-color wall piece. The Mind Tree SVG is the same idea in a calmer, more decorative line for a living-room or bedroom wall.

Your First Vinyl Project: A Single-Layer Wall Decal

A single-layer decal is the project that teaches the whole vinyl workflow end to end. Pick a bold, continuous design — a word, a silhouette, a simple shape — with no tiny interior pieces and no layering. The goal of this first build is not the art; it's the muscle memory of cut, weed, transfer, apply.

Step 1 — Cut with the right settings

In Design Space, set the design to Cut, size it to the final wall footprint, and click Make It. When prompted for material, choose Vinyl (for removable) or Premium Vinyl / Permanent depending on the roll. Cricut's default Vinyl setting uses the Fine-Point blade with a single cut pass — do not add a multi-cut, which can score the backing paper and make weeding harder. Load the vinyl on a StandardGrip mat, liner side down, and press Make It.

Step 2 — Weed the negative space

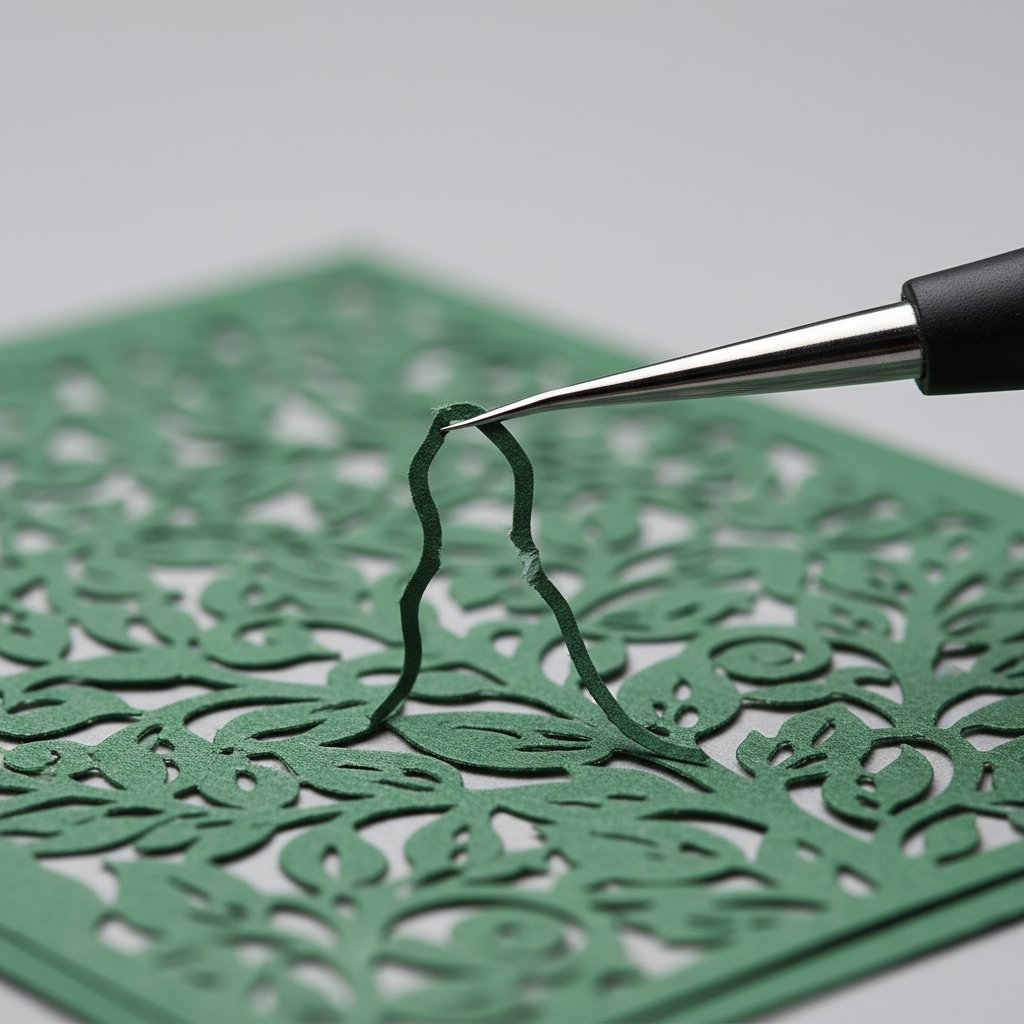
Weeding hook tool lifting tiny scrap pieces from an intricate cut on a mat

Before lifting anything, warm the cut vinyl slightly by rubbing it with your palm — body heat softens the adhesive and the vinyl releases more cleanly from the backing. Take the weeding hook, slide the tip under the edge of a piece of negative vinyl, and lift. Work from the outside of the design inward, pulling away the "exterior" waste first, then picking out any interior shapes (the holes inside letters like O and A). Keep the vinyl flat on the mat while you weed; lifting it causes the cut lines to distort.

Step 3 — Apply transfer tape

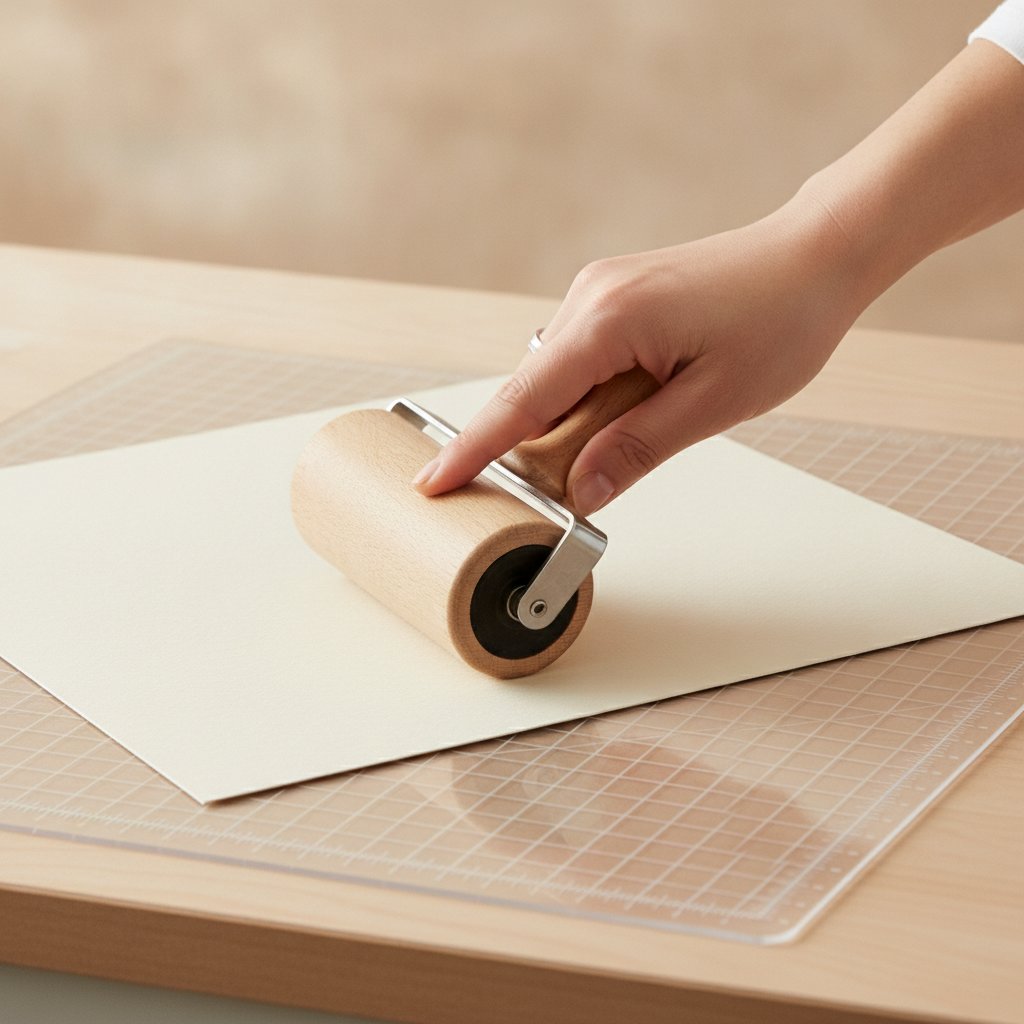
A hand smoothing a sheet onto a cutting machine mat with a brayer roller

Cut a piece of transfer tape slightly larger than the design. Peel its backing and lay the tape over the weeded vinyl sticky-side down. Starting from the center, burnish the tape onto the vinyl with the scraper using firm overlapping strokes — this is the same smoothing motion you'll use on cardstock later, so the technique transfers. Flip the whole stack over and burnish from the back too. Slowly peel the transfer tape away from the vinyl's backing at a sharp 180-degree angle; the vinyl should come with it, leaving only the backing paper behind. If a piece of the design stays on the backing, lay the tape back down, burnish that spot again, and retry.

Progressing to Multi-Layer Vinyl Wall Art

Once a single-layer decal lands cleanly, multi-layer wall art is the next step — two or three colors stacked to build an image, like a mountain range with a sun and a foreground silhouette. The challenge isn't cutting each color; it's getting the layers to align.

Plan the layer order before you cut

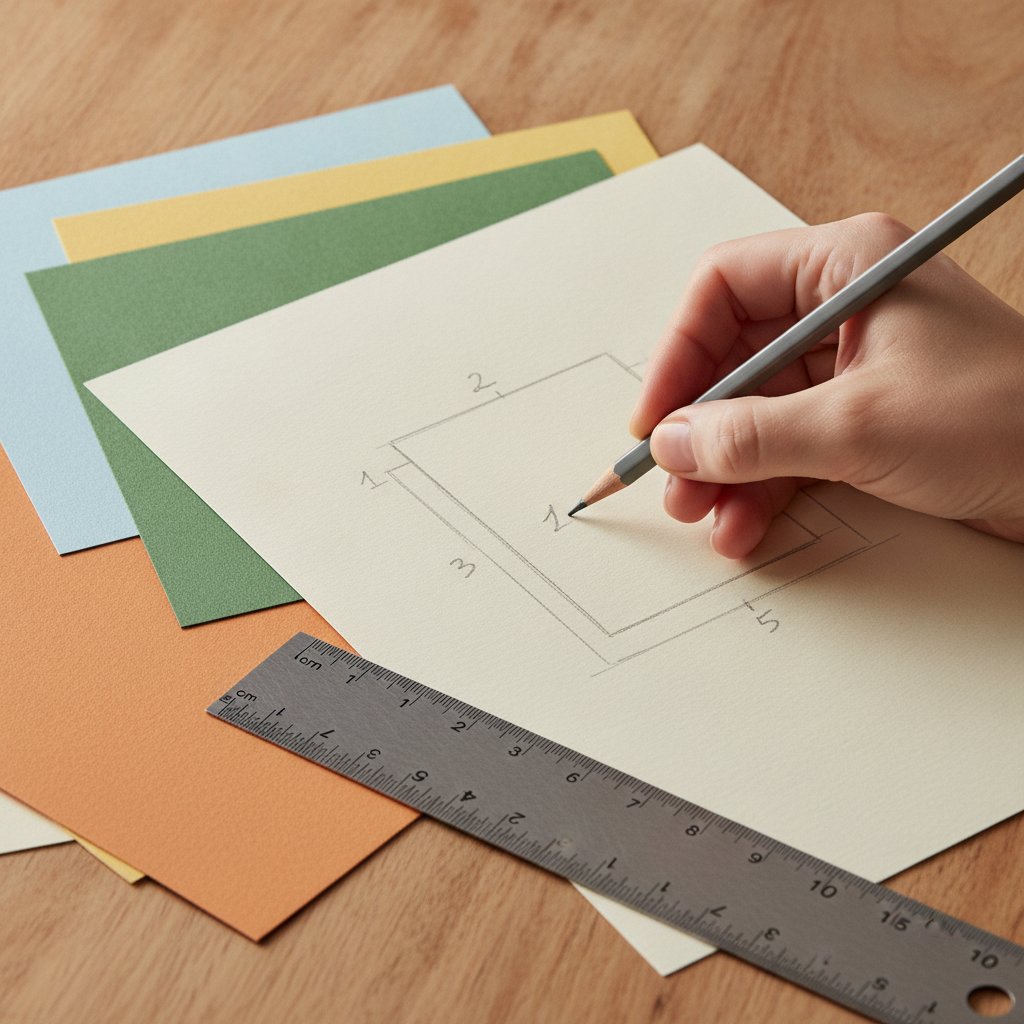
A hand sketching a numbered layer-stack layout plan with a pencil beside sheets of material

Decide the stacking order first and cut the background layer largest, the foreground layer smallest, so each upper layer covers only its own area of the one beneath. In Design Space, size every layer to the same final width so they stack proportionally — the same rule that governs a layered paper shadow box, covered in our Cricut paper cutting techniques for shadow boxes guide. Cut each color on its own mat, one at a time, and keep the weeded layers in order.

Apply layers back-to-front with registration marks

Apply the background layer to the wall first using the full transfer-tape flow above. For each subsequent layer, use registration marks to align it: before removing layer one's transfer tape, place small loops of low-tack tape at two corners of the design as reference points, and line up the next layer's edges against them. Burnish, peel the transfer tape, and repeat for each color. The common failure is rushing the second layer before the first is fully burnished down — give each layer thirty seconds of firm scraper pressure before adding the next, and the stack stays clean.

Build a Layered Wall Scene in Vinyl
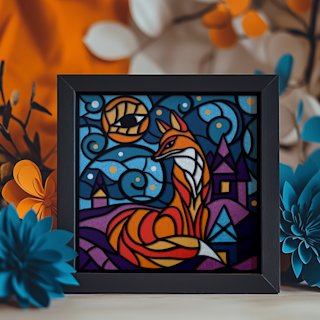
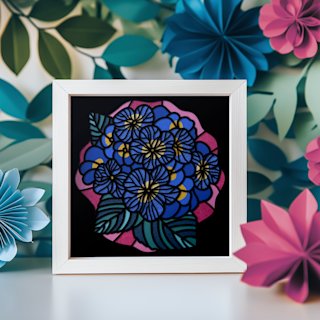
The Magical Fox shadow box SVG is the multi-layer scene I send every vinyl beginner to next. Its bold, continuous shapes translate cleanly into layered vinyl — each color-coded layer becomes one vinyl color, one mat, one application. The Hydrangea layered floral works the same way for a softer, color-rich wall piece. Both are designed to be cut in separate layers that stack, which is exactly the structure a layered vinyl decal needs.

Combining Vinyl with Paper Cutting for Unique Wall Art

The crossover that defines MMA's wall art — vinyl for the durable, flat elements and paper cutting for the dimensional ones — is where a Cricut stops being a sticker machine and starts making framed art. A typical piece: a vinyl word or silhouette applied to the back panel of a shadow box, with two or three paper-cut layers built up in front of it for depth.

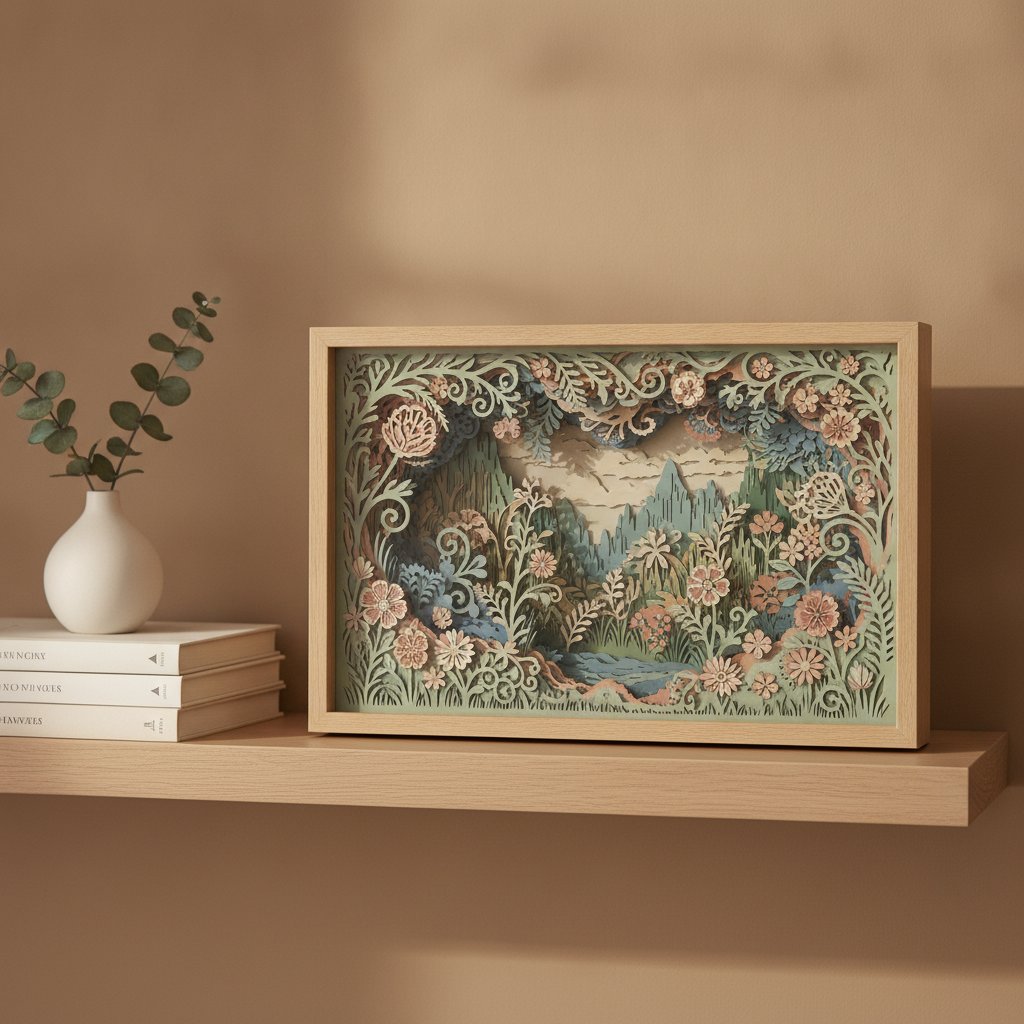
A finished layered floral piece displayed as home decor on a styled shelf

The application sequence: vinyl first, paper second

Always apply the vinyl to its base surface (the shadow-box backing, a piece of smooth cardstock, or a sealed wood panel) before adding any paper layers on top. Vinyl needs a perfectly smooth, clean surface to adhere; once paper-cut layers and foam spacers are glued in place, the surface is no longer flat enough for reliable vinyl adhesion. Apply and burnish the vinyl, let it set for an hour, then build the dimensional paper layers in front of it using the same foam-spacer technique our assemble layered shadow boxes guide walks through.

Choosing adhesives that coexist

Vinyl and paper cutting use different glues, and the wrong pairing ruins both. For paper layers on top of a vinyl-backed panel, use double-sided foam tape or foam dots — they bond to the vinyl surface without solvent attack and create the spacer depth that makes the piece read as three-dimensional. Avoid liquid craft glue near vinyl edges; it can seep under the vinyl and break the adhesive bond. For the design ideas — a vinyl moon with paper-cut trees in front, a vinyl family name with paper-cut florals layered over it — our papercut Cricut cut file wall art guide rounds up SVGs built for exactly this combination.

Try a Vinyl + Paper Crossover Piece
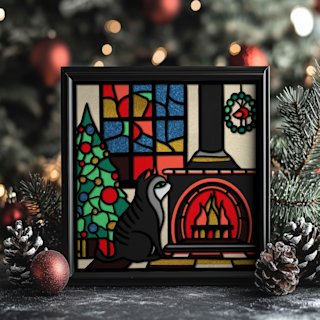
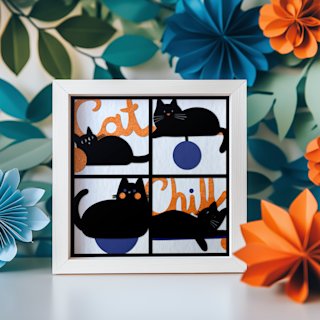
The Cat near the Fireplace shadow box SVG is built as a cozy home scene with clearly separated layers — cut the fireplace backdrop in vinyl for a smooth, durable wall surface, then stack the paper-cut cat and furniture in front for dimensional warmth. The Chill Cats template works the same way for a calmer, minimal-wall reading. Both are designed to read as finished home decor once framed, which is the whole point of combining the two mediums.

Wall Art Surface Preparation and Application

Surface prep is the step my first decal skipped, and the step that decides whether a vinyl wall decal lasts a month or three years. Vinyl adheres to clean, dry, smooth surfaces and fails on anything dusty, oily, textured, or freshly painted.

Clean, then degrease, then wait

Wash the wall with mild dish soap and water to remove dust and grime, then wipe the area down with isopropyl alcohol (70% or higher) on a lint-free cloth to strip any oily residue — soap alone leaves a film that vinyl peels off of. Let the wall dry fully; in humid conditions, wait at least 24 hours. If the wall was painted recently, wait a minimum of two to three weeks for the paint to cure before applying vinyl — fresh paint outgases and pushes the adhesive off.

Test adhesion on a sample

A test-cut square being peeled from a Cricut cutting mat showing clean edges

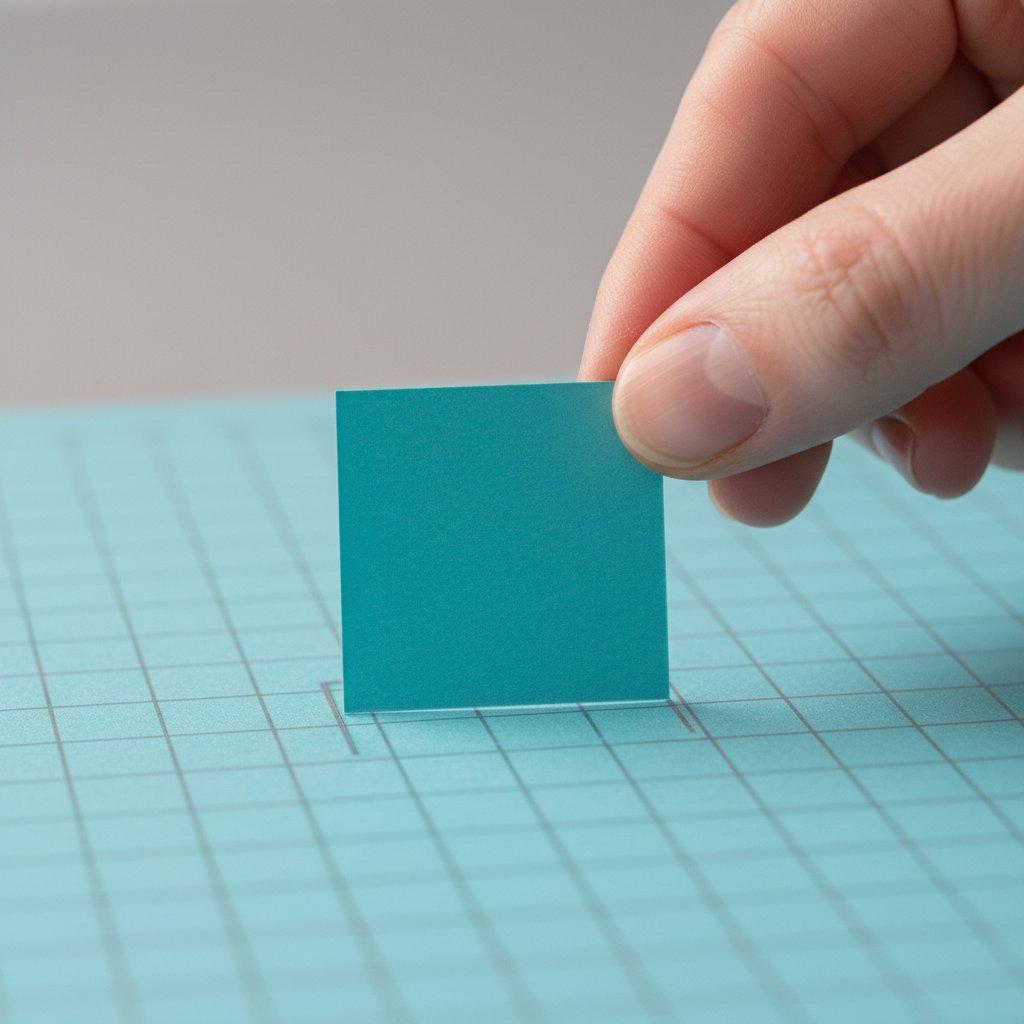
Before committing the full design, cut a small test square of the same vinyl and apply it to an inconspicuous part of the wall. Press it down, wait an hour, and try to peel it. If it lifts easily, the surface isn't ready (or the wall is too textured for vinyl). If it grips firmly, you're clear to apply the full piece.

Apply with the hinge method for bubble-free results

For any decal larger than about six inches, use the hinge method: tape the top edge of the transfer-tape-and-vinyl stack to the wall with a strip of low-tack tape, flip the whole thing up, peel the vinyl backing away, and smooth the design down from the hinge outward with the scraper. The hinge keeps the design registered while you work. Finish by peeling the transfer tape back on itself at a sharp angle, leaving the vinyl on the wall. For textured walls, vinyl generally will not hold — instead apply it to a smooth wood panel or sealed canvas and hang that, the approach our minimalist paper wall art for modern homes guide takes for clean, hangable surfaces.

Five Beginner-Friendly Vinyl Wall Art Projects

These five projects scale roughly in difficulty. Start at the top and work down as each technique feels reliable.

  1. Inspirational quote decal (single-layer, removable vinyl). A script word or short phrase, welded in Design Space so the letters cut as one continuous piece. This is the project that teaches the full cut-weed-transfer-apply flow on a forgiving design. Pair it with our free paper cut SVG download round-up for tested, weld-ready word art. 2. Geometric pattern wall art (two-layer, contrasting colors). A triangle, arch, or mountain-range shape cut twice in two colors and stacked with a small offset. Teaches layer registration without the complexity of a full scene. See our geometric paper cutting guide for shapes that translate cleanly to vinyl. 3. Seasonal wreath or motif accent. A small seasonal piece — a snowflake, a leaf, a floral motif — applied to a mirrored tray, a sealed wood round, or a single wall tile. A great use for permanent vinyl on a surface that gets handled, and a natural fit with our seasonal paper shadow box crafts seasonal cycle. 4. Family name or monogram above a bed or door. A welded surname or single-letter monogram in permanent vinyl, sized to the wall. The project that most often turns a hobby into an Etsy shop, because every customer wants their own name. 5. Vinyl + paper-cut shadow box. A vinyl backdrop (moon, word, silhouette) applied to the shadow-box back panel, with two or three paper-cut layers stacked in front. The most impressive beginner project and the clearest demonstration of why combining the two mediums beats either alone — covered end to end in our 3D paper art for beginners layered guide.
Personalize It: Names, Anniversaries & Seasonal Decals
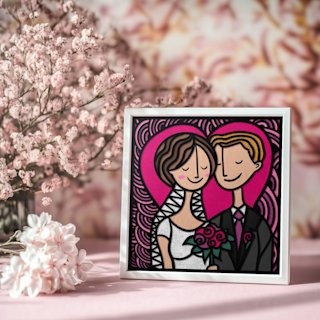
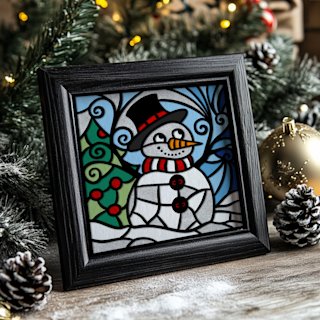
Personalized wall art is the vinyl project that sells. The Wedding Anniversary shadow box template gives you a ready-made name-and-date layout to weld and cut in permanent vinyl for a framed anniversary or house-warming piece. The Snowman SVG is the simplest seasonal decal — bold shapes, one or two colors, and a design that reads clearly at wall distance for a holiday entryway.

Common Beginner Mistakes and How to Avoid Them

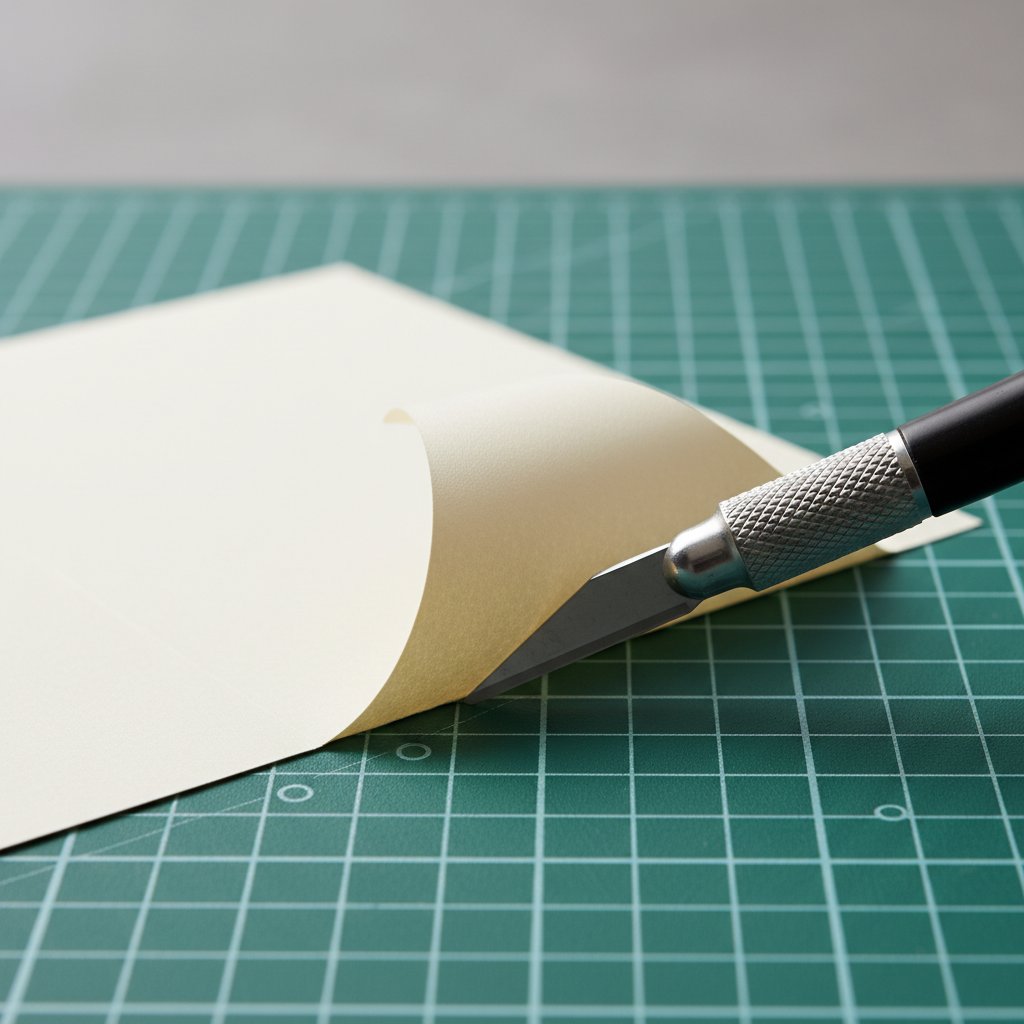
A corner of material lifting and curling off a surface showing poor adhesion during application

These are the failures I hit most, each with the one fix that resolves it.

The decal peels off the wall within days

Almost always a surface-prep failure. Either the wall wasn't cleaned and degreased, the paint was too fresh, or the wall is textured. Fix: clean with soap and water, degrease with isopropyl alcohol, wait two to three weeks on fresh paint, and test a small square first. On textured walls, apply the vinyl to a smooth panel and hang that instead.

Vinyl tears during weeding

The blade pressure was too high, the mat is too sticky for the vinyl weight, or you're pulling too fast. Fix: use the default Vinyl setting (no multi-cut), switch to a LightGrip mat for delicate vinyl, warm the cut with your palm before weeding, and lift at a low angle from the outside in. The diagnosis flow in our Cricut cardstock troubleshooting bible covers the same pressure-and-blade problems from the hardware side.

Transfer tape won't release the vinyl (or releases it all at once)

Tape that's too tacky (StrongGrip on delicate vinyl) won't release; tape that's lost its tack won't pick up. Fix: match the tape to the vinyl — standard tape for most projects, StrongGrip only for intricate designs — and peel the tape back on itself at a sharp 180-degree angle rather than pulling straight up. Burnish firmly before peeling; a poorly burnished design releases unevenly.

The design lands crooked or in the wrong spot

No hinge. Fix: always tape a hinge strip across the top of large decals, and step back to eye-level to check placement before committing the first burnish. Removable vinyl buys you a one-time reposition; permanent vinyl does not, so place carefully on the first attempt.

Air bubbles under the decal

Applied dry and too fast. Fix: smooth from the center outward with the scraper to push air to the edges, and for large decals, consider the "wet application" — a light mist of application fluid (a few drops of dish soap in water) on the wall lets you slide the vinyl into position and squeegee the liquid out before it sets. Wet application is the professional trick for bubble-free large wall decals.

Next Steps: Beyond Beginner Vinyl

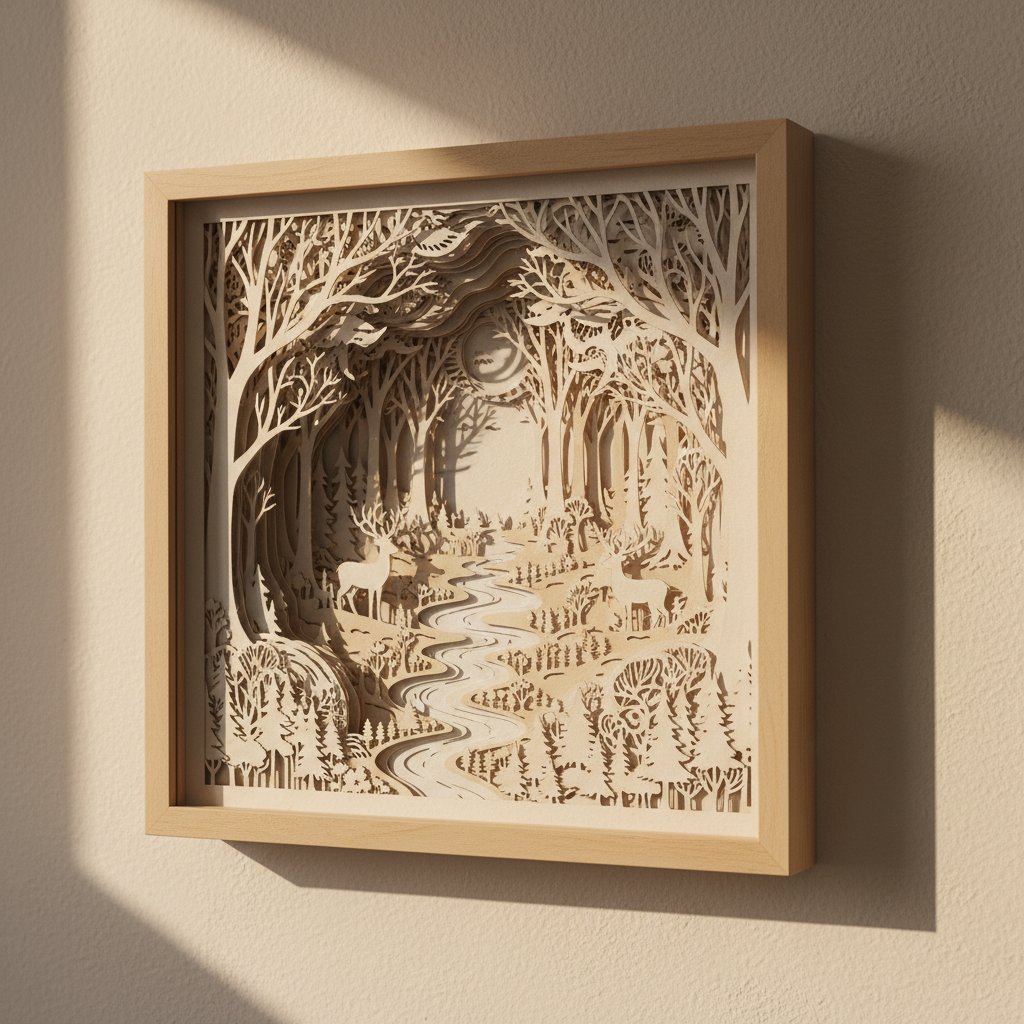
Papercut art float-mounted in a deep frame on a wall as finished home decor

Once the cut-weed-transfer-apply flow is muscle memory, three directions open up.

Build a reusable vinyl design library

Every decal you successfully apply is a saved Design Space project. Name each one with the vinyl type, color, and final size in the title ("Family Name — permanent vinyl — 18in — living room"), and in six months you'll have a personal library where a new wall is one resize away, not a from-scratch build. The SVGs in our papercut Cricut cut file wall art guide are a strong starting set.

Move from decals to framed dimensional art

The real payoff for MMA's audience is the framed, dimensional piece — vinyl backdrop plus layered paper-cut foreground in a shadow box. Once single-layer vinyl is reliable, that crossover becomes accessible, and it's the project type that elevates a wall from "decorated" to "curated".

Go deeper on the Design Space side

Vinyl projects lean heavily on Weld (for script words), Slice (for knockouts), and Attach (for placement). Our Cricut Design Space tutorial for beginners covers those operations in depth and pairs naturally with this guide — one article for the software, one for the vinyl.

The path forward is steady: one new vinyl type per project, one saved Design Space file per successful cut, and a finished piece on the wall after every session. In a month the vinyl workflow stops being a barrier and starts being the fastest part of making wall art.

1.What type of vinyl should I use for my first Cricut project?
Start with removable vinyl. Its lighter adhesive lets you reposition the decal while you apply it and removes cleanly for up to about two years, which makes it forgiving while your cut-weed-transfer technique is still rough. Move to permanent vinyl only once you can apply a design cleanly on the first try, and reserve it for surfaces you never want to move the decal from (outdoor signs, mugs, long-term wall decals).
2.Do I need a special mat for cutting vinyl on a Cricut?
A StandardGrip mat (green) is the default for vinyl on a sheet — it holds the vinyl flat for a clean cut but releases it without stretching. For delicate or very intricate vinyl designs, switch to a LightGrip mat (blue) so the cut doesn't tear when you peel it away. Avoid StrongGrip (purple) for vinyl; it's designed for thick materials and can distort thin vinyl on removal.
3.What is the difference between removable and permanent Cricut vinyl?
Removable vinyl has a lighter adhesive that holds to a wall but releases cleanly and can be repositioned during application — ideal for walls, rented spaces, seasonal decor, and beginner practice. Permanent vinyl has a stronger adhesive rated for outdoor use and washing; it bonds aggressively and is meant for mugs, tumblers, outdoor signs, and wall decals you intend to leave in place for years. For wall art as a beginner, choose removable first.
4.How do I stop vinyl from tearing while I weed it?
Use the Cricut default Vinyl setting with the Fine-Point blade and a single cut pass (no multi-cut, which can score the backing). Warm the cut vinyl slightly by rubbing it with your palm before weeding — body heat softens the adhesive so the waste lifts cleanly. Weed from the outside of the design inward at a low angle, keep the vinyl flat on the mat while you work, and switch to a LightGrip mat if the vinyl is delicate or intricate.
5.Can I apply Cricut vinyl to a textured wall?
Vinyl adheres best to smooth surfaces, and most textured walls will not hold a decal — the texture prevents the adhesive from making full contact and the edges peel or bubble. For a textured wall, apply the vinyl to a smooth surface instead (a sealed wood panel, a piece of smooth cardstock, or a canvas) and hang that on the wall. This also lets you combine the vinyl with paper-cut layers in a framed piece, which is how MMA's wall art is usually built.
6.How long do Cricut vinyl wall decals last?
Permanent vinyl wall decals applied to a clean, smooth, fully cured interior wall typically last three to five years; removable vinyl lasts roughly six months to two years depending on the surface, humidity, and sun exposure. Outdoor applications last one to three years. Lifespan drops sharply on poorly prepped, textured, or freshly painted surfaces, which is why cleaning, degreasing, and waiting for paint to cure matter more than the vinyl brand.
7.What is the best way to clean a wall before applying a vinyl decal?
Wash the wall with mild dish soap and water to remove dust, then wipe the area with isopropyl alcohol (70% or higher) on a lint-free cloth to strip any oily or soapy residue — soap alone leaves a film that vinyl peels off of. Let the wall dry completely, ideally for at least 24 hours in humid conditions. If the wall was recently painted, wait two to three weeks for the paint to cure before applying vinyl, and always test a small vinyl square on an inconspicuous spot first.
8.Can I combine Cricut vinyl with paper cutting in one piece of wall art?
Yes — that combination is exactly what makes MMA's dimensional wall art. Apply the vinyl first to a smooth base (the back panel of a shadow box, sealed cardstock, or a wood panel) for text, silhouettes, or durable flat elements, let it set, then build paper-cut layers in front of it with foam tape or foam dots for depth. Always apply the vinyl before the paper layers, because vinyl needs a perfectly smooth clean surface to bond, and avoid liquid glue near vinyl edges, which can break the adhesive bond.