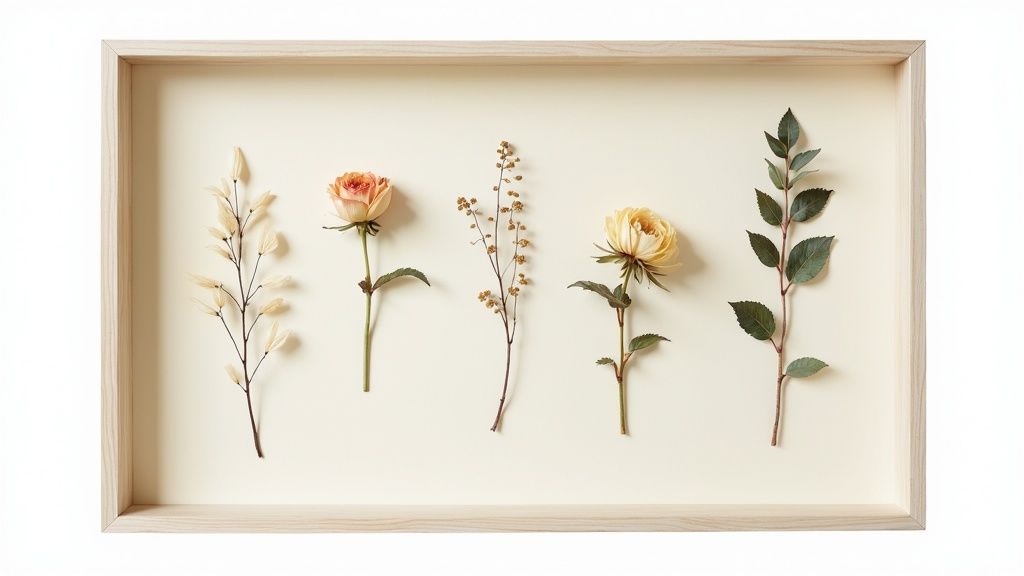
Walk into any craft store and you will find shadow box frames in every size — but almost nothing telling you what to put inside one if you are a paper crafter. Most guides focus on pressed flowers, seashells, or baby memorabilia. Useful, but they leave out the fastest-growing group of shadow box makers: people with cutting machines, cardstock, and a pile of SVG files.
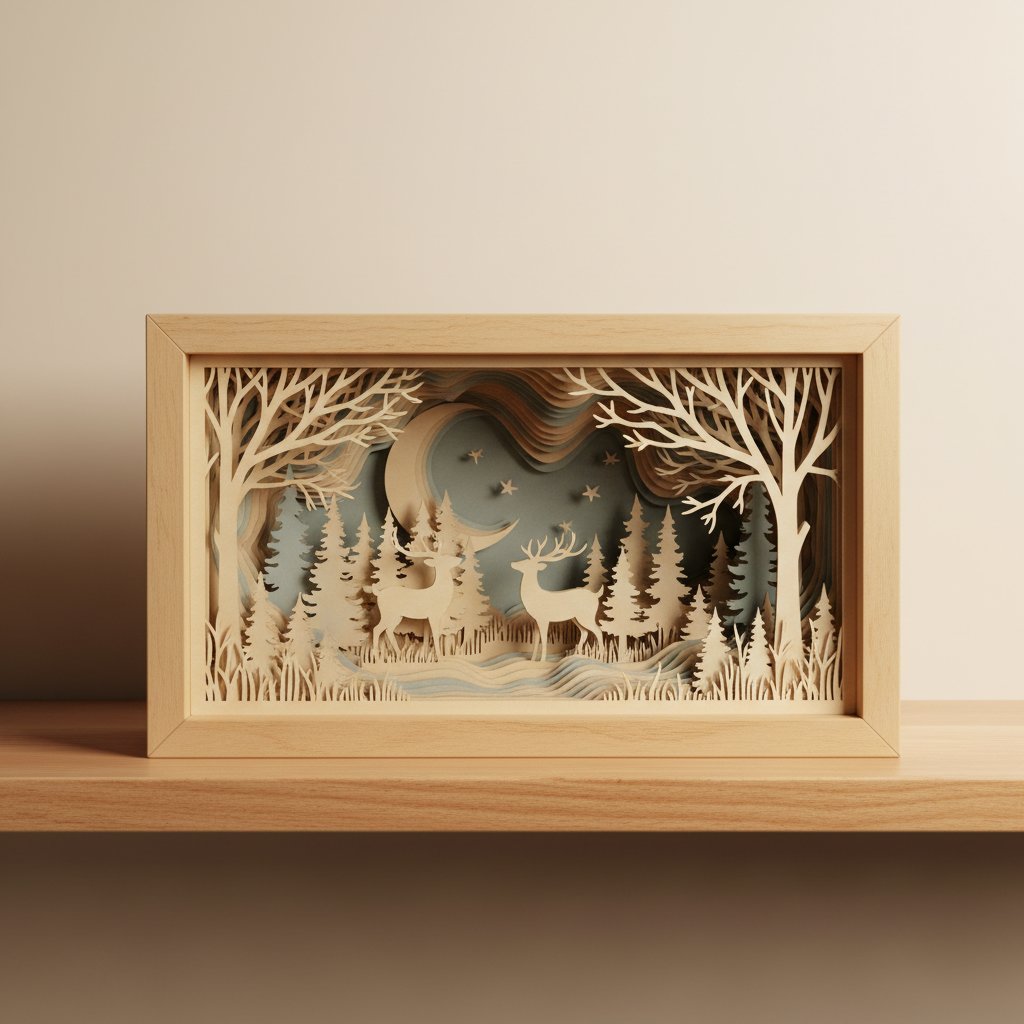
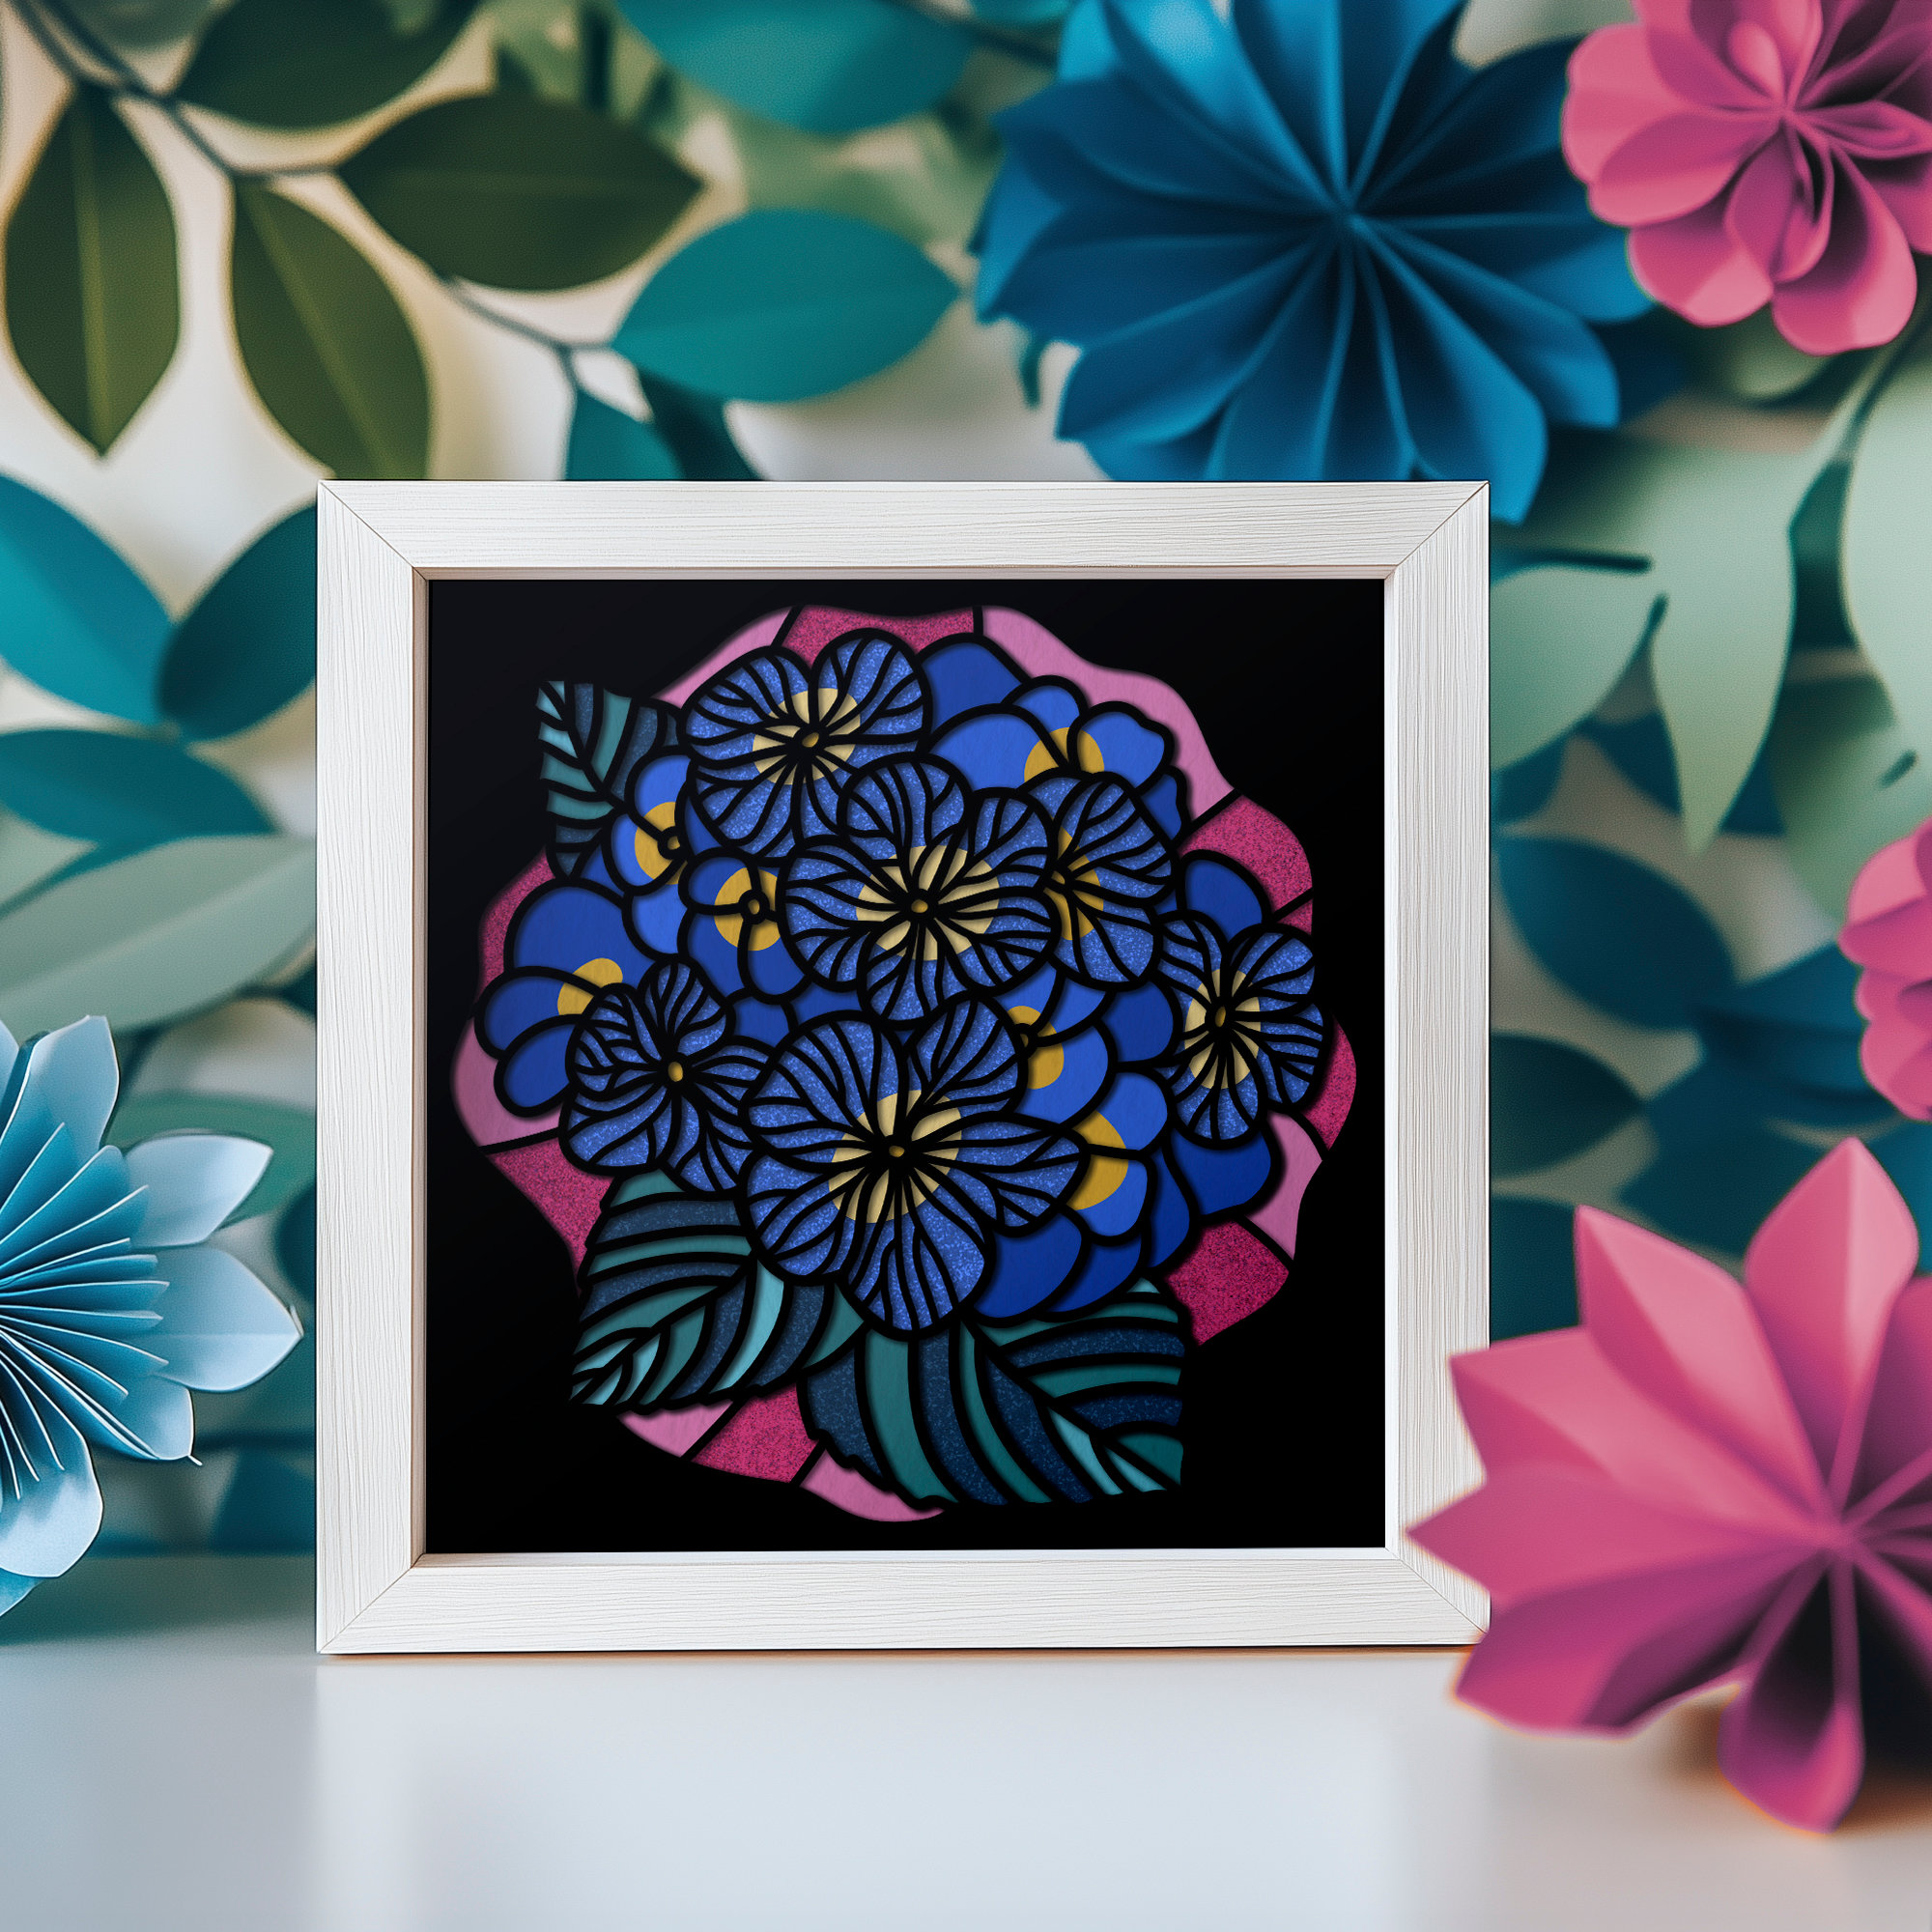
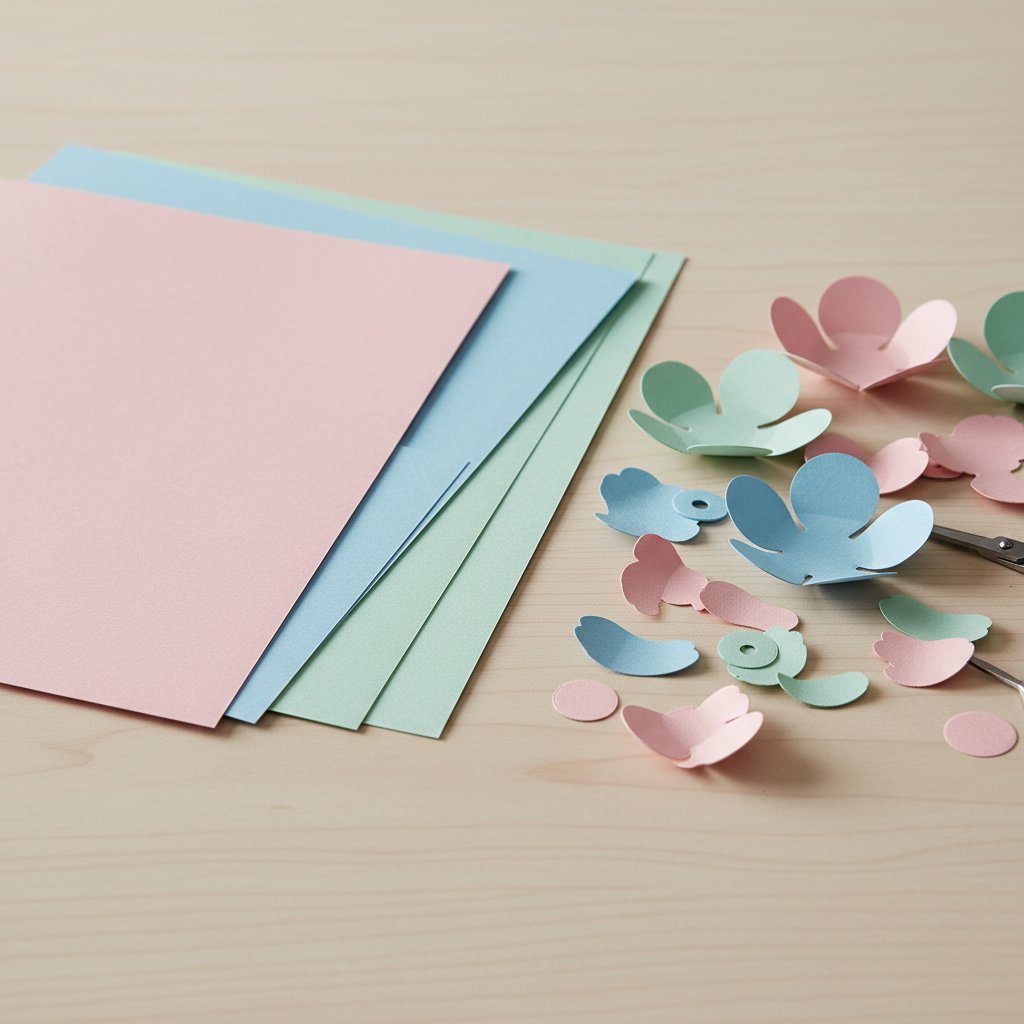
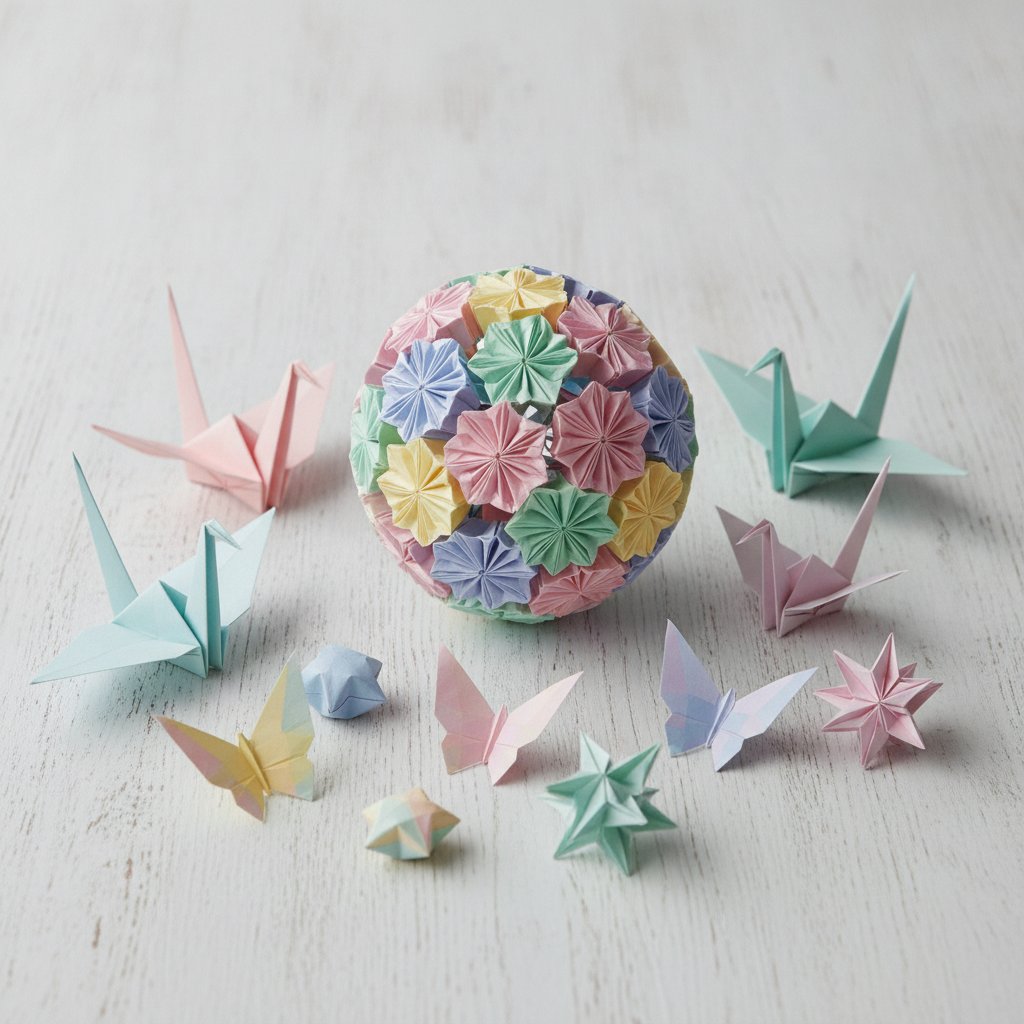
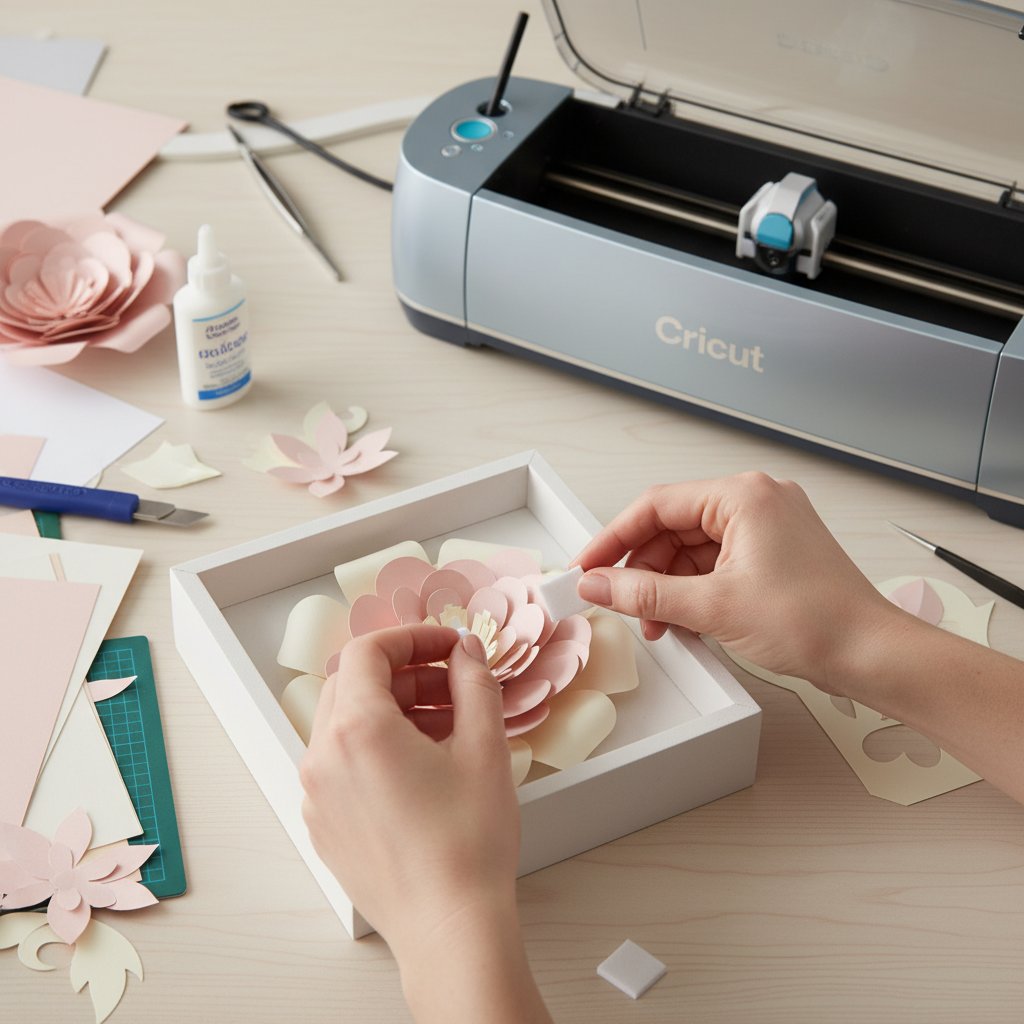
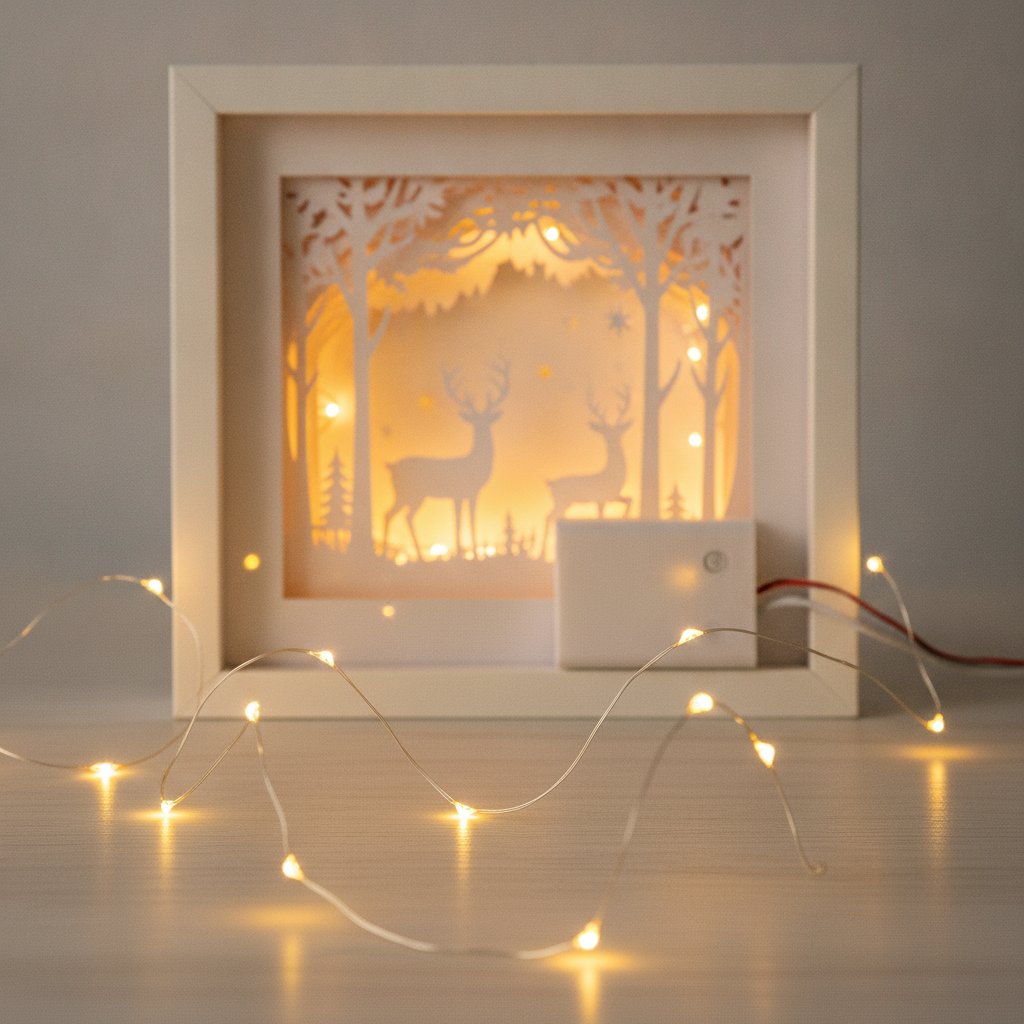
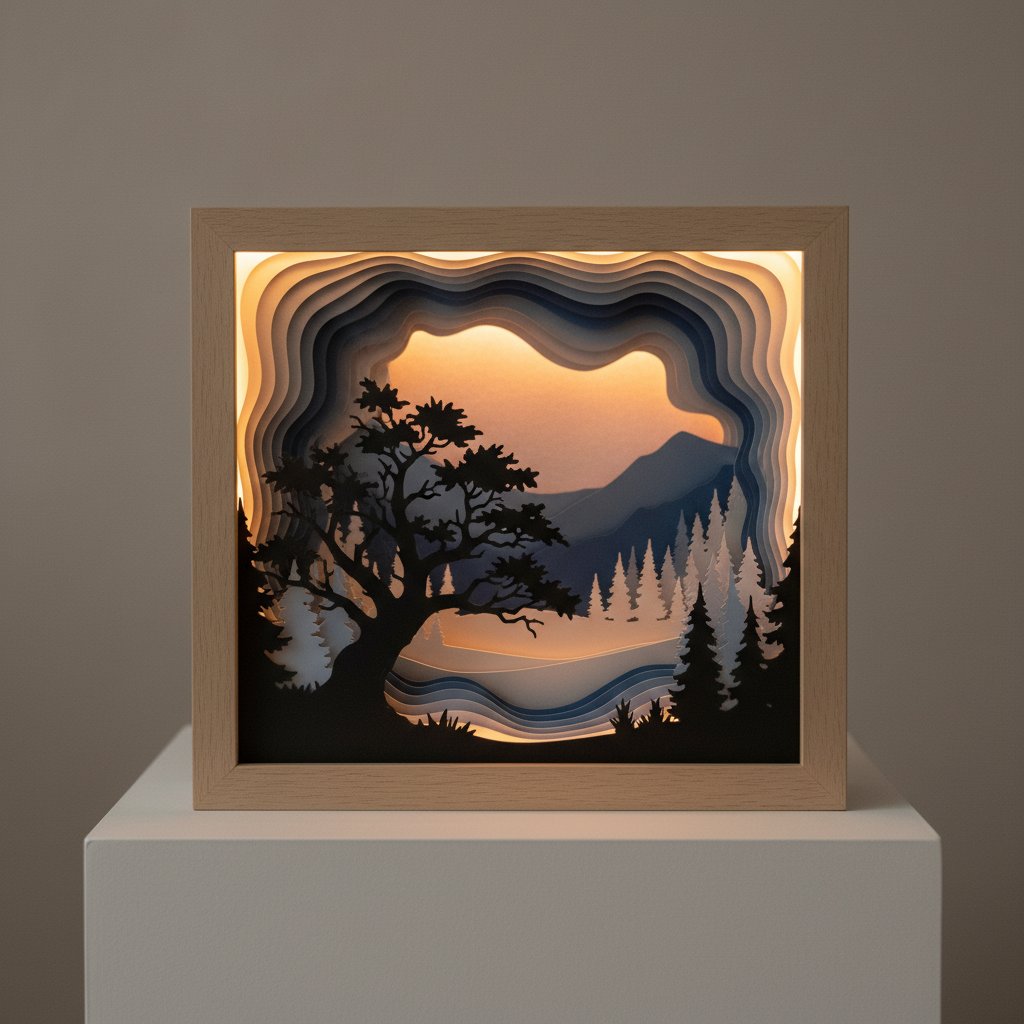
I have been making paper craft shadow boxes for three years. In that time I have assembled over forty framed pieces — layered papercut scenes, paper flower bouquets, quilled landscapes, origami constellation displays, and Cricut-cut seasonal designs. Some are hanging in my living room. Many were gifts. A few were experiments that taught me exactly which paper weights, spacer heights, and adhesive methods actually work.
This guide answers the question I hear most often: what should I put in my shadow box? I am giving you 50 specific paper craft ideas, organized by technique, with the materials and frame depth each one needs. Every idea comes from actual projects I have made or seen in the paper crafting community — no filler.
Who This Guide Is For
- Cricut and Silhouette users looking for your next shadow box project - Paper craft artists who want professional display options - DIY decorators interested in dimensional paper art for your walls - Gift makers creating personalized framed pieces
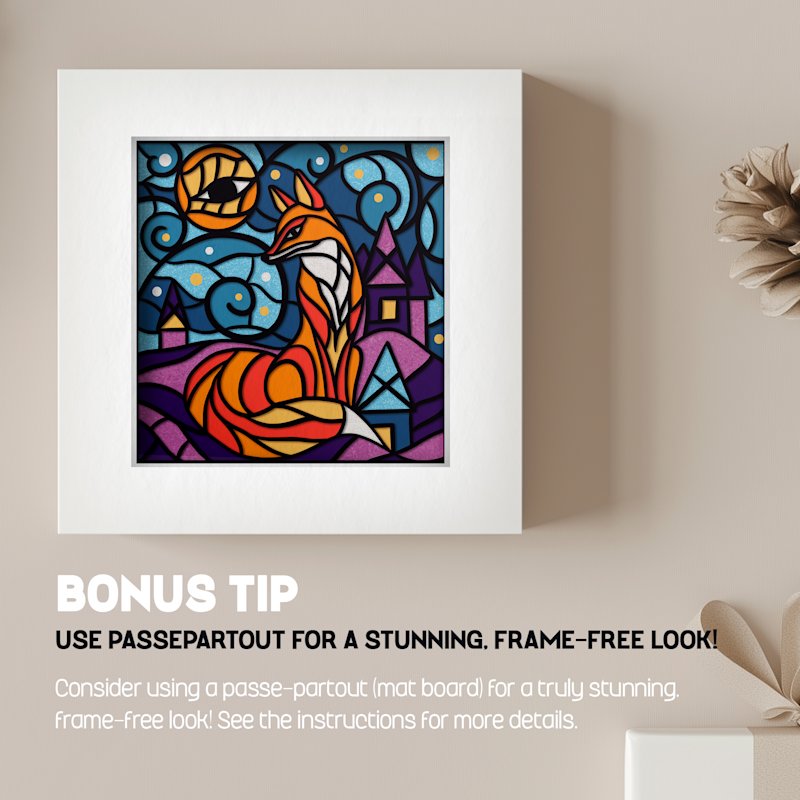
If you are brand new to shadow box construction, start with our complete beginner guide and come back here when you are ready to pick a project. For frame-specific questions, our frame depth guide covers everything from 0.75-inch to 3-inch depths.