The first layered paper mandala I cut was a twelve-layer sunburst in graduated blues. It looked flawless on the screen. Stacked on my desk, the center petal sat a full petal-width off from the ring below it — every layer was perfectly symmetrical on its own, but I had no registration system, so each sheet drifted a fraction of a millimeter as I lifted it, and by layer twelve the drift was obvious. That lopsided mandala now hangs in my hallway as a reminder: a layered mandala is not twelve separate cuts, it is one design split across twelve sheets that have to line up.
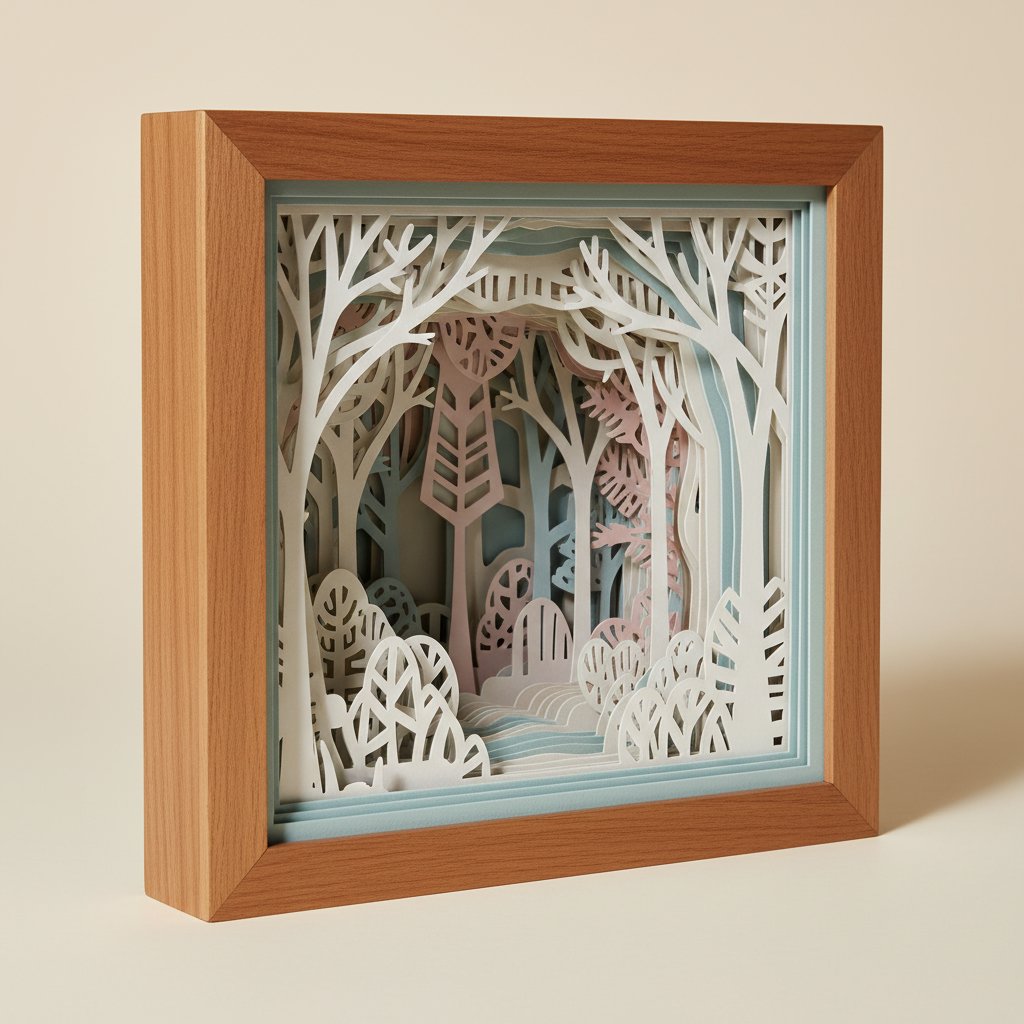
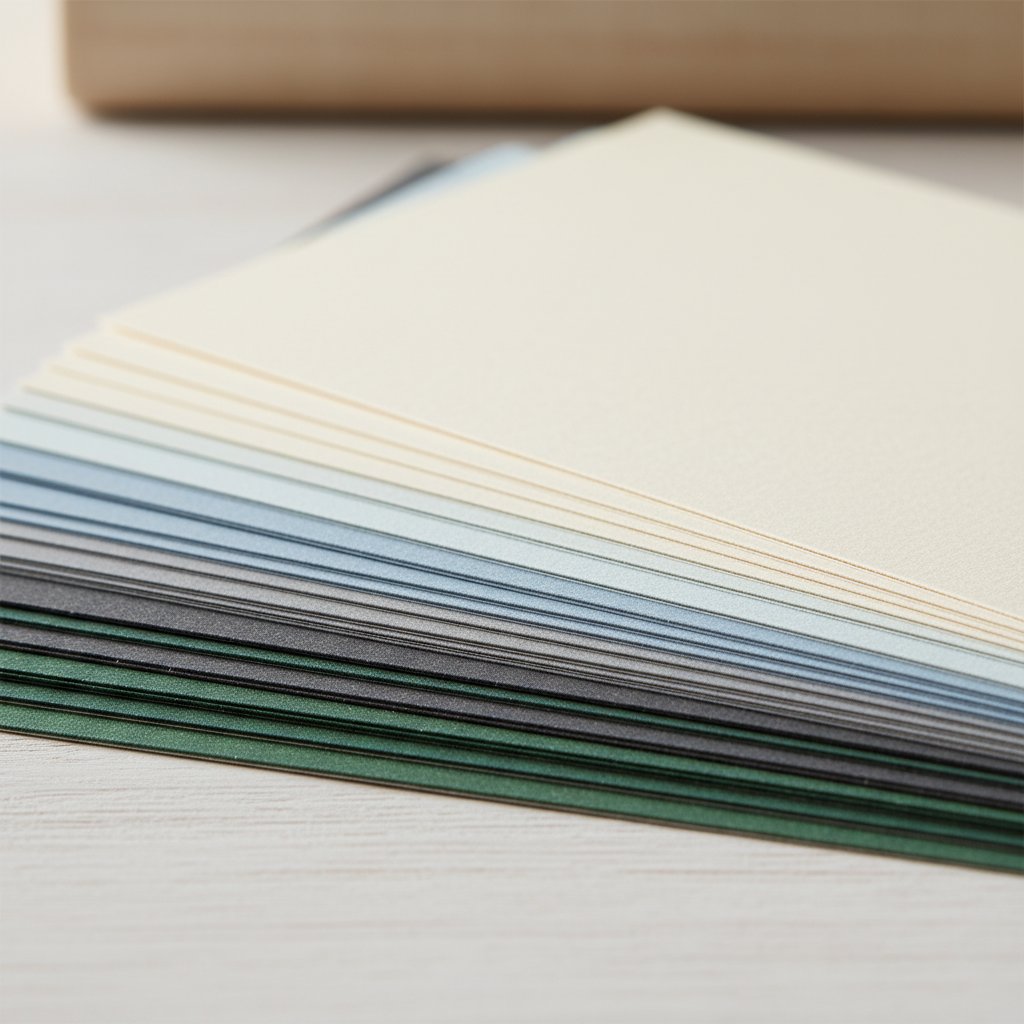
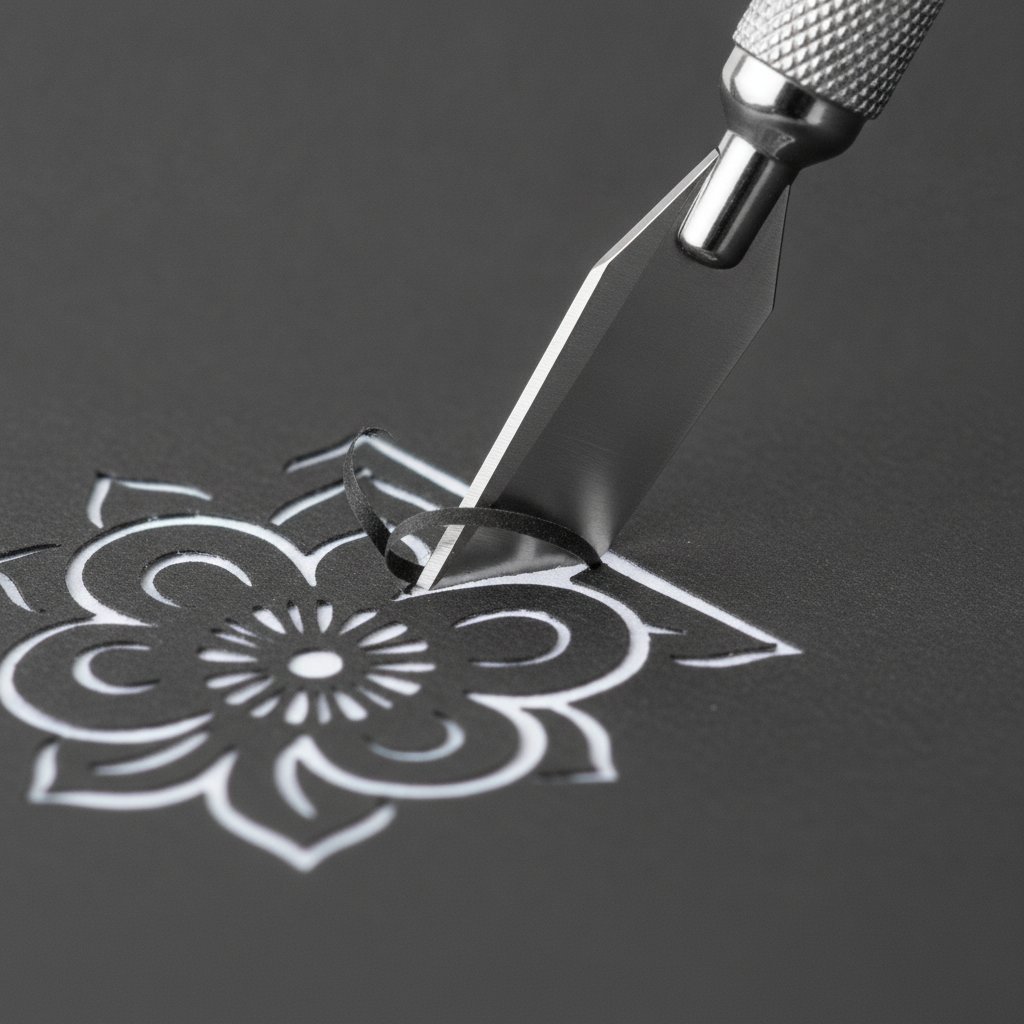
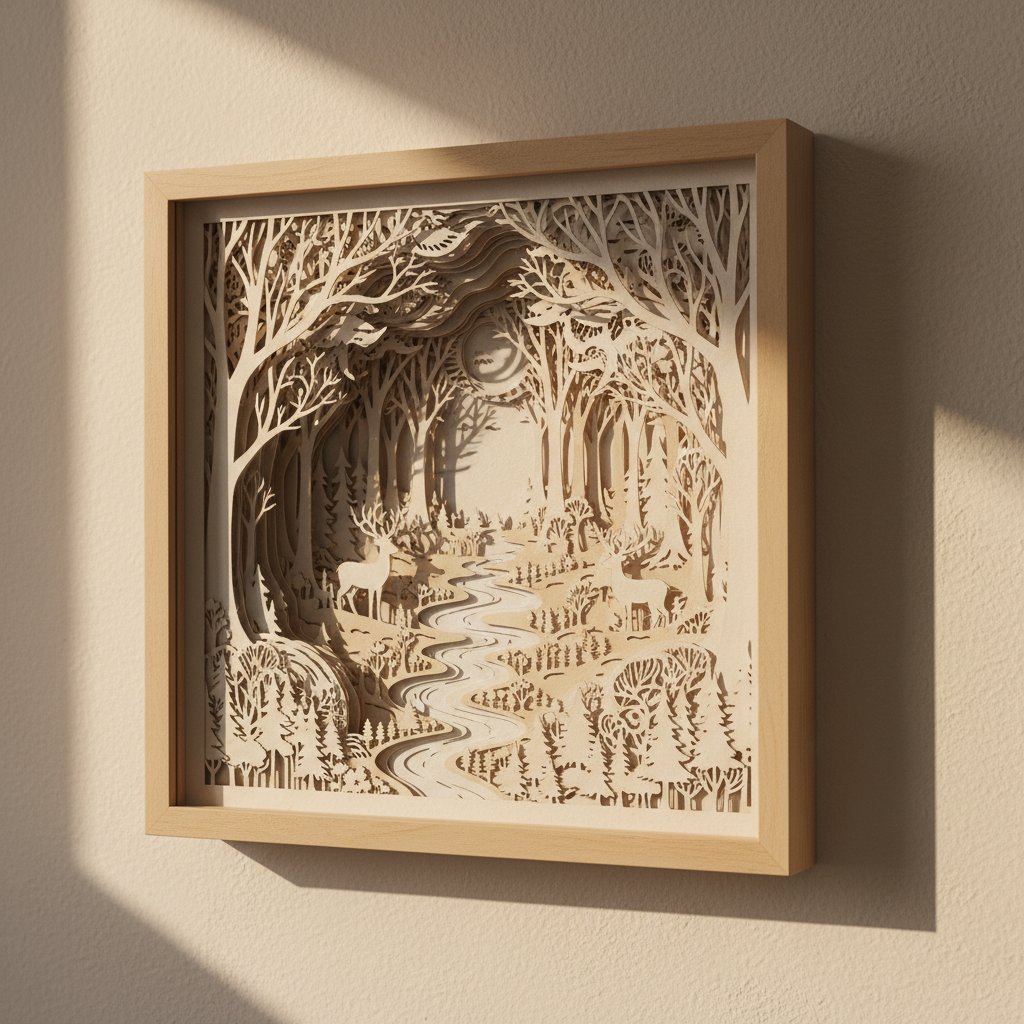
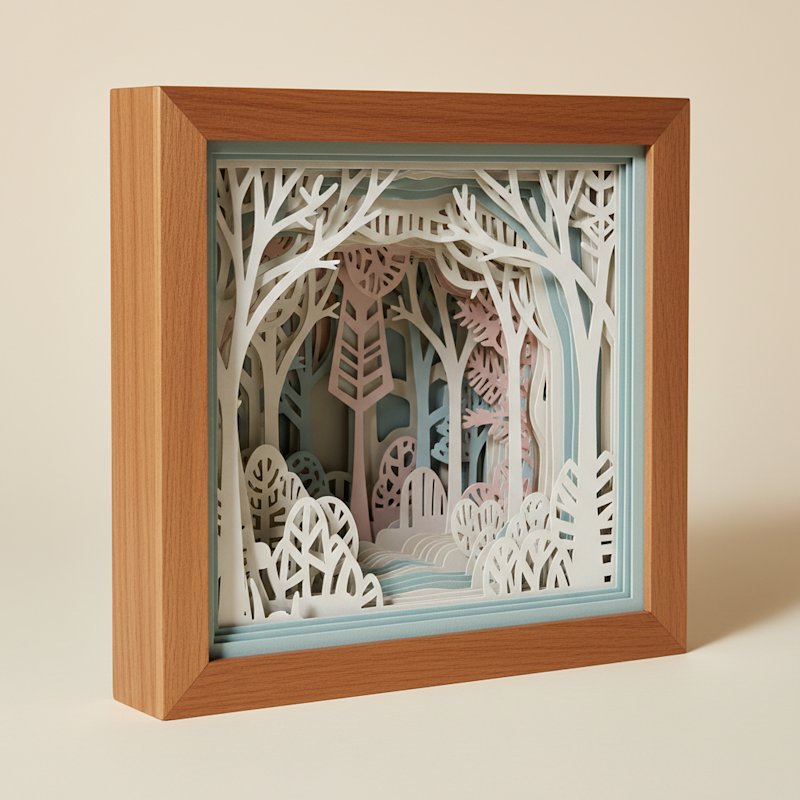
Layered paper mandala art is the craft of building a single radial design from multiple sheets of cardstock, each cut with one ring or wedge of the pattern, then stacked with foam spacers so the rings step back into real depth. Done well, the finished piece reads almost like a paper sculpture — light catches the edges of each ring and the whole mandala seems to turn as you move past it. This guide walks through the complete build I use: radial design fundamentals, the cardstock and tools that actually work, how to cut and register the layers, the color-stacking order, and the frame-depth math that decides whether your mandala sits flat or pops.
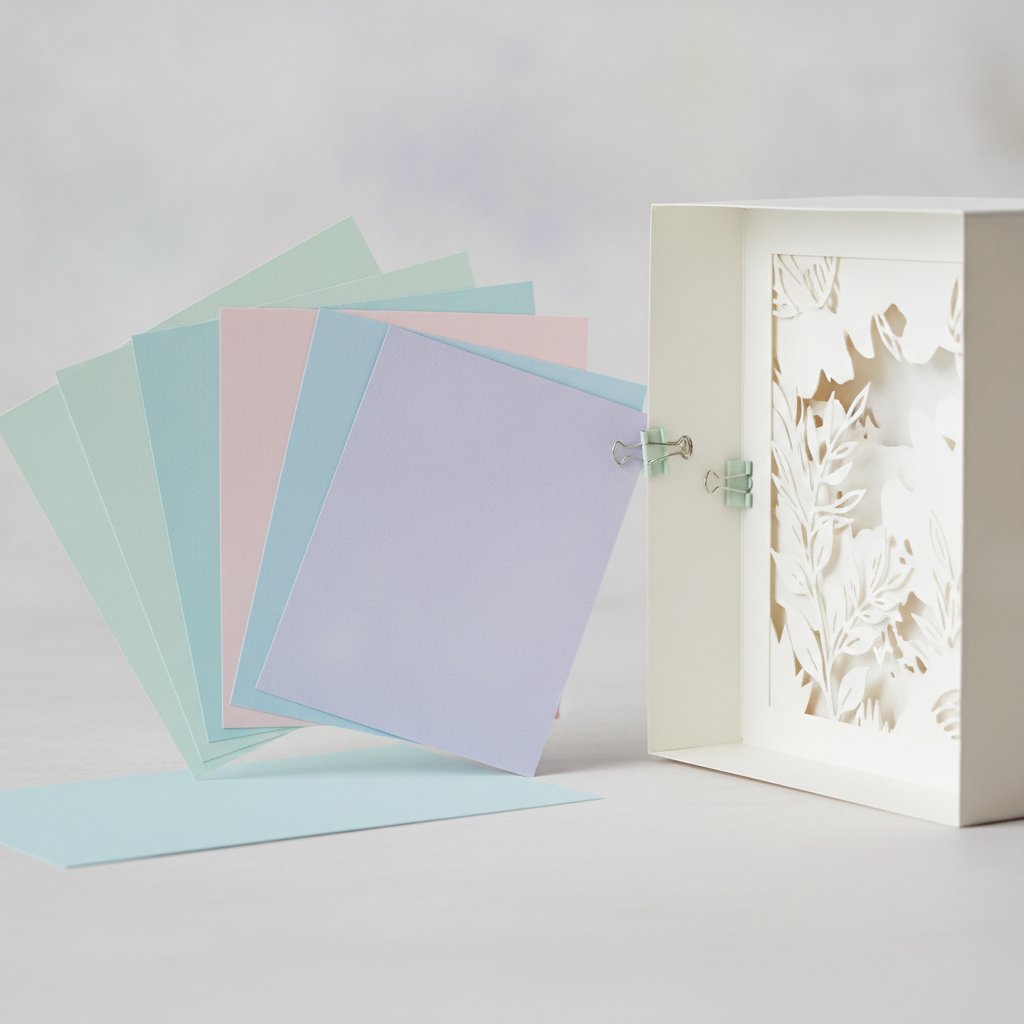
If you have never run a layered paper project on a cutting machine, start with our Cricut paper cutting for beginners walkthrough first, then come back. Mandalas share every technique with layered paper shadow boxes — the difference is radial symmetry instead of a picture scene — so this guide assumes you can run a clean cut and focuses on what makes a mandala specifically work.